Have you searched for instructions on how to make a Step Ladder Center Cut Card Fold? I have searched and searched for a tutorial or video for this card fold, and I have found so many different measurements and names given for the fold. I do not know what is correct. However, I wanted to make a card with the fold, thus, I did a lot of guessing. Here is my creation, and I will share a tutorial below about the card fold.
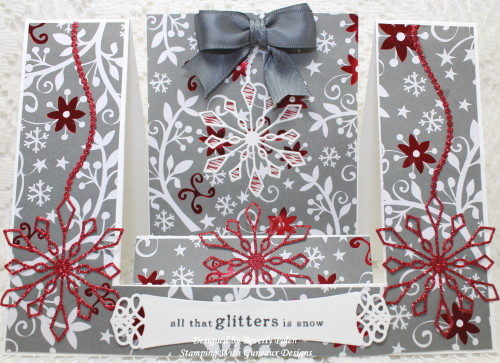
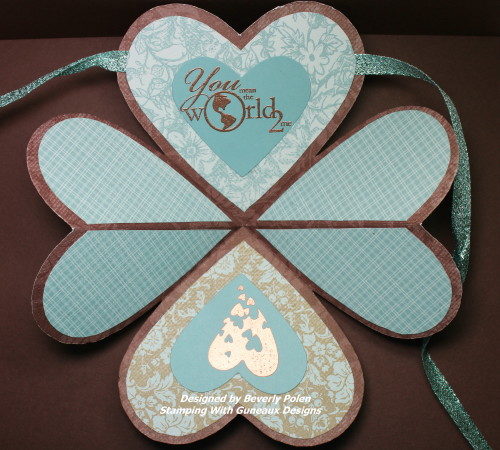
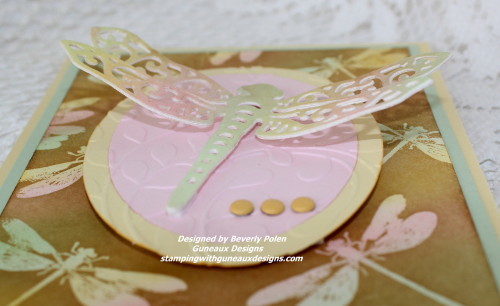
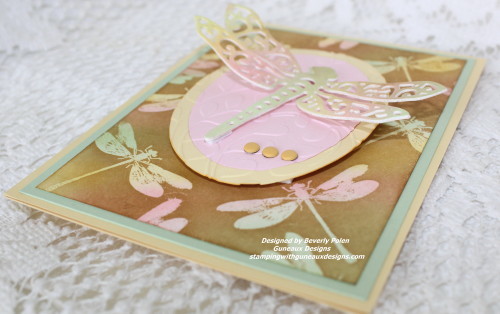
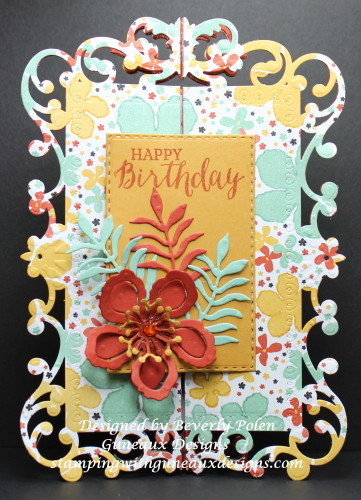
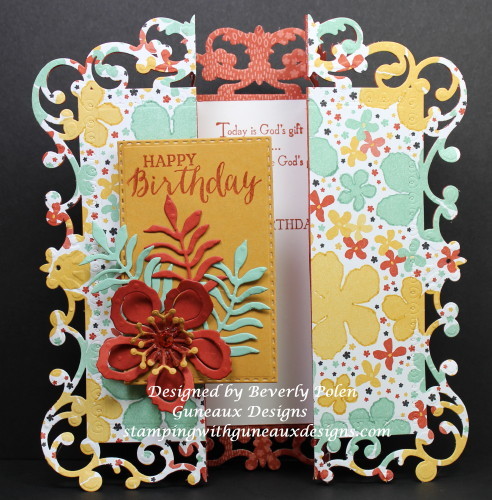
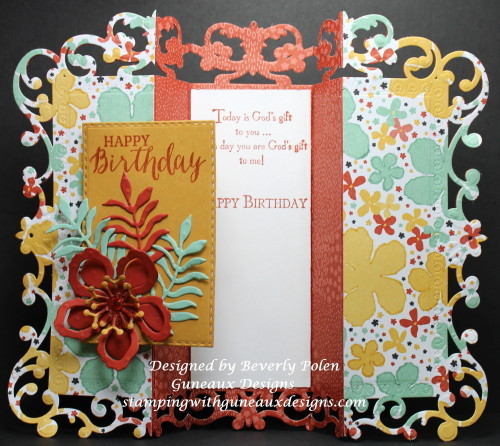
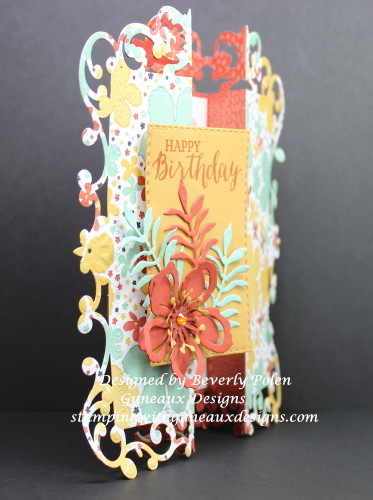
But first, I want to share a little information about the card. There are three “steps” in the center of the card with each one higher than the other. The third step in the back is the highest and includes an additional piece of card stock for the main feature of the card.
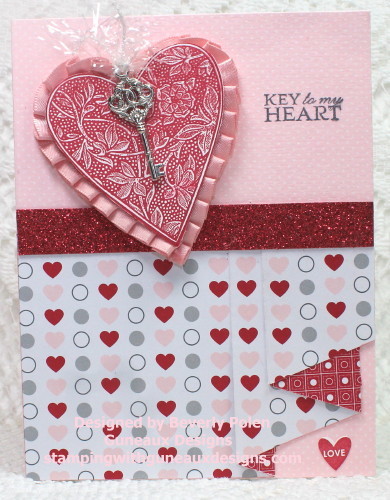
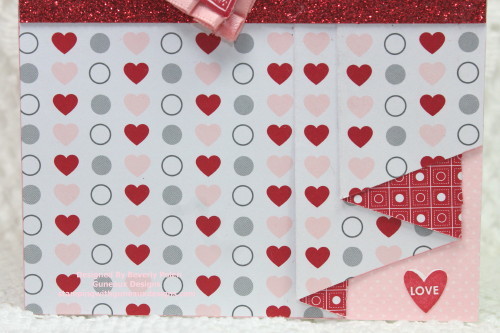
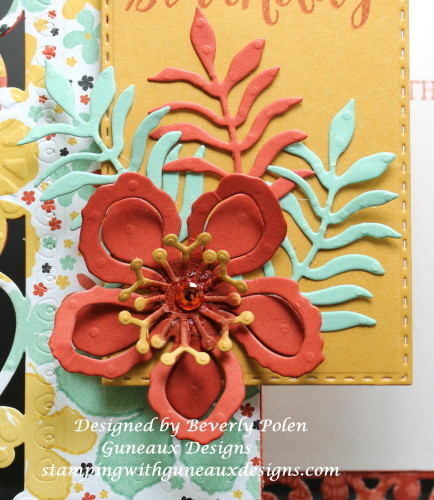
The measurements I used for the card resulted in a 5″ x 7″ card, or an A7 size card. I want to draw your attention to the third step that I mentioned includes an additional piece of card stock. Look closely, and you will see an inlaid snowflake in white. Look even closer and you will see twine behind the snowflake. This technique is called the Twine Inlay Technique. Here is a tutorial for this technique. The following photo is a closeup of the results of using the technique.
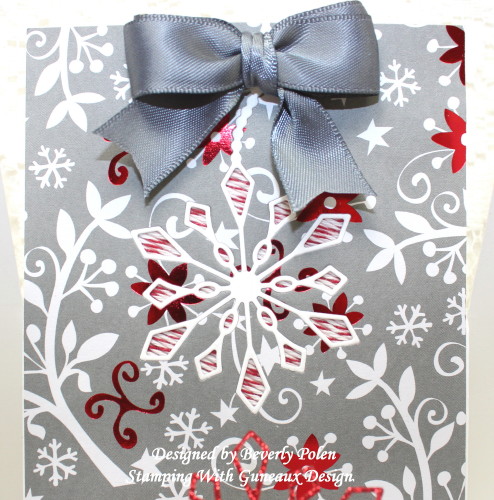
I prepared this card for submission to a Splitcoaststampers “Technique Lovers Challenge”, which involved using the Twine Inlay Technique. I created this main feature of the card with the Memory Box Alpine Snowflake Die.

Enjoy the card, and leave a comment about it!
 STEP LADDER CENTER CUT CARD FOLD TUTORIAL
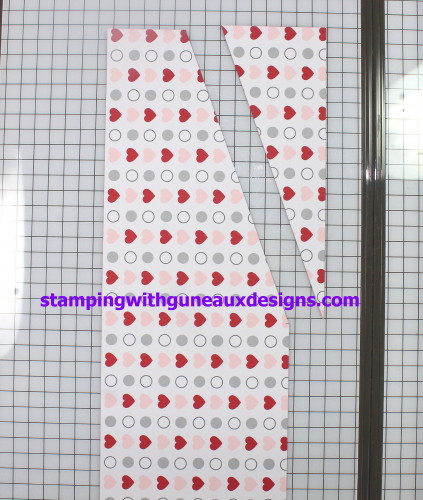
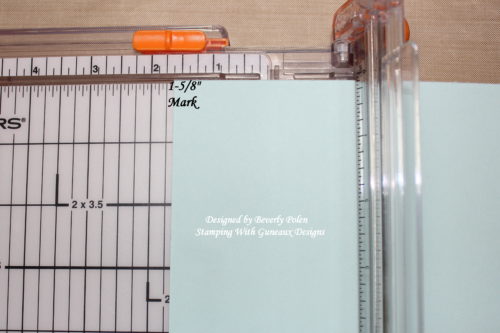
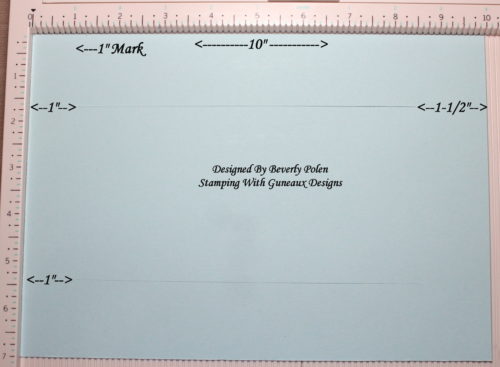
- Cut a 7″ x 10″ piece of card stock,
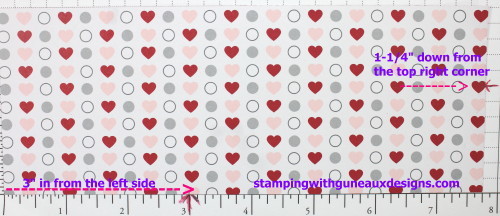
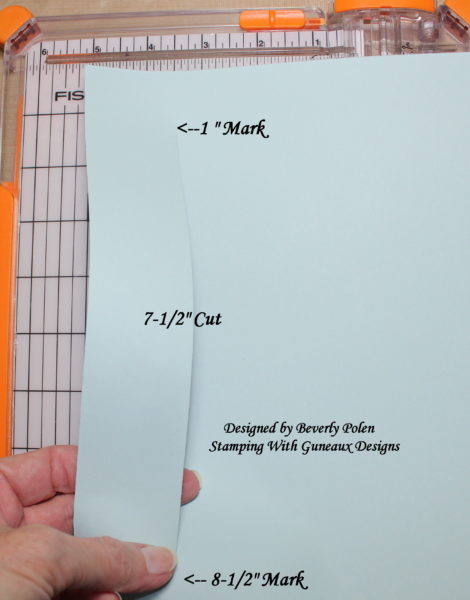
- With the 7″ side at the top of a cutting tool (henceforth, trimmer) move the card stock to the left to the 1-5/8″ mark,
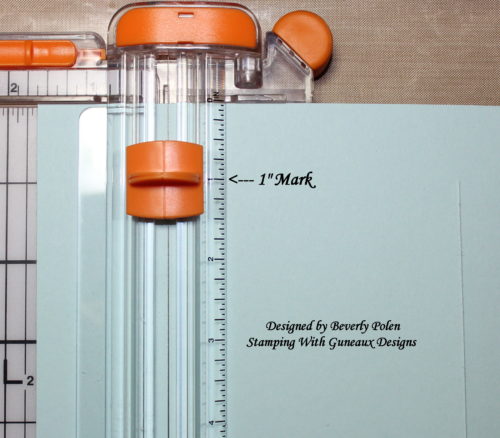
- Move the cutting blade of your trimmer down to the 1″ mark,
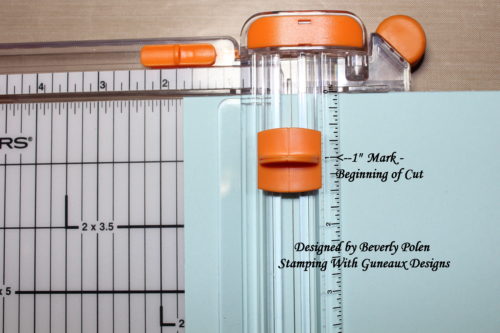
- Cut the card stock from the 1″ mark down to the 8-1/2″ mark,
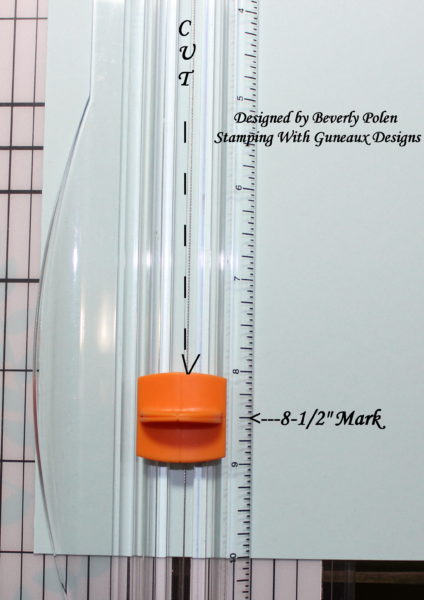
- The result is a 7-1/2″ cut,
- Flip the card stock over, not around, so that the BACK that was face down is now face up (if you turn the card stock around 90 degrees instead, the cuts will not line up),
- With the 7″ side at the top of the trimmer, move the card stock to the left to the 1-5/8″ mark,
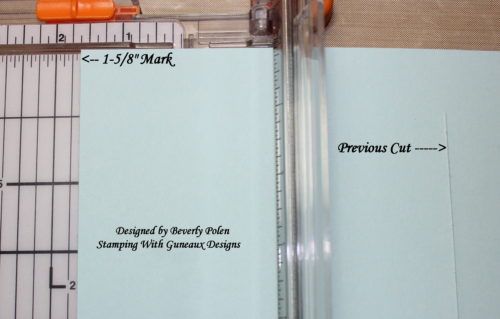
- Move the cutting blade of your trimmer down to the 1″ mark,
- Cut the card stock from the 1″ mark down to the 8-1/2″ mark, resulting in the cuts on both sides lining up evenly,

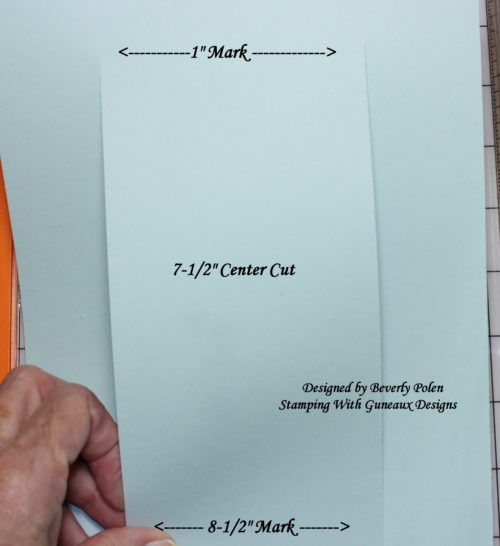
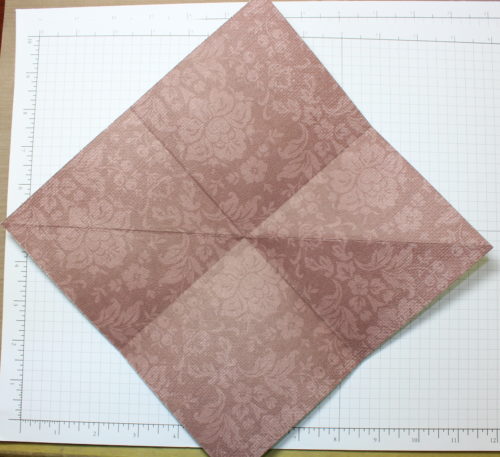
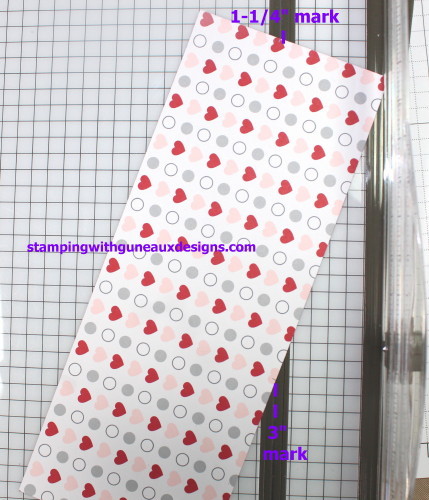
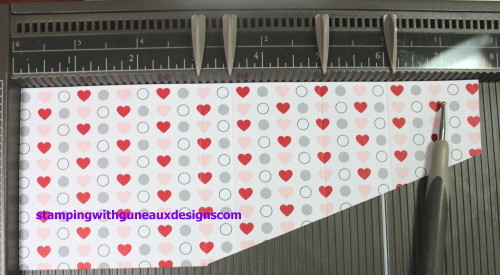
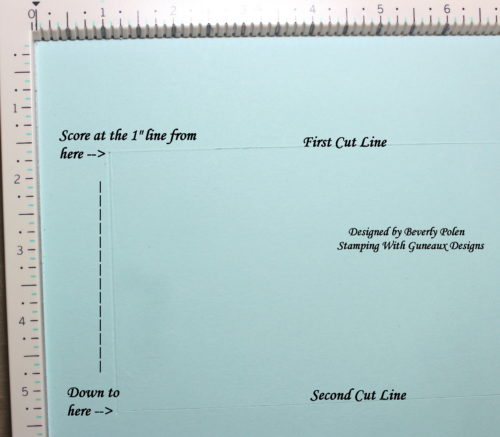
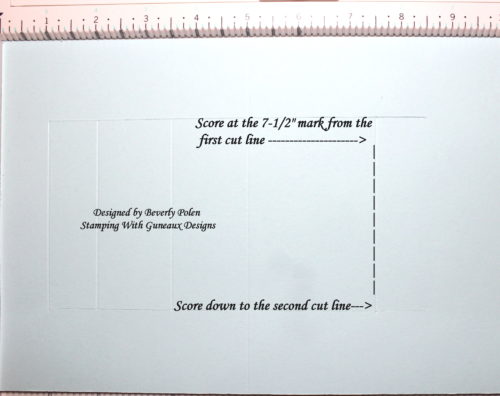
- Place the card stock onto a scoring tool with the 10″ side at the top and the cuts beginning at the 1″ mark against the left of the tool,
- Beginning at the 1″ mark and at the first cut line, score down to the second cut line,
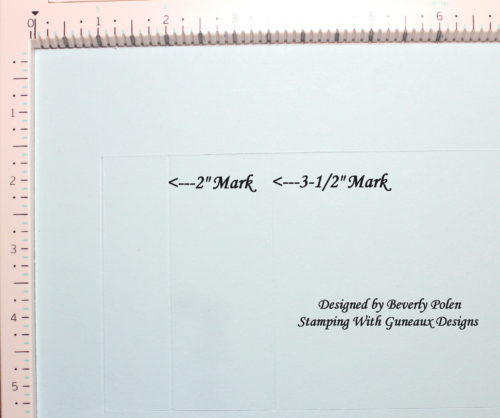
- Score at the 2″ and 3-1/2″ within the two cut lines,
- Score at the 5″ mark from the top of the card stock to the bottom,
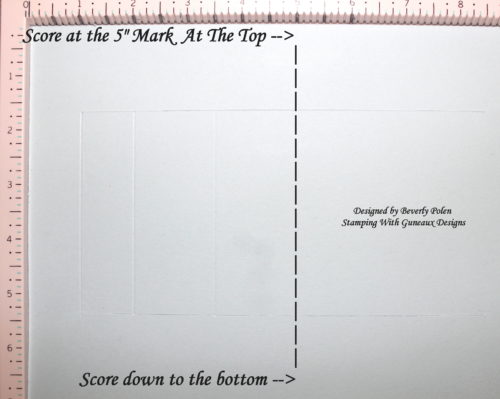
- Score at the 7-1/2″ mark within the two cut lines,
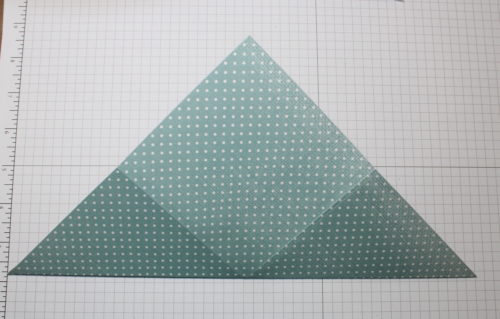
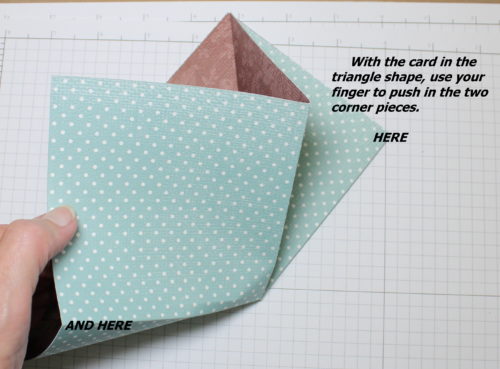
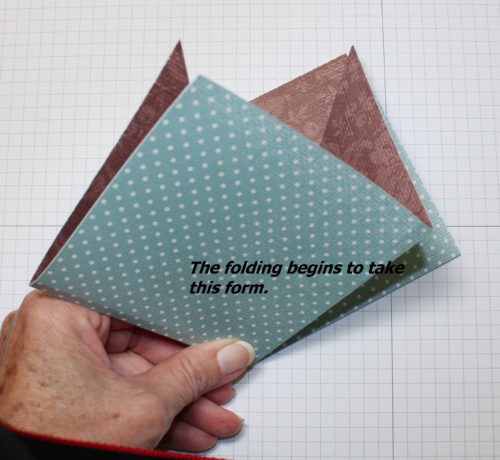
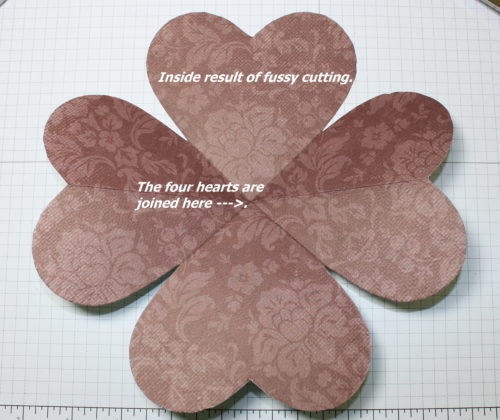
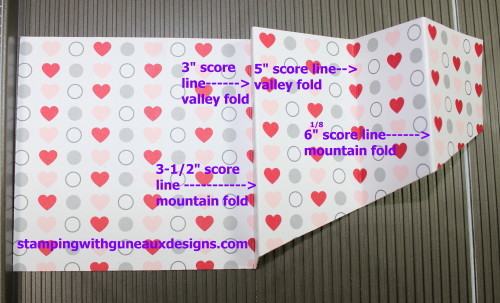
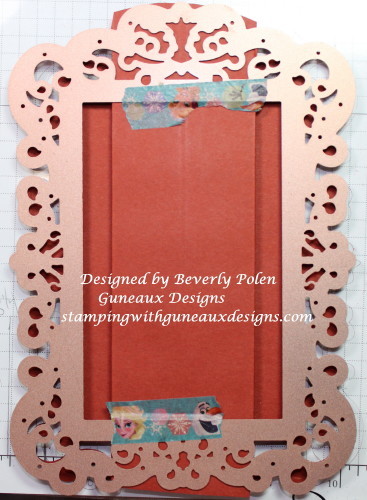
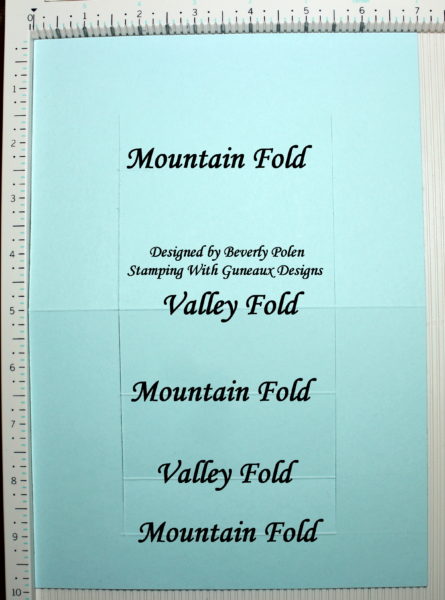
- With the card stock cut and scored, begin folding the score lines as shown in this photo,
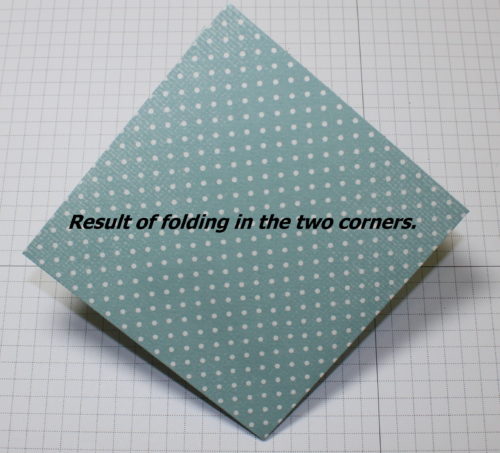
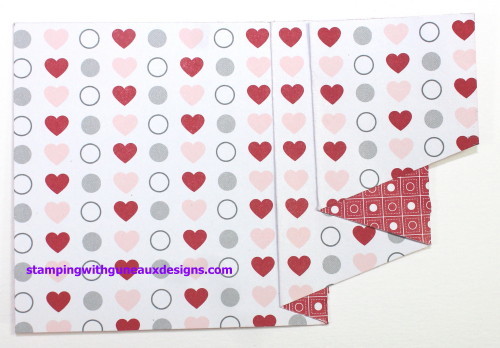
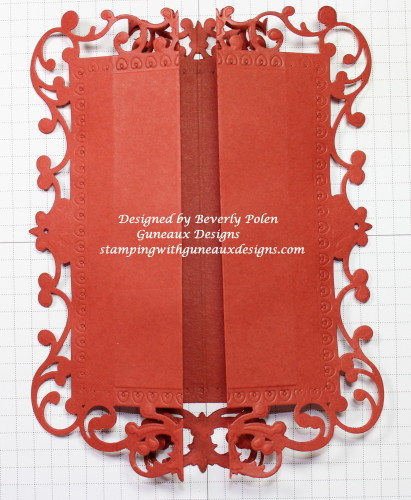
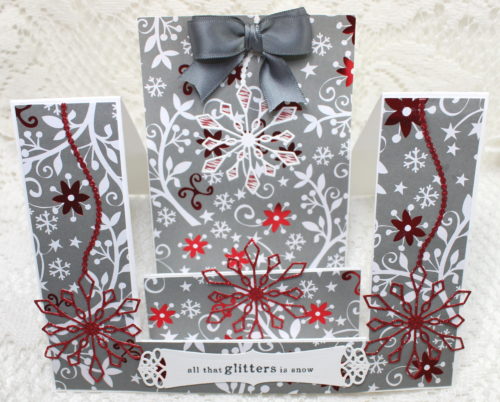
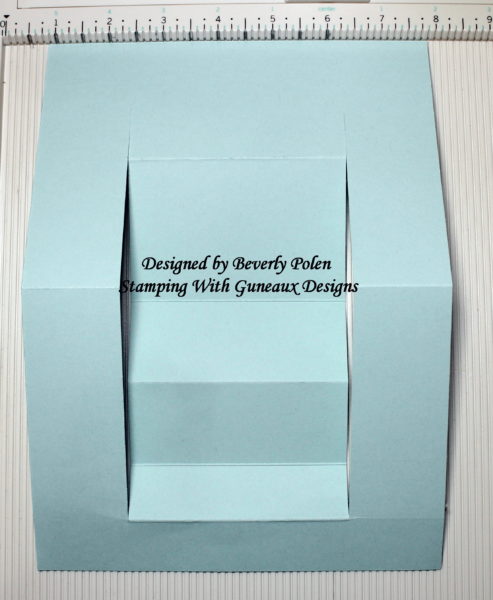
- The Step Ladder Center Cut Card Fold will look like the following after folding.
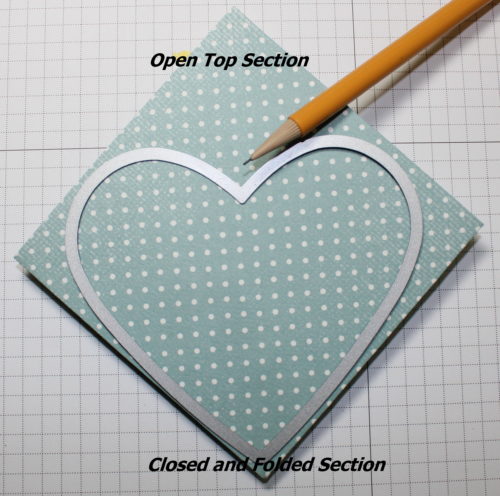
- With the card stock standing after the folding, it will look like this:
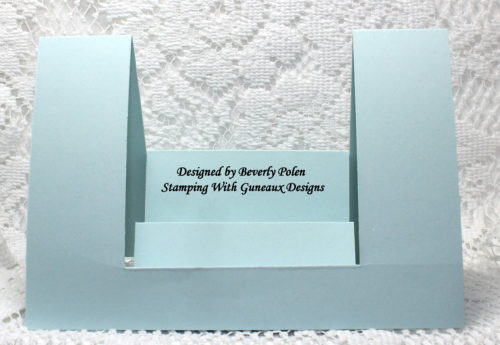
- Decorate the card as desired. If a piece of card stock with the main feature is added to the third step of the step ladder card, cut the piece at 3-11/16″ x 4-7/8″ so it will fit horizontally and vertically. Of course die cuts or other elements can be added on the third step as a main feature. Enjoy your creation.
 God’s Blessings!
Stamping With Guneaux Designs By Beverly Polen
Firm Reliance on Divine Providence!
1 PETER 3:12-15 (NIV)
“For the eyes of the Lord are on the righteous and his ears are attentive to their prayer, but the face of the Lord is against those who do evil. Who is going to harm you if you are eager to do good? But even if you should suffer for what is right, you are blessed. Do not fear what they fear; do not be frightened. But in your hearts set apart Christ as Lord. Always be prepared to give an answer to everyone who asks you to give the reason for the hope that you have.”