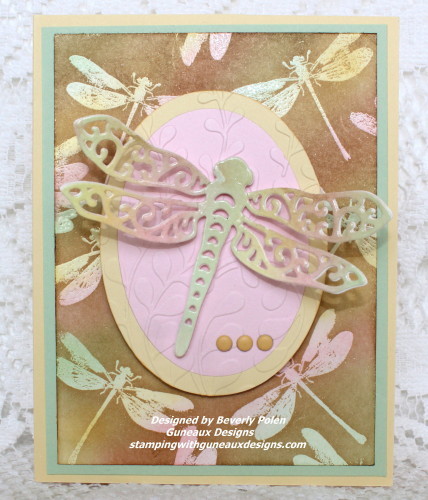
Color on Color Emboss Resist Technique

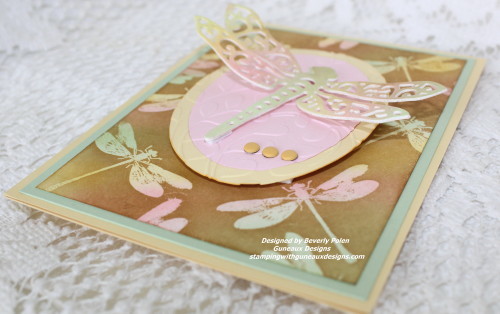
Sponging and blending inks onto card stock is one of my favorite forms of art.  I have made many cards in this manner; however, I have only used the Color on Color Emboss Resist Technique for very few cards.  This technique requires sponging and blending inks as well.

Color-On-Color-Emboss-Resist-Technique-2

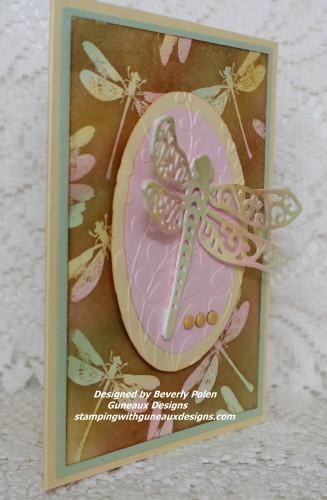
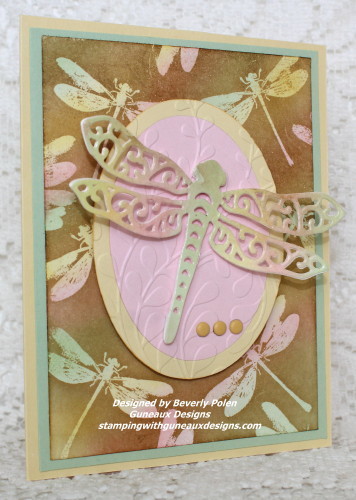
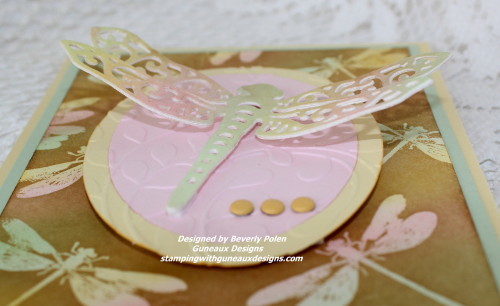
I have been thinking for a while that I wanted to create a card featuring the Color on Color Emboss Resist Technique.  Splitcoaststamper.com gave me the nudge to do so as it posted today a Technique Challenge for using the emboss resist technique.  I have included a tutorial in this post if you should want to try it too.  Here are additional pictures of my card.

Color-on-Color-Emboss-Resist-Technique_8_1Color-on-Color-Emboss-Resist-Technique-2Color-on-Color-Emboss-Resist-TechniqueColor-on-Color-Emboss-Resist-Technique

I did not add a sentiment on the card, but I will when an occasion arises that will dictate the type of sentiment needed. It will most likely be a “Thinking Of You” or “For You” sentiment.

BlogDivider_zpsed339ea1

SUPPLIES USED FOR THIS COLOR ON COLOR RESIST TECHNIQUE CARD:  

Stamps:  Stampin’ Up! Awesomely Artistic Stamp Set

Paper:  Stampin’ Up! Whisper White, Pink Pirouette, Barely Banana (retired), and Pistachio Pudding (retired) Card Stock

Ink: Stampin’ Up! Pistachio Pudding (retired), Barely Banana (retired), Pink Pirouette, and Baked Brown Sugar Classic Inks, and a VersaMark Watermark Stamp Pad

Accessories:  Stampin’ Up! Embossing Buddy, Clear Embossing PowderSponge Daubers, a heat gun, Stampin’ Up! Subtles Candy Dots, and Spellbinders Dragonfly Die – S2-157

Card Size: A2 – 5-1/2″ x 4-1/4″

I hope you enjoyed the card and plan to use the technique.  Now on to the tutorial.


BlogDivider_zpsed339ea1

COLOR ON COLOR RESIST TECHNIQUE TUTORIAL

A.  SUPPLIES NEEDED FOR USING THE COLOR ON COLOR EMBOSS RESIST TECHNIQUE:

Stamp:  Select a solid stamp that you want featured as the primary element.

Paper:  A white piece of card stock for sponging on ink and other card stock of your choice for your card.

Ink: You will need three light colors and one darker color and a watermark stamp pad

Accessories:  Talcum powder for rubbing across card stock before applying embossing powder; clear embossing powder, sponge daubers or sponges, and heat gun

B.  INSTRUCTIONS FOR THE COLOR ON COLOR EMBOSS RESIST TECHNIQUE:

1. Cut card stock accordingly:

  • 8-1/2″ x 5-1/2″ for card base
  • 5-1/4″ x 4″ for 1st layer
  • 5″ x 3-3/4″ for white card stock

2. Select a stamp that you want to be the main feature of the card.

3. Select three colors of ink that are light shades.

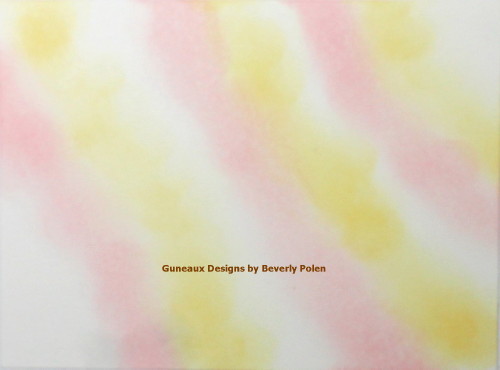
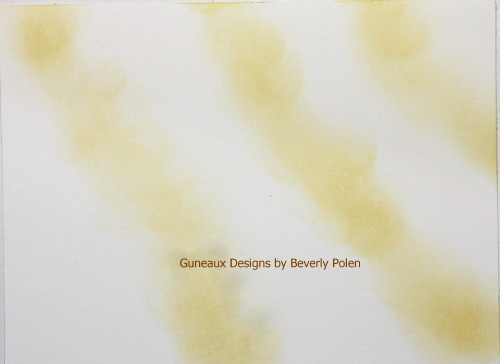
4. Using a sponge dauber, swirl your first light color onto the white card stock.
Color-on-Color-Emboss-Resist-Technique
5. Swirl your second light color onto the Whisper White Card Stock, and don’t worry about overlapping the colors.

Color-on-Color-Emboss-Resist-Technique

6. Swirl your third light color onto the Whisper White Card Stock, and then look for places where you want to blend the colors and do that with the daubers. Don’t worry about the look too much as it will completely change when you add the darker color.

Color-on-Color-Emboss-Resist-Technique

7. AFTER the ink dries (make sure the ink is dry), rub the talcum powder over the complete piece of card stock.

8. Cover your selected stamp with a watermark ink and stamp the image randomly on the card stock.

9. Cover with the clear embossing powder and heat set. Let it cool.Color-on-Color-Emboss-Resist-Technique
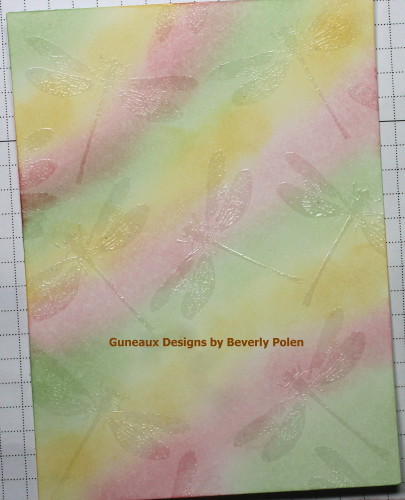
10. Swirl you dark color of ink all over the piece of card stock. You may need to do this a couple times or more.Color-on-Color-Emboss-Resist-Technique
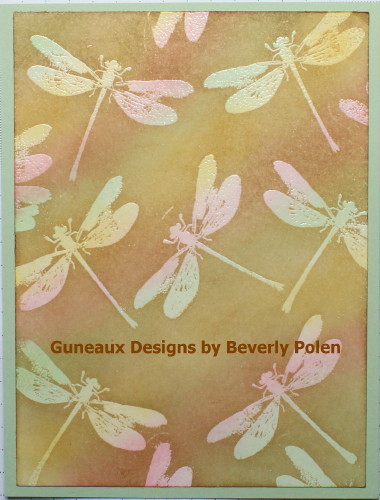
11. Using a paper towel, rub the excess dark ink from the embossed images. Isn’t it cool how the clear embossing takes on the colors?

12. After reaching the desired colors on the colored piece of card stock, use a stamp image (can be the same that was used for the embossing) to create a center piece for the card.

13. Adhere the pieces together and add your desired embellishments.

14. If desired, add a sentiment to the card.

Enjoy!!

BlogDivider_zpsed339ea1Swallowtail Butterfly
God’s Blessings!

Stamping With Guneaux Designs

by

Beverly Polen

Awesomely Artistic Stamp Set CAS358 CC564

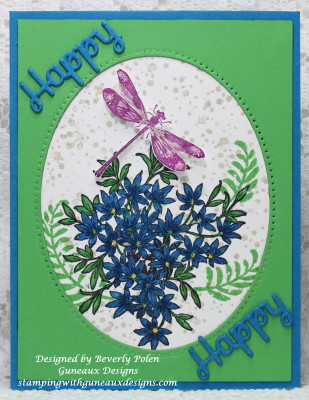
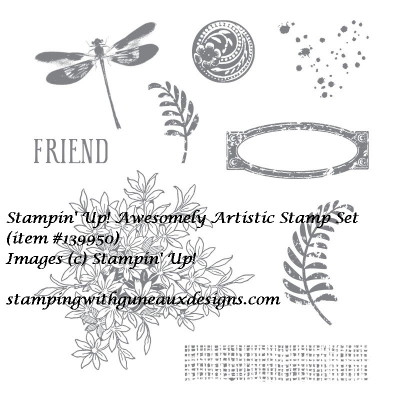
Hello, my friends!  Do you have the Awesomely Artistic Stamp Set from Stampin’ Up!? It has wonderful Spring images.  The floral image makes me want Spring to not tarry!  LOL

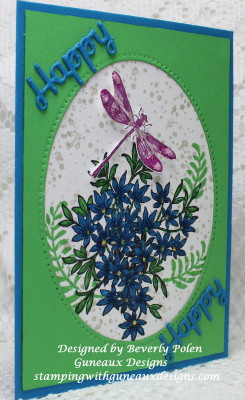
I created my Awesomely Artistic card below for two challenges with Splitcoaststampers.com.  If you are not familiar with this website, I recommend you look at it as there are many galleries of artwork to see.  Another reason for creating my card is I plan to send it to my sister for her birthday.

Awesomely Artistic Stamp Set

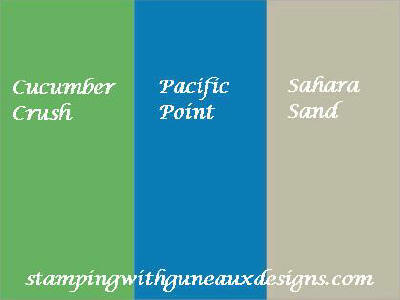
The first Splitcoaststampers challenge, CAS358, is to create a card with the word, “happy” on it.  That was easy enough!  The second challenge, CC564, is a Color Challenge featuring the following colors.

Awesomely Artistic Stamp Set

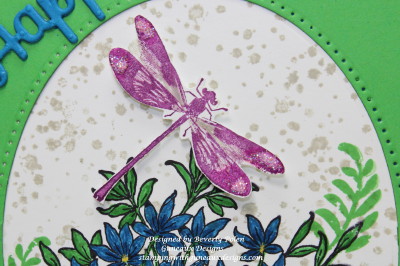
This photo is a closeup of the dragonfly from the Awesomely Artistic Stamp Set.  I stamped it in Blackberry Bliss Ink, fuzzy cut it, and enhanced the end of its wings with Stampin’ Up! Dazzling Details and Dazzling Diamonds Glitter.  Also in this closeup you can see the color, Sahara Sand, in the background.

Awesomely Artistic Stamp Set CAS358 CC564

Enjoy my card and have a blessed day!


SUPPLIES

Card Size: A2

Stamps:   SU Awesomely Artistic Stamp SetAwesomely Artistic Stamp Set

Paper: SU Whisper White, Cucumber Crush, and Pacific Point Card Stock

Ink: SU Cucumber Crush, Pacific Point, Sahara Sand, and Blackberry Bliss

Accessories: Spellbinders Sentiments Die (S2-118), SU Dazzling Details, and Dazzling Diamonds Glitter 

SU = Stampin’ Up!


Swallowtail Butterfly

God’s Blessings!

Stamping With Guneaux Designs By Beverly Polen


Awesomely Artistic Stamp Set

AWESOMELY ARTISTIC STAMP SET

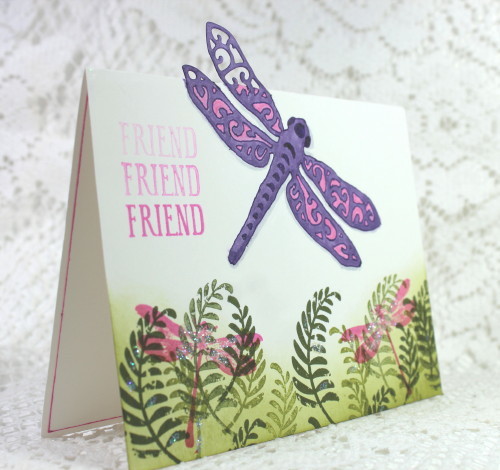
Partial Die-Cutting Technique TLC566

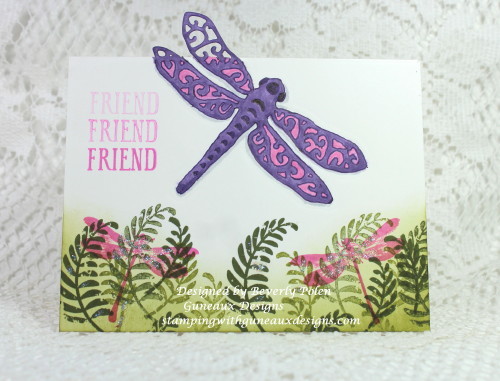
Yesterday, the Splitcoaststampers Website had a challenge to create a card using the Partial Die-Cutting Technique (TLC566). The Partial Die-Cutting Technique is somewhat self-explanatory as it is using a die, card stock, and die-cutting machine of your choice to partially cut a shape.  It can be done in different ways. My card shows one way and that is to have the partially cut portion of the die above the fold of a card base. (You will find a link to the Splitcoaststampers’ tutorial video on this technique below.)

Partial Die-Cutting Technique TLC566

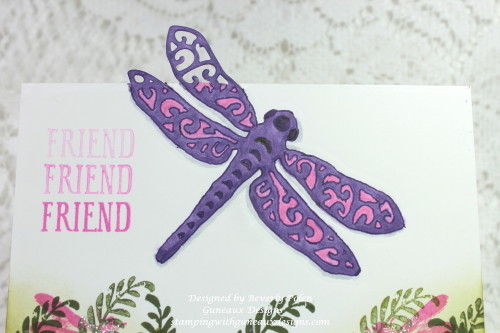
This is the first time I have used this technique, and I really enjoyed it.  The shape that I chose to partially cut is a dragonfly (Spellbinders Die).  As you can see, my dragonfly’s wings on the left side of its body were cut but not the rest of the dragonfly’s body.  After achieving the partial cut and leaving the die and card stock in the same position, I ran them back through my die-cutting machine with embossing pads to emboss the dragonfly onto my card front.

I used copic markers to color the embossed dragonfly so the rest of the body would show. To finish the card front, I used the Stampin’ Up! Awesomely Artistic Stamp Set (clear mount) to add other elements to the card.

Partial Die-Cutting Technique & Spellbinders Dragon Fly DiePartial Die-Cutting Technique & Spellbinders Dragon Fly Die


Partial Die-Cutting Technique TLC566

The above photo provides a close up of the dragonfly.  I hope you will try this technique if you have not tried it before.


SUPPLIES USED:

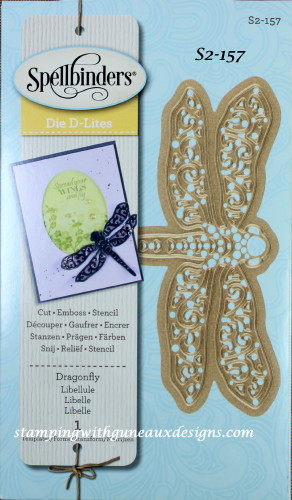
Spellbinders Dragonfly Die D-Lites (S2-157)
 Stampin’ Up! Sizzix Big Shot Die-Cutting Machine
Stampin’ Up! Whisper White Card Stock (item #100730)
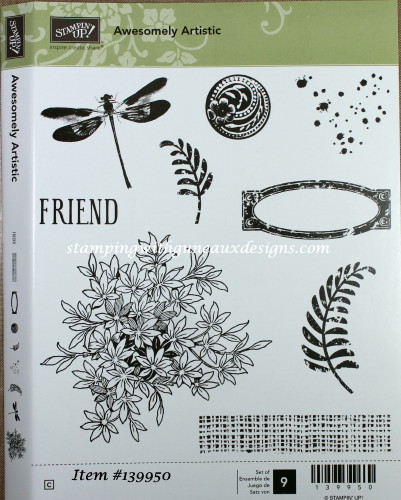
 Stampin’ Up! Awesomely Artistic Stamp Set (item #139950) (clear mount)
Stampin’ Up! Ink Pads – Mossy Meadow (item #133645), Old Olive (item #126953), and Pink Passion (retired)
Copic Markers N2 (Neutral Gray), RV55 (Hollyhock), and V17 (Amethyst)


A video tutorial from Splitcoaststampers can be found HERE.  Once you have viewed the video, you will have a better understanding of the Partial Die-Cutting Technique.  If not, please feel free to leave a comment or ask a question about the technique by clicking on the conversation bubble to the right of this post title and leave a comment or question. Or, if viewing this post on the exact post URL, the comment section will be at the bottom of the post for comments and/or questions.

Now it’s your turn to use the Partial Die-Cutting Technique.


Swallowtail Butterfly

God’s Blessings!

Stamping With Guneaux Designs by Beverly Polen

Partial Die-Cutting Technique TLC5666PARTIAL DIE-CUTTING-TECHNIQUE