
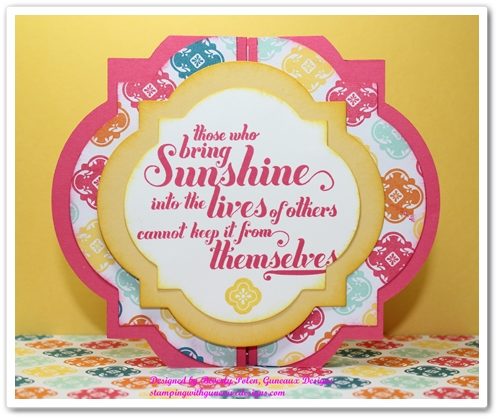
I have for you today a Gate Fold Card Tutorial that uses the Stampin’ Up! Window Frames Collection Framelits, Feel Goods Stamp Set, Mosaic Madness Stamp Set, and Quatrefancy Specialty Designer Series Paper. This is a gate fold card that I created and I have not seen this type of card before. It is a card cut and folded in the shape of a framelit or die.
GATE FOLD CARD TUTORIAL USING WINDOW FRAMES FRAMELITS:
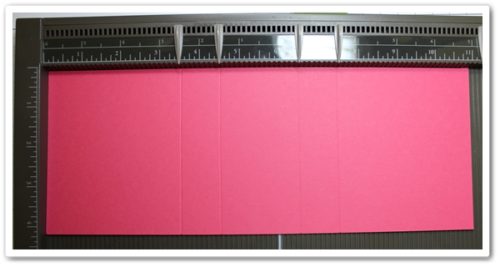
Step 1: Cut an 11″ x 4-1/4″ piece of card stock (the size of card stock can vary, depending on the framelit used). I used the new Strawberry Slush Card Stock (131295).
Step 2: Score on the 11″ side at 3 1/2″, 4 1/2″, 6 1/2″, and 7 1/2″.
Step 3: Starting from the left side, fold the score lines in this order: valley fold, mountain fold, mountain fold, and valley fold.
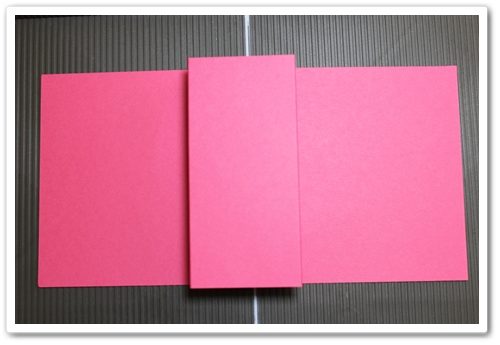
Step 4: Crease the score lines well so the card stock will lay flat for the next step.
Step 5: Lay the largest framelit from the Window Frames Collection Framelits (129021) onto the folded card, making sure to center it top to bottom and exactly around the mountain folds. Use a temporary tape to hold the die in place. Cut using Big Shot Die Cutting Machine (113439).
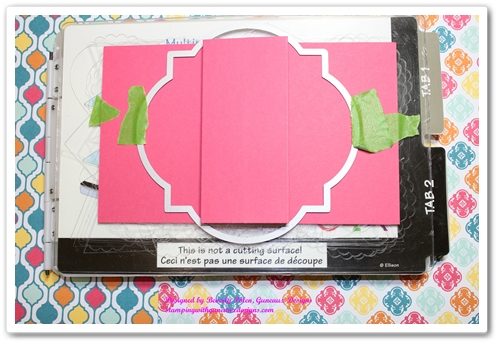
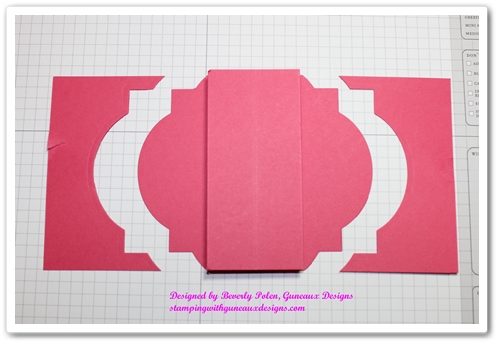
RESULTS:
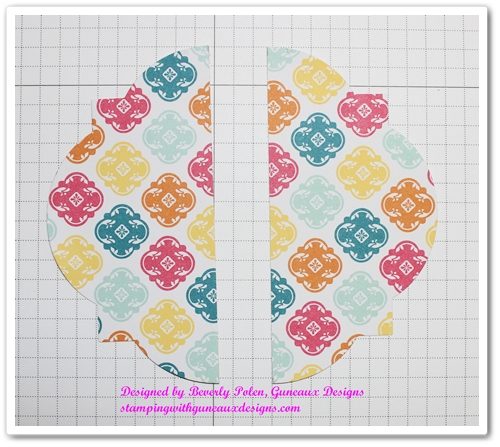
Step 6: Cut a 6″ x 5-1/4″ piece of designer series paper. I used Stampin’ Up! Quatrefancy Specialty Designer Series Paper.
Step 7: Lay the second to the largest framelit from the Window Frames Collection onto the piece of designer series paper. Cut using the Big Shot Die Cutting Machine, and then cut the piece in half.
Step 8: Adhere one piece of the designer series paper to the left side of the Gate Folded Card and the other to the right side.
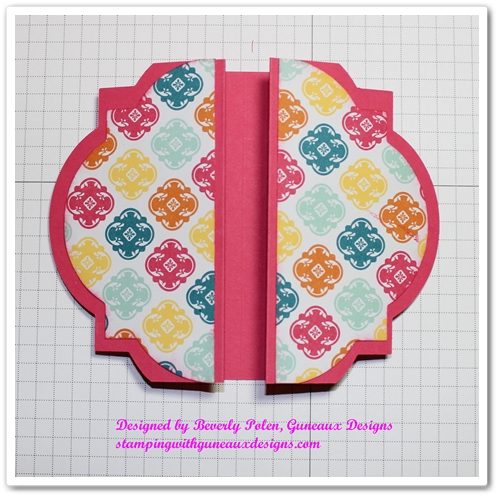
Step 9: You may need to cut off a very small portion of the top and bottom ends of the designer series paper if they overlap the card base.
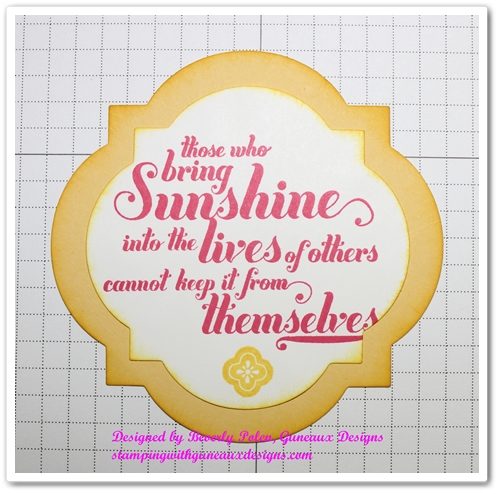
Step 10: Lay the third largest framelit onto a piece of card stock and cut using the Big Shot Die Cutting Machine. I used Stampin’ Up!’s Daffodil Delight Card Stock.
Step 11. Stamp a sentiment onto a piece of Whisper White Card Stock and cut it out using the fourth largest framelit. I used a sentiment from the Stampin’ Up! Feel Goods Stamp Set.
Step 12: Adhere the Whisper White Card Stock with the sentiment onto the piece of card stock cut out in step 10 above.
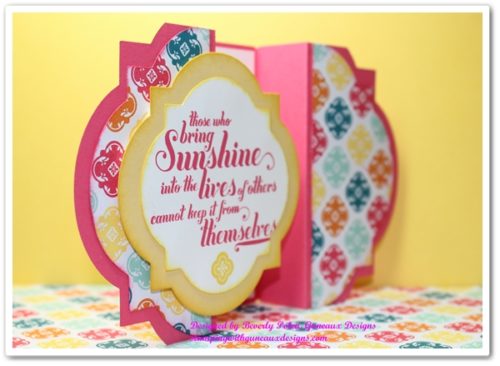
 Step 13. To achieve dimension, adhere the sentiment piece onto the left side of the card base with foam adhesive.
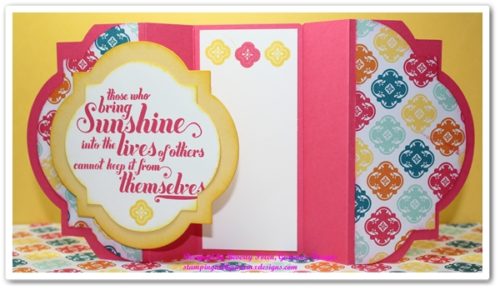
Step 14. Cut and adhere a small piece of Whisper White Card Stock into the inside of the card for your personal note. (I used a stamp image from the Mosaic Madness Stamp Set at the top of the Whisper White Card Stock.)
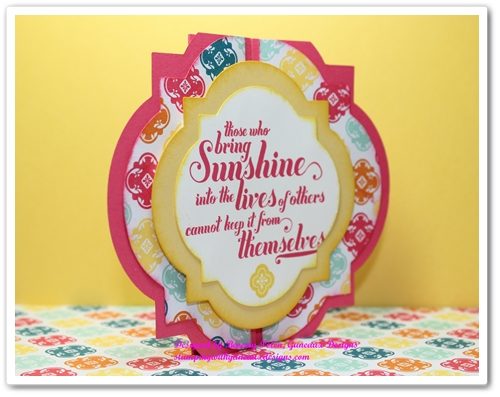
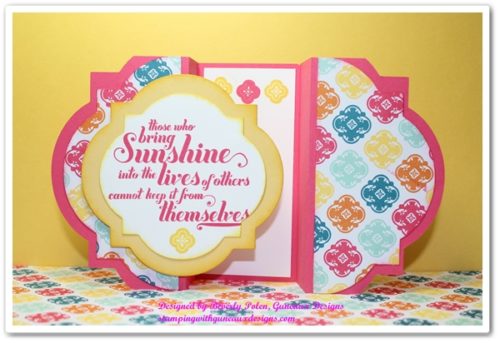
If you followed along with the Gate Fold Card Tutorial, you’ll now have a beautiful and unique card. I think you’ll love the outcome!
God’s Blessings!
Stamping With Guneaux Designs
by
Beverly Polen

Hi do you have a YouTube video doing the framelits floral card I really love it so beautiful
cool looking forward to it love this card
What a wonderful card. Love it!! Thanks for sharing.
WOW! Now, that is an awesome card!!! I would never have thought to do that!!
Very brilliant!!! Thanks for sharing, and, your tutorial was great!!!
Hi, Sherry! Thanks for your wonderful comment. I greatly appreciate your thoughts!
Bev