PI Make It Monday #333: Layering Patterns Over Images

PI Make It Monday #333:  Layering Patterns Over Images

Hello and welcome to Guneaux Designs.  Last Monday, Papertrey Ink’s challenge for “Make It Monday #333” involves the technique of layering patterns over stamped images.  This is the card I created and submitted for the challenge.


2 Corinthians 5:9 & 10

“So we make it our goal to please him, whether we are at home in the body or away from it.  For we must all appear before the judgment seat of Christ, that each one may receive what is due him for the things done while in the body, whether good or bad.”


Continue reading

Penny Black Dressed in Snow Card

PENNY BLACK DRESSED IN SNOW CARD

Hello, my friends!! I hope you are having a wonderful start of the New Year!!  Thank you for stopping by Guneaux Designs and supporting me by leaving comments.  I love reading your comments; they inspire me!

I have a card share for you that features Penny Black’s Dressed in Snow stamp.  I love her stamps of winter scenes as is this one.

Isn’t this “chilly” thank you card perfect for this time of year!


James 4:3-6 

When you ask, you do not receive, because you ask with wrong motives, that you may spend what you get on your pleasures.  You adulterous people, don’t you know that friendship with the world is hatred toward God?  Anyone who chooses to be a friend of the world becomes an enemy of God.  Or do you think Scripture says without reason that the spirit he caused to live in us envies intensely?”


Continue reading

Guneaux Designs ODBD Bird of Paradise

Welcome to Guneaux Designs, and thanks for stopping by to see my latest craft project, the Guneaux Designs ODBD Bird of Paradise (ALOHA) card.  For some time I have looked for a Bird of Paradise stamp and die set.  I was so pleased to see that Our Daily Bread Designs had issued one it its July 2017 release!  This is the card I made with the ODBD Bird of Paradise stamp and matching die.

I submitted this card for a Splitcoaststampers.com challenge.  Lisa’s (Shoe Girl) hosted the Splitcoaststampers.com Thursday “Ways to Use It” (WTUI) challenge, “Let’s Warm It Up”.  The heat that a lot of the US is experiencing was the impetus for Lisa’s WTUI challenge. Therefore, she wanted to see “hot” cards.

The beautiful Bird of Paradise flower came to mind for the challenge as it requires a good amount of sunlight (i.e., hot).  Therefore, the new ODBD Bird of Paradise stamp and matching die were used for my card.

My card has no layers; it’s simply a card base that I die cut the front at an angle with a border die to create a fancy border.  The following photos show the process of developing the card base.

  • I cut an 8-1/2″ x 5-1/2″ piece of white card stock and folded it in the center in order to determine where to place my border die.  Then I unfolded it and placed a Heartfelt Creations Delicate Border Basics Die across the front at an angle.

  • I ran the card stock and die through my die-cutting machine to cut out the border. This photo shows the result.

  • I folded the card base again after cutting the border, and this photo shows the results.

Then I began developing the card.  I first stamped and colored the Birds of Paradise on the front.  Subsequently, I masked the Birds of Paradise and sponged the front and inside of the card base with various inks to create a landscape scene.  I added the sentiment to the inside of the card and it shows as the front of the card when the card is closed.  My personal message to the recipient will be added behind the card front and to a portion of the inside.

Then I stamped, colored, and die cut two Birds of Paradise and attached them to the front with double-sided foam tape. The following photo provides a closeup of the Birds of Paradise.

The next two photos provide a better view of the card front and the shape of the border that I die cut.

May you find inspiration from my card.  Thanks in advance for leaving comments!


Click on the links in the posts to see the main products used.

  • Stamps:  ODBD Bird of Paradise, Catherine Pooler Butterfly Notes (sentiment)
  • Inks:  SU Blues and Greens, Memento Cantaloupe, Memento Tuxedo Black, and Copics
  • Paper:  Neenah Solar White Card Stock
  • Accessories:  ODBD Bird of Paradise Die, Heartfelt Creation Delicate Border Basics Die, Double-Sided Foam Tape

Butterfly_1_1

God’s Blessings!
Stamping With Guneaux Designs By Beverly Polen
Firm Reliance on Divine Providence!


Hebrews 13:6

“The Lord is my helper: I will not be afraid.  What can man do to me?”

Layered Die Cuts Technique – Guneaux Designs

Welcome to Guneaux Designs, and thanks for stopping by to see my card share today that showcases a Layered Die Cuts Technique.  This technique can be somewhat time consuming; however, it depends on the die you use.  This is my card using the Layered Die Cuts Technique.


The Layered Die Cuts Technique entails the use of the cut outs from a die.  For my card, I use a Neat & Tangled Scalloped Cover Plate Die and cut out the pieces from white card stock and multiple colors of card stock.

I laid the white die cut over a white panel and temporarily attached them together.  Then I began adhering the colored card stock cut outs in the appropriate spaces.  I glued a second layer of cut outs on each row.  Three or more layers would be best for dimension.  This would be easier to accomplish with a less-involved die.

To finish the card, I added various colors of sequins and a “grateful” sentiment that I cut from a piece of hologram paper that was adhered to a piece of foam.  The bottom three rows are covered with embossing accents.

I added the colorful panel to a turquoise card base using foam adhesive.

What are your thoughts about the card?


Butterfly_1_1

God’s Blessings!
Stamping With Guneaux Designs By Beverly Polen
Firm Reliance on Divine Providence!


Romans 1:16

” I am not ashamed of the gospel, because it is the power of God for the  salvation to everyone who believes:  first for the Jew, then for the Gentile.”

SU Polka Dots & Paisley & Paisley Prints

I enjoyed last week’s Splitcoaststampers Color Challenge so much that I made a second card using the color combination.  This card features two retired stamp sets; SU Polka Dots & Paisley & Paisley Prints.  The card can serve as a thank you or valentine card.  I added a “thanks” sentiment; however, that can be removed and a valentine sentiment added.

I used the Stamping Color Resist Technique to create the front panel on the card. Using VersaMark Ink, I stamped the paisley stamp from the SU Polka Dots & Paisley Stamp Set around the piece of Neenah Solar White card stock.  I also used VersaMark Ink to stamp a heart around the card.  The heart stamp is from Catherine Pooler’s Candy Cane Stamp Collection.

I then added SU Clear Embossing Powder onto this panel and heat set it.  Using the colors of the Color Challenge (i.e., SU Soft Sky, Wisteria Wonder, and Wild Wasabi), I sponged the ink around the white card stock panel and rubbed off the ink on the embossing. I think it is amazing how the clear embossing powder turns white!  This process is the Color Resist Technique.

I then used two paisley heart stamps from the SU Paisley Prints stamp set, inked them with Wisteria Wonder and Wild Wasabi, and stamped them onto white card stock.  I cut out the hearts using the Hero Arts Hearts Infinity Dies.  I embossed the two small hearts with Dazzling Diamonds Glitter and adhered the three hearts onto the panel with double-sided foam tape.  I used the ODBD Thanks Die to cut out my “thanks” sentiment and finished the card.

Feedback I received from Splitcoastampers members is located HERE!


      THANKS DIE


Butterfly_1_1God’s Blessings!
Stamping With Guneaux Designs By Beverly Polen
Firm Reliance on Divine Providence!


 REVELATION 22:12-13 (NIV)

The writer of Revelations, St. John The Divine, shared the Word of God through Jesus Christ:  “Behold, I am coming soon!  My reward is with me, and I will give to everyone according to what he has done.  I am the  Alpha and the Omega, the First and the Last, the Beginning and the End.” 

SU Rose Garden Thinlits Inlay Thank You Card

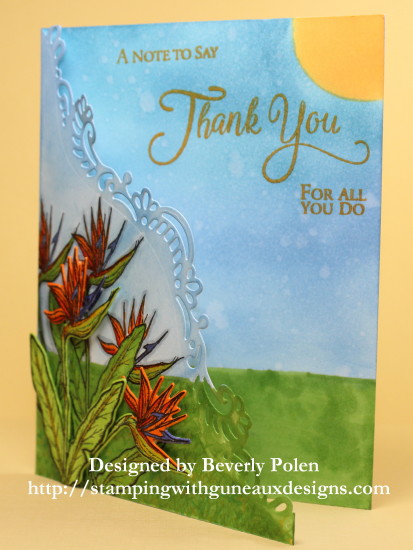
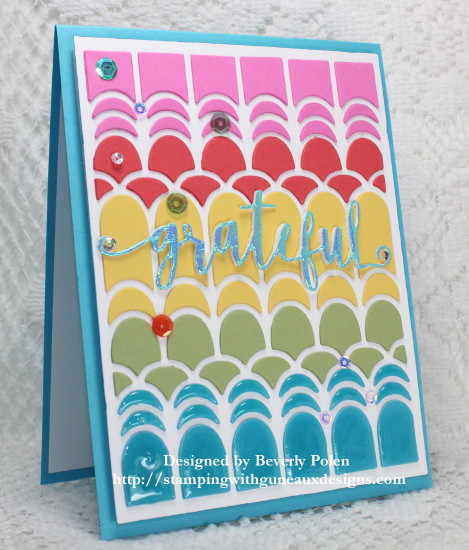
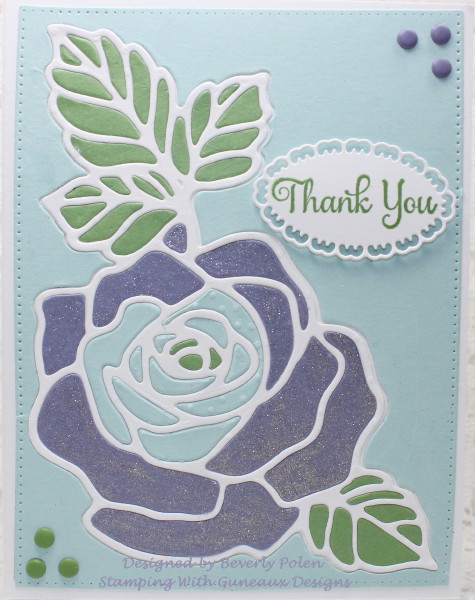
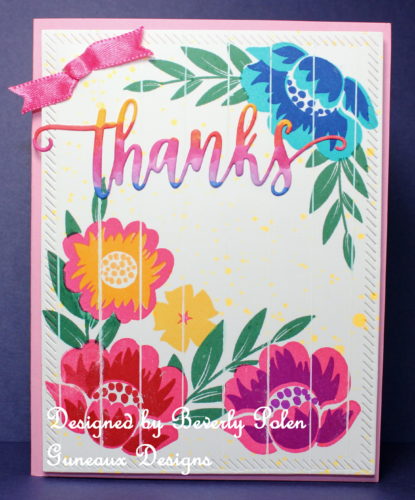
Hello, my friends!  Thanks for stopping by to view my latest project; SU Rose Garden Thinlits Inlay Thank You Card!  As the title indicates, I used the Inlay Technique to create the card.

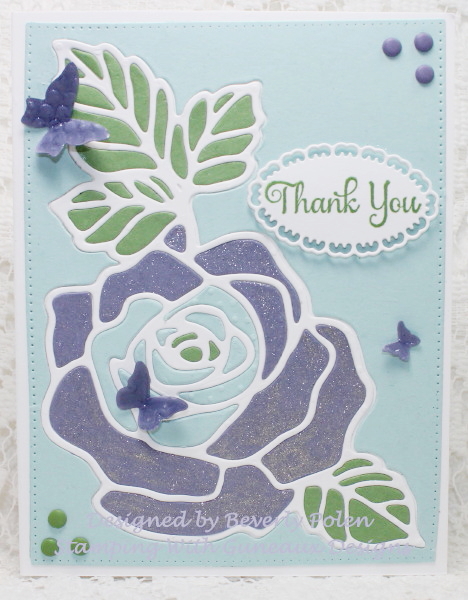
I made this card for two reasons: 1) to thank my wonderful daughter who always looks out for me, and 2) to respond to a Splitcoaststampers Color Challenge.  The colors for the challenge is SU Soft Sky, Wisteria Wonder, and Wild Wasabi.

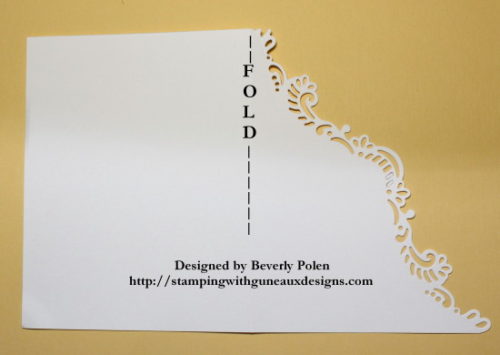
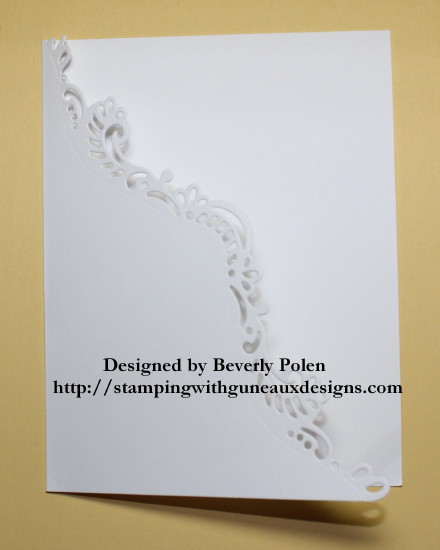
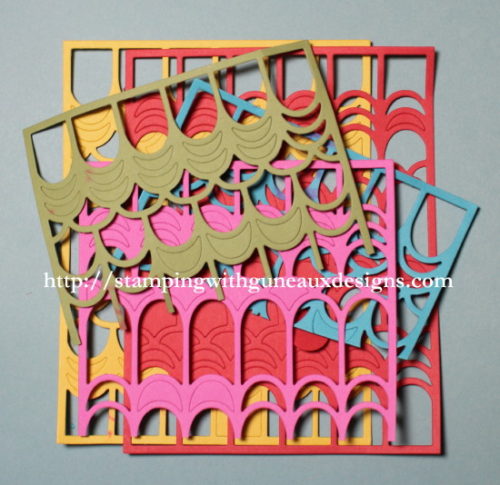
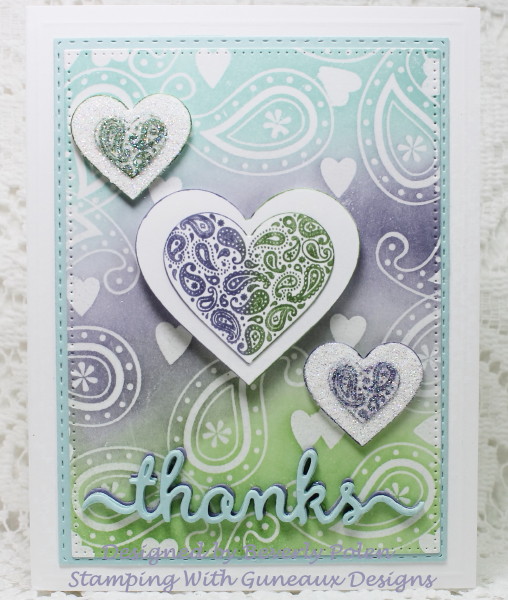
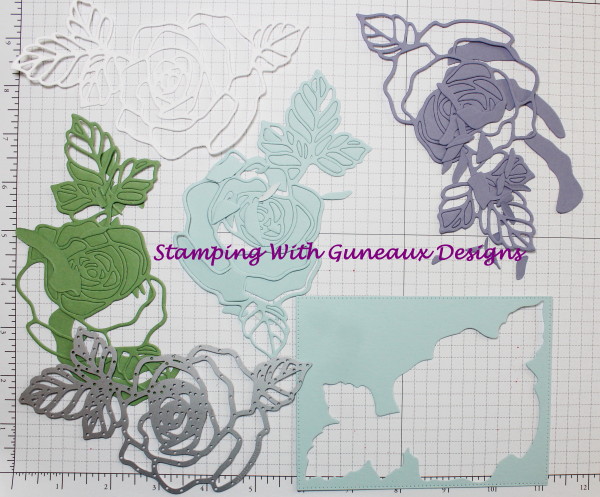
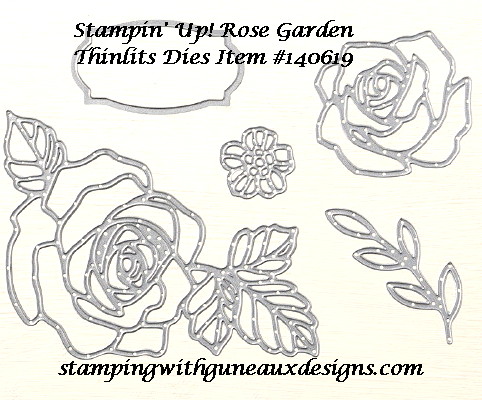
Creating the card, I first used the SU Rose Garden Thinlits Dies to cut out a White, Soft Sky, Wild Wasabi, and Wisteria Wonder Rose.

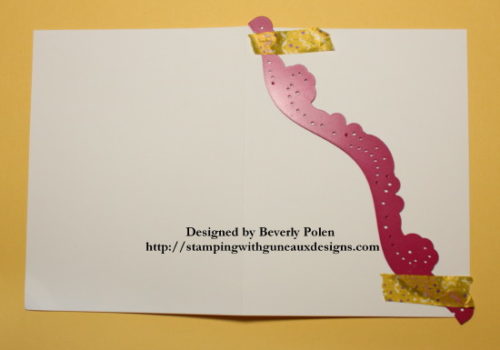
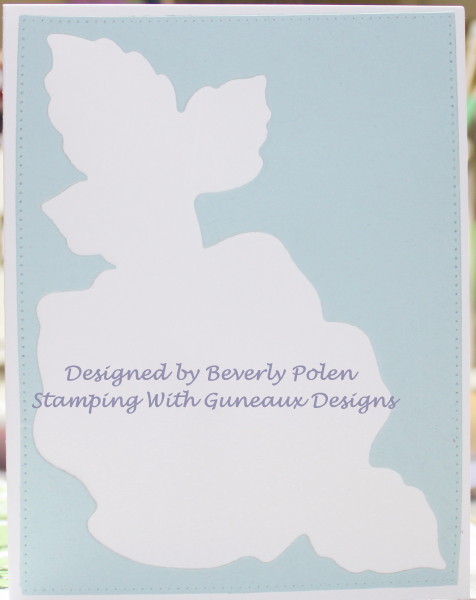
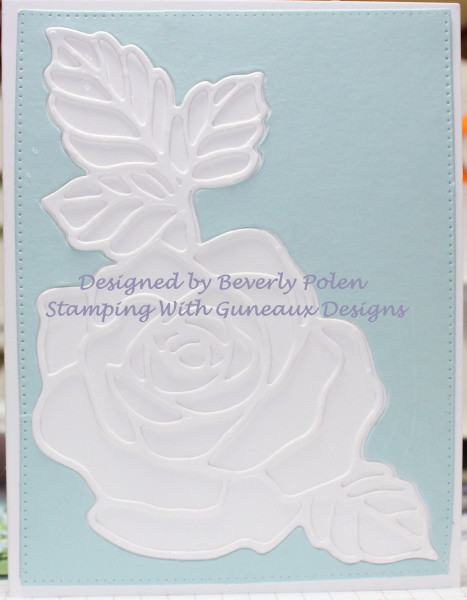
I took the negative of the Soft Sky cut out and adhere it to my card base.  Then I attached the White Rose cut out within the Soft Sky cut out.

Using the Soft Sky, Wild Wasabi, and Wisteria Wonder cut out pieces, I inlaid them into the White Rose cut out.

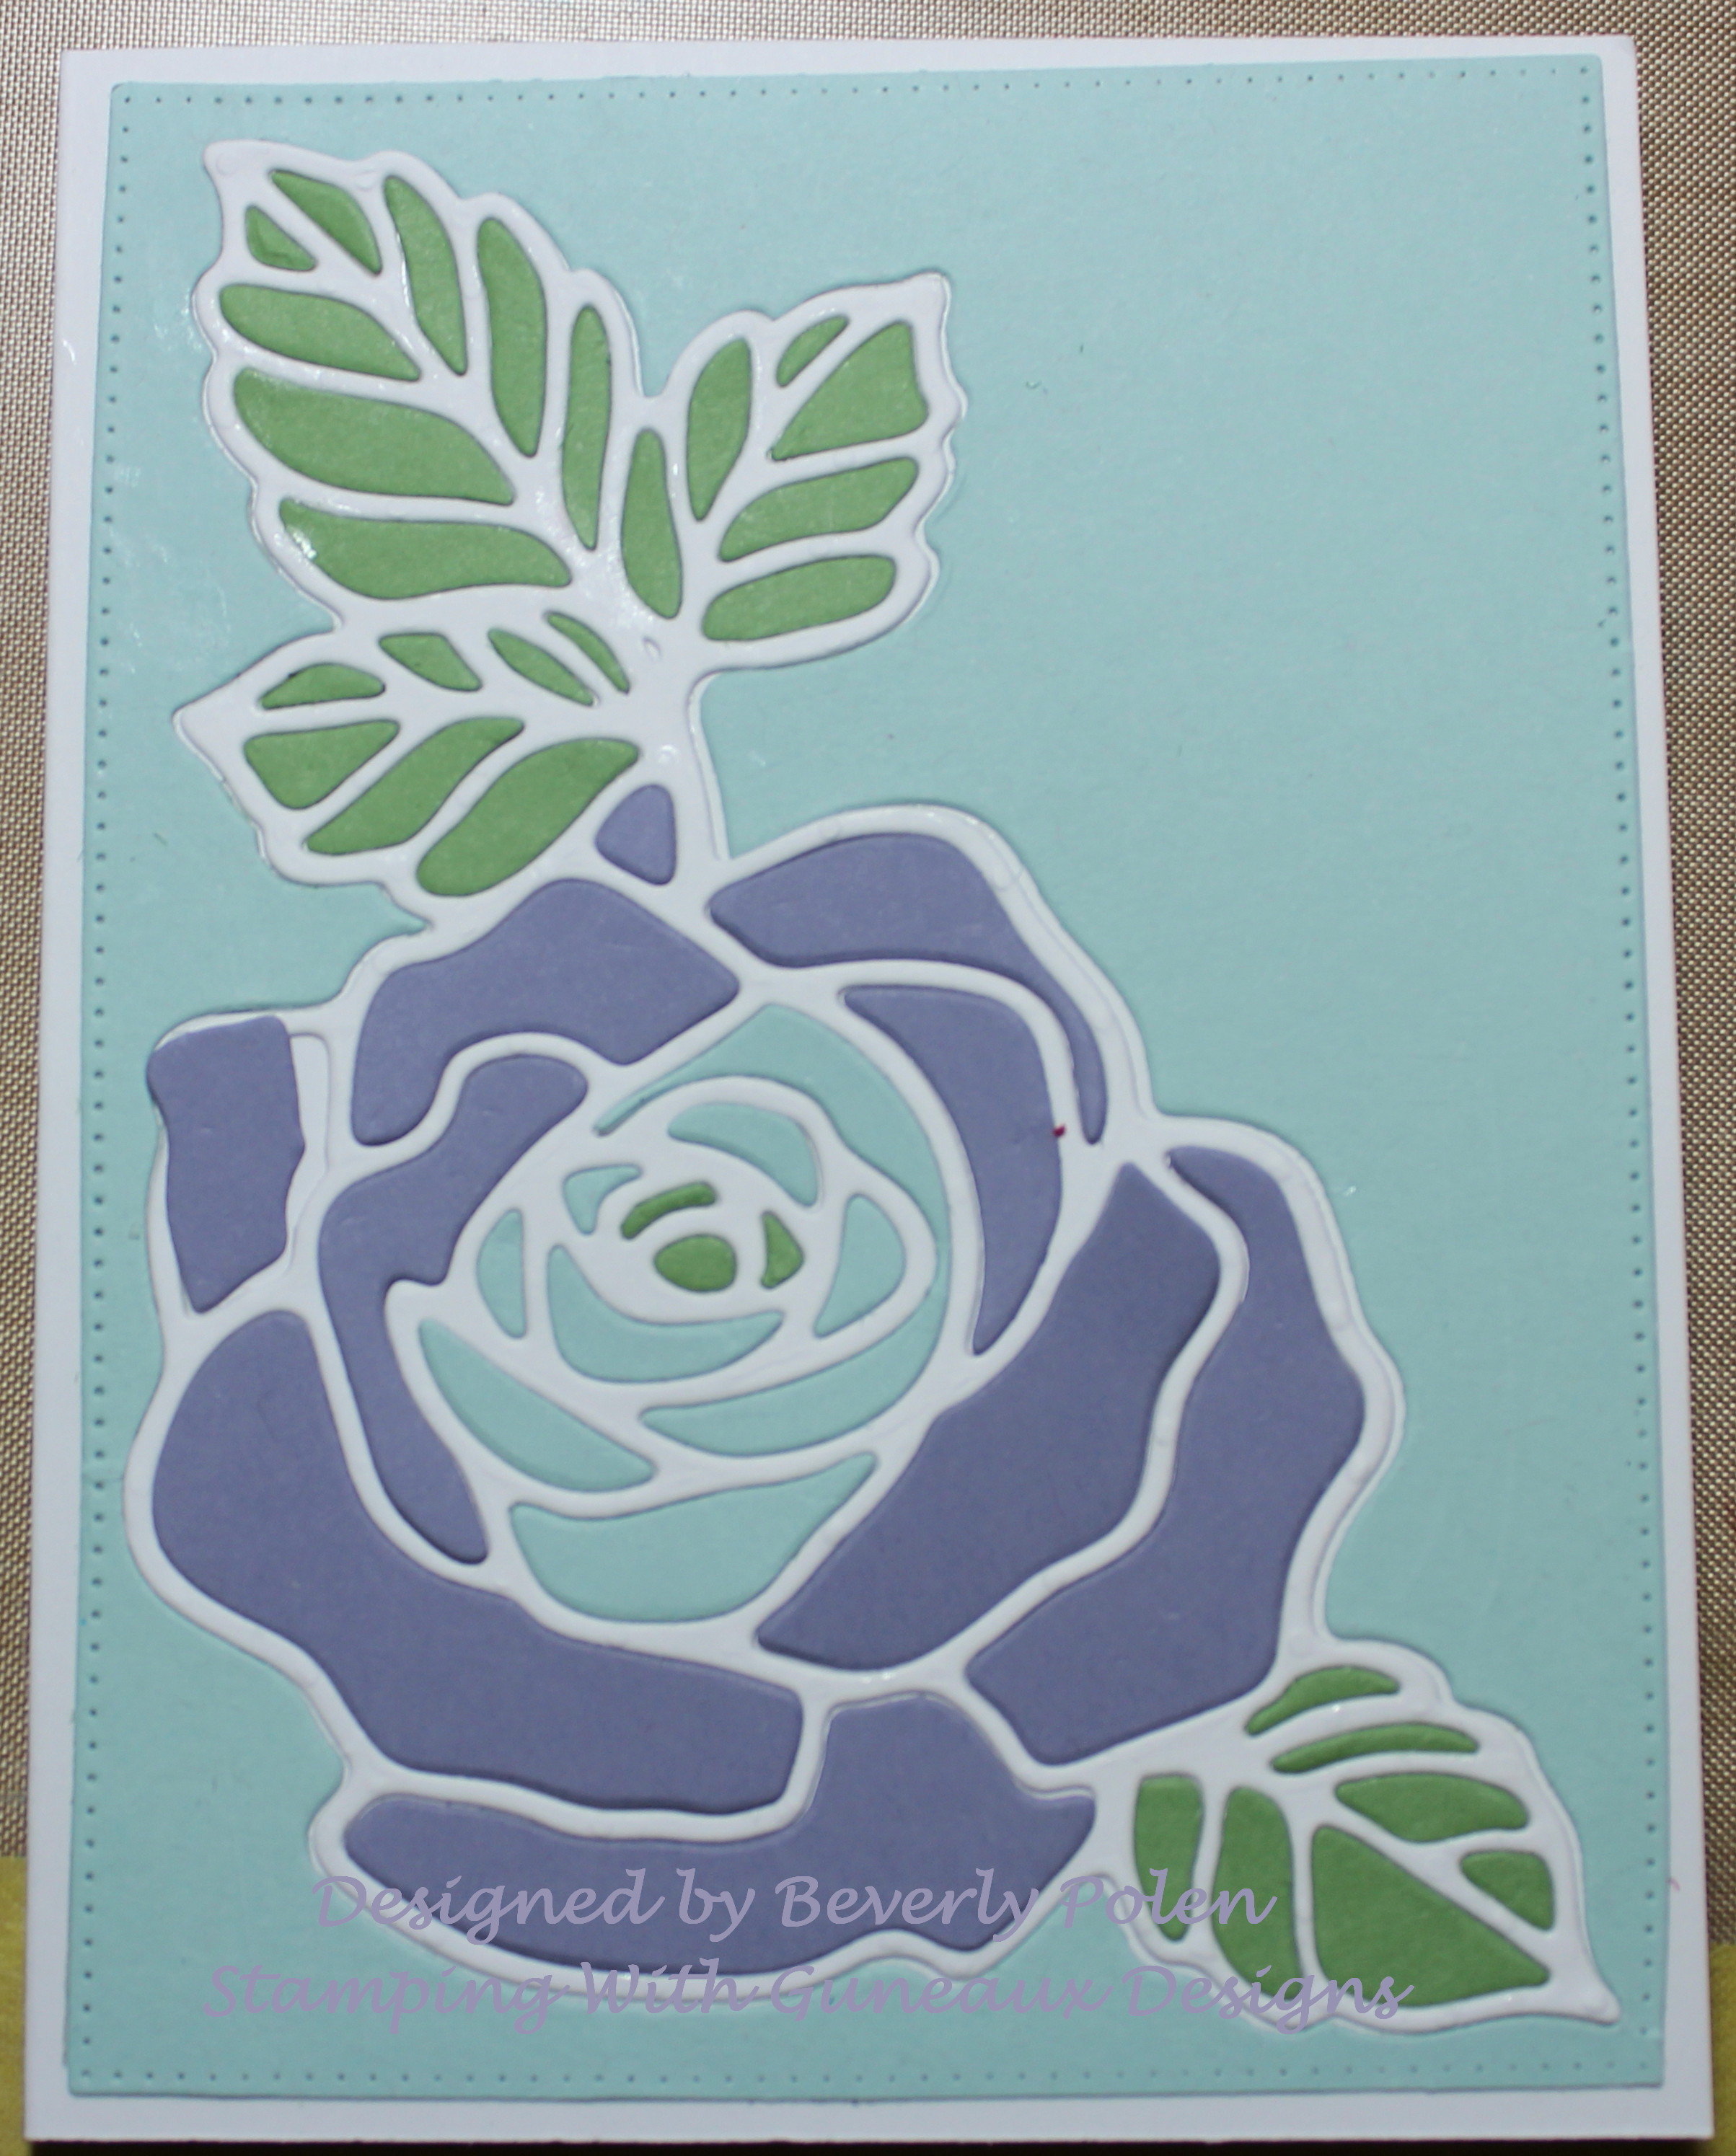
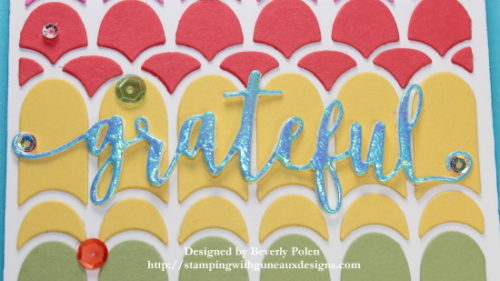
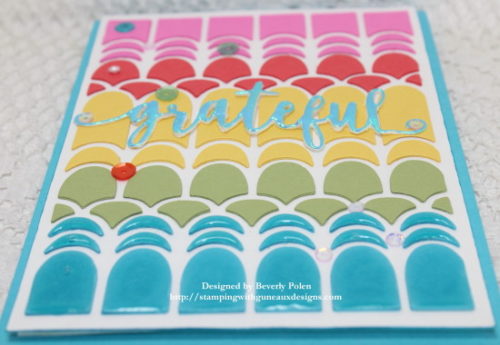
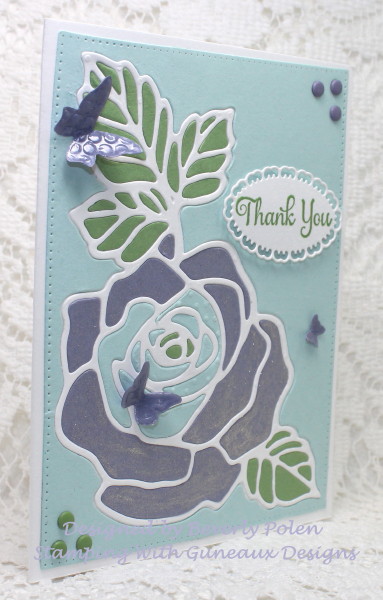
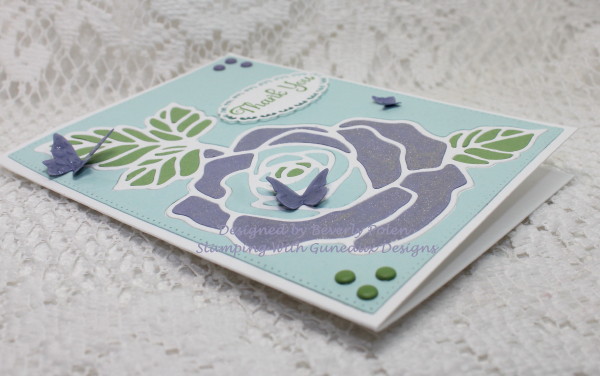
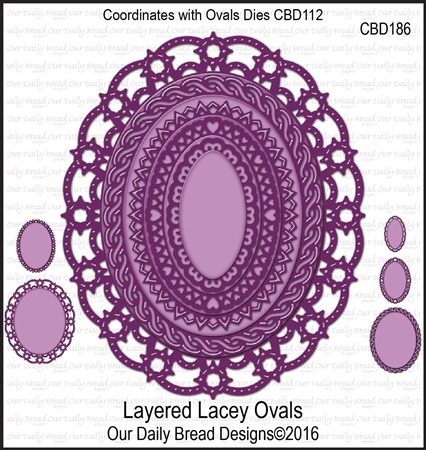
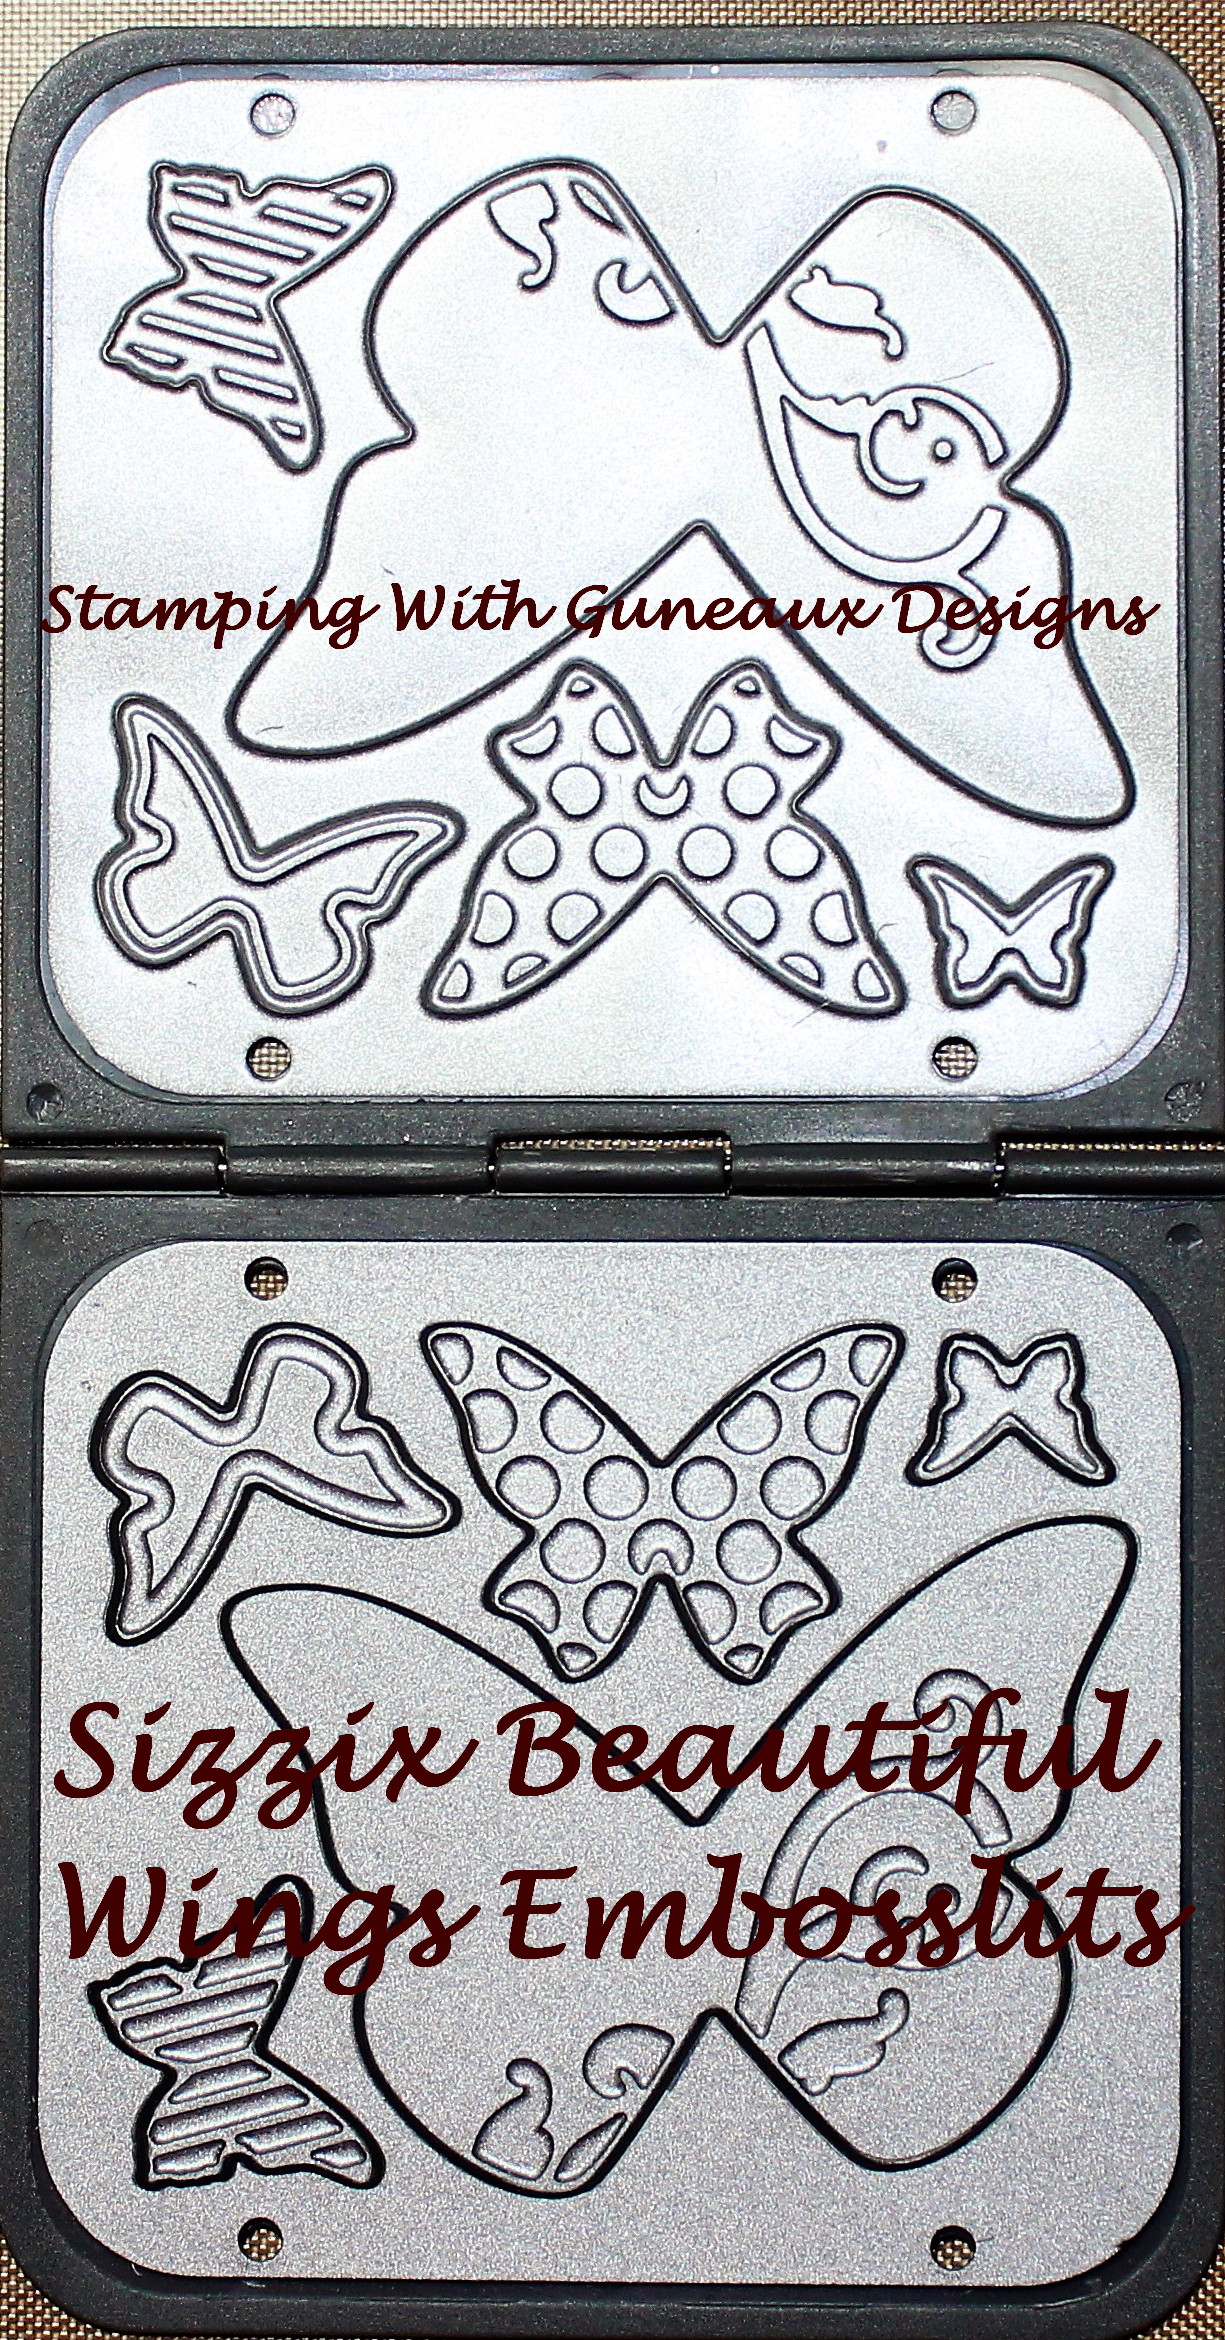
I stamped my Thank You sentiment onto a cut out using Our Daily Bread Designs (ODBD) Many Thanks Stamp Set and ODBD Layered Lacey Ovals Dies.  To embellish the card, I added Clear Wink of Stella onto the rose and attached Wild Wasabi and Wisteria Wonder enamel dots (SU retired product) on two corners.  I then added three butterflies I cut out with a retired Sizzix Butterfly Wings Embosslit.

Hopefully you are inspired by my card, and leave a comment!  


SU Rose Garden Thinlits Inlay Thank You Card    SU Rose Garden Thinlits Inlay Thank You Card  


Butterfly_1_1God’s Blessings!
Stamping With Guneaux Designs By Beverly Polen
Firm Reliance on Divine Providence!


 JAMES 1:19-21

James writes to the twelve Jewish tribes that are scattered among the nations:  “My dear brothers, take note of this:  Everyone should be quick to listen, slow to speak and slow to become angry, for man’s anger does not bring about the righteous life that God desires.  Therefore, get rid of all moral filth and the evil that is so prevalent and humbly accept the word planted in you, which can save you.”
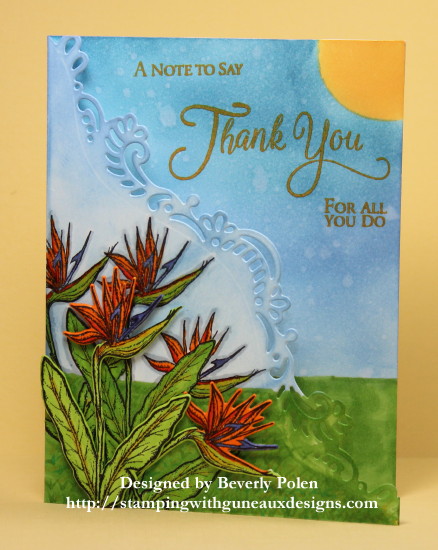
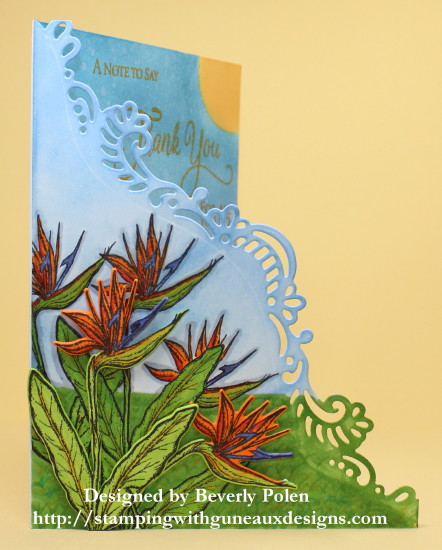
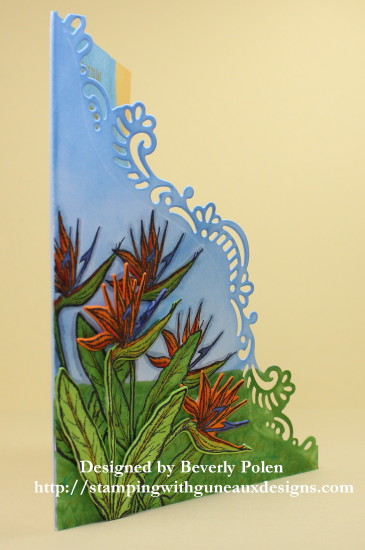
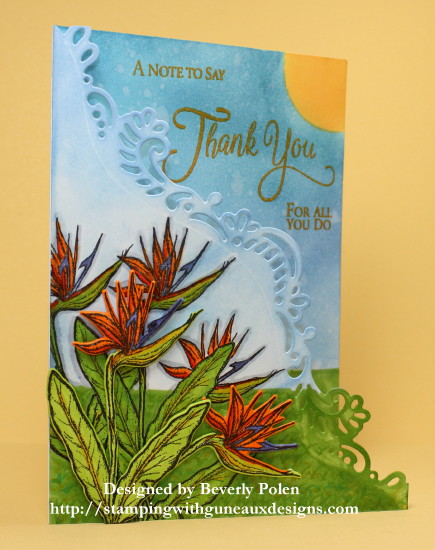