COTTAGECUTZ MERMAID (ELITES) DIE – GUNEAUX DESIGNS
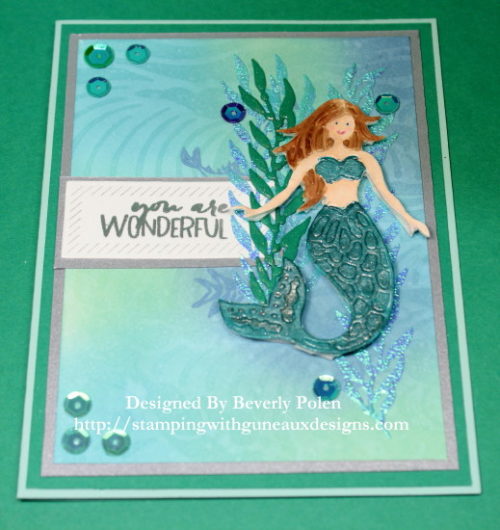
Welcome to Guneaux Designs! Today I am sharing a beautiful card I made featuring the CottageCutz Mermaid (Elites) Die. I made this card to submit to two Splitcoastampers’ challenges; one is a color challenge and the other a sketch challenge.
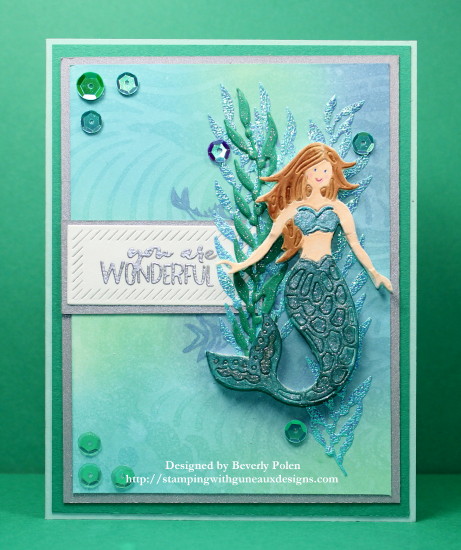
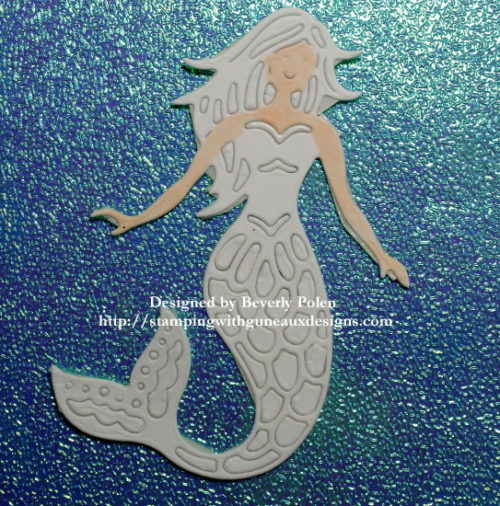
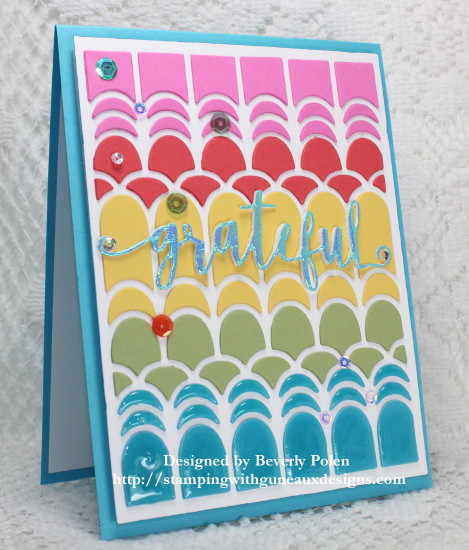
Isn’t she beautiful? I think so!! She measures 2.2″W x 3″H; a perfect size for an A2 card. I used products from the Hero Arts May 2017 Monthly Kit to create the background for the card.
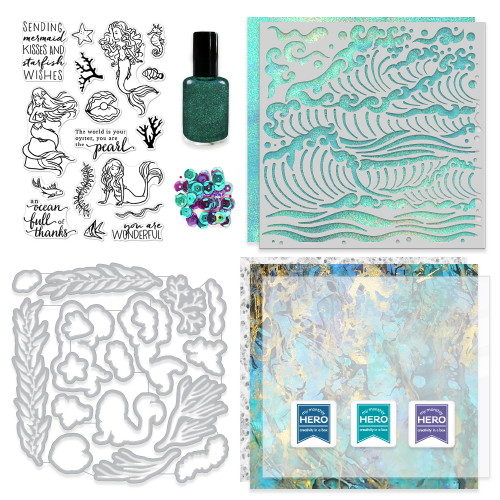
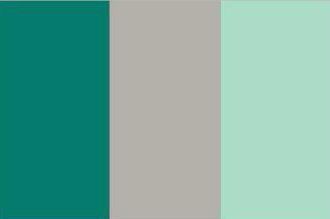
The color challenge asked for use of SU Tranquil Tide, Silver, & Pool Party, with “Christmas in July” as dessert! I passed on dessert to create an “underwater adventure” card. Plus, I do not own SU’s Tranquil Tide; therefore, I substituted Emerald Envy.
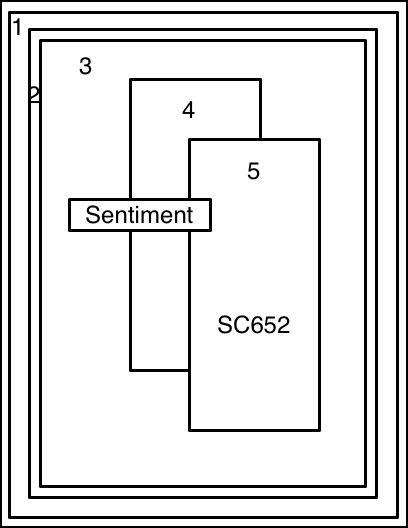
The sketch challenge includes five panels plus a sentiment. My card base is made from SU Pool Party card stock, the first panel is SU Emerald Envy, second is SU Brushed Silver, and third is a panel I created using Hero Arts supplies (from monthly kit) to develop an underwater scene. Panels four and five are the die cut seaweed and mermaid, on which I used the Inlay Technique. The seaweed was die cut from a sparkly paper included in the kit.
Here are the steps I followed to create the card:
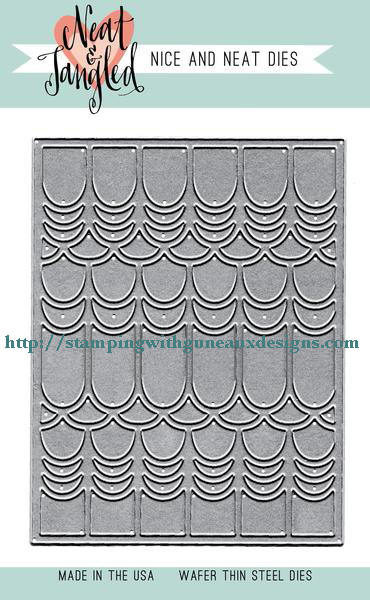
I used the CottageCutz Mermaid (Elites) Die to cut out the mermaid.
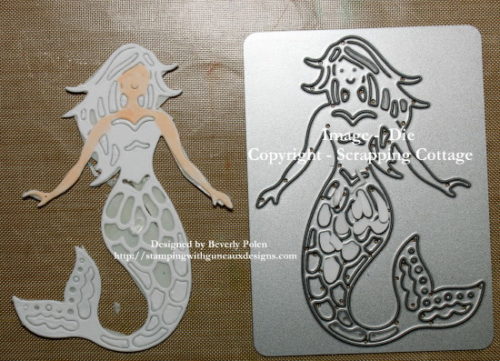
I started coloring her with copic markers when I decided I wanted to use the Inlay Technique to create her. Therefore, I attached a strong double-sided tape to the back of her and placed each of the tiny pieces from the cut out into the mermaid. This is her after I finished.
 I continued using copics to color the remaining of her body and her hair.
Notice the bottle of paint in the monthly kit in the picture above. It looks like a bottle of nail polish. I call the contents paint, but I am not sure of the composition as it is not described in the kit. I used it to cover her top and tail (see above photo). I also used Clear Wink of Stella over these sections.

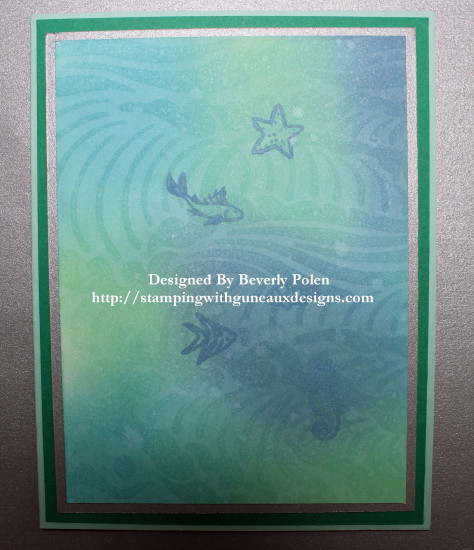
Next I created the background by sponging a piece of white card stock with Hero Arts Oxide Inks. After finishing, I spritzed water onto a stencil from the kit, laid it over the background, and covered it with a paper towel to quickly remove the excess water. This left the imprint of the stencil. I added three fish to the panel using the stamps from the kit.
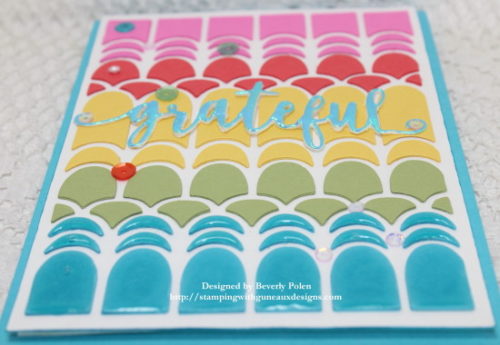
Then I started assembling the card. I attached the background piece to my card that I had added a piece each of Stampin’ Up! Emerald Envy and Brushed Silver Card Stock.
Within the Hero Arts May Monthly Kit is a gorgeous shinny piece of light weight paper. You can see it behind the mermaid in the second photo within the steps followed.
I used this paper and two dies from the kit to cut out strips of seaweed. I added the seawead to the card front and then attached the mermaid on top of them using two layers of foam tape.
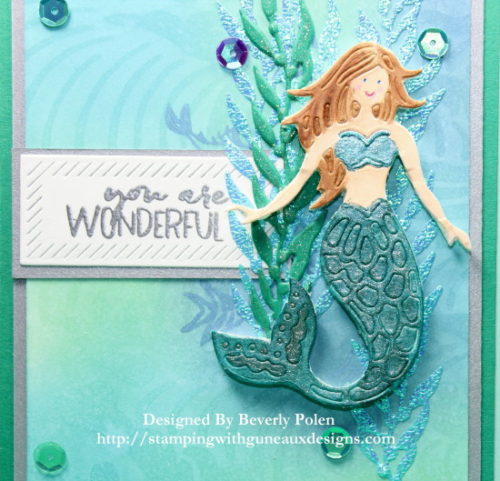
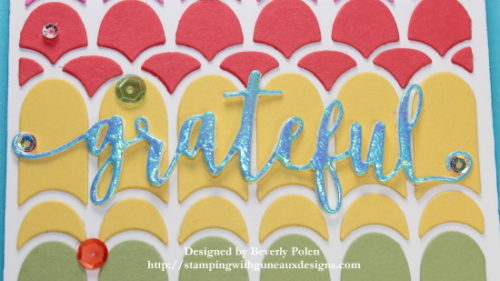
I finished the card by adding sequins from the kit and a sentiment.
Here is a tip for you regarding adding sequins to a card.
I typically use glue or glossy accents to attach sequins. Sometimes this leaves glue or glossy accents on the card around the sequins. Also, it does not take a lot of pressure to remove them. This time I added them with glue dots. They are securely attached, and removing them will be more difficult. I think this method will allow the sequins to survive the snail mail process. Try this tip and let me know what you think!
 This Kit is no longer available.
 God’s Blessings!
Stamping With Guneaux Designs By Beverly Polen
Firm Reliance on Divine Providence!
1 Timothy 5:8
“If anyone does not provide for his relatives, and especially for his immediate family, he has denied the faith and is worse than an unbeliever.”


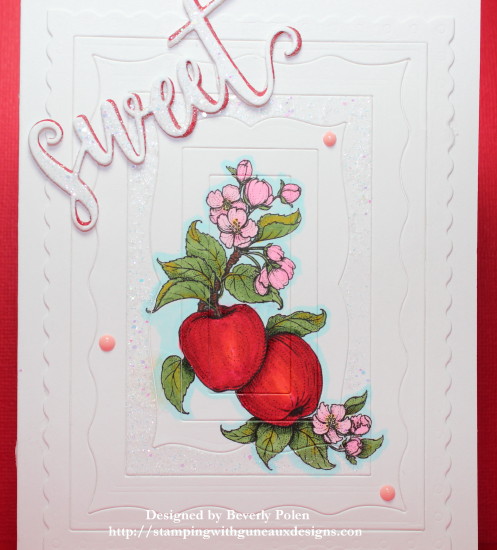
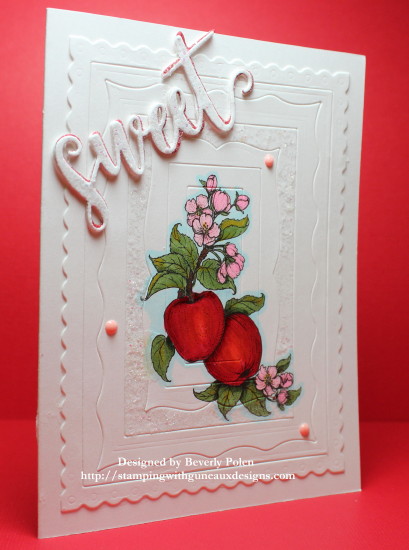
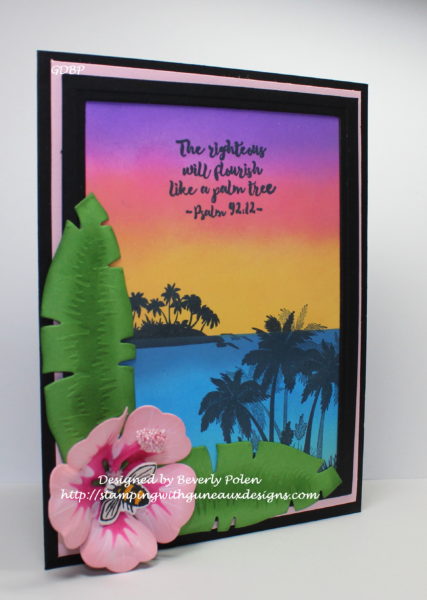 Here is a photo of my inspiration piece:
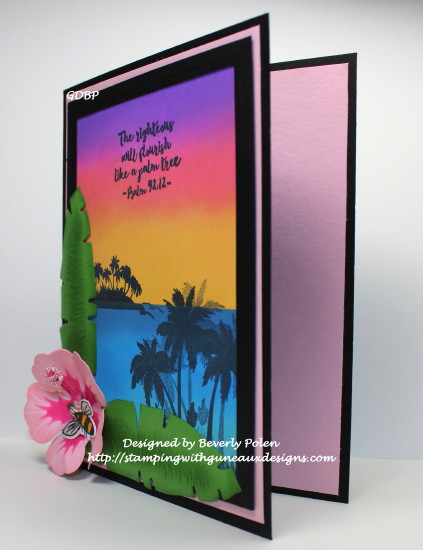 My card base is black card stock to which I added a piece of pink card stock. I attached the scene to the pink card stock and added the Hibiscus and leaves.

 I colored with