Shirt and Bow Tie Card

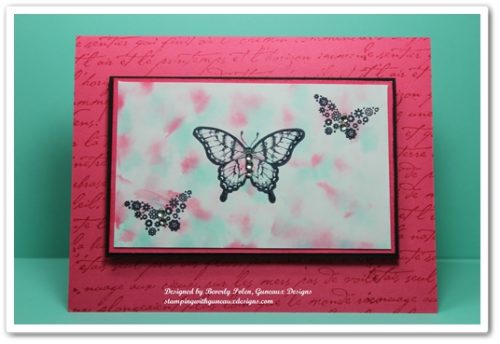
SHIRT AND BOW TIE CARD

Did you know that Monday was the National Bow Tie Day?  I did not know until it was brought to my attention by a Clean and Simple Challenge on Splitcoaststampers.com.   The hostess challenged us to create cards with bows, and it was up to us to interpret the challenge.  Well, I created this Shirt and Bow Tie Card and submitted it to the challenge.

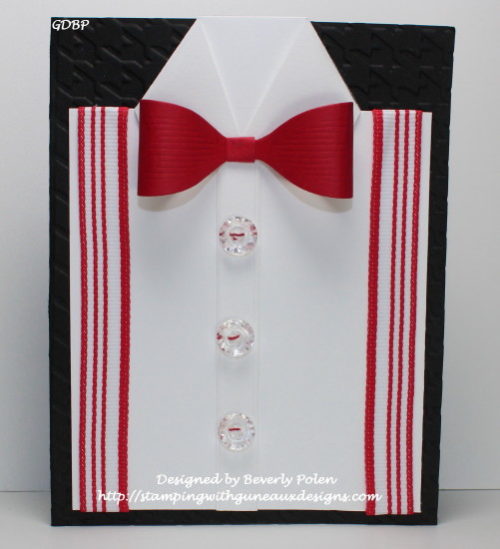
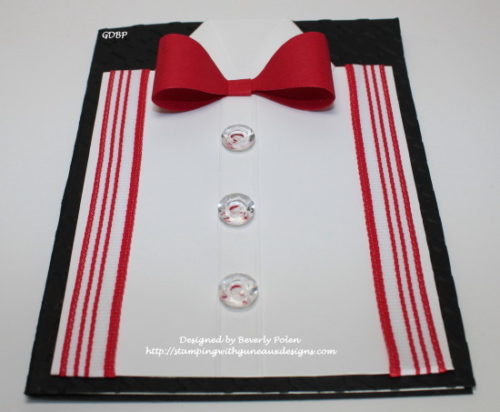
This card is a masculine card and could be given for Father’s Day, New Year’s Day, Birthdays, and many other occasions.  The card is quite simple to make. I simply used a 4″ x 5-1/4″ piece of white card stock, measured and marked at the 1″ mark down from the top of the paper, and cut toward the center on both ends, leaving about an inch uncut.


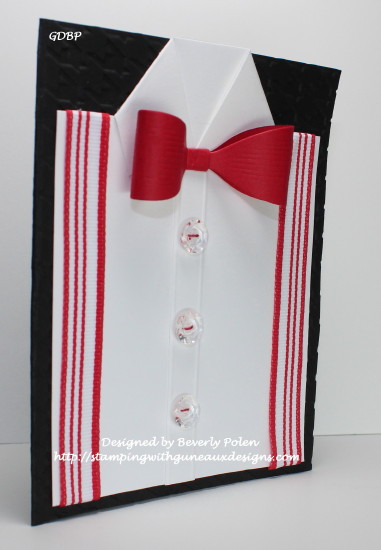
I folded the cut portions to form a collar for the shirt. I added the bow tie, buttons, and suspenders (i.e., ribbon) down both sides. I attached this to a Houndstooth embossed card base. How simple!!

Paper: Neenah Solar White, SU Basic Black, & Real Red CS
Accessories: ODBD Medium Bow Die, SU Houndstooth EF, SU Ribbon, SU Buttons, SU Red & White Twine, Adhesive

Butterfly_1_1

God’s Blessings!
Stamping With Guneaux Designs By Beverly Polen
Firm Reliance on Divine Providence!


James 5:13-16

“Is any one of you in trouble?  He should pray.  Is anyone happy?  Let him sing songs of praise.  Is any one of you sick?  He should call the elders of the church to pray over him and anoint him with oil in the name of the Lord.  And the prayer offered in faith will make the sick person well; the Lord will raise him up.  If he has sinned, he will be forgiven.”

Polished Stone Technique

I suspect most crafters have tried the Polished Stone Technique.  However, this is my first time although the technique has been around for some time.  Polished Stone is a rich background technique that looks like rich marble.  It is an excellent background for both feminine and masculine cards.

After looking closely at the above picture, can you tell that I left out one key product that most, but not all, crafters use for the Polished Stone Technique?   It is the metallic ink.  I have seen examples of this technique where the metallic ink was used and examples where it was not used.  Well, I left it out because I did not have any metallic ink.  However, I’ll provide you with the instructions that include the ink.


SUPPLIES USED FOR THE POLISHED STONE TECHNIQUE:

Paper:  Glossy White Card Stock (I used Stampin’ Up!’s), Strawberry Slush Card Stock (131295), and Basic Black Card Stock (121045)

Stamps:  Papillon Potpourri Stamp Set (123759) and Stampin’ Up!’s old French Script Background Stamp

Ink:  Coastal Cabana Classic Ink Re-Inker (131164), Strawberry Slush Classic Ink Re-Inker (131167), and Stazon Ink

Accessories:  Cotton Ball, Rubbing Alcohol, and Basic Rhinestones (119246)


INSTRUCTIONS FOR THE POLISHED STONE TECHNIQUE:

  • Add a few drops of metallic re-inker randomly onto glossy card stock.
  • Add rubbing alcohol onto a cotton ball.
  • Add two or three drops of each classic re-inker color onto the cotton ball.
  • Dab the cotton ball over the glossy card stock, continuing until you achieve the desired look.  The rubbing alcohol will cause the re-inker colors to blend together, and the metallic re-inker will sit on top of the re-inker colors to give a marble look.
  • Allow the card stock to dry, and if desired, seal it with an acrylic sealer.
  • Stamp the desired image onto the “marbled” card stock with Stazon Ink.
  • Create your card!

This card can be a Happy Birthday, Happy Anniversary, Thinking of You, Thank You, or any type of card.


 God’s Blessings!
Stamping With Guneaux Designs
by
Beverly Polen

POLISHED STONE TECHNIQUE