Altenew Peony Bouquet Birthday Card

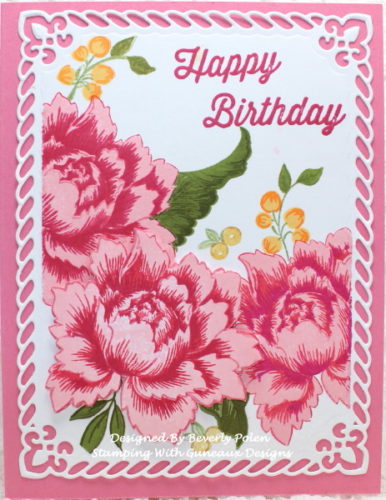
Happy Monday!  Did you have a nice weekend?  The weather was wonderful where I live in Florida!  During the weekend I made this gorgeous Altenew Peony Bouquet Birthday Card.  I love the Altenew Peony Bouquet Stamp Set!

Altenew Peony Bouquet Birthday Card

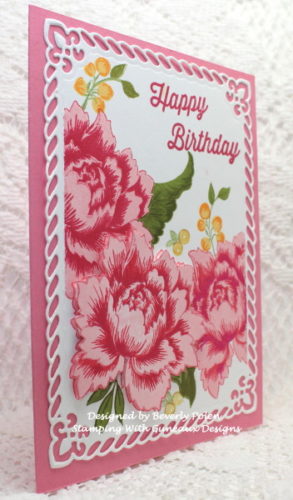
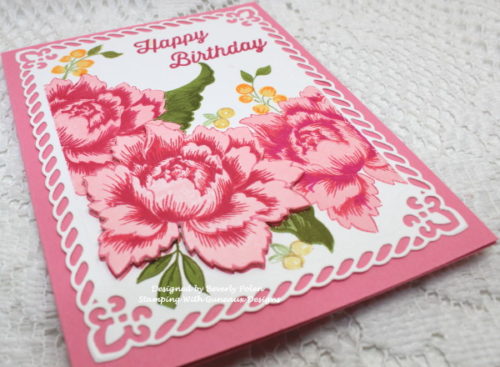
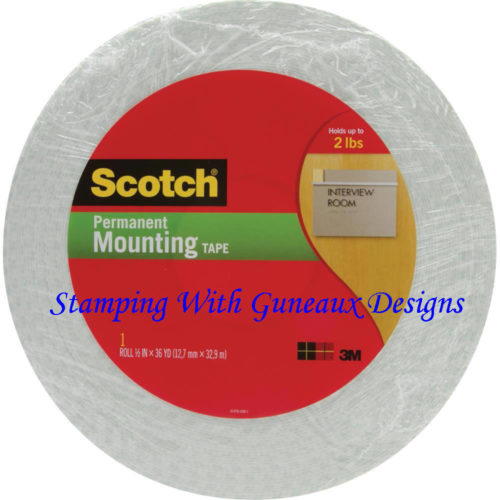
The Altenew Peony Bouquet Stamp Set is a multi-layering group of stamps.  They create a beautiful peony.  To create the three peonies on this beautiful card, I used three different pink inks for the five stamps that create a peony.  I did not like the way the ink appeared on the bottom center peony, so I stamped it again on separate card stock and fussy cut it out.  I have a matching die set for the peonies; however I did not what the white edges that a die cut typically leaves.  I used double-sided foam tape to pop up the flower.

Altenew Peony Bouquet Birthday Card

The frame that the images are on was cut out using the Spellbinders Enchanted Labels.  I think it is a beautiful frame.  I used the Hero Arts Birthday Celebration Stamp Set for the Happy Birthday sentiment.

Altenew Peony Bouquet Birthday Card

I hope I have inspired you with the beautiful card!  Have a wonderful day, and if you have feedback, I would love to hear it.  Leave a message in the comment section.


Altenew Peony Bouquet Birthday Card  Altenew Peony Bouquet Birthday Card  https://www.ellenhutson.com/a-cardstock-neenah-classic-crest-solar-white-25-pk/


MATTHEW 6:22-24

Jesus said:  “The eye is the lamp of the body.  If your eyes are good, your whole body will be full of light.  But if your eyes are bad, your whole body will be full of darkness.  If then the light within you is darkness, how great is that darkness!”

You Are Loved

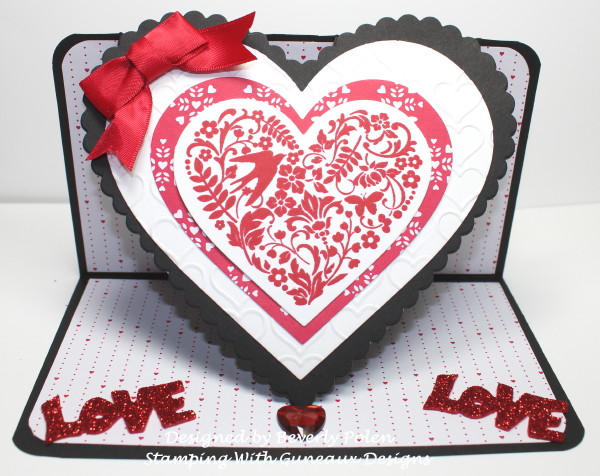
Good morning, crafters!  I have a valentine card for you today that features the retired Stampin’ Up! stamp set, You Are Loved.  The You Are Loved Stamp Set is part of “Shelli’s Signature Collection”.

I made this card for two challenges on Splitcoaststampers (SCS).  One challenge, Clean and Simple (CAS), hosted by Kia, was to look back (at least two years in the past) in our SCS galleries, pick a valentine card, and CASE it in our current card-making style.  I thought Kia’s challenge was a clever one.  I selected this CARD that is in my SCS gallery to case.  I would not consider this a CAS card; however, I do not have many valentine cards posted in my SCS gallery to case except for this and last year. I do not think that my style is any different, but I did modify the card somewhat.

The second challenge was Maura’s Color Challenge.  It was to create with black, white, and red.  Her “dessert” for the challenge was to include a heart. These colors are fantastic together, especially for a valentine card.

If you did not click on this above link, CARD that is in my SCS gallery, and are interested in how I made this card design, you may click on the link for a tutorial.  I created this card design in 2013 and had not seen the design before.  I see now that there are a lot of cards made with this, or variations of, same design on the internet.  Enjoy!


MATTHEW 6:19-21 (NIV)

Jesus said this in reference to treasures in heaven:  “Do not store up for yourselves treasures on earth, where moth and rust destroy, and where thieves break in and steal.  But store up for yourselves treasures in heaven, where moth and rust do not destroy, and where thieves do not beak in and steal.  For where your treasure is, there your heart will be also.

Card Making Tapestry Technique

Have you heard of the Card Making Tapestry Technique?  I had not until this week when I was responding to a Splitcoaststampers Technique Lovers Challenge to create a project using the Card Making Tapestry Technique.  A video tutorial for the  Card Making Tapestry Technique was provided, and its instructions were basically as follows.

  • Sponge distress inks onto a piece of white card stock, blending the colors.
  • Before the ink dries, use a white pigment ink and stamp an image(s) over the colored card stock.
  • Cover the complete card stock panel with a clear embossing powder and heat set.
  • If the ink dries too quickly, stamp a VersaMark Ink Pad over the complete piece of card stock and heat set.

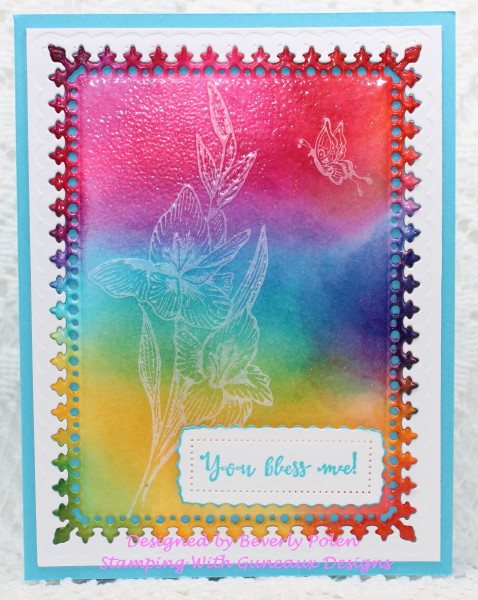
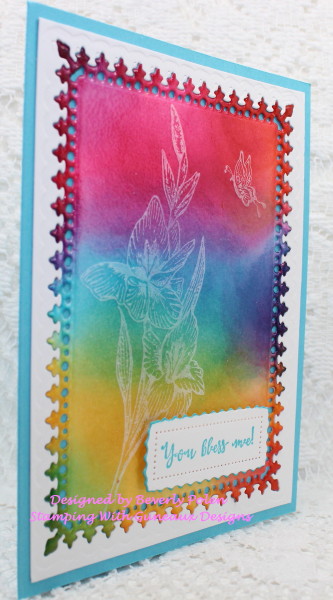
This is the card I created for the Card Making Tapestry Technique challenge.

That should be easy, right?  Now, the real story.  When I stamped my images in SU Whisper White Pigment Ink (or Craft) onto the distress inked panel, the images would not show up. I do not know why, but others had the same problem.  Thus, my first panel was introduced to my trash.

Therefore, I started over.  I cut a white card stock frame using the ODBD Lavish Layers Die.  I decided to try Catherine Pooler’s new inks to cover the frame.  They are great, luscious inks and it took very little to sponge the colors onto the frame.  Using the Whisper White ink, I stamped my images onto the colored frame.  The pigment ink showed and I covered the images with clear embossing powder and heat set it.  However, the inks dried too quickly for the rest of the frame and the embossing powder did not stick.

No big deal, right?  I covered the complete panel with VersaMark Ink, added clear embossing powder, and heat set it.  I finished the card by laying the colored frame into the negative of the frame and adhered this to a SU tempting turquoise card base.  I want to try this technique again with different colors.  Why don’t you try it!  Enjoy!


Stamps: ODBD You Bless Me

Paper: Neenah White Card Stock and SU Tempting Turquoise

Ink: SU Whisper White, Catherine Pooler Party Dress, Fiesta Blue, and Tiara

Accessories: ODBD Lavish Layers Dies, VersaMark Ink, Clear Embossing Powder


MATTHEW 6:25-27

Jesus said:  “Therefore I tell you, do not worry about your life, what you will eat or drink; or about your body what you will wear.  Is not life more important than food, and the body more important than clothes?  Look at the birds of the air; they do not sow or reap or store away in barns, and yet your heavenly Father feeds them.  Are you not much more valuable than they?  Who of you by worrying can add a single hour to his life?”

Taylored Expressions Floating Heart

Do you have a valentine die that you love?  I do!  It’s the Taylored Expressions Floating Heart Cutting Plate.  I am curious about the product being called a “plate” as it cuts out hearts from a piece of card stock and is used just like other dies.  For it to be a plate, I would think that it would be a thin, solid “plate”.  Regardless, the plate cuts card stock pieces that can be used four or more ways:

  • a frame that is the negative of hearts that can also be used as a stencil,
  • a frame with the hearts remaining within the frame,
  • hearts without the frame that can be used in various ways, and
  • an embossed heart frame.

I am sure that other crafters will come up with many ways to use it; however, for my card share today, I used the Taylored Expressions Floating Cutting Plate to cut a frame with negative hearts.
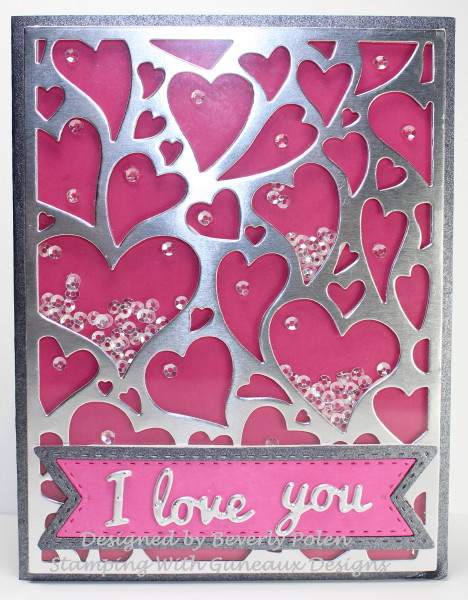
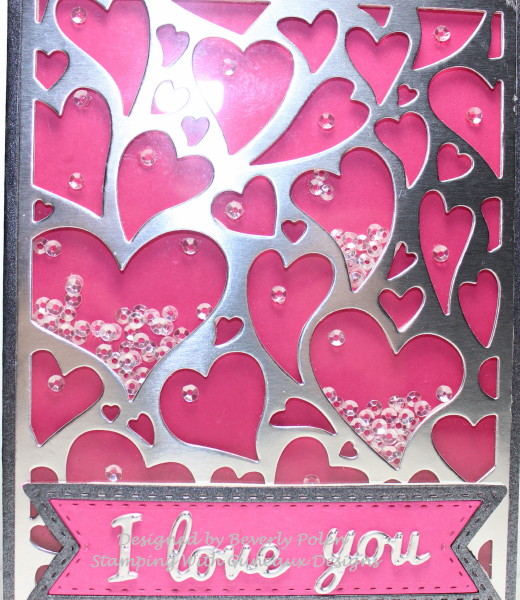
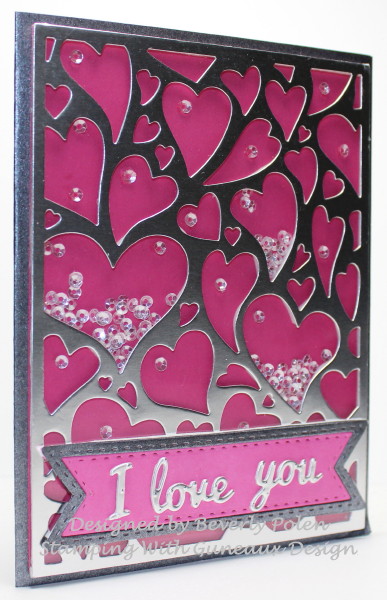
I created a shaker card with the floating hearts frame that I cut out using Silver Foil.  I had a piece of inspiration that influenced me in making this card.  This is my inspiration piece. It is a Pandora Charm and I love it.

I love the raspberry color of the charm; therefore, I wanted a raspberry color for my first panel (i.e., background) on the card.  I used SU Rose Red and Pixie Pink inks and sponged them on a piece of Solar White card stock.  I sponged and sponged the inks on the panel and still didn’t get the deep raspberry I wanted.  I guess I used the wrong colors.  Regardless, I’m happy with it.

I wanted three of the hearts to form the “shaker” portion of the card.  But I also wanted sequins for most of the hearts.  Therefore, I laid the foil panel over the raspberry panel and carefully adhered sequins to heart areas. Then I laid several sequins in the areas of the three hearts I chose for the “shaker” portion.

I cut a piece of a window sheet to the size of the silver hearts frame, and adhered it to the frame.

Now the fun part!  It was time to add the silver foil panel onto the raspberry panel. How exciting that was trying to get slivers of foam tape around the hearts!  But I managed.  I added “I love you” as the sentiment that is attached to a flag that was added at the bottom.

How did I do in representing the charm through a card?  Feedback is always welcomed!


Paper: Solar White Card Stock, Silver Foil, and Black Glitter Card Stock

Ink: SU Rose Red and Pixie Pink

Accessories: Taylored Expressions Floating Hearts Cutting Plate, CottageCutz I Love You Die, ODBD Double-Stitched Pennant Flags Dies, Sequins, Double-Sided Foam Tape, Double-Sided Adhesive, Window Sheet


2 CORINTHIANS 12:7-9

Apostle Paul’s Thorn In His Flesh:  “To keep me from becoming conceited because of these surpassingly great revelations, there was given me a thorn in my flesh, a messenger of Satan, to torment me.  Three times I pleaded with the Lord to take it away from me.  But he said to me, “My grace is sufficient for you, for my power is made perfect in weakness.”

Glue Stick Resist Technique

GLUE STICK RESIST TECHNIQUE

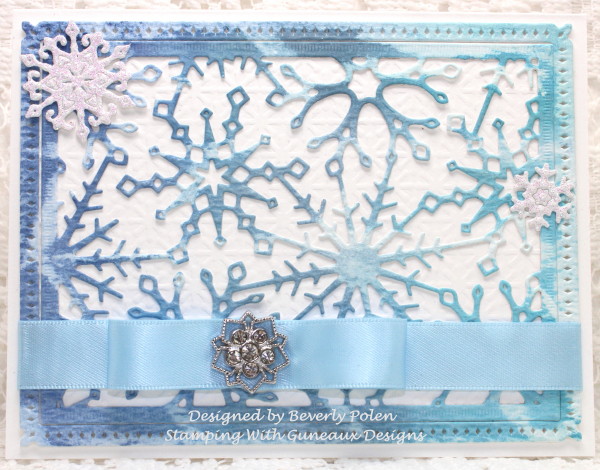
Another day and another card share!!  Hello, my friends.  Today’s card share features two items: the Glue Stick Resist Technique, and the ODBD Snowflake Sky Die.

I had never heard of or try the Glue Stick Resist Technique until a challenge on Splitcoaststampers involved using it.  It actually is a fun technique.  It is quite similar to the Color Resist Technique, but using a glue stick instead of VersaMark stamped images covered with clear embossing powder.

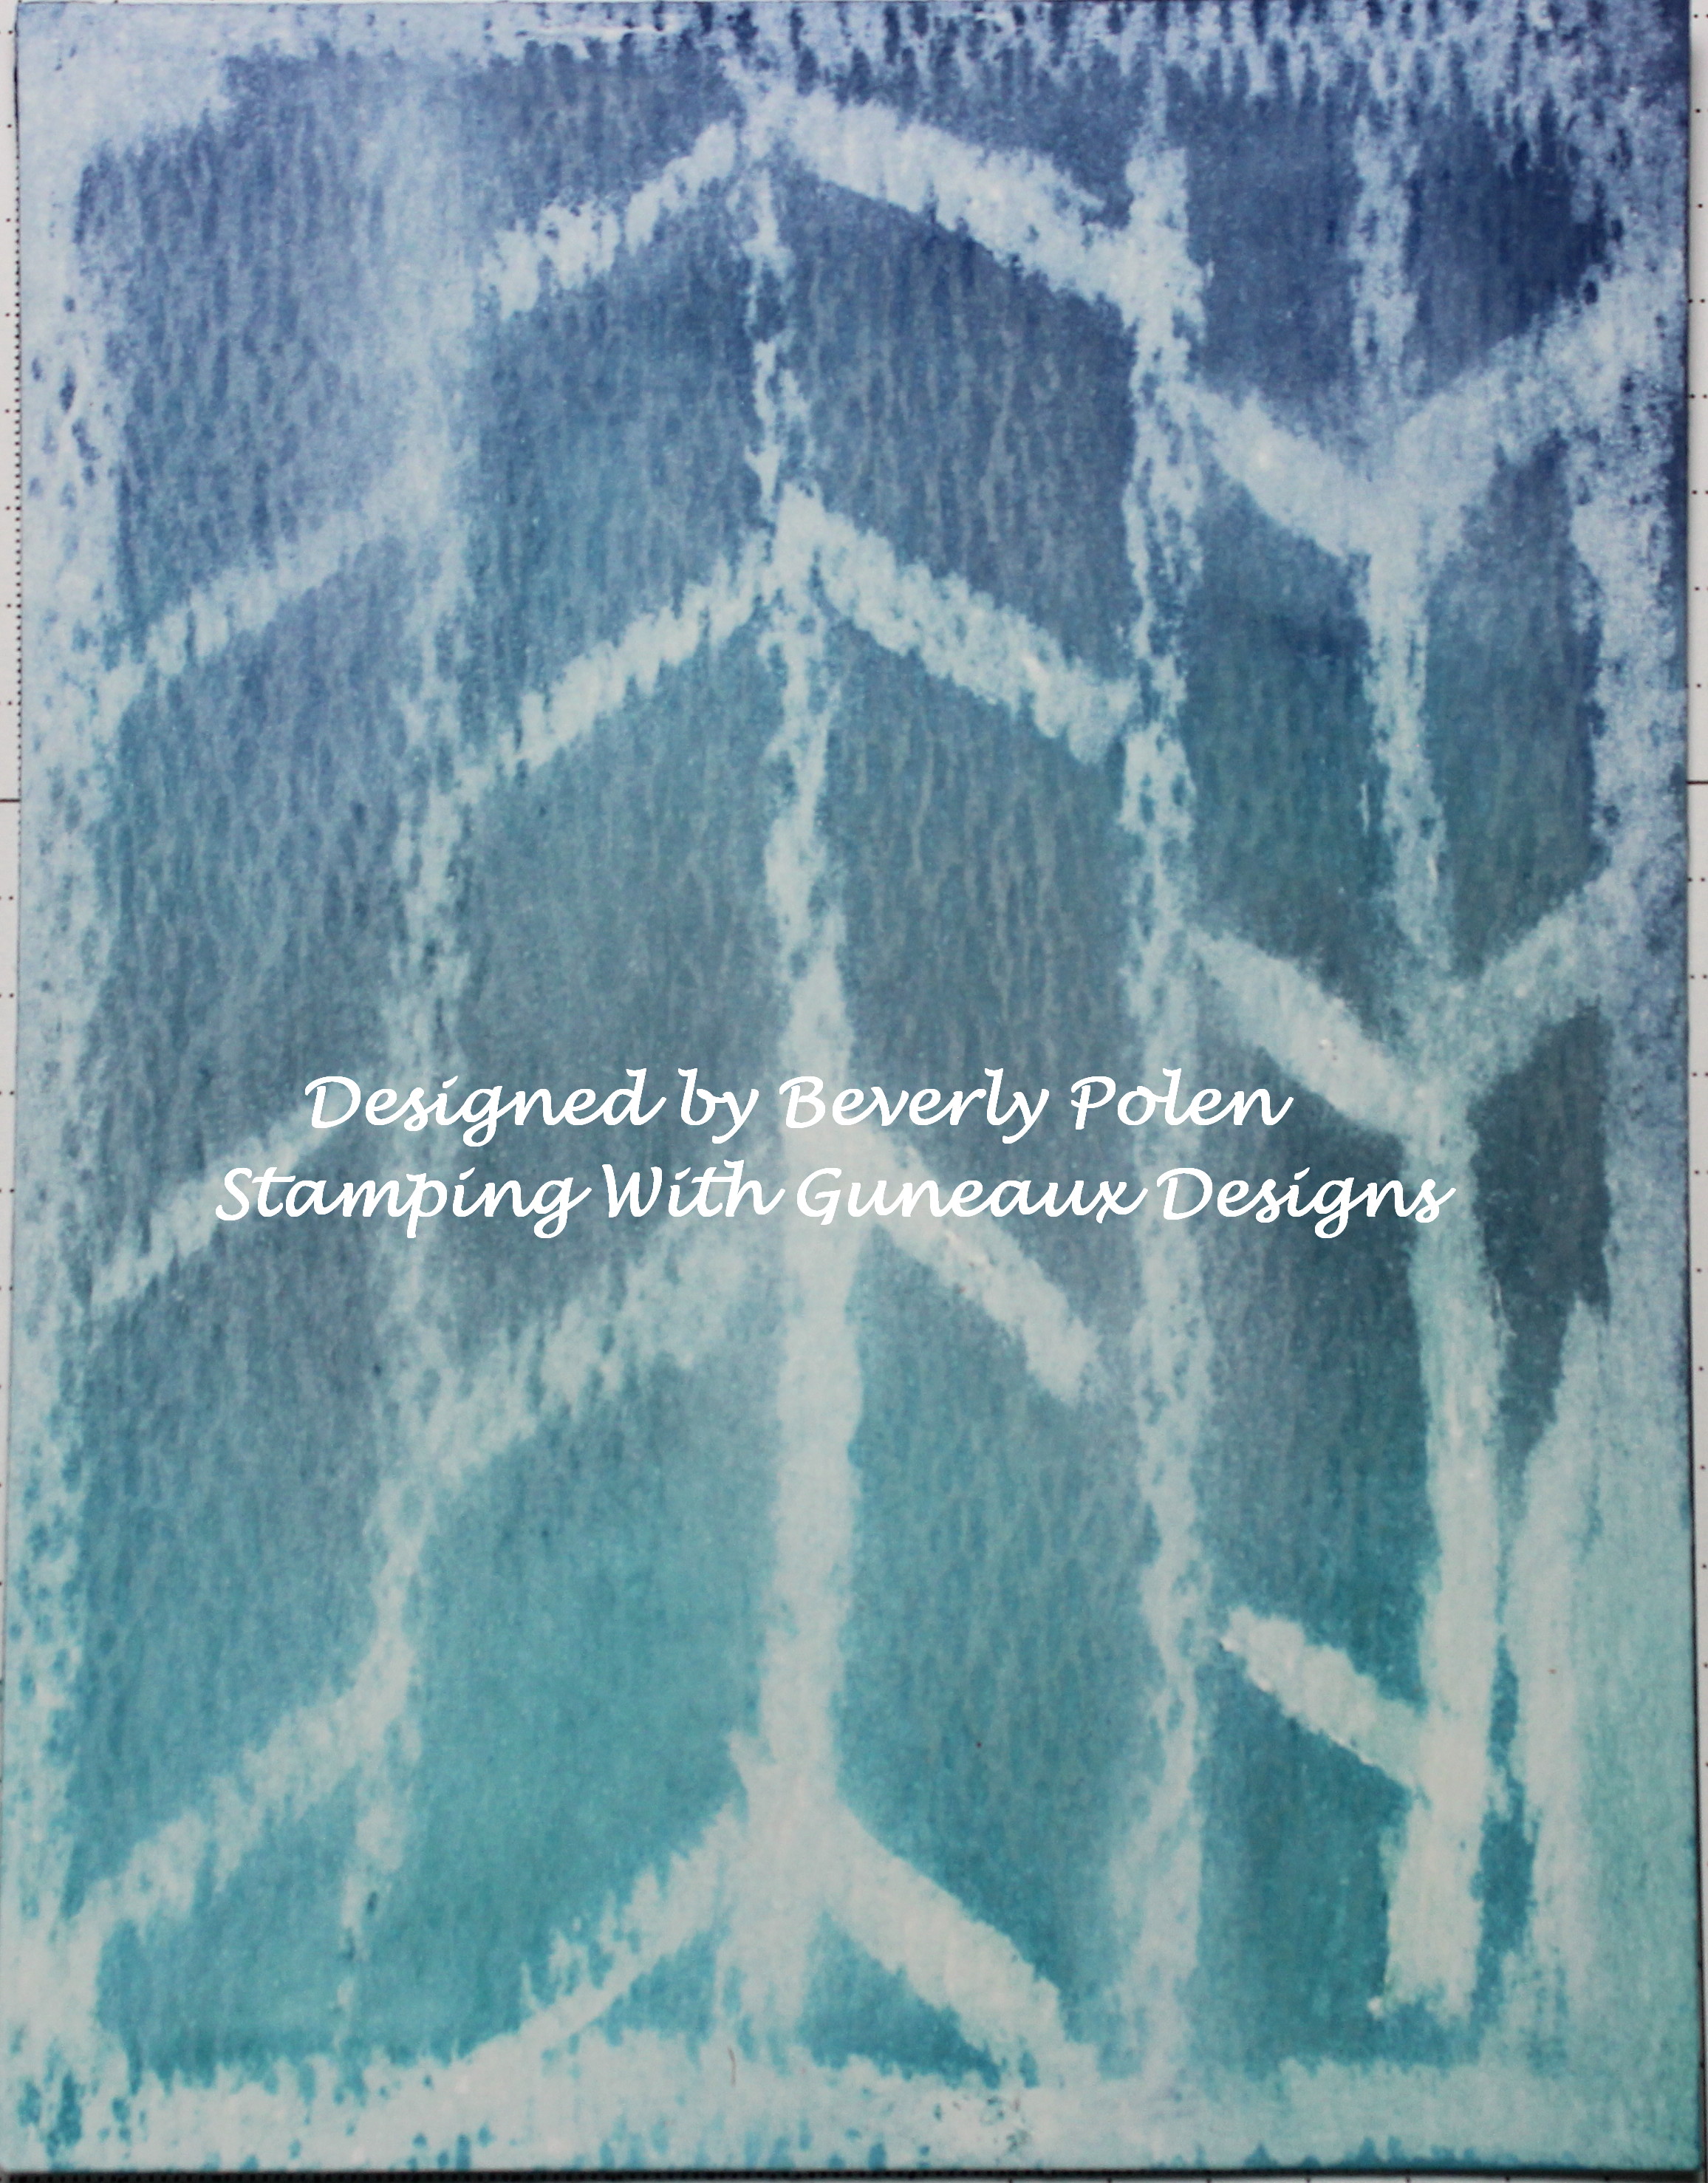
To create the card, I applied a SU Glue Stick in a chevron pattern over a piece of water color paper. After the glue dried, I sponged three different colors of blue distress ink onto the panel. Then I removed the glue from the panel with a baby wipe.  If you do not have a baby wipe, a wet paper towel will work.  This photo shows the results, and it is just that simple.

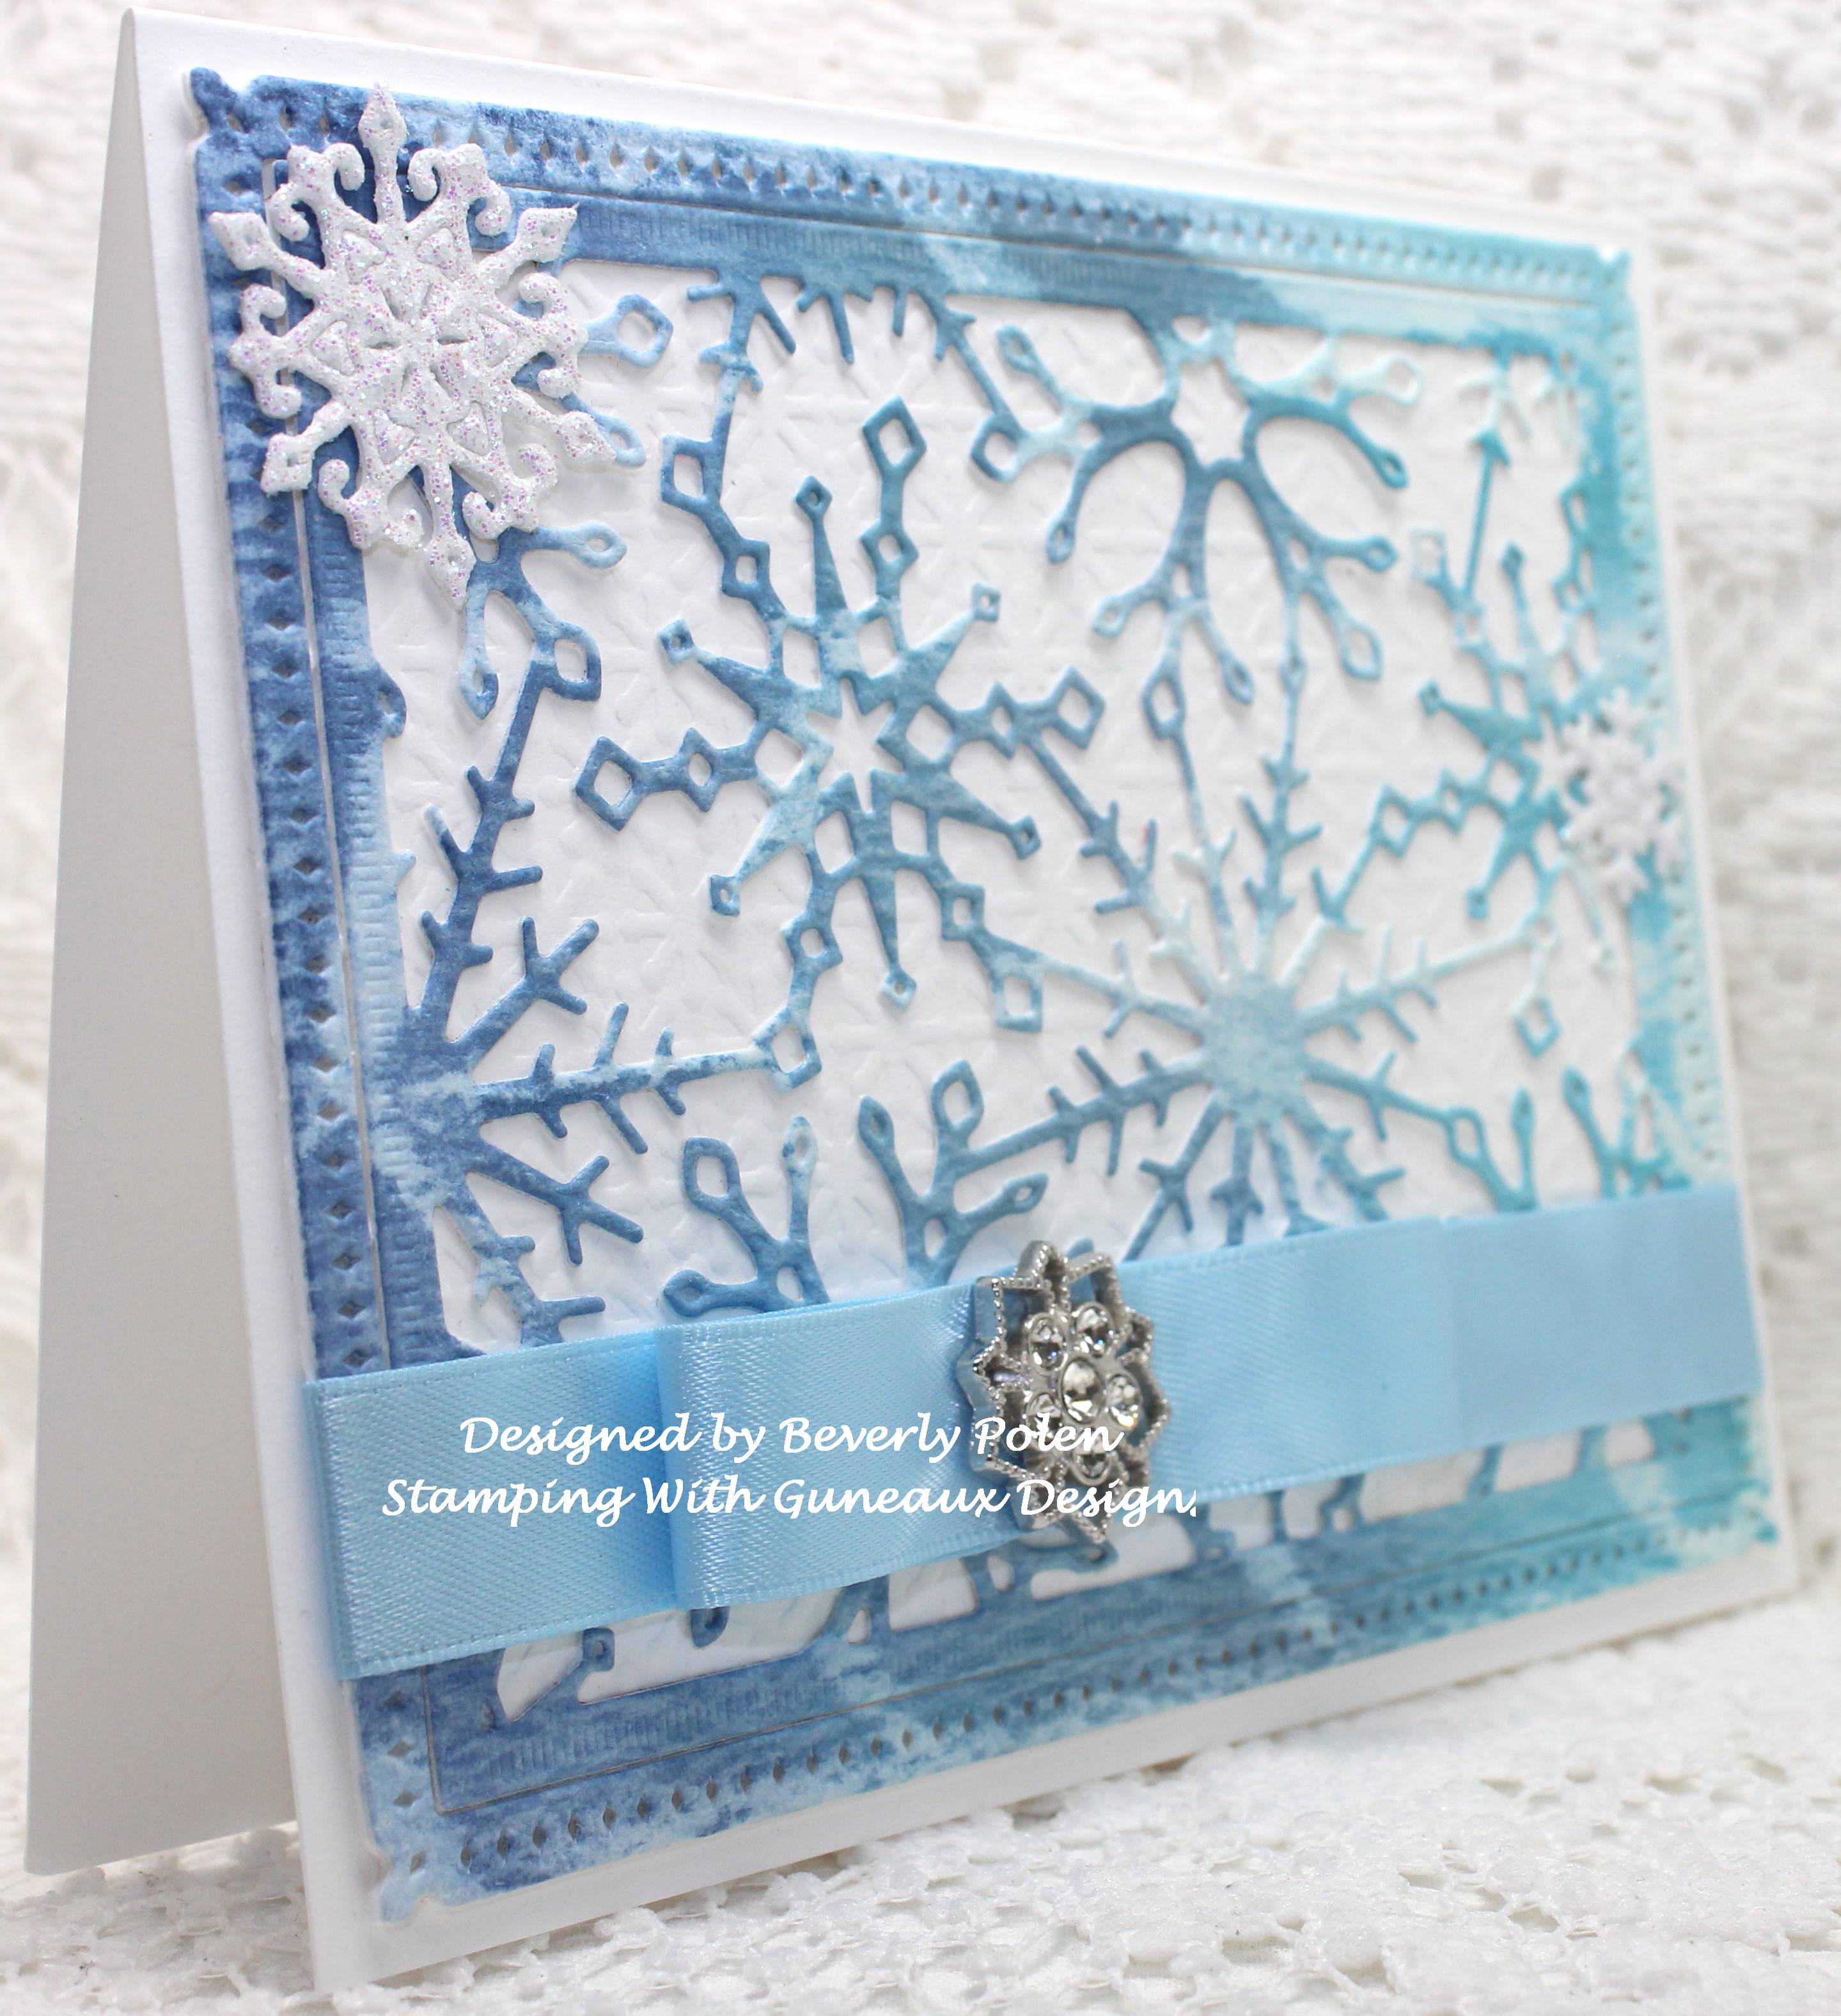
I decided to use the piece of water color paper (i.e., above photo) to cut out a snowflake panel with the ODBD Snowflake Sky Dies.  I really like the outcome.  I also used the ODBD Snow Crystals Dies, which coordinate with the Snowflake Sky Dies, to add two white glitter snowflakes. Then I wrapped this panel with blue ribbon and a bow with a SU Frosted Finishes Embellishment in the center, offsetting the bow.


Paper: Solar White, American Crafts, Water Color Paper

Ink:  Tim Holtz Distress Inks

Accessories: SU Glue Stick, ODBD Snowflake Sky Dies, ODBD Snow Crystals Dies, SU Ribbon, SU Frosted Finishes Embellishment

Techniques: Glue Stick Resist Technique


Butterfly_1_1God’s Blessings!
Stamping With Guneaux Designs By Beverly Polen
Firm Reliance on Divine Providence!


1 JOHN 4:7-11

“Dear friends, let us love one another, for love comes from God.  Everyone who loves has been born of God and knows God.  Whoever does not love does not know God, because God is love.  This is how God showed his love among us:  He sent his one and only Son into the world that we might live through him.  This is love: not that we loved God, but that he loves us and sent his Son as an atoning sacrifice for our sins.  Dear friends, since God so loved us, we also ought to love one another.”

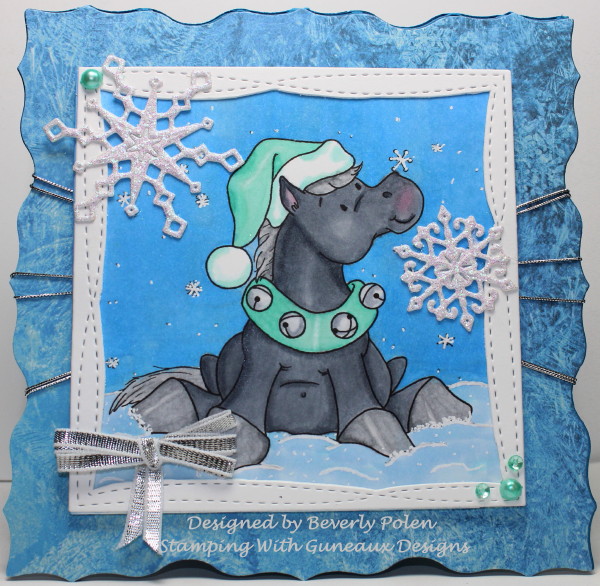
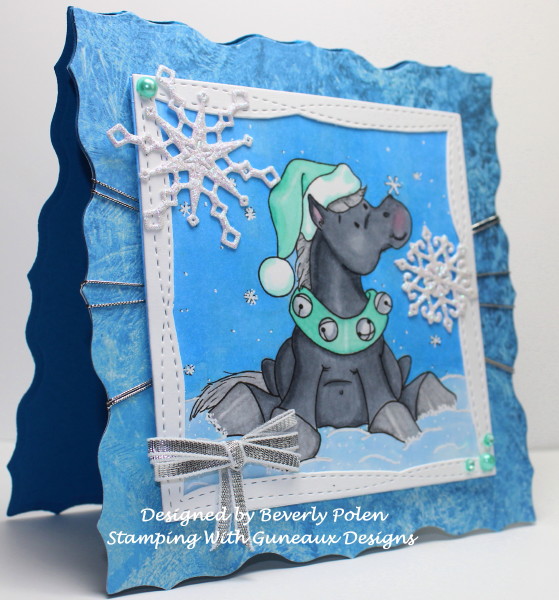
Whimsy Stamps Horsey Holiday Digital Stamp

Hello, Crafting Friends!  I have for you today a card featuring the darling Whimsy Stamps Horsey Holiday Digital Stamp.  I made the card for a Splitcoaststampers “Ways To Use It Challenge”, “Hear Them Ring”.  The challenge was hosted by Toni (ravengirl) and she asked the participants to add bells to the projects submitted for the challenge.

I have not been a whimsical type of artist until lately when I discovered an outstanding designer and artist who designs whimsical stamps.  Her name is Crissy Armstrong and she is an awesome colorist.  She is an advanced level certified Copic artist and her work is fantastic.  Her coloring makes all of her work subjects look so real.  She is a member of Splitcoaststampers, and you can see some of her work HERE.  She designs rubber stamps for a company called Whimsy Stamps.

This is my card that I created with one of her designs.  The digital image of the horse can be found HERE.

If you have questions about the products used, please leave them in the comment section. Enjoy, and come back tomorrow for another whimsical card!


Butterfly_1_1God’s Blessings!
Stamping With Guneaux Designs By Beverly Polen
Firm Reliance on Divine Providence!


 REVELATION 22:14-16 (NIV)

Continuation of St. John The Divine’s sharing the Word of God through Jesus Christ:  “Blessed are those who wash their robes that they may have the right to the tree of life and may go through the gates into the city.  Outside are the dogs, those who practice magic arts, the sexually immoral, the murderers, the idolaters and everyone who loves and practices falsehood.  I, Jesus, have sent my angel to give you this testimony for the churches.  I am the Root and the Offspring of David, and the bright Morning Star.”