
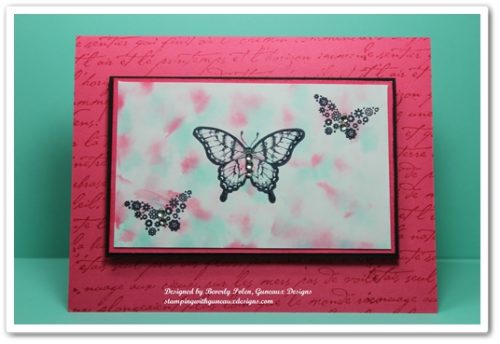
I suspect most crafters have tried the Polished Stone Technique. However, this is my first time although the technique has been around for some time. Polished Stone is a rich background technique that looks like rich marble. It is an excellent background for both feminine and masculine cards.
After looking closely at the above picture, can you tell that I left out one key product that most, but not all, crafters use for the Polished Stone Technique? It is the metallic ink. I have seen examples of this technique where the metallic ink was used and examples where it was not used. Well, I left it out because I did not have any metallic ink. However, I’ll provide you with the instructions that include the ink.
SUPPLIES USED FOR THE POLISHED STONE TECHNIQUE:
Paper: Glossy White Card Stock (I used Stampin’ Up!’s), Strawberry Slush Card Stock (131295), and Basic Black Card Stock (121045)
Stamps: Papillon Potpourri Stamp Set (123759) and Stampin’ Up!’s old French Script Background Stamp
Ink: Coastal Cabana Classic Ink Re-Inker (131164), Strawberry Slush Classic Ink Re-Inker (131167), and Stazon Ink
Accessories: Cotton Ball, Rubbing Alcohol, and Basic Rhinestones (119246)
INSTRUCTIONS FOR THE POLISHED STONE TECHNIQUE:
- Add a few drops of metallic re-inker randomly onto glossy card stock.
- Add rubbing alcohol onto a cotton ball.
- Add two or three drops of each classic re-inker color onto the cotton ball.
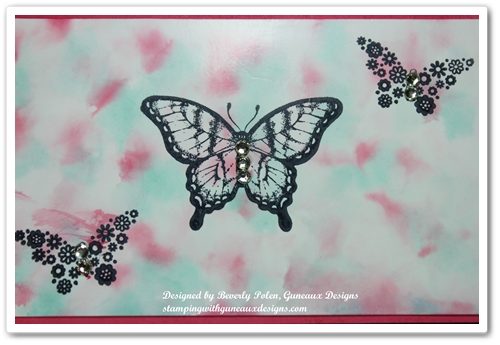
- Dab the cotton ball over the glossy card stock, continuing until you achieve the desired look. The rubbing alcohol will cause the re-inker colors to blend together, and the metallic re-inker will sit on top of the re-inker colors to give a marble look.
- Allow the card stock to dry, and if desired, seal it with an acrylic sealer.
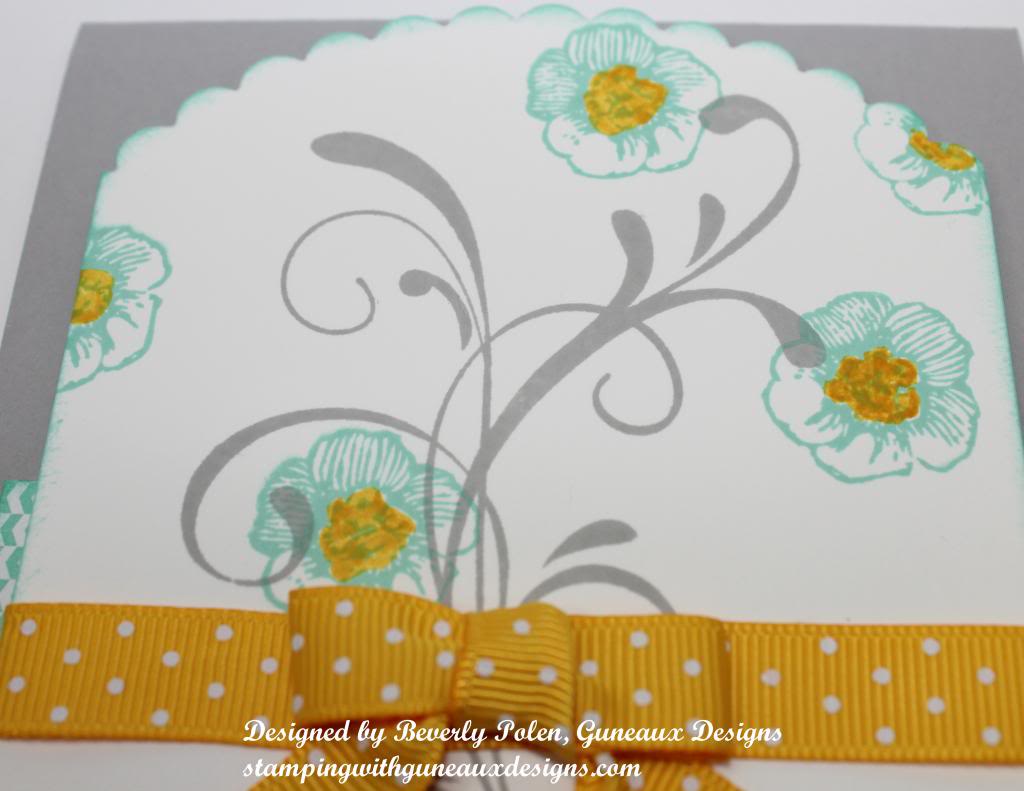
- Stamp the desired image onto the “marbled” card stock with Stazon Ink.
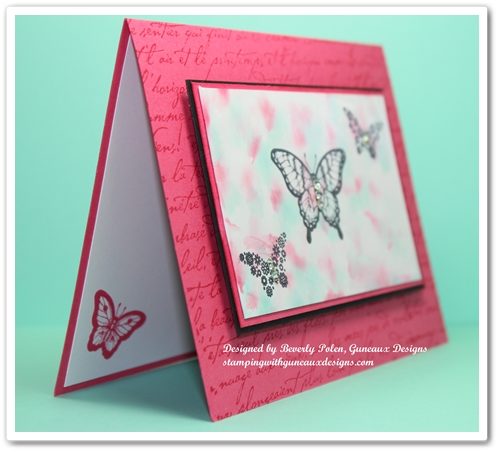
- Create your card!

This card can be a Happy Birthday, Happy Anniversary, Thinking of You, Thank You, or any type of card.
God’s Blessings!
Stamping With Guneaux Designs
by
Beverly Polen


 NOTE: If you have not purchased the Stampin’ Up! Trimmer, I encourage you to do so. I have used lots of trimmers, and I initially decided I would just keep and use my Fiskars instead of purchasing the Trimmer. However, I placed an order for Stampin’ Up! products and decided to get the Trimmer free with hostess dollars. I cannot express how very happy I am with the Trimmer. The cutting space is larger than usual and it cuts perfectly. The meansurements are exact, unlike some trimmers I’ve used. So, don’t hestitate to get it. I promise you will be happy you did.

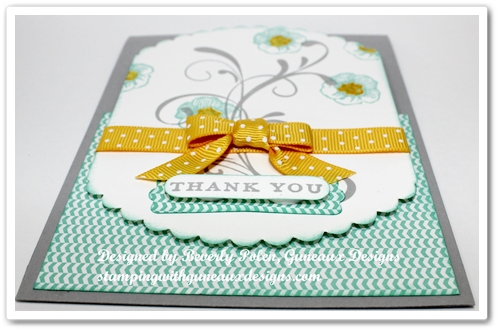
 Also featured on the card is a sentiment from the hostess
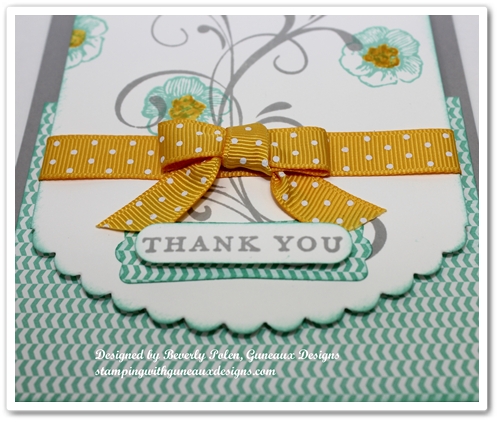


 To the right is a picture of the back of the purse. You can see the back of the fastener as well as the two side embellishments that extend to the front. They are made with the Daffodil Delight and floral design from the


