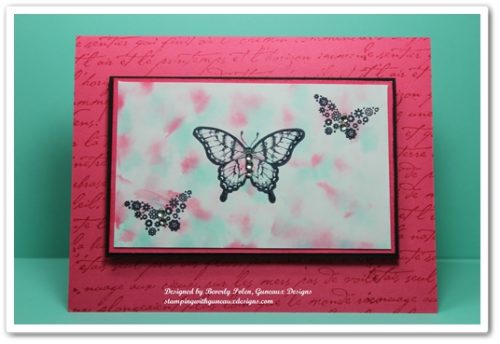
I suspect most crafters have tried the Polished Stone Technique. However, this is my first time although the technique has been around for some time. Polished Stone is a rich background technique that looks like rich marble. It is an excellent background for both feminine and masculine cards.
After looking closely at the above picture, can you tell that I left out one key product that most, but not all, crafters use for the Polished Stone Technique? It is the metallic ink. I have seen examples of this technique where the metallic ink was used and examples where it was not used. Well, I left it out because I did not have any metallic ink. However, I’ll provide you with the instructions that include the ink.
SUPPLIES USED FOR THE POLISHED STONE TECHNIQUE:
Paper: Glossy White Card Stock (I used Stampin’ Up!’s), Strawberry Slush Card Stock (131295), and Basic Black Card Stock (121045)
Stamps: Papillon Potpourri Stamp Set (123759) and Stampin’ Up!’s old French Script Background Stamp
Ink: Coastal Cabana Classic Ink Re-Inker (131164), Strawberry Slush Classic Ink Re-Inker (131167), and Stazon Ink
Accessories: Cotton Ball, Rubbing Alcohol, and Basic Rhinestones (119246)
INSTRUCTIONS FOR THE POLISHED STONE TECHNIQUE:
- Add a few drops of metallic re-inker randomly onto glossy card stock.
- Add rubbing alcohol onto a cotton ball.
- Add two or three drops of each classic re-inker color onto the cotton ball.
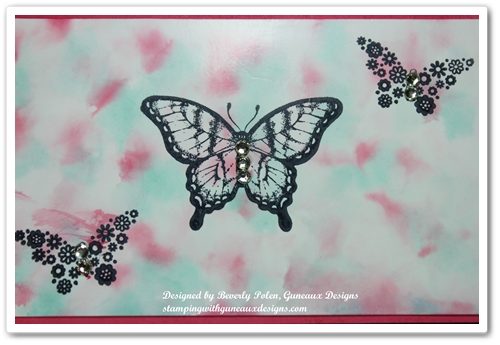
- Dab the cotton ball over the glossy card stock, continuing until you achieve the desired look. The rubbing alcohol will cause the re-inker colors to blend together, and the metallic re-inker will sit on top of the re-inker colors to give a marble look.
- Allow the card stock to dry, and if desired, seal it with an acrylic sealer.
- Stamp the desired image onto the “marbled” card stock with Stazon Ink.
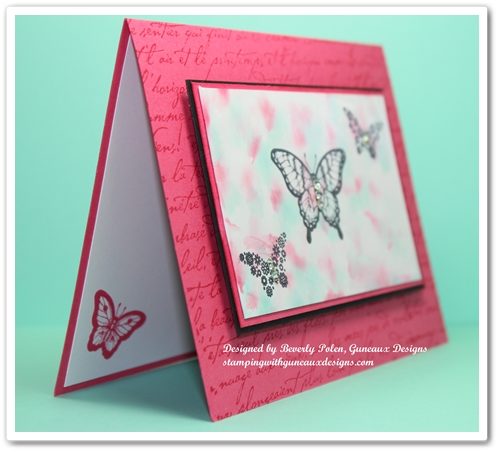
- Create your card!

This card can be a Happy Birthday, Happy Anniversary, Thinking of You, Thank You, or any type of card.

God’s Blessings!
Stamping With Guneaux Designs
by
Beverly Polen
POLISHED STONE TECHNIQUE