
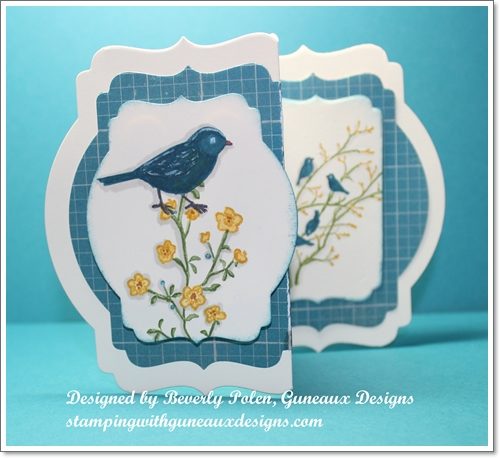
I love the new Stampin Up Deco Labels Framelits, don’t you? I keep thinking of things to make with them as I did with this Stampin Up Deco Labels Framelits and Morning Meadow Card. The framelits, Stampin Up Morning Meadow Stamp Set, Stampin Up Label Love Stamp Set, and Stampin Up Serene Silhouettes Stamp Set are highlighted on the card. A tutorial for making the card can be found below.
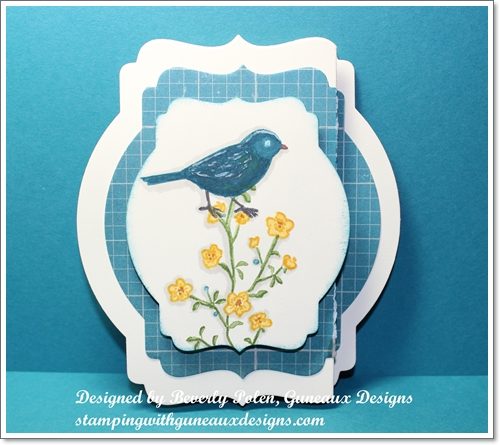
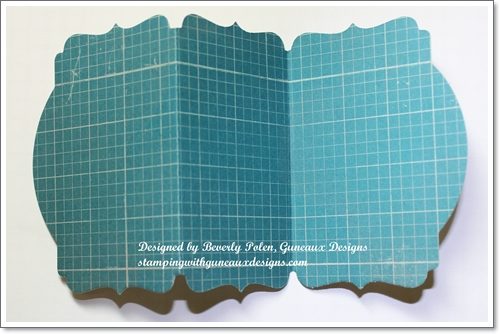
This picture shows the closed card. If anyone has a trick to prevent Designer Series Paper from “cracking” when folded, please leave me a comment to share your trick. Thank You!
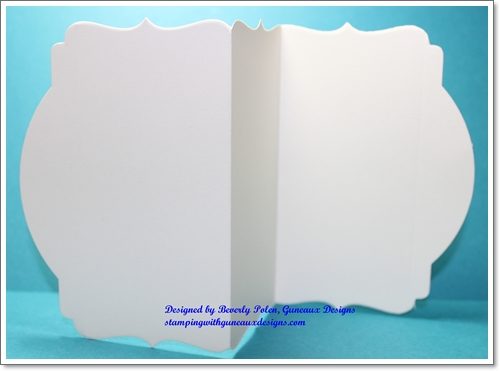
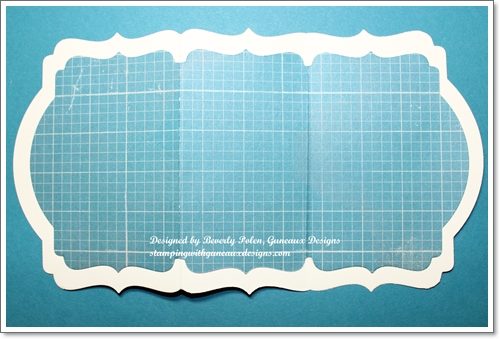
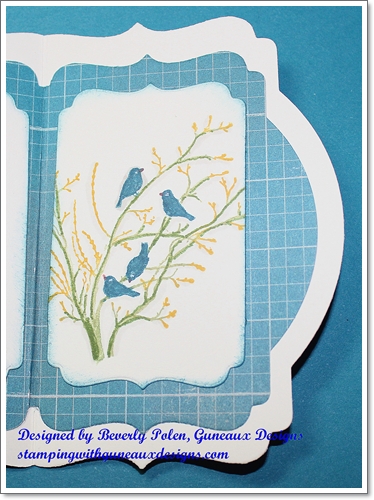
This picture is of the card completely open.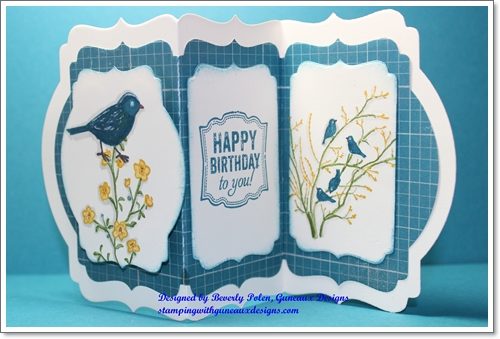
I love using the Stampin Up Framelits to create unique cards. If you haven’t seen my previous posts of cards made with other framelits, you can see one HERE and another one HERE.
SUPPLIES USED FOR THE STAMPIN UP DECO LABELS FRAMELITS CARD:
Paper: Soho Subway Designer Series Paper (130140), Very Vanilla Card Stock (101650)
Stamps: Morning Meadow Hostess Stamp Set (129678), Stampin Up Label Love Stamp Set (130622), and Serene Silhouettes Stamp Set (127324)
Ink: Island Indigo Classic Ink (126986), Crushed Curry Stampin’ Write Marker (131901), Gumball Green Stampin’ Write Marker (126856 – package), White Pigment Ink (105021 -Gel Pen), Basic Gray Stampin’ Write Marker (131261 – package)
(NOTE: These are the inks I used. The stamp image(s) you select obviously will dictate the inks you use.)
Accessories: Big Shot Die Cutting Machine (113439), Deco Labels Framelits (130102), Stampin’ Dimensionals (104430), and Adhesive
TUTORIAL TO MAKE THE STAMPIN UP DECO LABELS FRAMELITS BIRTHDAY CARD:
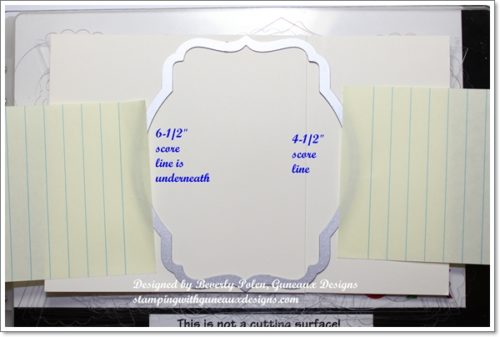
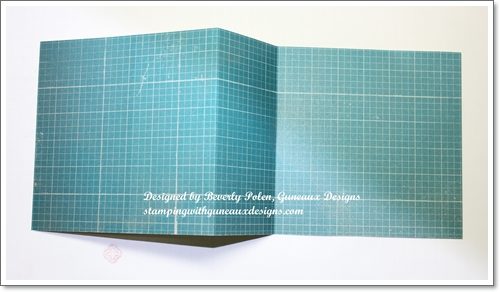
Step 1. Cut an 11″ x 4-1/2″ piece of Very Vanilla Card Stock.
Step 2. Score at the 4-1/2″ and 6-1.2″ marks.
Step 3. Make a mountain fold at the 4-1/2″ score line and a valley fold at the 6-1/2″ score line.
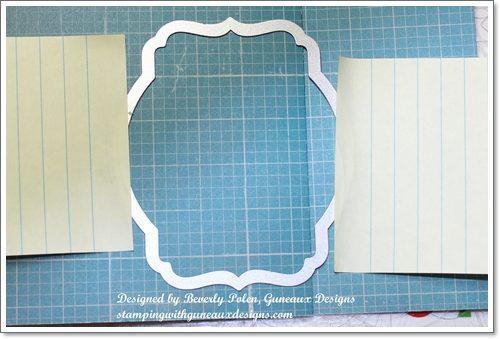
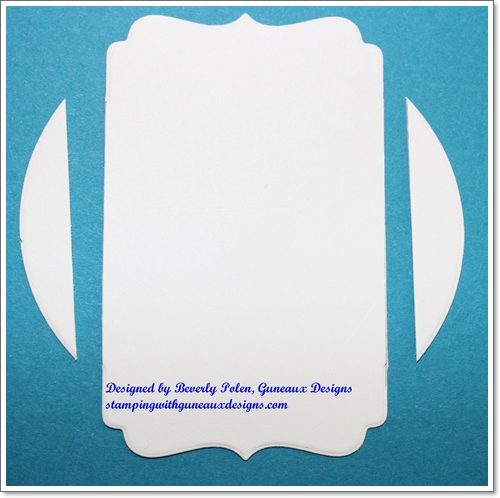
Step 4. Lay the folded card stock on top of a Big Shot Cutting Board and center the largest framelit from the Deco Labels Framelits over the folds. You’ll need to slightly lift the left side of the card stock to see the 6-1/2″ fold in order to center the framelit.
Step 5. Finish building the Big Shot sandwich and run it through your Big Shot Die Cutting Machine. The following pictures show the results. 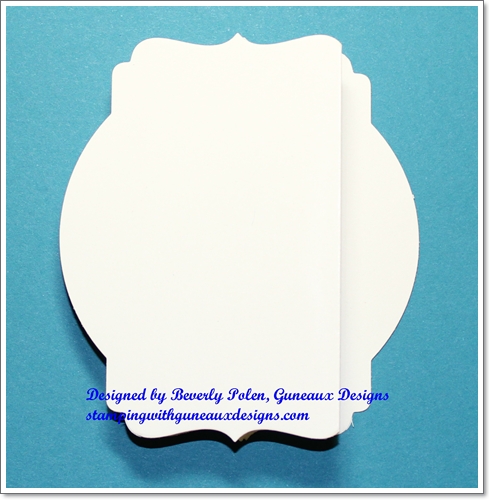
Step 6. Repeat Steps 1 – 5, using the Island Indigo and Very Vanilla design from the Soho Subway Designer Series Paper and the next to the largest framelit from the Stampin Up Deco Labels Framelits.
Step 7. Using adhesive, attach the Island Indigo piece to the Very Vanilla Card Stock. If you use liquid glue, allow the piece to dry while lying flat and then crease the folds.
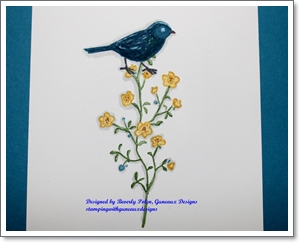
Step 8. Ink and stamp on Very Vanilla Card Stock the floral and bird stamps images from the Morning Meadow Hostess Stamp Set (or use another stamp set for your images).
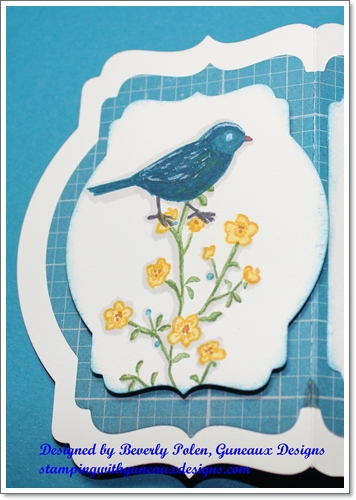
Step 9. Place the next to the largest Stampin Up Deco Labels Framelit over your image(s) that you stamped in Step 8 and run it through the Big Shot Die Cutting Machine.
Step 10. Sponge Island Indigo Classic Ink around the stamped label and adhere it to the left side of the card. When attaching this label, it will hang over the crease slightly. Not to worry!
Step 11. Using the same framelit, cut another label from Very Vanilla Card Stock. This label is too large to fit onto the center. Therefore, you’ll need to cut the sides off as is shown in the below picture. This piece is for the sentiment or a personal note. Attach it onto the center of the card. I stamped onto this piece the “Happy Birthday to you!” image from the Stampin’ Up! Label Love Stamp Set.
Step 12. Ink and stamp onto Very Vanilla Card Stock the image of birds in a tree from the Serene Silhouettes Stamp Set. Use the same framelit and cut out this label. It too is too large for the right side of the card, so bear that in mind when cutting the label. Cut off the sides as done in Step 11. If you don’t cut off the right side of the label, the card will not look correct when closed.
Step 13. Attach the stamped and modified Very Vanilla label to the right side of the card.
Step 14. Finished! Enjoy the Stampin Up Deco Labels Framelits Card!
![]()
God’s Blessings!
Stamping With Guneaux Designs
by
Beverly Polen


