CottageCutz Wildflowers 3

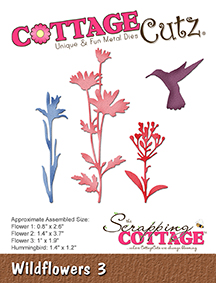
COTTAGECUTZ WILDFLOWERS 3

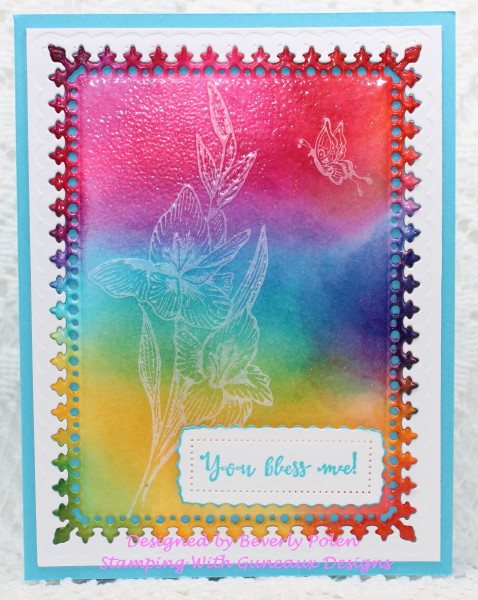
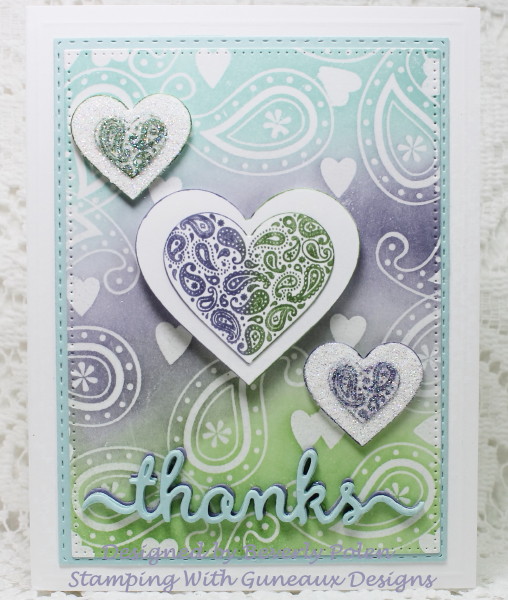
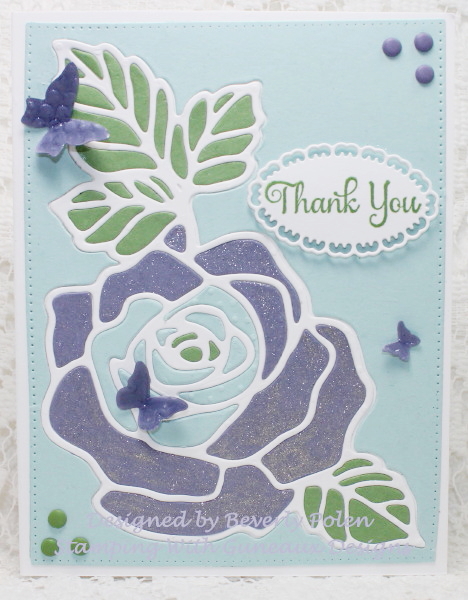
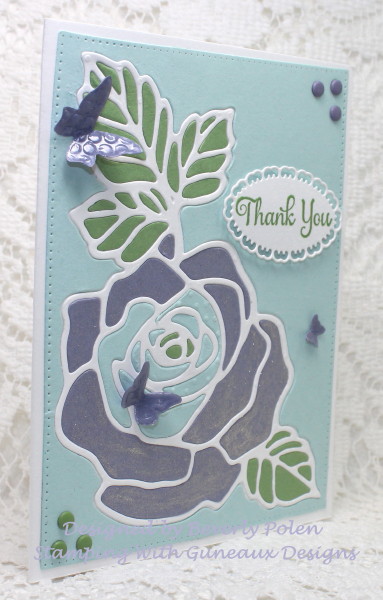
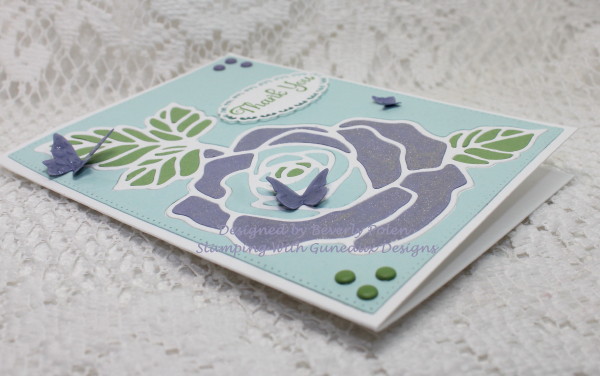
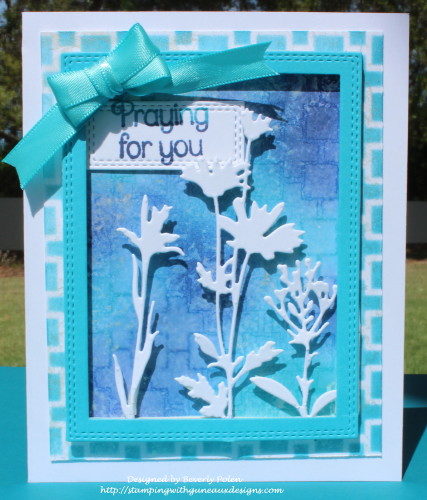
Hello, friends, and welcome to Guneaux Designs!  I am so excited to be a guest designer today for Scrapping Cottage, which specializes in CottageCutz die-cutting designs. In that role, I have for you a beautiful card made with the CottageCutz Wildflowers 3 Die. The card also features a Marbled and Ghost Stamping Technique.

Directions for creating the card:

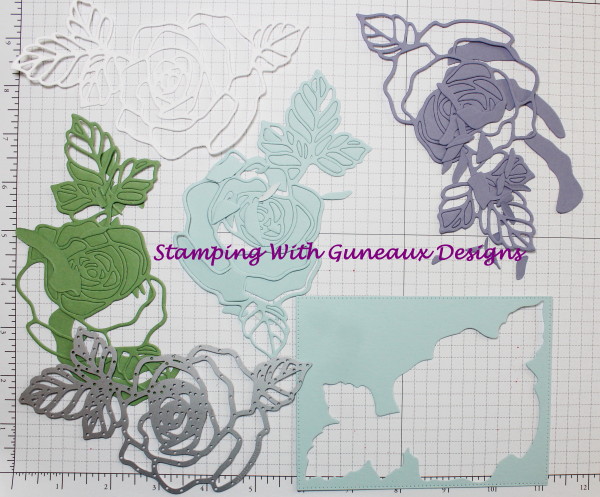
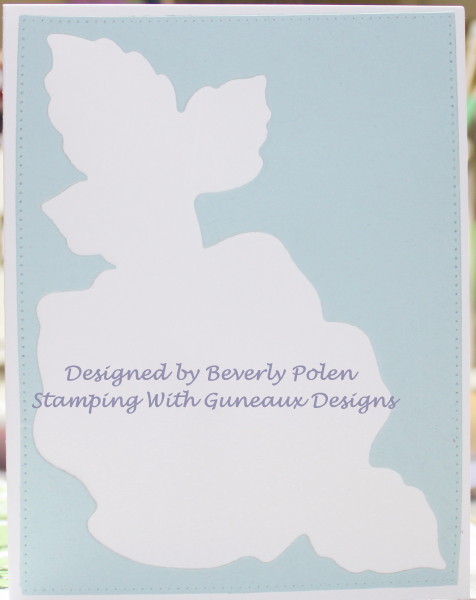
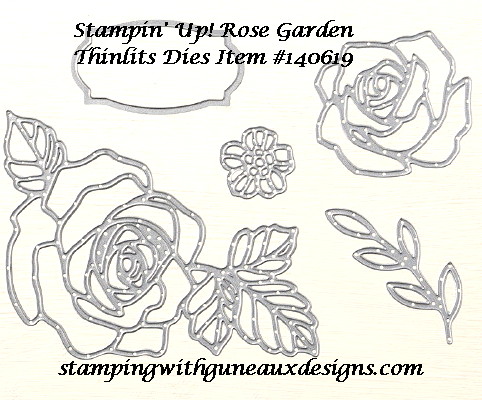
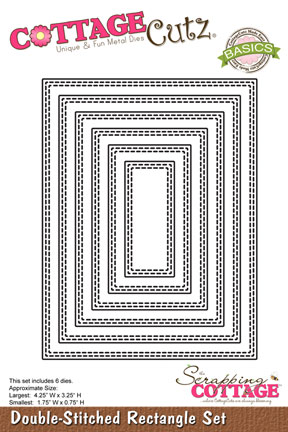
Step 1.  Cut out the flowers from white card stock using the CottageCutz Wildflowers 3 Die.
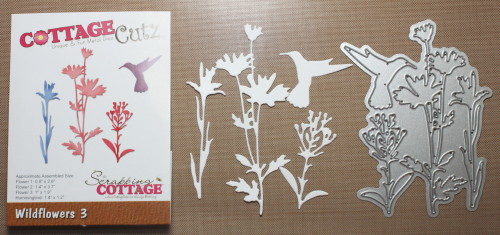
Step 2.  Cut the largest rectangle from a piece of white card stock using the CottageCutz Double-Stitched Rectangle Set die.

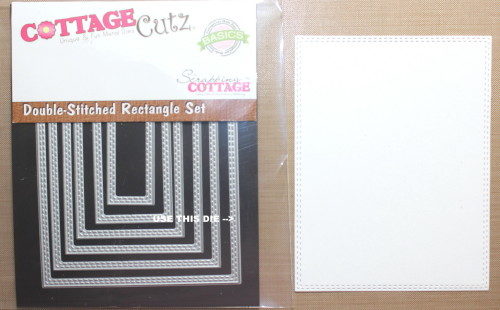
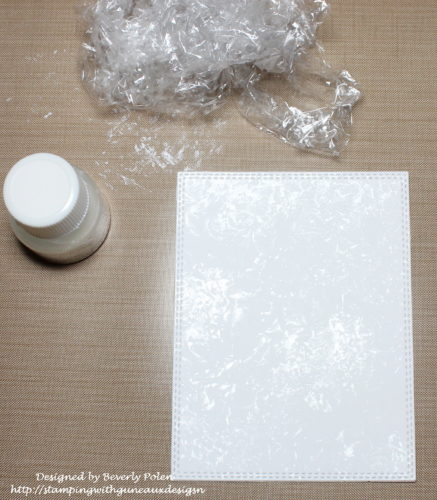
Step 3.  Scrunch up a piece of saran wrap.

Step 4.  Put a drop or two of a white (e.g., Frost White) All-Purpose Ink onto a non-stick craft sheet.

Step 5.  Dab the saran wrap repeatedly into the ink to ensure all of the saran wrap folds are covered with ink.

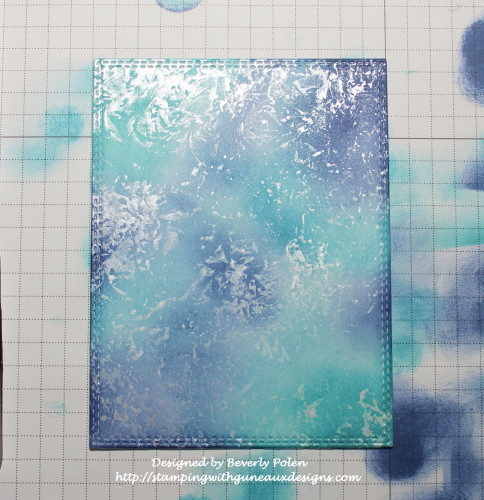
Step 6.  Transfer the ink by dabbing the inked saran wrap onto the CottageCutz double-stitched rectangle, leaving some white space.

Step 7.  After that dries, sponge on two or three different colors of distress ink (aqua and purple used for this card).
Step 8.  Choose a stencil of your liking (I used a Catherine Pooler stencil), and place it over the colored panel.

Step 9.  With a water spritzer, spritz three to four times a small amount of water onto the panel and over the stencil.

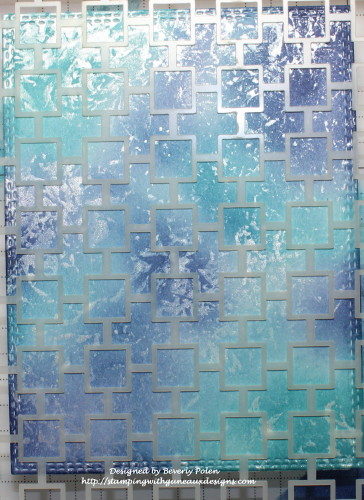
Step 10.  Remove the stencil right away and lay a dry piece of paper towel across the panel to remove excess water (no rubbing).

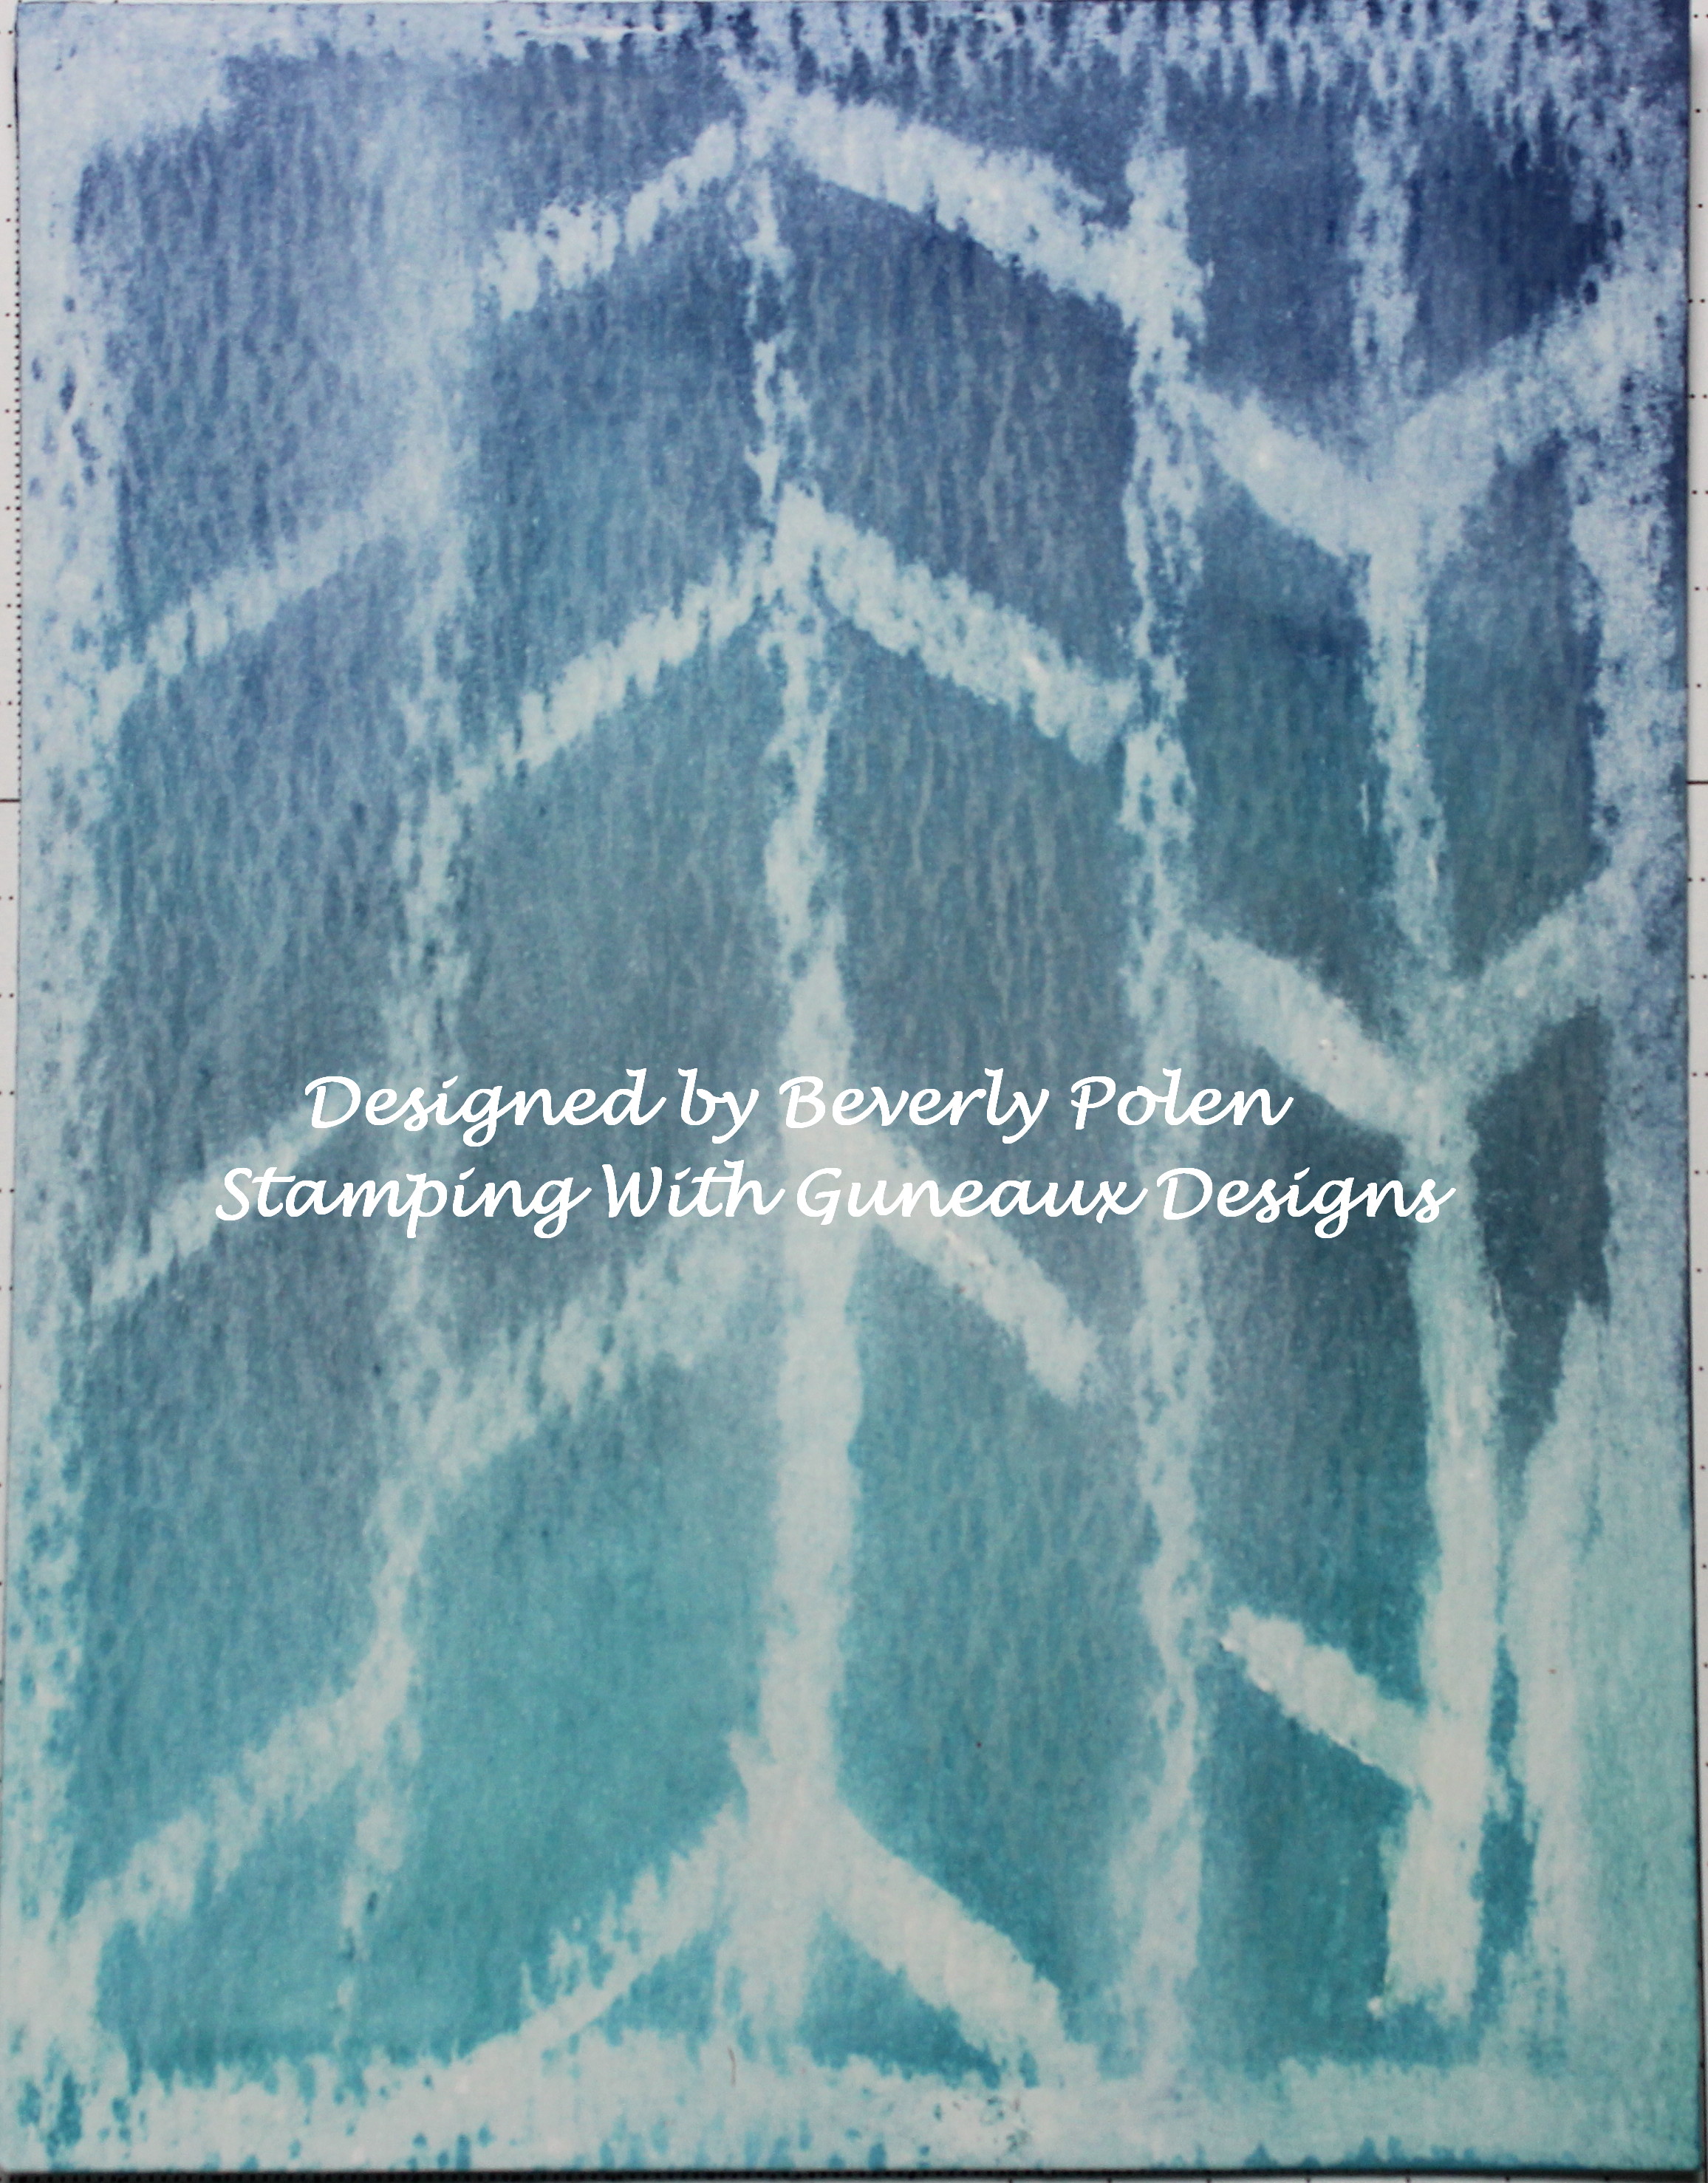
Step 11.  Watch a “ghost” of the stencil appear while allowing the panel to dry completely.

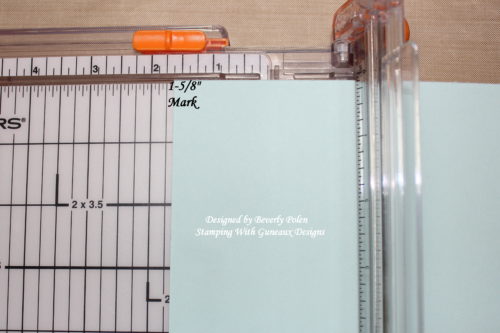
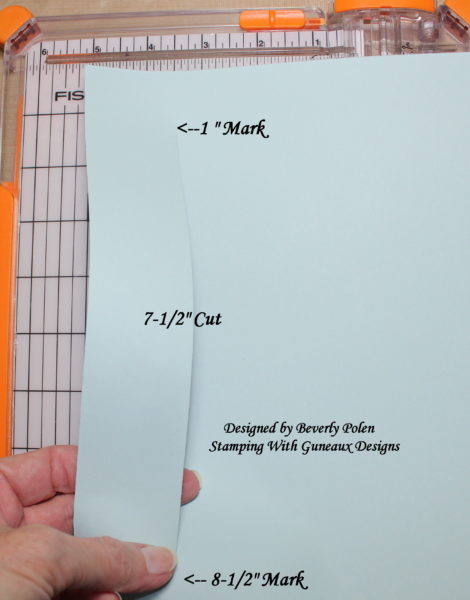
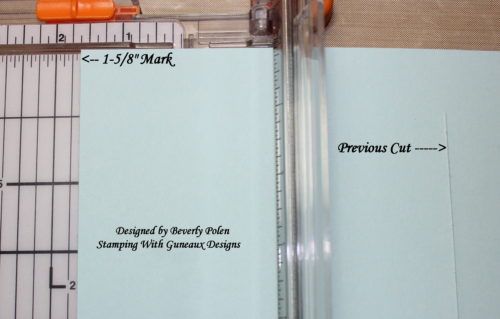
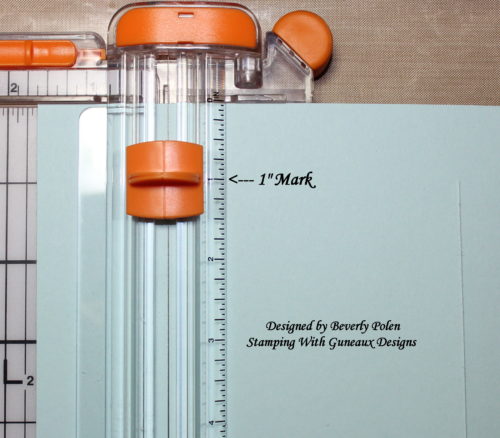
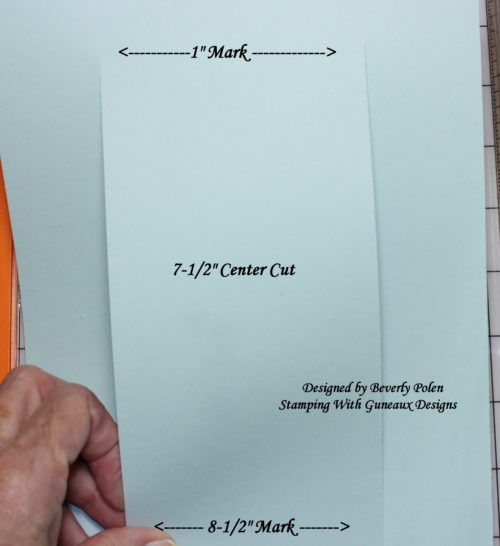
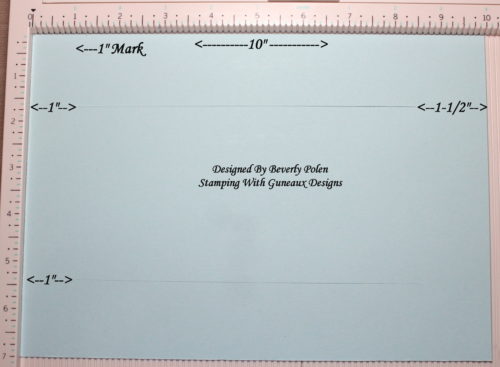
Step 12.  While that is drying, cut a 3-3/4″ x 4-3/4″ piece of white card stock.

Step 13.  Using a temporary adhesive, attach the back side of the piece of white card stock to a craft sheet or grid paper.

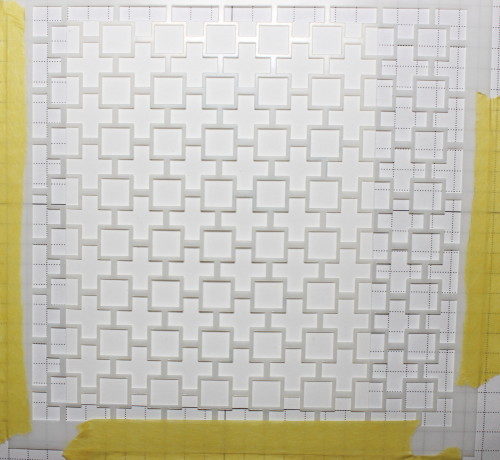
Step 14.  Lay the stencil (the one used in Steps 8 and 9) over this piece of white card stock and use temporary tape to attach it to your coloring surface.

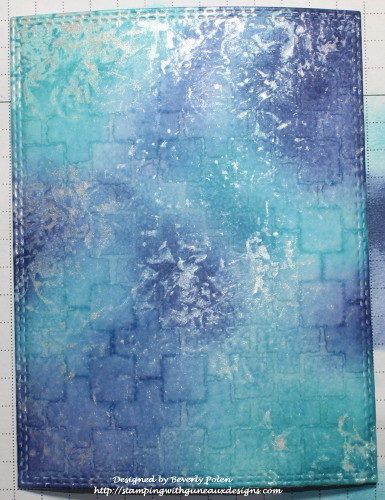
Step 15.  Sponge the lightest ink used in Step 7 over the stencil and onto the paper.

Step 16. Remove the stencil and let the ink dry.

Step 17.  Using the saran wrap and ink process, dab the white All-Purpose Ink onto the sponged card stock.  Let it dry and this is the result.

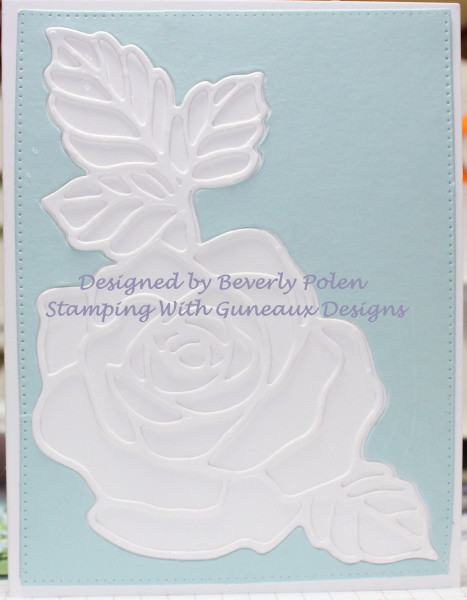
Step 18.  Select a piece of card stock that closely matches the lightest ink color used and cut out a rectangle frame using the two largest dies from the CottageCutz Double-Stitched Rectangle Set.  This creates the following frame.

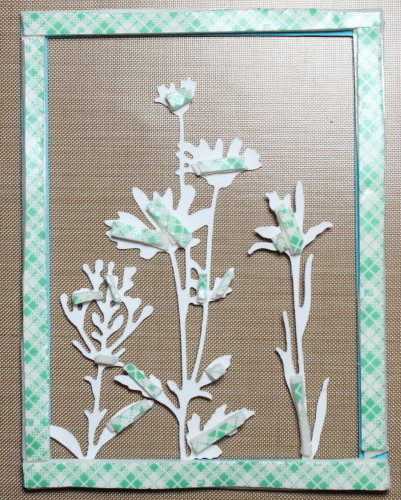
Step 19.  Turn over the frame and with an adhesive, attach the white wildflowers to the bottom of the frame.

Step 20.  Add a double layer of double-sided foam tape around the frame and where needed on the flowers.

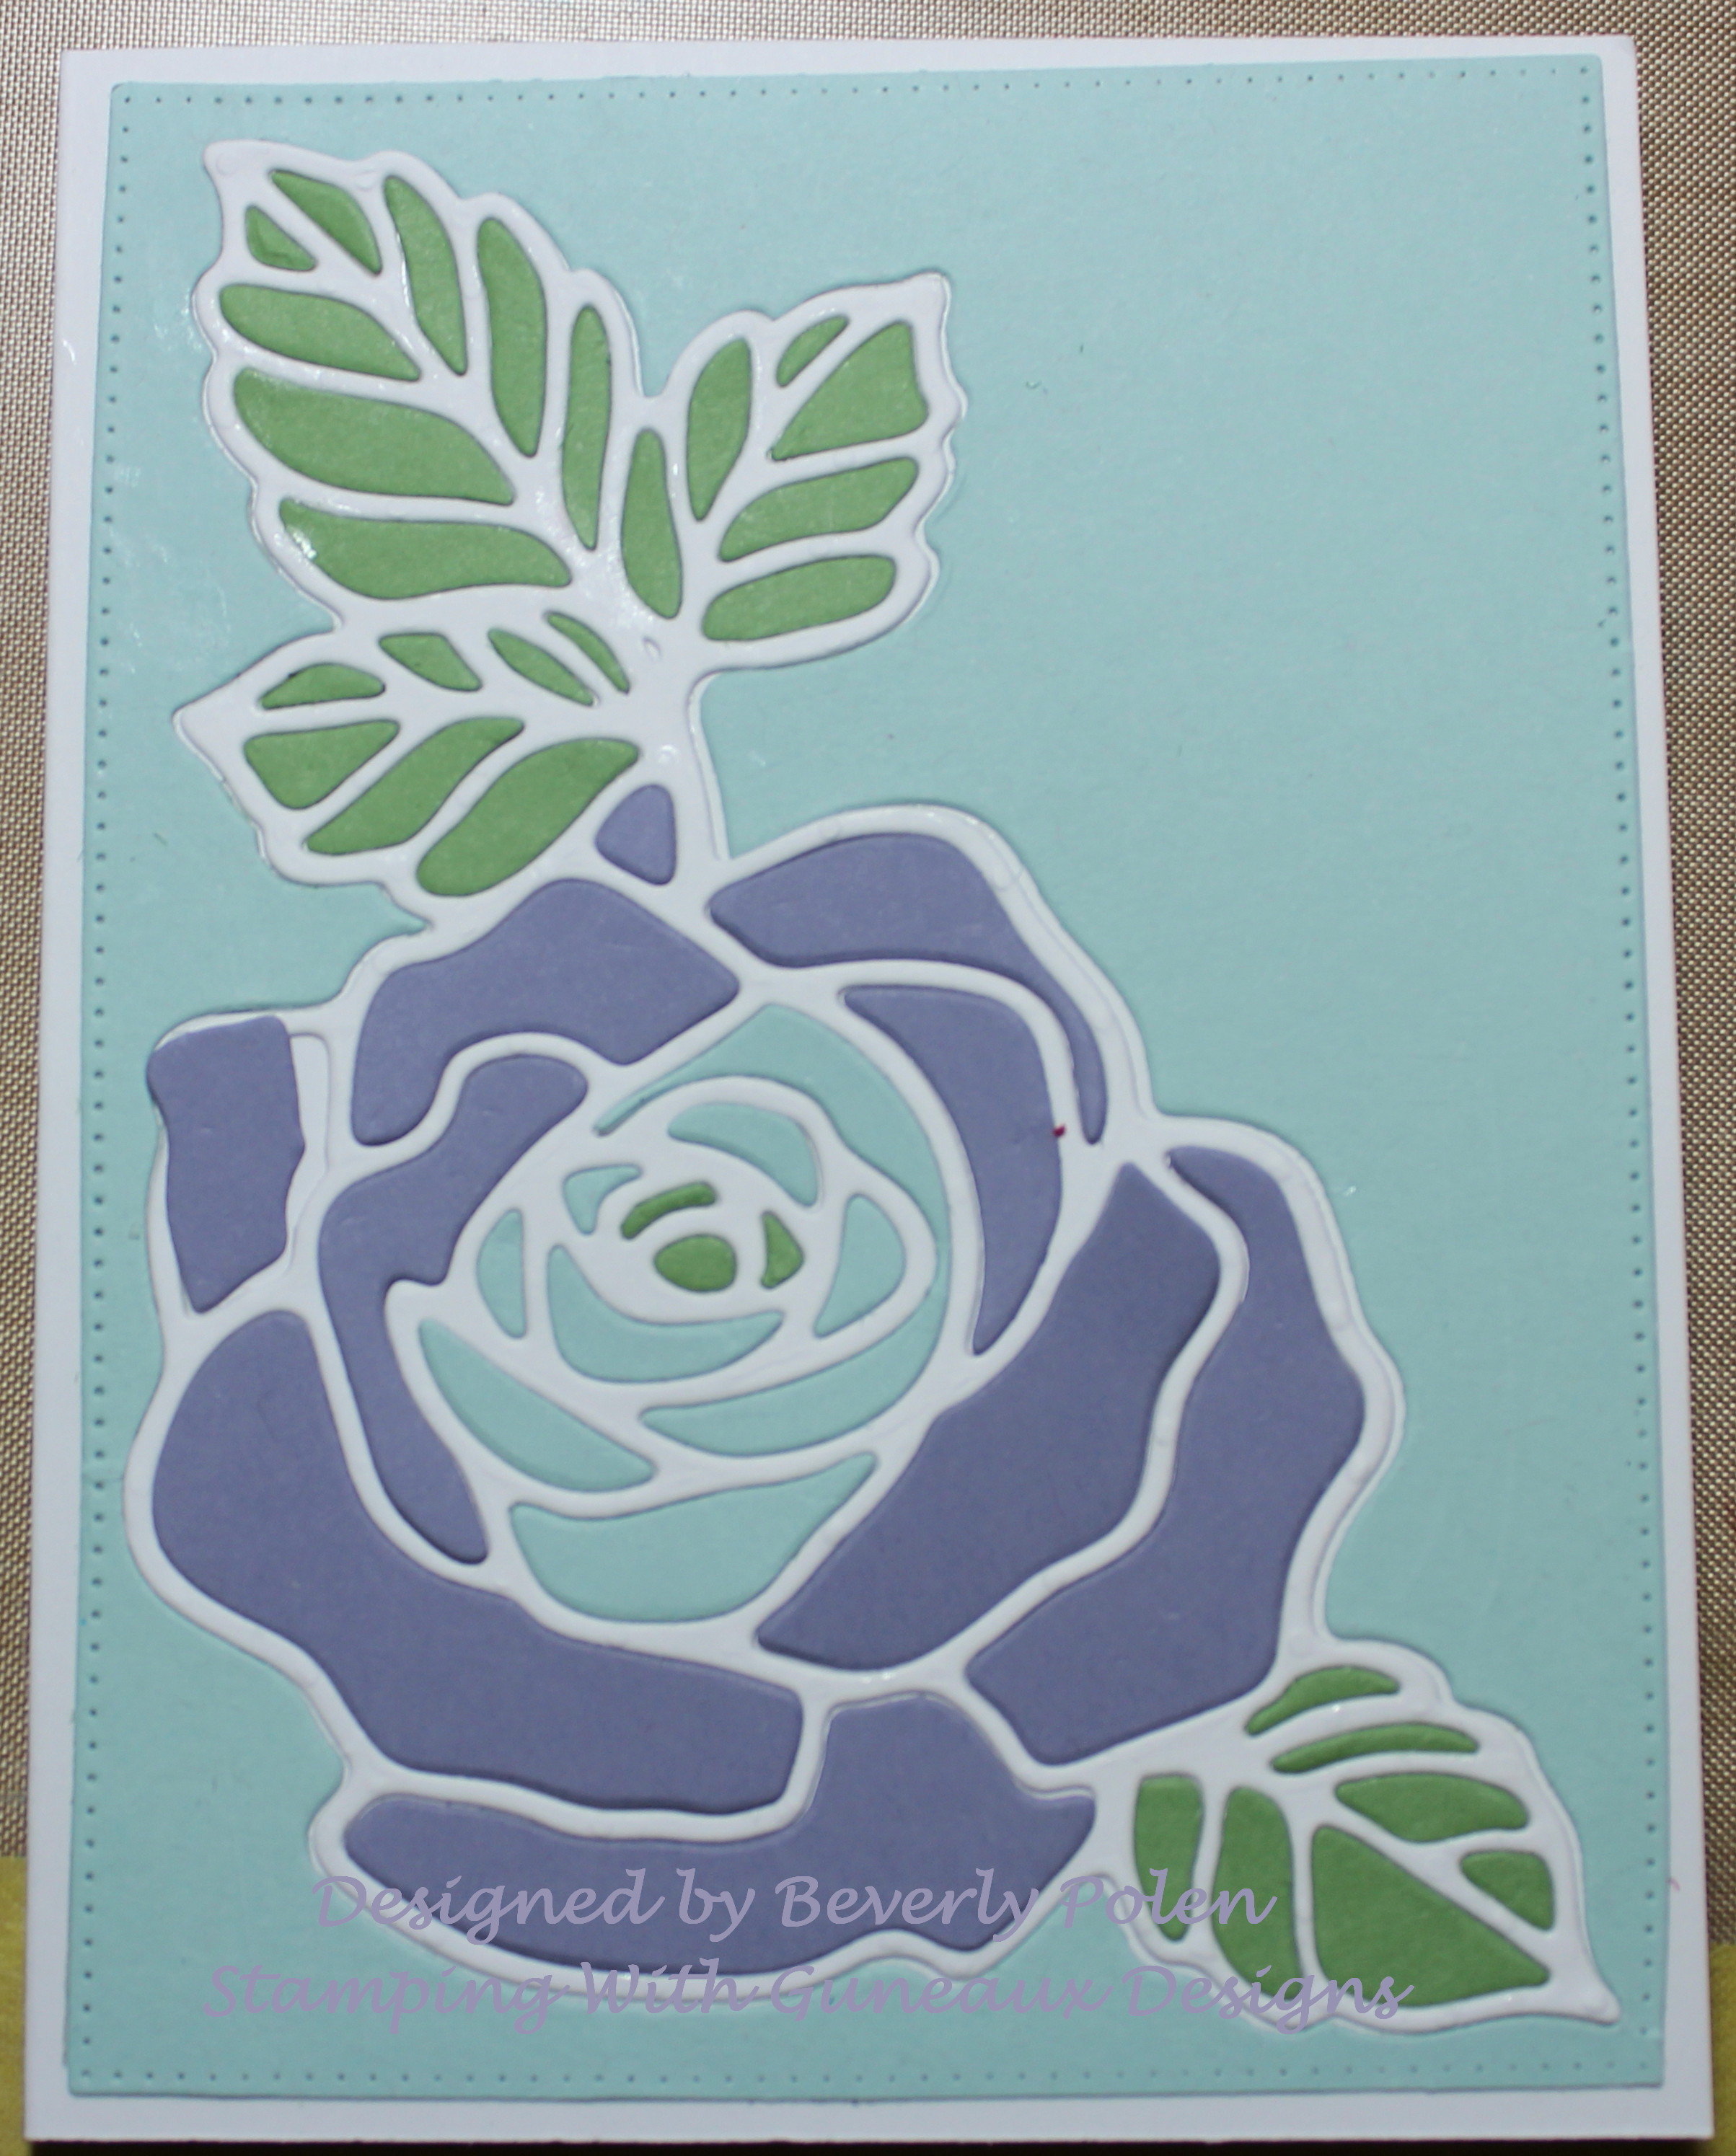
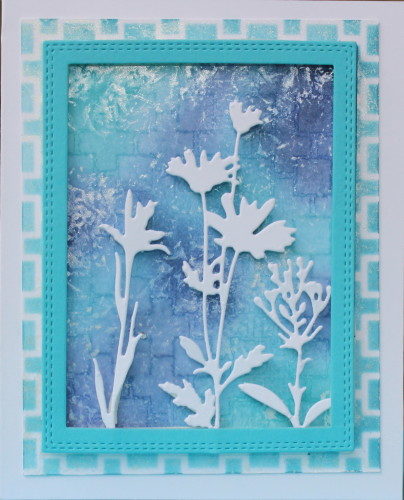
Step 21.  Remove the paper from the tape and attach the frame to the rectangle completed in Step 11.

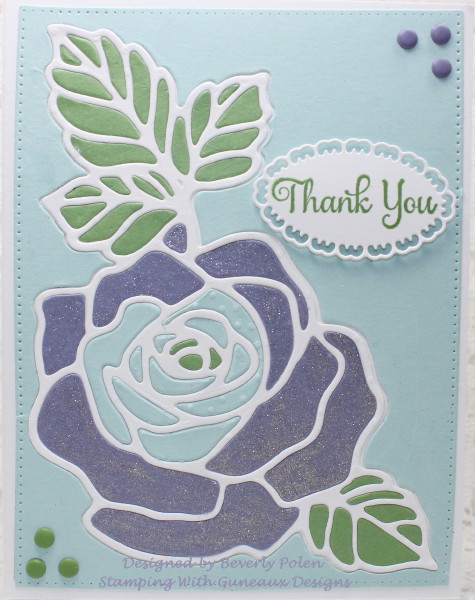
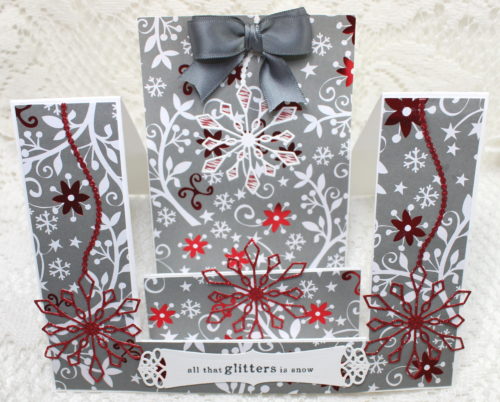
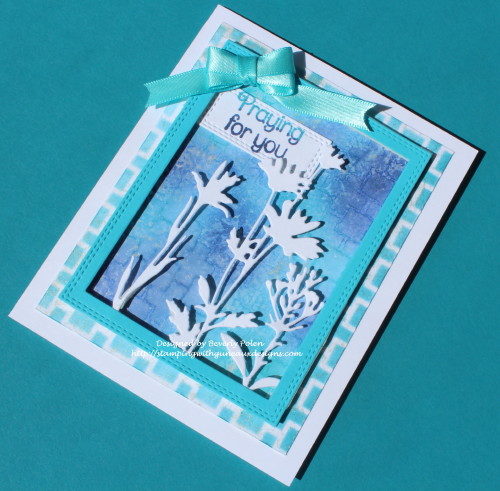
Step 22.  Attach the above frame to the panel created in Steps 12 – 17, and adhere to the card base.

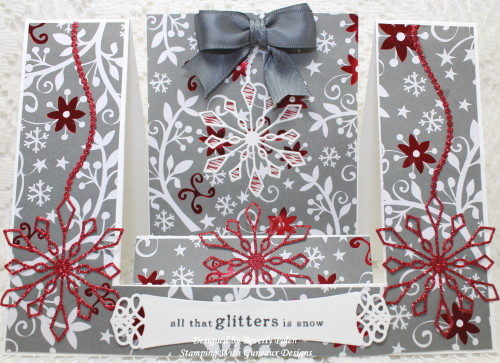
Step 23.  Add a sentiment and embellishments as desired.

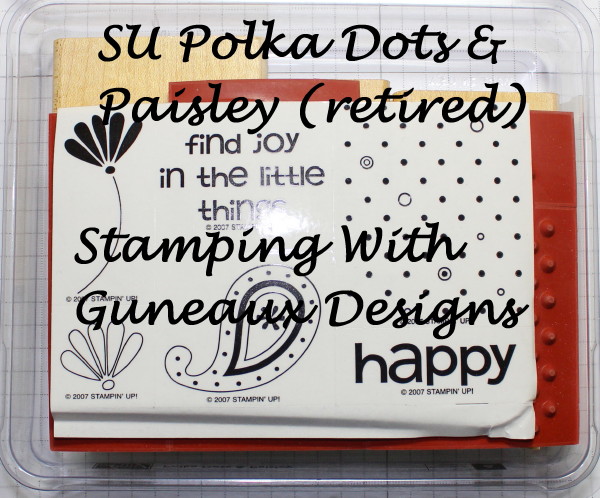
Cottage Cutz Dies Used:

CottageCutz Wildflowers 3

Before you leave, check out the new CottageCutz Dies on the Scrapping Cottage.  I am sure you will find one or more dies that you must have in your crafting toolbox.  Also I love hearing from you, so leave a comment on this or other projects!


Butterfly_1_1God’s Blessings!
Stamping With Guneaux Designs By Beverly Polen
Firm Reliance on Divine Providence!


 JOHN 7:37-39

“On the last and greatest day of the Feast, Jesus stood and said in a loud voice, “If anyone is thirsty, let him come to me and drink.  Whoever believes in me, as the Scripture has said, streams of living water will flow from within him.”  By this he meant the Spirit, whom those who believed in him were later to receive.  Up to that time the Spirit had not been given, since Jesus had not yet be glorified.”

Card Making Tapestry Technique

Have you heard of the Card Making Tapestry Technique?  I had not until this week when I was responding to a Splitcoaststampers Technique Lovers Challenge to create a project using the Card Making Tapestry Technique.  A video tutorial for the  Card Making Tapestry Technique was provided, and its instructions were basically as follows.

  • Sponge distress inks onto a piece of white card stock, blending the colors.
  • Before the ink dries, use a white pigment ink and stamp an image(s) over the colored card stock.
  • Cover the complete card stock panel with a clear embossing powder and heat set.
  • If the ink dries too quickly, stamp a VersaMark Ink Pad over the complete piece of card stock and heat set.

This is the card I created for the Card Making Tapestry Technique challenge.

That should be easy, right?  Now, the real story.  When I stamped my images in SU Whisper White Pigment Ink (or Craft) onto the distress inked panel, the images would not show up. I do not know why, but others had the same problem.  Thus, my first panel was introduced to my trash.

Therefore, I started over.  I cut a white card stock frame using the ODBD Lavish Layers Die.  I decided to try Catherine Pooler’s new inks to cover the frame.  They are great, luscious inks and it took very little to sponge the colors onto the frame.  Using the Whisper White ink, I stamped my images onto the colored frame.  The pigment ink showed and I covered the images with clear embossing powder and heat set it.  However, the inks dried too quickly for the rest of the frame and the embossing powder did not stick.

No big deal, right?  I covered the complete panel with VersaMark Ink, added clear embossing powder, and heat set it.  I finished the card by laying the colored frame into the negative of the frame and adhered this to a SU tempting turquoise card base.  I want to try this technique again with different colors.  Why don’t you try it!  Enjoy!


Stamps: ODBD You Bless Me

Paper: Neenah White Card Stock and SU Tempting Turquoise

Ink: SU Whisper White, Catherine Pooler Party Dress, Fiesta Blue, and Tiara

Accessories: ODBD Lavish Layers Dies, VersaMark Ink, Clear Embossing Powder


MATTHEW 6:25-27

Jesus said:  “Therefore I tell you, do not worry about your life, what you will eat or drink; or about your body what you will wear.  Is not life more important than food, and the body more important than clothes?  Look at the birds of the air; they do not sow or reap or store away in barns, and yet your heavenly Father feeds them.  Are you not much more valuable than they?  Who of you by worrying can add a single hour to his life?”

Glue Stick Resist Technique

GLUE STICK RESIST TECHNIQUE

Another day and another card share!!  Hello, my friends.  Today’s card share features two items: the Glue Stick Resist Technique, and the ODBD Snowflake Sky Die.

I had never heard of or try the Glue Stick Resist Technique until a challenge on Splitcoaststampers involved using it.  It actually is a fun technique.  It is quite similar to the Color Resist Technique, but using a glue stick instead of VersaMark stamped images covered with clear embossing powder.

To create the card, I applied a SU Glue Stick in a chevron pattern over a piece of water color paper. After the glue dried, I sponged three different colors of blue distress ink onto the panel. Then I removed the glue from the panel with a baby wipe.  If you do not have a baby wipe, a wet paper towel will work.  This photo shows the results, and it is just that simple.

I decided to use the piece of water color paper (i.e., above photo) to cut out a snowflake panel with the ODBD Snowflake Sky Dies.  I really like the outcome.  I also used the ODBD Snow Crystals Dies, which coordinate with the Snowflake Sky Dies, to add two white glitter snowflakes. Then I wrapped this panel with blue ribbon and a bow with a SU Frosted Finishes Embellishment in the center, offsetting the bow.


Paper: Solar White, American Crafts, Water Color Paper

Ink:  Tim Holtz Distress Inks

Accessories: SU Glue Stick, ODBD Snowflake Sky Dies, ODBD Snow Crystals Dies, SU Ribbon, SU Frosted Finishes Embellishment

Techniques: Glue Stick Resist Technique


Butterfly_1_1God’s Blessings!
Stamping With Guneaux Designs By Beverly Polen
Firm Reliance on Divine Providence!


1 JOHN 4:7-11

“Dear friends, let us love one another, for love comes from God.  Everyone who loves has been born of God and knows God.  Whoever does not love does not know God, because God is love.  This is how God showed his love among us:  He sent his one and only Son into the world that we might live through him.  This is love: not that we loved God, but that he loves us and sent his Son as an atoning sacrifice for our sins.  Dear friends, since God so loved us, we also ought to love one another.”

SU Polka Dots & Paisley & Paisley Prints

I enjoyed last week’s Splitcoaststampers Color Challenge so much that I made a second card using the color combination.  This card features two retired stamp sets; SU Polka Dots & Paisley & Paisley Prints.  The card can serve as a thank you or valentine card.  I added a “thanks” sentiment; however, that can be removed and a valentine sentiment added.

I used the Stamping Color Resist Technique to create the front panel on the card. Using VersaMark Ink, I stamped the paisley stamp from the SU Polka Dots & Paisley Stamp Set around the piece of Neenah Solar White card stock.  I also used VersaMark Ink to stamp a heart around the card.  The heart stamp is from Catherine Pooler’s Candy Cane Stamp Collection.

I then added SU Clear Embossing Powder onto this panel and heat set it.  Using the colors of the Color Challenge (i.e., SU Soft Sky, Wisteria Wonder, and Wild Wasabi), I sponged the ink around the white card stock panel and rubbed off the ink on the embossing. I think it is amazing how the clear embossing powder turns white!  This process is the Color Resist Technique.

I then used two paisley heart stamps from the SU Paisley Prints stamp set, inked them with Wisteria Wonder and Wild Wasabi, and stamped them onto white card stock.  I cut out the hearts using the Hero Arts Hearts Infinity Dies.  I embossed the two small hearts with Dazzling Diamonds Glitter and adhered the three hearts onto the panel with double-sided foam tape.  I used the ODBD Thanks Die to cut out my “thanks” sentiment and finished the card.

Feedback I received from Splitcoastampers members is located HERE!


      THANKS DIE


Butterfly_1_1God’s Blessings!
Stamping With Guneaux Designs By Beverly Polen
Firm Reliance on Divine Providence!


 REVELATION 22:12-13 (NIV)

The writer of Revelations, St. John The Divine, shared the Word of God through Jesus Christ:  “Behold, I am coming soon!  My reward is with me, and I will give to everyone according to what he has done.  I am the  Alpha and the Omega, the First and the Last, the Beginning and the End.” 

SU Rose Garden Thinlits Inlay Thank You Card

Hello, my friends!  Thanks for stopping by to view my latest project; SU Rose Garden Thinlits Inlay Thank You Card!  As the title indicates, I used the Inlay Technique to create the card.

I made this card for two reasons: 1) to thank my wonderful daughter who always looks out for me, and 2) to respond to a Splitcoaststampers Color Challenge.  The colors for the challenge is SU Soft Sky, Wisteria Wonder, and Wild Wasabi.

Creating the card, I first used the SU Rose Garden Thinlits Dies to cut out a White, Soft Sky, Wild Wasabi, and Wisteria Wonder Rose.

I took the negative of the Soft Sky cut out and adhere it to my card base.  Then I attached the White Rose cut out within the Soft Sky cut out.

Using the Soft Sky, Wild Wasabi, and Wisteria Wonder cut out pieces, I inlaid them into the White Rose cut out.

I stamped my Thank You sentiment onto a cut out using Our Daily Bread Designs (ODBD) Many Thanks Stamp Set and ODBD Layered Lacey Ovals Dies.  To embellish the card, I added Clear Wink of Stella onto the rose and attached Wild Wasabi and Wisteria Wonder enamel dots (SU retired product) on two corners.  I then added three butterflies I cut out with a retired Sizzix Butterfly Wings Embosslit.

Hopefully you are inspired by my card, and leave a comment!  


SU Rose Garden Thinlits Inlay Thank You Card    SU Rose Garden Thinlits Inlay Thank You Card  


Butterfly_1_1God’s Blessings!
Stamping With Guneaux Designs By Beverly Polen
Firm Reliance on Divine Providence!


 JAMES 1:19-21

James writes to the twelve Jewish tribes that are scattered among the nations:  “My dear brothers, take note of this:  Everyone should be quick to listen, slow to speak and slow to become angry, for man’s anger does not bring about the righteous life that God desires.  Therefore, get rid of all moral filth and the evil that is so prevalent and humbly accept the word planted in you, which can save you.”

Step Ladder Center Cut Card Fold

Have you searched for instructions on how to make a Step Ladder Center Cut Card Fold?  I have searched and searched for a tutorial or video for this card fold, and I have found so many different measurements and names given for the fold.  I do not know what is correct.  However, I wanted to make a card with the fold, thus, I did a lot of guessing.  Here is my creation, and I will share a tutorial below about the card fold.

Step Ladder Center Cut Card

But first, I want to share a little information about the card.  There are three “steps” in the center of the card with each one higher than the other.  The third step in the back is the highest and includes an additional piece of card stock for the main feature of the card.

Step Ladder Center Cut Card Fold

The measurements I used for the card resulted in a 5″ x 7″ card, or an A7 size card.  I want to draw your attention to the third step that I mentioned includes an additional piece of card stock.  Look closely, and you will see an inlaid snowflake in white.  Look even closer and you will see twine behind the snowflake.  This technique is called the Twine Inlay Technique.  Here is a tutorial for this technique.  The following photo is a closeup of the results of using the technique.

I prepared this card for submission to a Splitcoaststampers “Technique Lovers Challenge”, which involved using the Twine Inlay Technique. I created this main feature of the card with the Memory Box Alpine Snowflake Die.

Enjoy the card, and leave a comment about it!


STEP LADDER CENTER CUT CARD FOLD TUTORIAL

  • Cut a 7″ x 10″ piece of card stock,
  • With the 7″ side at the top of a cutting tool (henceforth, trimmer) move the card stock to the left to the 1-5/8″ mark,
  • Move the cutting blade of your trimmer down to the 1″ mark,

  • Cut the card stock from the 1″ mark down to the 8-1/2″ mark,

  • The result is a 7-1/2″ cut,

  • Flip the card stock over, not around, so that the BACK that was face down is now face up (if you turn the card stock around 90 degrees instead, the cuts will not line up),
  • With the 7″ side at the top of the trimmer, move the card stock to the left to the 1-5/8″ mark,

  • Move the cutting blade of your trimmer down to the 1″ mark,

  • Cut the card stock from the 1″ mark down to the 8-1/2″ mark, resulting in the cuts on both sides lining up evenly,

  • Place the card stock onto a scoring tool with the 10″ side at the top and the cuts beginning at the 1″ mark against the left of the tool,

  • Beginning at the 1″ mark and at the first cut line, score down to the second cut line,

  • Score at the 2″ and 3-1/2″ within the two cut lines,

  • Score at the 5″ mark from the top of the card stock to the bottom,

  • Score at the 7-1/2″ mark within the two cut lines,

  • With the card stock cut and scored, begin folding the score lines as shown in this photo,

  • The Step Ladder Center Cut Card Fold will look like the following after folding.

  • With the card stock standing after the folding, it will look like this:

  • Decorate the card as desired.  If a piece of card stock with the main feature is added to the third step of the step ladder card, cut the piece at 3-11/16″ x 4-7/8″ so it will fit horizontally and vertically.   Of course die cuts or other elements can be added on the third step as a main feature.  Enjoy your creation.

Butterfly_1_1God’s Blessings!
Stamping With Guneaux Designs By Beverly Polen
Firm Reliance on Divine Providence!


 1 PETER 3:12-15 (NIV)

“For the eyes of the Lord are on the righteous and his ears are attentive to their prayer, but the face of the Lord is against those who do evil.  Who is going to harm you if you are eager to do good?  But even if you should suffer for what is right, you are blessed. Do not fear what they fear; do not be frightened.  But in your hearts set apart Christ as Lord.  Always be prepared to give an answer to everyone who asks you to give the reason for the hope that you have.”