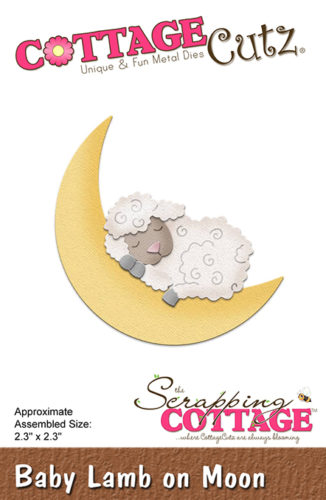
Hello, friends, and thanks for stopping by Guneaux Designs! Today I am a guest designer for the Scrapping Cottage Blog, and I have a lovely card featuring a recently released CottageCutz Baby Lamb on the Moon die. I think the baby lamb is so cute!
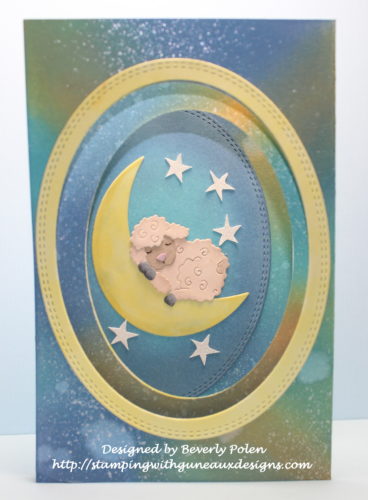
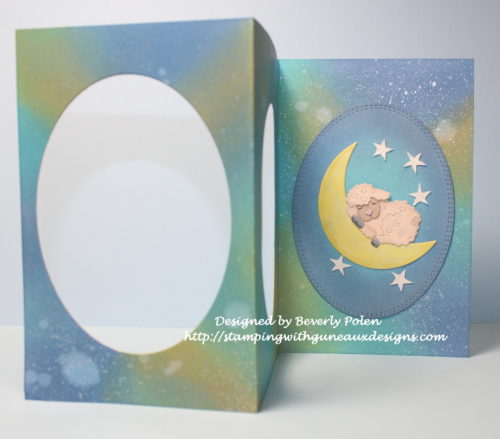
The card design is a Z-Fold with ovals cut out from the first and second sections. You can see through the ovals to the main element on the back section of the card, which is the CottageCutz Baby Lamb on the Moon. I have not seen before a Z-Fold card with the first two sections cut out for windows to see through to the main image on the back section. If there is no such design in the crafting world, I guess I just created a new Z-Fold card design. LOL!
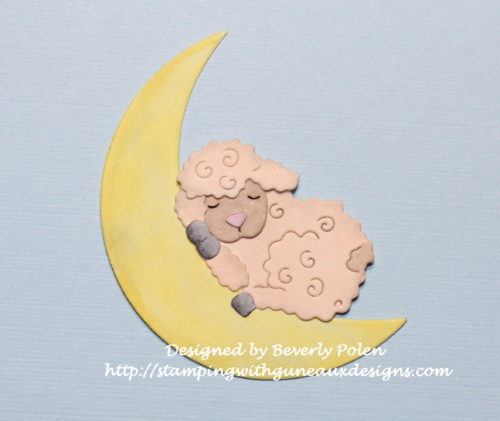
To create my Z-Fold card, I cut from white card stock the pieces from the lovely CottageCutz Baby Lamb on the Moon Die.
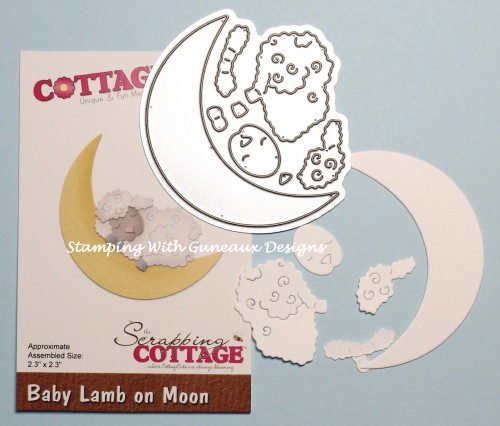
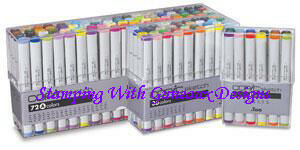
I colored the pieces with Copic Sketch Markers, adding a touch of gray to the moon. Afterwards, I glued the pieces together.
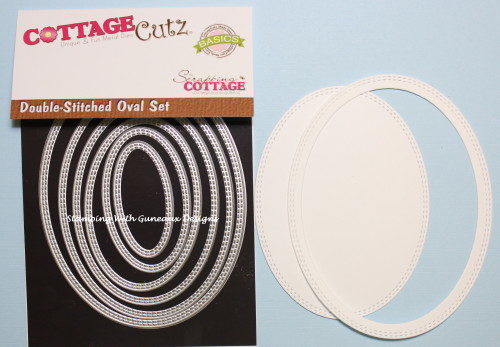
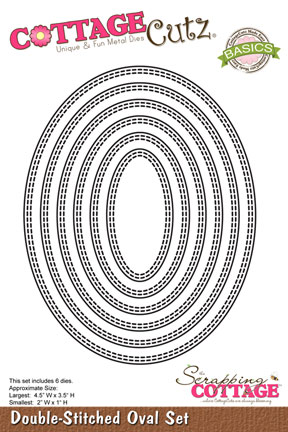
Using the second and third to the largest CottageCutz Double-Stitched Oval Dies, I cut out an oval and frame from white card stock. I later colored the frame with a yellow copic marker. I also cut a second frame with the largest and second to the largest dies and color it yellow.
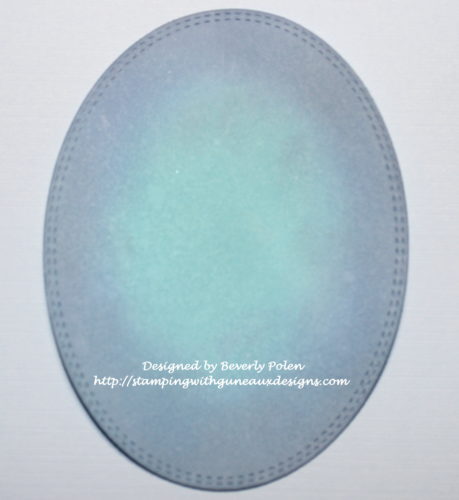
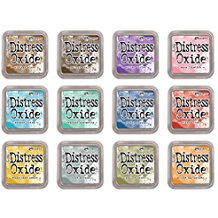
I colored the oval with two of the new Tim Holtz Oxide Ink Pads (i.e., faded jeans, and broken china). I used the lighter blue for the center of the oval for the moon’s glow.
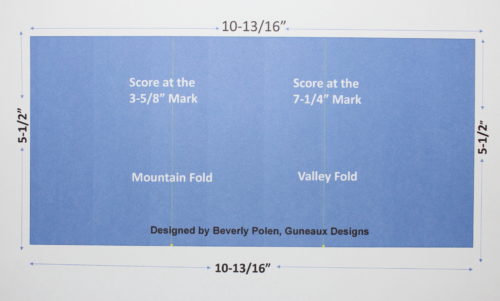
Then, I cut a 10-13/16″ x 5-1/2″ piece of white card stock and, on the 10-13/16″ side, scored at the 3-5/8″ and 7-1/4″ measurements. The 3-5/8″ score line is a mountain fold and the 7-1/4″ score line is a valley fold. At this point, I did not fold the card stock on the score lines until I finished additional steps.
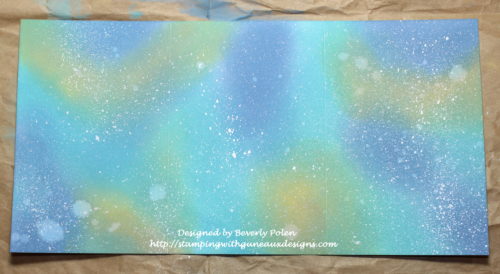
I wanted to create the appearance of a galaxy; therefore, I sponged three of the Tim Holtz Oxide Inks (i.e., fossilized amber, faded jeans, and broken china) onto the card stock and spritzed it lightly with water. After drying, I used a toothbrush and diluted white acrylic paint to splatter paint onto the colored card stock.
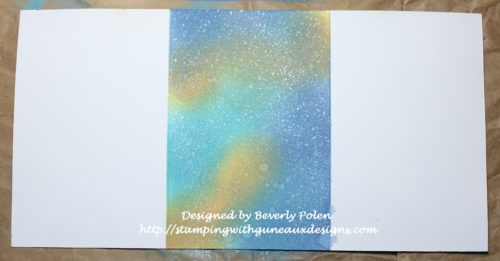
After that dried, I turned the card stock over and colored the center section with the same inks, spritzed with water, and splattered with acrylic paint. When the card is finished, this section will be the inside center fold.
Before folding on the score lines, I placed the second largest Double-Stitched Oval Die on the first section of the card and the third largest die on the center section, centering them as much as possible. I ran the card stock and dies through my die cutting machine.

I then folded the card on the score lines, and the following photo shows result.
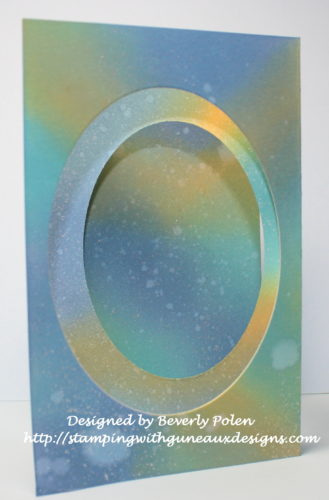
Next, I assembled the card by attaching the baby lamb and moon onto the oval previously colored and adhered it to the last section of the card. I used an old star stamp to stamp, emboss, fussy cut, and add to this piece.
Then I added the largest yellow frame to the first section of the card and the smaller yellow frame to the inside center section.
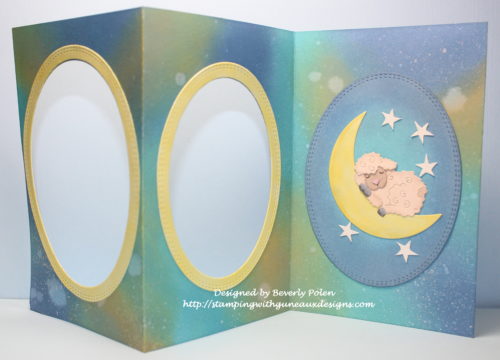
When the card is folded closed, the middle section that was inked on the back will show as the second section. It does not have a yellow oval frame on it.
I did not add other embellishments to the card as I did not want to distract from the “galaxy” effect on the card. A sentiment will be added when I know who is the recipient.
I hope you enjoy this card and take time to browse the recently released BABY and SCRIPT DESIGN DIES! The script dies are 25% off for a limited time! Have a blessed day!

 God’s Blessings!
Stamping With Guneaux Designs By Beverly Polen
Firm Reliance on Divine Providence!
JAMES 5:1-6
“Now listen, you rich people, weep and wail because of the misery that is coming upon you. Your wealth has rotted, and moths have eaten your clothes. Your gold and silver are corroded. Their corrosion will testify against you and eat your flesh like fire. You have hoarded wealth in the last days. Look! The wages you failed to pay the workmen who mowed your fields are crying out against you. The cries of the harvesters have reached the ears of the Lord Almighty. You have lived on earth in luxury and self-indulgence. You have fattened yourselves in the day of slaughter. You have condemned and murdered innocent men, who were not opposing you.”

 Step 2. Cut the largest rectangle from a piece of white card stock using the
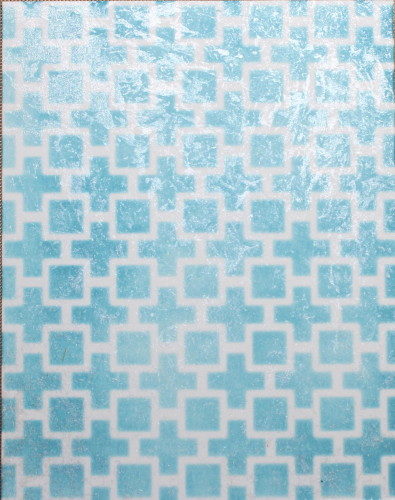
 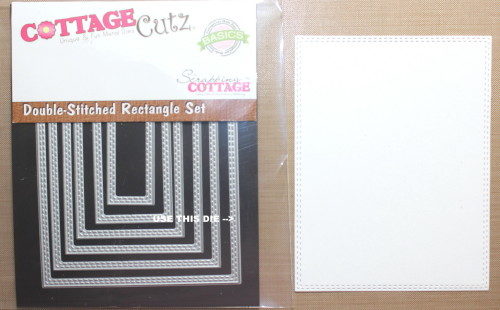 Step 3. Scrunch up a piece of saran wrap.
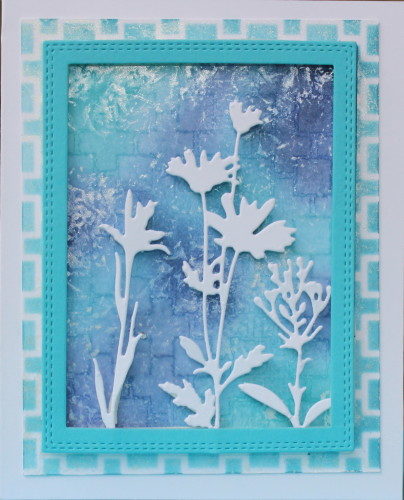
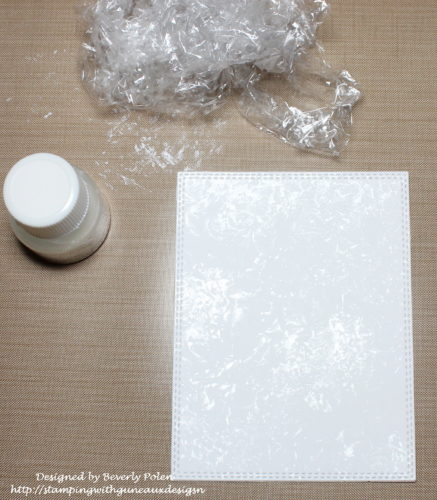 Step 7. After that dries, sponge on two or three different colors of distress ink (aqua and purple used for this card).
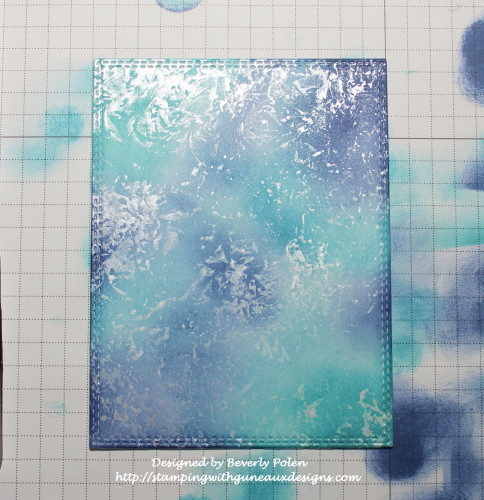 Step 8. Choose a stencil of your liking (I used a Catherine Pooler stencil), and place it over the colored panel.
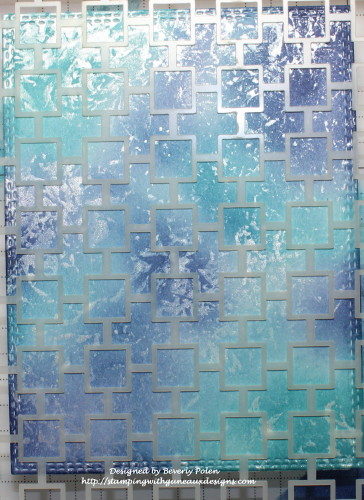 Step 10. Remove the stencil right away and lay a dry piece of paper towel across the panel to remove excess water (no rubbing).
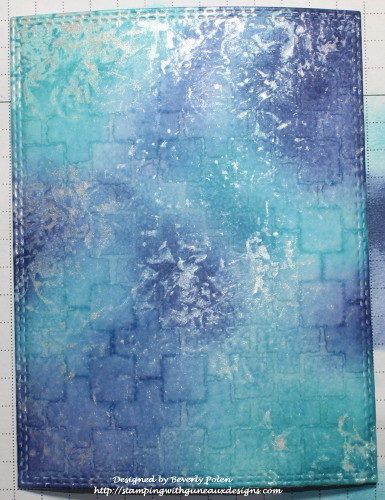 Step 12. While that is drying, cut a 3-3/4″ x 4-3/4″ piece of white card stock.
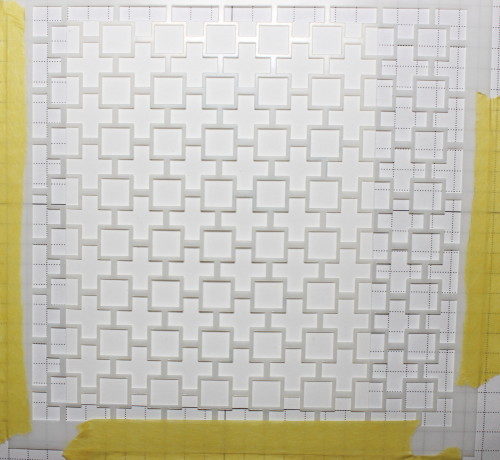
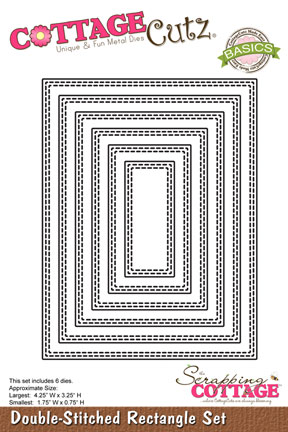
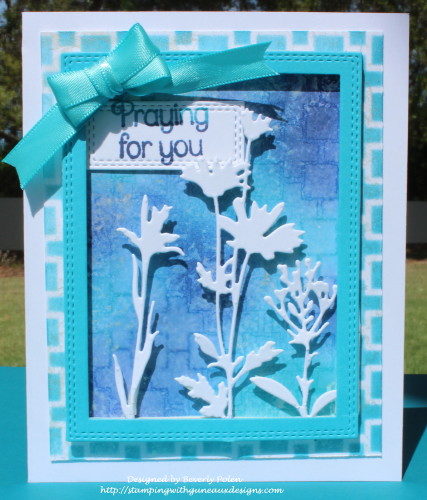
 Step 18. Select a piece of card stock that closely matches the lightest ink color used and cut out a rectangle frame using the two largest dies from the CottageCutz Double-Stitched Rectangle Set. This creates the following frame.
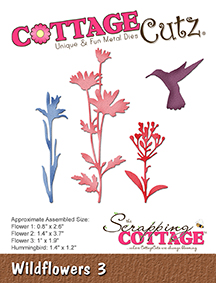
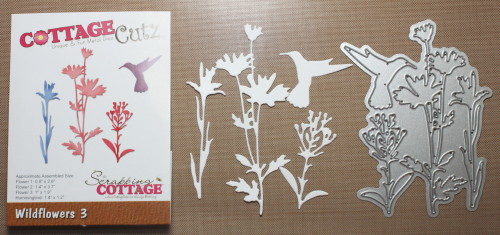
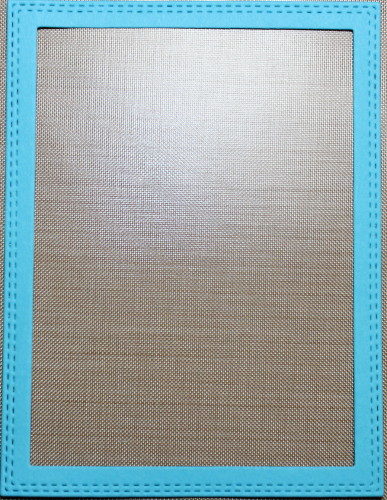 Step 19. Turn over the frame and with an adhesive, attach the white wildflowers to the bottom of the frame.
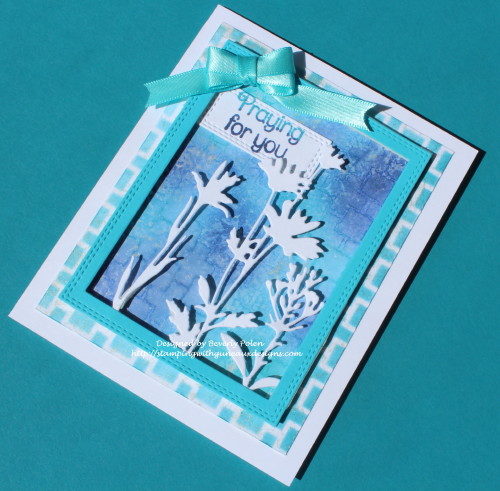
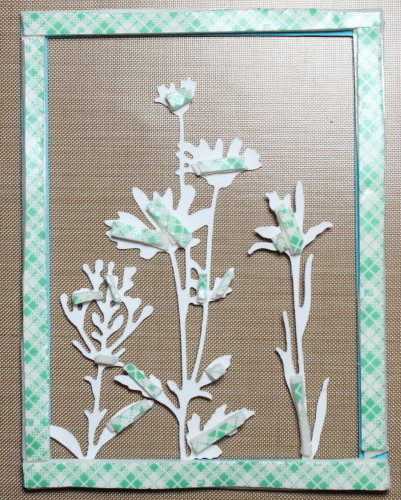 Step 21. Remove the paper from the tape and attach the frame to the rectangle completed in Step 11.