Hero Arts Textured Leaves

Hero Arts Textured Leaves

Hello, special friends!  I hope that anyone impacted by Hurricane Michael has survived the horrific storm.  I was impacted with high winds and bands of drenching rain.  Thank God, my friends and family are OK.  Those who were significantly impacted are in my prayers.

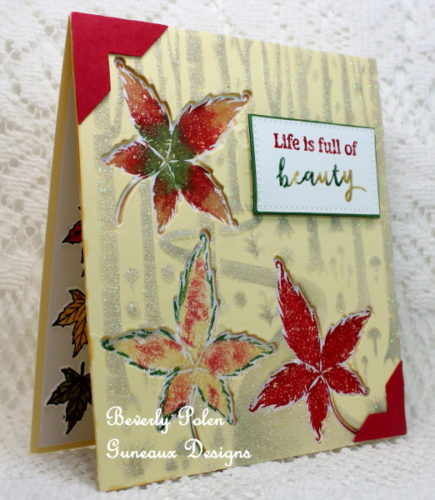
I am sharing with you a card I made for two of this week’s challenges on Splitcoaststampers.  One is the Color Challenge and the other the Free For All Challenge.  The Color Challenge is to use the color combination of Stampin’ Up!’s Real Red, Garden Green, and So Saffron with “dessert” to use a stencil on a project.  The Free For All Challenge was simply to use a stencil on a project.  This is the card I created, and it features Hero Arts Textured Leaves stamps and matching dies.


1 Thessalonians 5:26-18

“Be joyful always; pray continually; give thanks in all circumstances, for this is God’s will for you in Christ Jesus.”


Continue reading

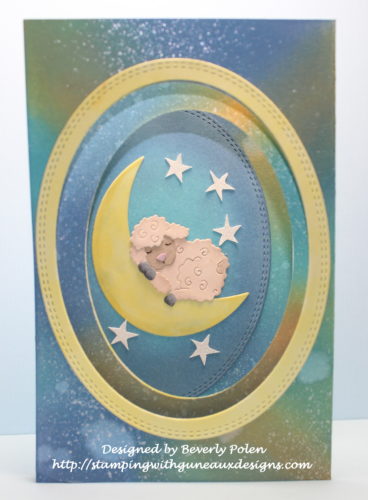
Baby Lamb and Starry Night

Hello, my crafty friends.  Thanks for stopping by to see my card, Baby Lamb and Starry Night. 
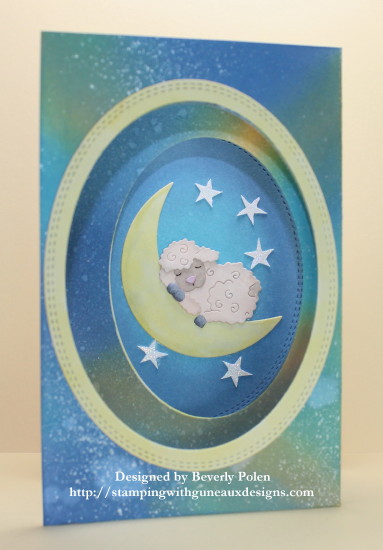
The Ways To Use It Challenge on Splitcoaststampers today is to include stars on a creation.  This card will be submitted for the challenge.

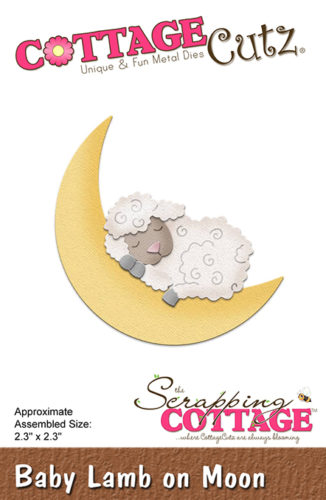
The main feature on this card is the CottageCutz Baby Lamb on Moon Die.  The card design is a Z-Fold with ovals cut out from the first and second sections.  You can see through the ovals to the main feature on the back section of the card.   I have not seen before a Z-Fold card with the first two sections cut out for windows to see through to the main image on the back section.  If there is no such design in the crafting world, I guess I just created a new Z-Fold card design.  LOL!

To create my Z-Fold card, I cut from white card stock the pieces from the lovely CottageCutz Baby Lamb on the Moon Die.
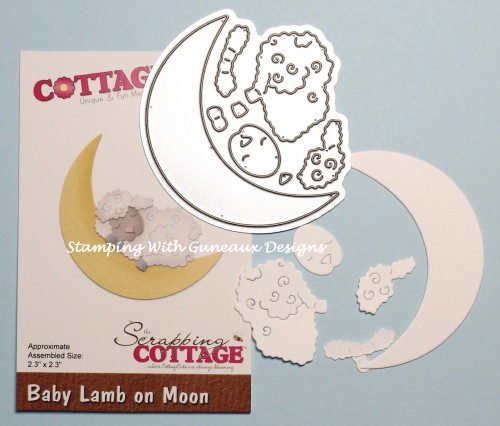
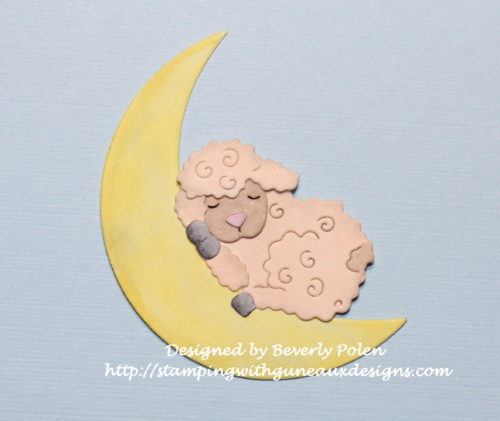
I colored the pieces with Copic Sketch Markers, adding a touch of gray to the moon. Afterwards, I glued the pieces together.
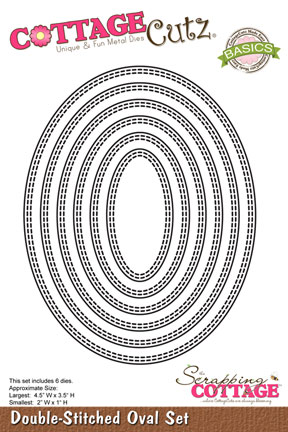
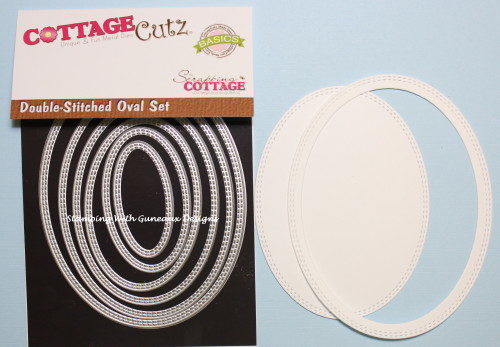
Using the second and third to the largest CottageCutz Double-Stitched Oval Dies, I cut out an oval and frame from white card stock.  I later colored the frame with a yellow copic marker.  I also cut a second frame with the largest and second to the largest dies and colored it yellow.
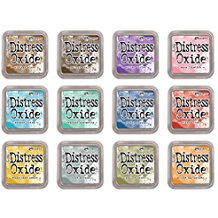
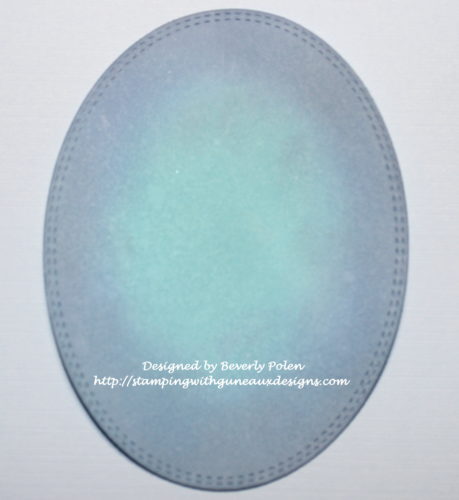
I colored this oval with two of the new Tim Holtz Oxide Ink Pads (i.e., faded jeans, and broken china).  I used the lighter blue for the center of the oval for the moon’s glow.
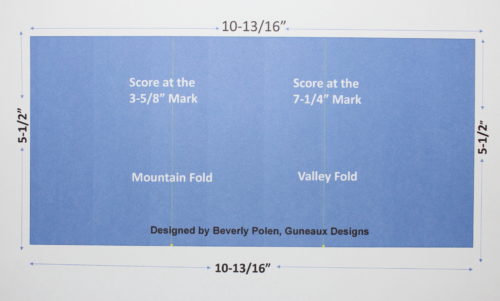
Then, I cut a 10-13/16″ x 5-1/2″ piece of white card stock and, on the 10-13/16″ side, scored at the 3-5/8″ and 7-1/4″ measurements.  The 3-5/8″ score line is a mountain fold and the 7-1/4″ score line is a valley fold.  At this point, I did not fold the card stock on the score lines until I finished additional steps.
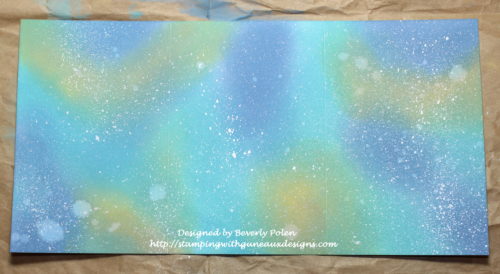
I wanted to create the appearance of a galaxy; therefore, I sponged three of the Tim Holtz Oxide Inks (i.e., fossilized amber, faded jeans, and broken china) onto the card stock and spritzed it lightly with water.  After drying, I used a toothbrush and diluted white acrylic paint to splatter paint onto the colored card stock.
After that dried, I turned the card stock over and colored the center section with the same inks, spritzed with water, and splattered with acrylic paint. When the card is finished, this section will be the inside center fold.
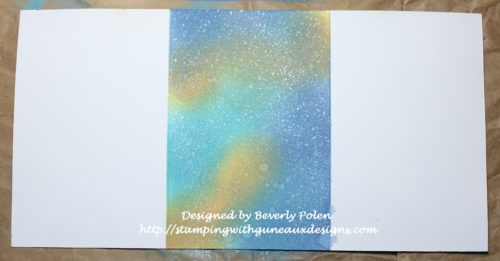
Before folding on the score lines, I placed the second largest Double-Stitched Oval Die on the first section of the card and the third largest die on the center section, centering them as much as possible.  I ran the card stock and dies through my die cutting machine.
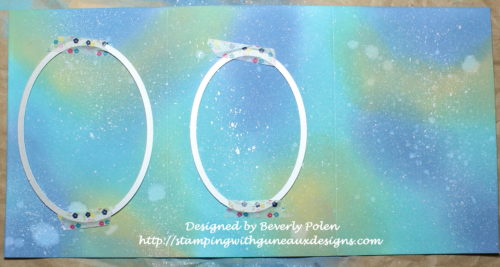
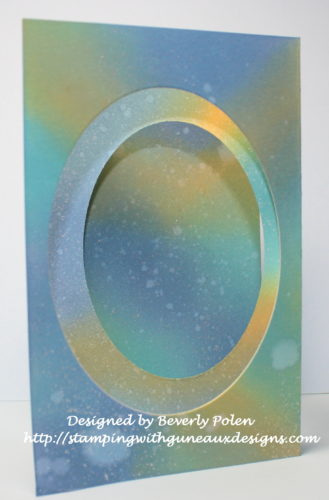
I then folded the card on the score lines, and the following photo shows result.
Next, I assembled the card by attaching the baby lamb and moon onto the oval previously colored and adhered it to the last section of the card.  I used an old star stamp to stamp, emboss, fussy cut, and add to this piece.
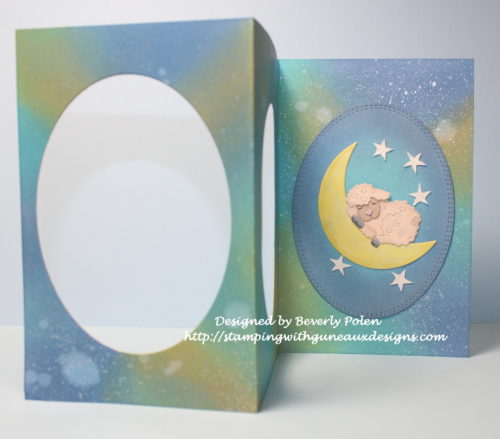
Then I added the largest yellow frame to the first section of the card and the smaller yellow frame to the inside center section.
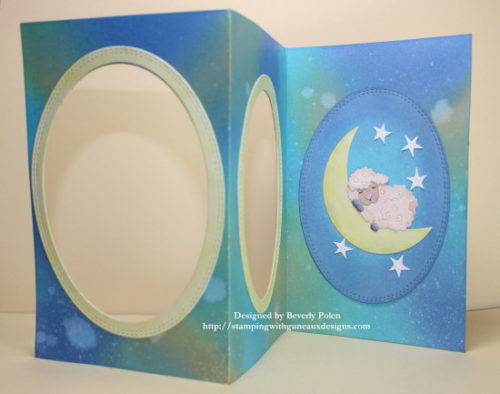
When the card is folded closed, the middle section that was inked on the back will show as the second section.  It does not have a yellow oval frame on it.
I did not add other embellishments to the card as I did not want to distract from the “galaxy” effect on the card.  A sentiment will be added when I know who is the recipient.

I hope you enjoyed my Baby Lamb and Starry Night card!


Butterfly_1_1God’s Blessings!
Stamping With Guneaux Designs By Beverly Polen
Firm Reliance on Divine Providence!


1 Timothy 2:5

“For there is one God and one mediator between God and men, the man Christ Jesus, who gave himself as a ransom for all men – the testimony given in its proper time.”
Guneaux Designs Strumming Guitar

What does the word, strings, bring to your mind?  For me, it is my Dad’s old Gibson Dove Custom guitar.  That thought generated this Guneaux Designs Strumming Guitar card.

Why would the word strings come to my mind?  It is because today’s Splitcoaststampers Clean and Simple Challenge was to think of strings when creating and submitting a card for the challenge.  The image showcased on this Guneaux Designs Strumming Guitar card is a digital image that I downloaded and colored.  I used Copic Sketch Markers in shade of browns and blues to color it.
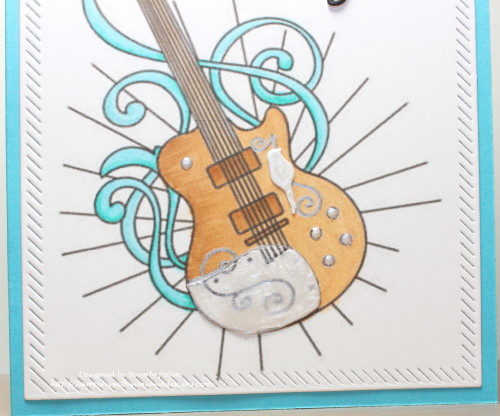
I wanted to add a couple elements to the guitar that reminded me of my Dad’s guitar, which I have now because of his passing.  The two elements are the bird on the right and the white panel at the bottom right of the guitar.  I added white Crystal Drops to these elements to give them the look of mother of pearl.  My Dad’s guitar has a mother of pearl dove and other mother of pearl elements on it.  I thought the Crystal Drops would be perfect to replicate that.

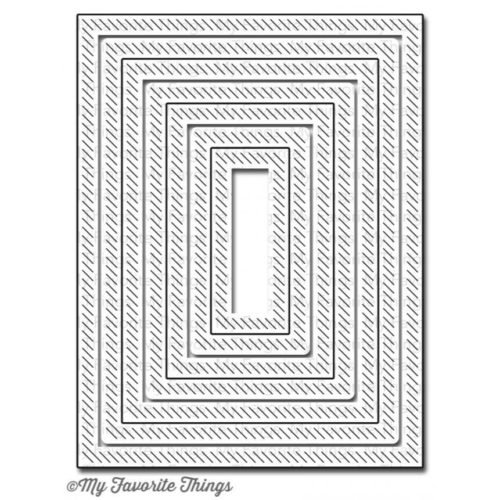
After finishing with the image, I used a die from My Favorite Things to cut the white panel, and attached it to a turquoise card base.  Because the Guneaux Designs Strumming Guitar card is a clean and simple one, that’s all, folks!  Thank you for stopping by!


The primary supplies used for this card are:


Butterfly_1_1God’s Blessings!
Stamping With Guneaux Designs By Beverly Polen
Firm Reliance on Divine Providence!


MATTHEW 5:8-10

“Now when Jesus had entered Capernaum, a centurion came to Him, pleading with Him, saying, ‘Lord, my servant is lying at home paralyzed, dreadfully tormented.’ And Jesus said to him, ‘I will come and heal him.’ The centurion answered and said, ‘Lord, I am not worthy that You should come under my roof. But only speak a word, and my servant will be healed… ‘When Jesus heard it, He marveled, and said to those who followed, ‘Assuredly, I say to you, I have not found such great faith, not even in Israel!’ 

SU Polka Dots & Paisley & Paisley Prints

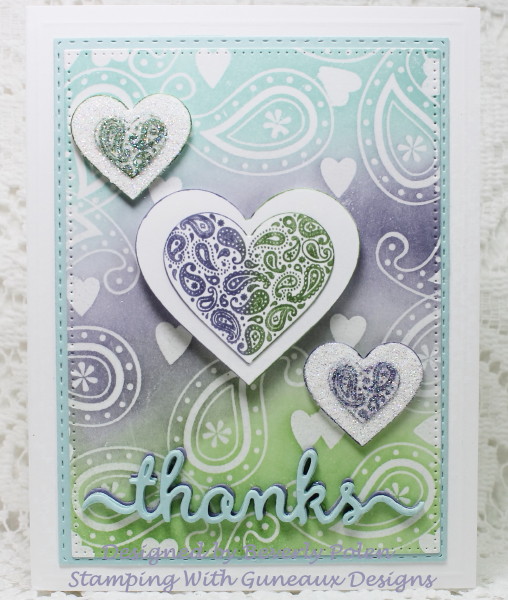
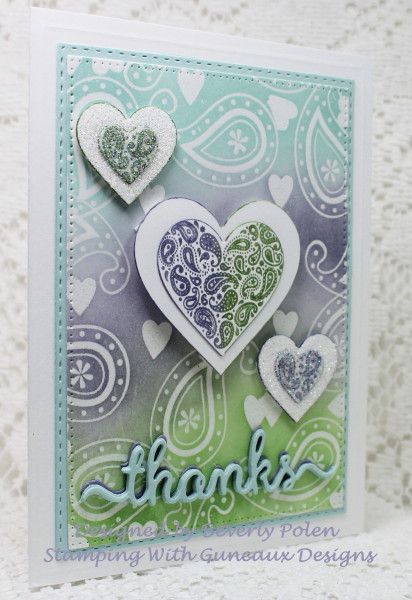
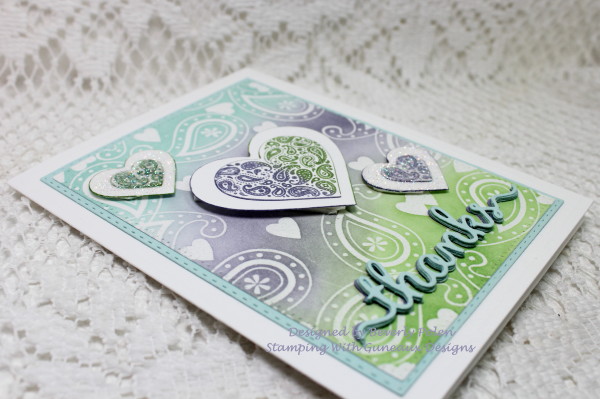
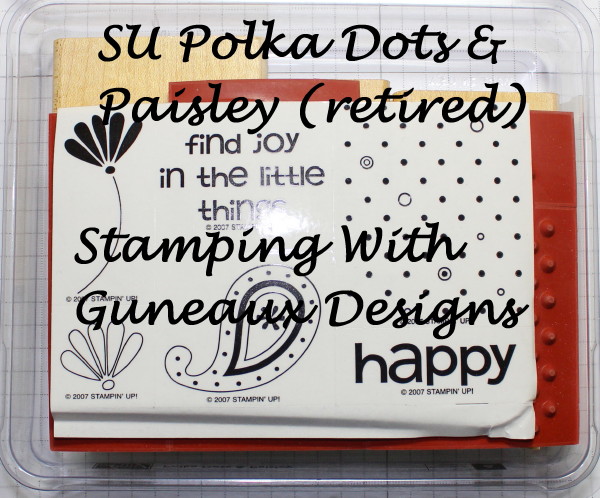
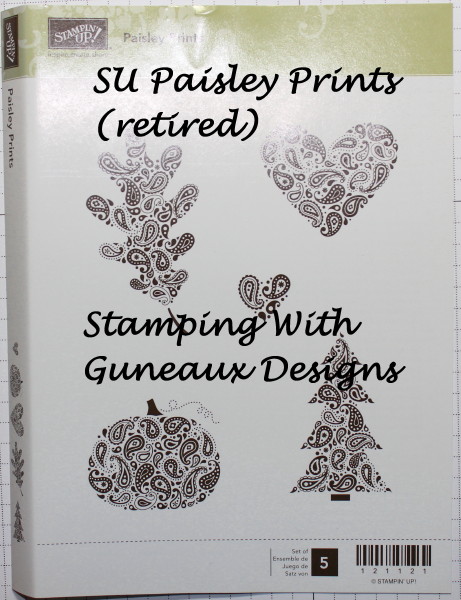
I enjoyed last week’s Splitcoaststampers Color Challenge so much that I made a second card using the color combination.  This card features two retired stamp sets; SU Polka Dots & Paisley & Paisley Prints.  The card can serve as a thank you or valentine card.  I added a “thanks” sentiment; however, that can be removed and a valentine sentiment added.

I used the Stamping Color Resist Technique to create the front panel on the card. Using VersaMark Ink, I stamped the paisley stamp from the SU Polka Dots & Paisley Stamp Set around the piece of Neenah Solar White card stock.  I also used VersaMark Ink to stamp a heart around the card.  The heart stamp is from Catherine Pooler’s Candy Cane Stamp Collection.

I then added SU Clear Embossing Powder onto this panel and heat set it.  Using the colors of the Color Challenge (i.e., SU Soft Sky, Wisteria Wonder, and Wild Wasabi), I sponged the ink around the white card stock panel and rubbed off the ink on the embossing. I think it is amazing how the clear embossing powder turns white!  This process is the Color Resist Technique.

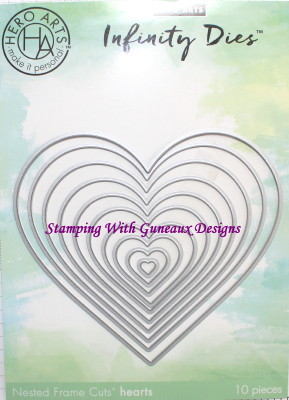
I then used two paisley heart stamps from the SU Paisley Prints stamp set, inked them with Wisteria Wonder and Wild Wasabi, and stamped them onto white card stock.  I cut out the hearts using the Hero Arts Hearts Infinity Dies.  I embossed the two small hearts with Dazzling Diamonds Glitter and adhered the three hearts onto the panel with double-sided foam tape.  I used the ODBD Thanks Die to cut out my “thanks” sentiment and finished the card.

Feedback I received from Splitcoastampers members is located HERE!


      THANKS DIE


Butterfly_1_1God’s Blessings!
Stamping With Guneaux Designs By Beverly Polen
Firm Reliance on Divine Providence!


 REVELATION 22:12-13 (NIV)

The writer of Revelations, St. John The Divine, shared the Word of God through Jesus Christ:  “Behold, I am coming soon!  My reward is with me, and I will give to everyone according to what he has done.  I am the  Alpha and the Omega, the First and the Last, the Beginning and the End.” 

Spellbinders Astoria Decorative Accents and Labels

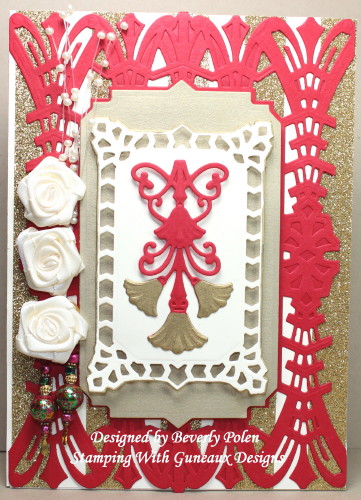
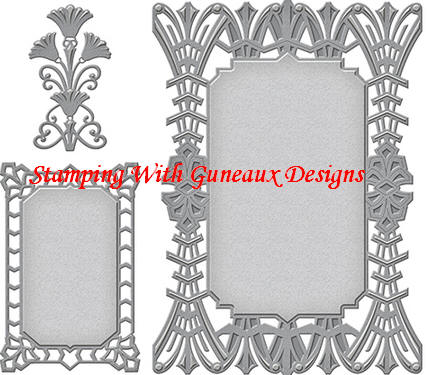
I have a card share today that is not my normal type of card.  It is an Art Deco card featuring the Spellbinders Astoria Decorative Accents and Labels Dies.

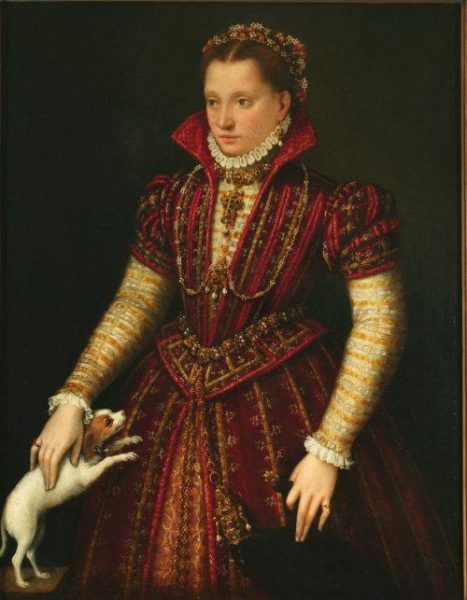
I created the card for Splitcoaststampers’ Inspiration Challenge hosted by Steph (SmilynStef).  She picked this great site, “I don’t wear dresses”, from which to draw inspiration when creating. This photo on the site was my inspiration for the card.  It is a portrait of a noblewoman, ca. 1580.  You can read about the portrait HERE and see a larger picture of her HERE.

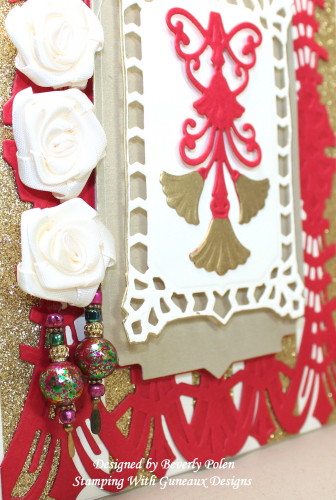
I love the red and gold in the woman’s dress and its high collar. I thought the red die cut panel would be a good representation of the high collar as well as reflecting the color of her dress. I used SU Brush Gold Card Stock to reflect the gold in the dress. I also used SU Gold Metallic Tape behind the red panel. To the left of the card, I added ribbon flowers and some beads above and below the flowers.


I enjoyed making the card, and I hope you enjoy viewing it.


THE PRIMARY PRODUCTS USED FOR THIS PROJECT


Butterfly_1_1God’s Blessings!
Stamping With Guneaux Designs By Beverly Polen
Firm Reliance on Divine Providence!


ISAIAH 45:22-25

“Turn to me and be saved, all you ends of the earth; for I am God and there is no other. By myself I have sworn, my mouth has uttered in all integrity a word that will not be revoked; Before me every knee will bow; by me every tongue will swear.  They will say of me, ‘In the Lord alone are righteousness and strength.’  All who have raged against him will come to him and be put to shame.  But in the Lord all the descendants of Israel will be found righteous and will exult.”

Taylored Expressions Floating Hearts Cutting Plate

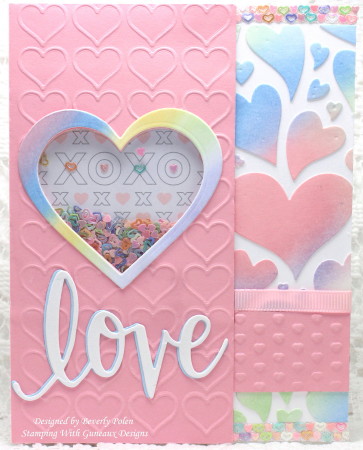
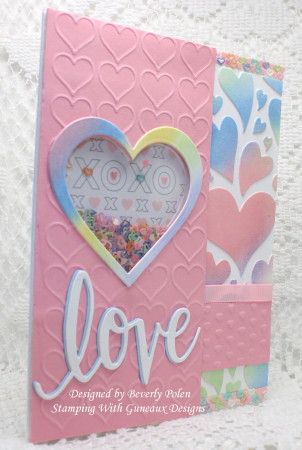
Six more sleeps until it is Christmas Day!!!  Hello, everyone!  I decided that I am not making any more Christmas cards for this year.  So, I have moved on to a Valentine’s Day card featuring the Taylored Expressions Floating Hearts Cutting Plate.  I love the results of this cutting plate, which shows on the RIGHT side of my card.

To create the card, I sponged SU Classic Inks onto a piece of white card stock using a sponge dauber.  I used Bashful Blue, Pink Pirouette, Pistachio Pudding, So Saffron, and Lovely Lilac ink.  Using the sponged and colored piece of card stock and the Taylored Expressions Floating Hearts Cutting PlateI die cut the hearts.  Leaving the hearts within the cutting plate, I laid it over a piece of white card stock and pushed each heart out of the plate, ensuring the positioning was the same as the plate.  I added an adhesive to attached them permanently to the card stock.

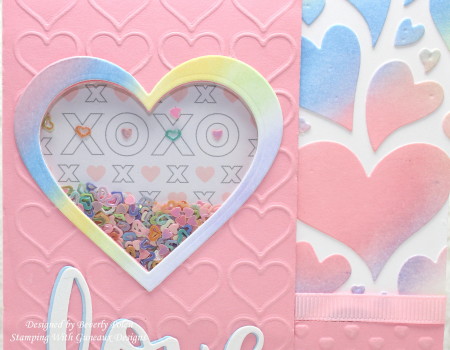
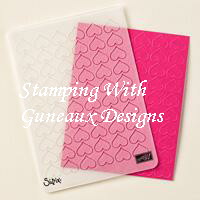
I used the SU Happy Hearts Embossing Folder to emboss a piece of Pink Pirouette card stock and then cut out a heart in the center using a die from the Hero Arts’ Nesting Hearts Infinity Dies I used the same piece of sponged, colored card stock to cut out a heart frame with the same heart dies.  (NOTE: If you are looking for some wonderful heart dies, these will make you happy.  There are 10 dies in the set and they truly nest perfectly within each other.)  As you can see below, I used the heart cutouts to create a heart shaker box.  I inserted some miniature hearts sequins inside the heart, which is covered with a piece of transparency.

I made the “love” sentiment with a die from Hero Arts’ Love Stamp & Cut.  Lastly, I submitted this card for a Splitcoaststampers Sketch Challenge.

Thank you for stopping by!  Hopefully my card brings you inspiration!


Paper:  Neenah Solar White Card StockSU Pink Pirouette Card Stock, Retired SU DSP

Ink:  SU Bashful Blue, Pink Pirouette, Pistachio Pudding, So Saffron, and Lovely Lilac

Accessories:  Taylored Expressions Floating Hearts Cutting Plate, SU Happy Hearts Embossing Folder, Hero Arts’ Love Stamp & Cut, Hero Arts’ Nesting Hearts Infinity Dies, and Sponge Dauber


   DC175 Love Stamp & Cut   


Butterfly_1_1

God’s Blessings!

Stamping With Guneaux Designs By Beverly Polen

Firm Reliance on Divine Providence!

The birth of Jesus Christ (cont’d):  “All this took place to fulfill what the Lord had said through the prophet:  “The virgin will be with child and will give birth to a son, and they will call him Immanuel” — which means, “God with us.”  When Joseph woke up, he did what the angel of the Lord had commanded him and took Mary home as his wife.  But he had no union with her until she gave birth to a son.  And he gave him the name Jesus.”  Matthew 1:22-25  (Also see Isaiah 7:14 for the reference prophet.)