CP Paisley Peacock Stamp Set

CP Paisley Peacock Stamp Set

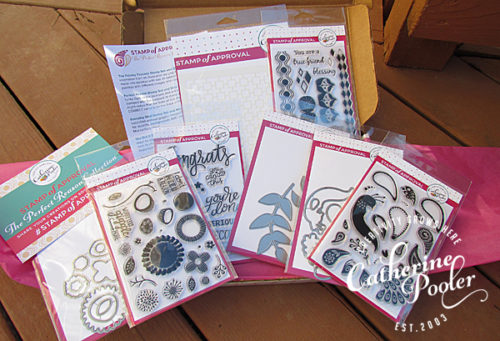
Perfect Reason Collection

Hello, my friends!  Do you like peacocks?  I think peacocks are one of God’s splendid creations.  The males are more beautiful and are typically blue and green.  They are known for their iridescent tails with colorful “eye” markings of blue, gold, red, and other hues.  The large train of feathers is used in mating rituals and courtship displays.  It can be arched into a magnificent fan that reaches across the bird’s back and touches the ground on either side.

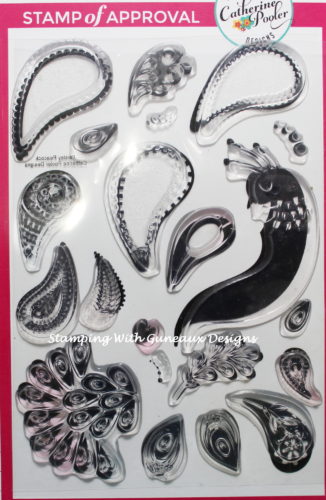
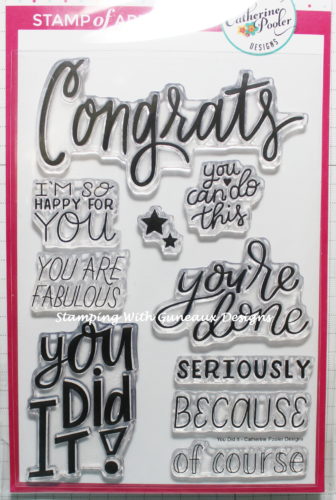
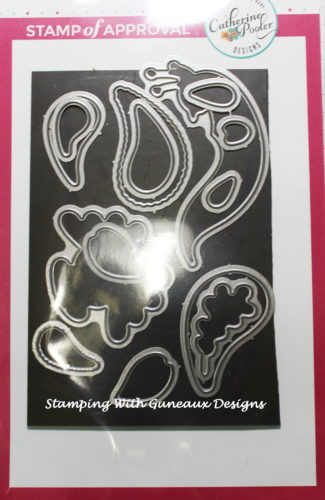
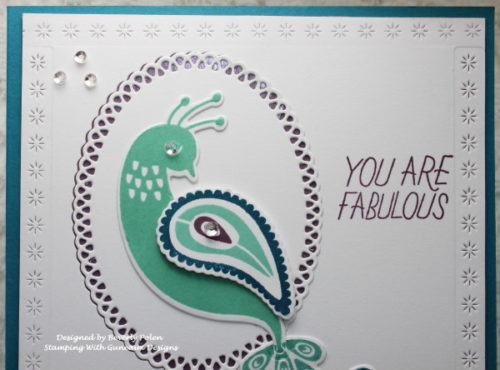
I am seeing a lot of peacock stamps being showcased on various crafting websites.  This week I receive some peacock stamps and wanted to feature them on a card.  Therefore my card share today is of a beautiful peacock with his long train of feathers.  It features Catherine Pooler’s (CP) recent released stamp set, CP Paisley Peacock Stamp Set and a matching die set. This set has 21 great stamps, and my card only features 7 of those. Catherine’s Perfect Reason Collection includes this stamp set and matching dies along with three other stamp sets, two other sets of dies, and one stencil.  As of this writing, she has only 15% of her collection available and those will sell fast.
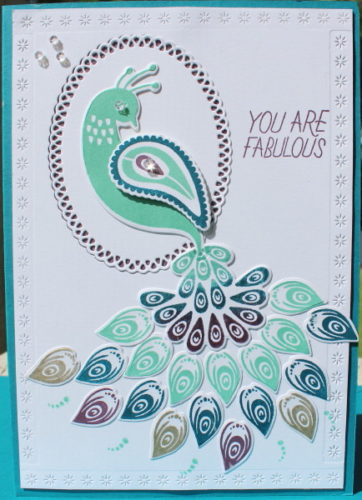
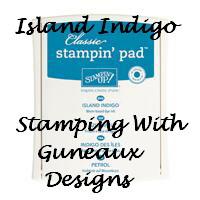
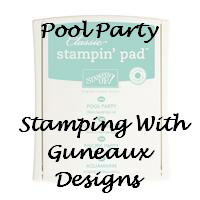
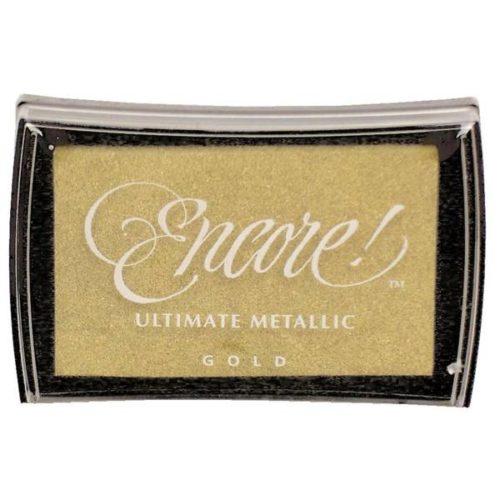
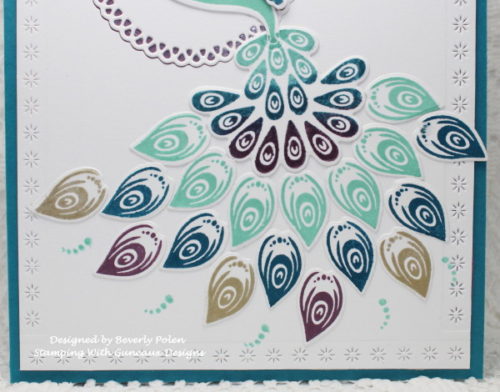
The colors I used when creating this card were SU Pool Party, Island Indigo, Perfect Plum, and Encore Metallic Gold.  These colors are those of a Splitcoaststampers Color Challenge to which I submitted my card.  I stamped seven of the stamps in these colors and die cut each piece.  I have 21 die cuts creating the peacock.

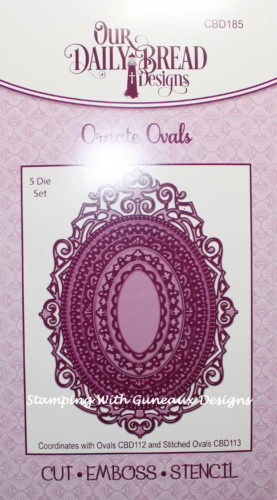
To spotlight the body of the peacock, I cut out an oval using a die from the ODBD Ornate Ovals on the top left corner of the Solar White Card Stock.  I attached a piece of SU Perfect Plum card stock behind the oval and attached both pieces into the negative cut out panel.  I then attached the peacock’s body and one wing.
To develop the peacock’s train of feathers, I added each die cut feather in rows.  I included three gold feathers to incorporate a touch of gold for the Color Challenge.
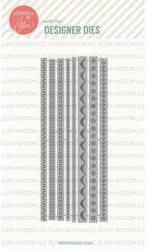
I used Essentials by Ellen Stitching Lines dies to add the embossed border on the card.  I then added clear sequins to the eye and wing of the peacock, and to the top left of the card.
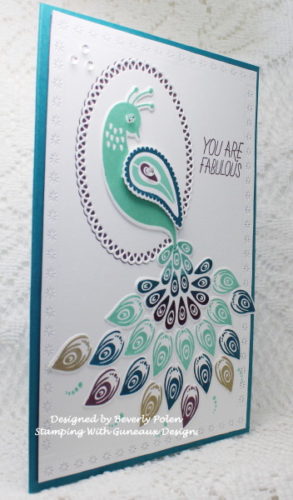
I hope you are inspired by my card featuring CP Paisley Peacock Stamp Set!  Here is a picture of the contents of Catherine’s  Perfect Reason Collection.

          https://www.ellenhutson.com/a-cardstock-neenah-classic-crest-solar-white-25-pk/                   


Butterfly_1_1God’s Blessings!
Stamping With Guneaux Designs By Beverly Polen
Firm Reliance on Divine Providence!


MATTHEW 7:15-17

Jesus said:  “Watch out for false prophets.  They come to you in sheep’s clothing, but inwardly they are ferocious wolves.  By their fruit you will recognize them.  Do people pick grapes from thornbushes, or figs from thistles?  Likewise every good tree bears good fruit, but a bad tree bears bad fruit.”

SU Eat Chocolate Stamp Set

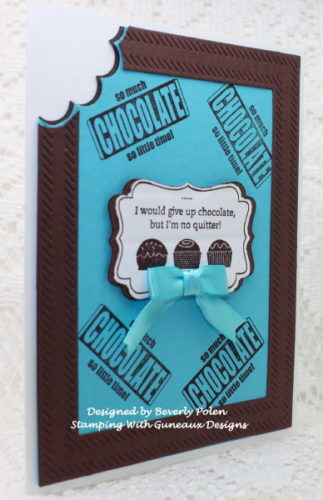
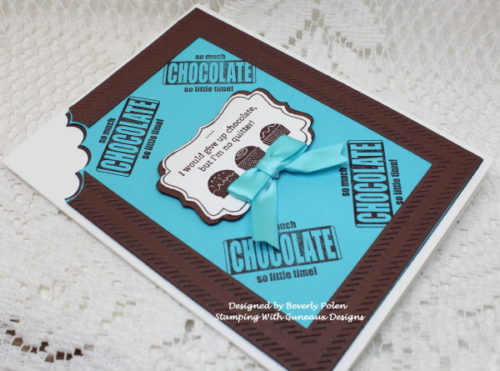
Good afternoon!  I have another card to share with you today.  This card features the Stampin’ Up! (SU) Eat Chocolate Stamp Set that retired years ago.  I created this card for the Splitcoaststampers Clean and Simple Challenge, CAS417, for today.  The challenge is to “show chocolate” on a project!

I have had this SU Eat Chocolate stamp set for years and had not used it until today. When I read the text of the Clean and Simple Challenge, I knew which stamp set I would use, but first I had to find it!  I catalog my stamps and store them in alpha order.  However, I could not remember the name of the stamp set, so I had to search to find it.  I have so many of Stampin’ Up! stamp sets and many have not been used.  I used to be one a SU Demonstrator, and when catalogs were issued, I wanted everything in them.  Thus, I have sets that have never been used!  I guess that is a hazard of being an SU Demonstrator!

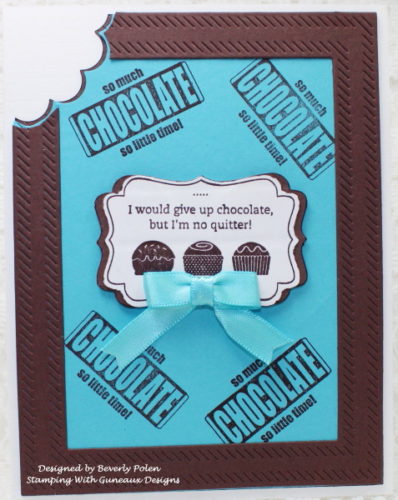
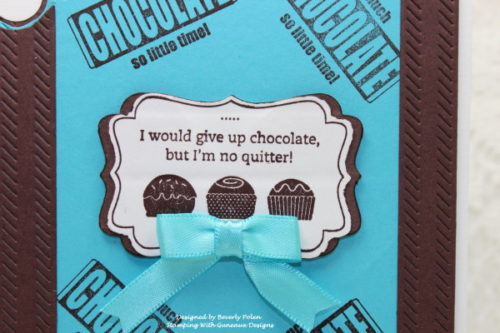
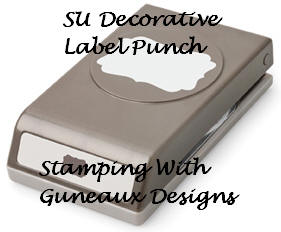
For the card, I decided to use SU Tempting Turquoise and Chocolate Chip card stock.  I love those two colors together.  I stamped the sentiment onto a piece of Neenah Solar White Card Stock in Chocolate Chip Ink.  I cut it out with a SU Decorative Label Punch, and also a Chocolate Chip Card Stock mat for the sentiment.  I tied a turquoise bow and attached it to the bottom of the sentiment.

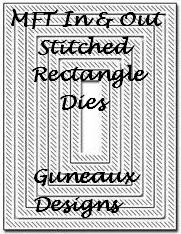
I then randomly stamped in chocolate chip ink another stamp from the set.  This stamp image says, “So Much Chocolate So Little Time!”.  I wanted a chocolate chip border around the turquoise panel, and I created it with the lovely MFT In and Out Diagonal Stitched Rectangle Dies.  Before attaching each layer, I used a scallop circle punch to cut out the top left corner, which gives the appearance that someone took a bite of chocolate from the card.  LOL

Thank you so much for stopping in and leaving comments about the card!


Supplies used that have not retired:


Butterfly_1_1God’s Blessings!
Stamping With Guneaux Designs By Beverly Polen
Firm Reliance on Divine Providence!


MATTHEW 7:24-28

While on a mountainside and teaching his disciples, Jesus said, “Therefore everyone who hears these words of mine and puts them into practice is like a wise man who built his house on the rock.  The rain came down, the streams rose, and the winds blew and beat against that house; yet it did not fall, because it had its foundation on the rock.  But everyone who hears these words of mine and does not put them into practice is like a foolish man who built his house on sand.  The rain came down, the streams rose, and the winds blew and beat against that house, and it fell with a great crash.  When Jesus had finished saying these things, the crowds were amazed at his teaching, because he taught as one who had authority, and not as their teachers of the law.”
ODBD Heart and Soul Collection

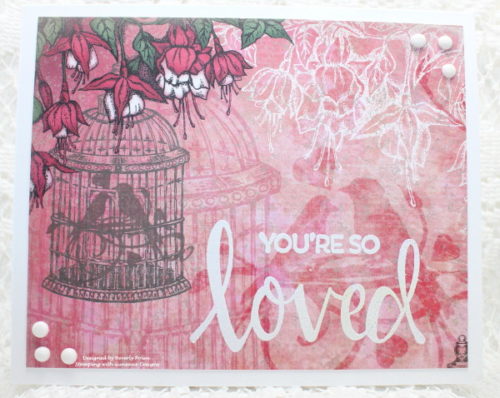
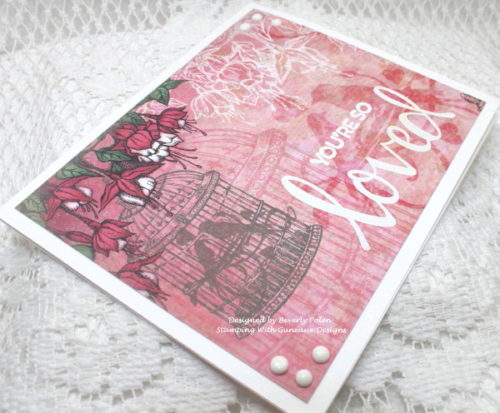
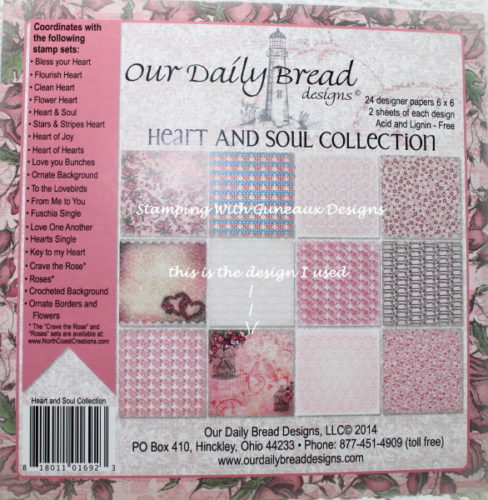
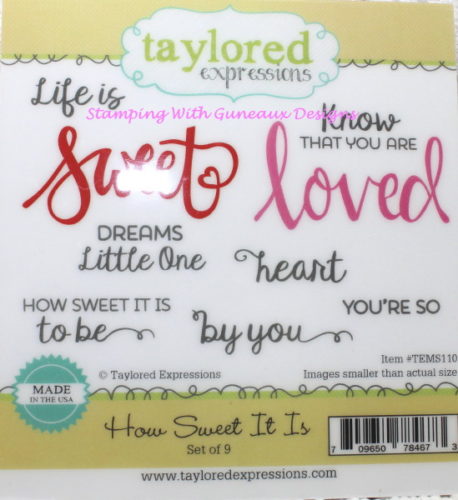
Hello, my friends!  So glad you stopped by today to see my clean and simple card I made with the ODBD Heart and Soul Collection designer paper.  I created this card for Splitcoaststampers KelliJo’s Clean and Simple Challenge, CAS416, to create a sentiment-only card.  My card consists of designer paper, a sentiment, and crystal drops. I simply used a piece of designer paper that I stamped with a “You’re So Loved” sentiment using VersaMark Ink and White Embossing Powder.  I added crystal drops on two corners and adhered the paper to a white card base.
This is the Our Daily Bread’s Heart and Soul Collection Designer Paper that I used.  I’ve identified the design I used on the card in the picture.

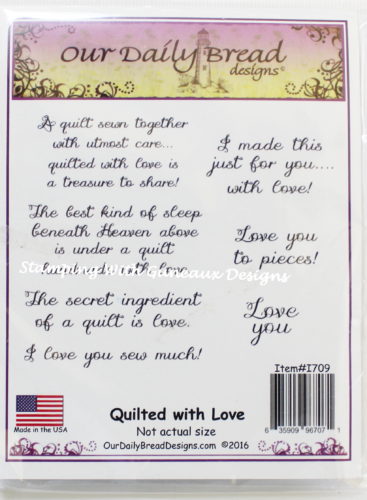
This is the stamp set I used for the sentiment.

Now this is a very Clean and Simple card, don’t you agree?  Thanks for stopping by and I hope you have a blessed week!


Butterfly_1_1God’s Blessings!
Stamping With Guneaux Designs By Beverly Polen
Firm Reliance on Divine Providence!


MATTHEW 6:1-4

Jesus said:  “Be careful not to do your ‘acts of righteousness’ before men, to be seen by them.  If you do you will have no reward from your Father in heaven.  So when you give to the needy, do not announce it with trumpets, as the hypocrites do in the synagogues and on the streets, to be honored by men.  I tell you the truth, they have received their reward in full.  But when you give to the needy, do not let your left hand know what your right hand is doing, so that your giving may be in secret.  Then your Father, who sees what is done in secret, will reward you.

Paper Purse Card with SU Paisley Petals

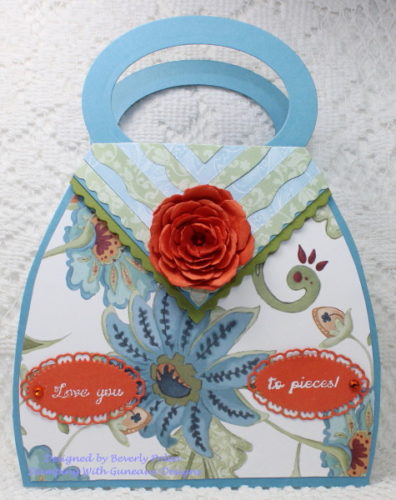
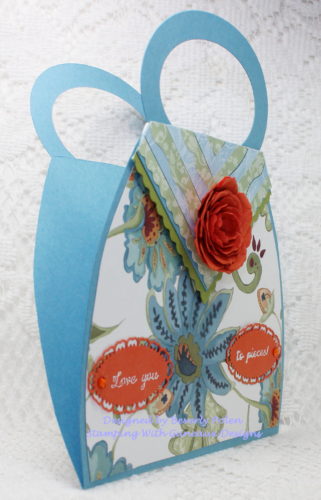
Welcome, my friends!  Yesterday I free-handed a Paper Purse Card with SU Paisley Petals DSP.   I designed this paper purse card for a challenge to create a card in a shape other than the normal rectangle or square.

Paper Purse Card with SU Paisley Petals

Copyright – Stamping With Guneaux Designs

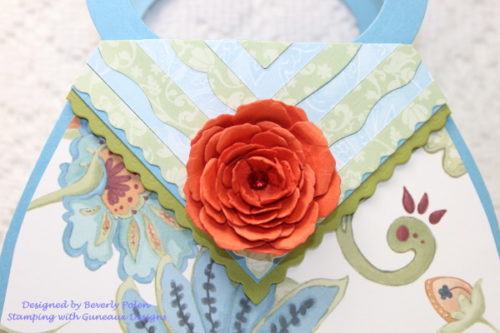
Using my personally-designed template, I created the paper purse card base and handles with Marina Mist card stock.  I used Stampin’ Up!’s lovely retired Paisley Petals DSP on the front and back of the card base.  I made the top flap on the paper purse card with the same DSP using an Impression Obsession 6 in 1 frames die.  The die is one die that cuts out 6 different frames and they nest together perfectly.  I used the 6 frames cut from the two DSP designs, and alternated them on the flap.  I attached that onto a piece of Old Olive card stock.  I attached the flap to the card base with foam tape.  I created a Tangerine Tango rose with a Swarovski Crystal in the center and attached it to the purse flap.

Paper Purse Card with SU Paisley Petals

Copyright – Stamping With Guneaux Designs

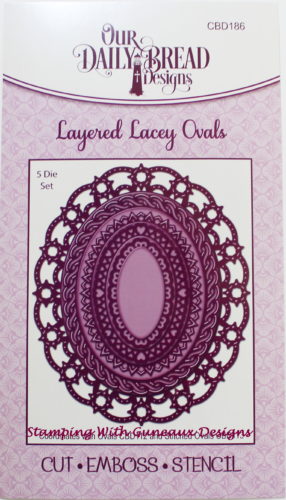
Using an ODBD oval die, I cut out two ovals to which I added the sentiment and two Swarovski Crystals.  The paper purse card folds like a regular card and there is plenty of room on the inside for a personal message.  The card measures 7″ x 5-1/2″.

Paper Purse Card with SU Paisley Petals

Copyright – Stamping With Guneaux Designs

Get inspired to design a paper purse card!  Thanks for stopping by!


Paper Purse Card with SU Paisley Petals   Paper Purse Card with SU Paisley Petals  Paper Purse Card with SU Paisley Petals      


Butterfly_1_1God’s Blessings!
Stamping With Guneaux Designs By Beverly Polen
Firm Reliance on Divine Providence!


1 JOHN 4:10

“This is love: not that we loved God, but that He loved us and sent His Son as an atoning sacrifice for our sins.”

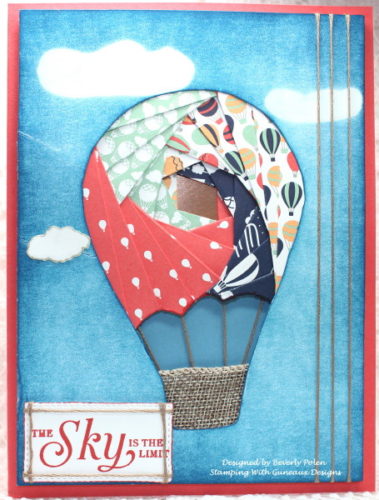
Iris Folding Hot-Air Balloon

Hello, crafters!  When was the last time you used the Iris Folding Technique?  It has been a while for me, but I have an example for you today.  This technique was featured as a Technique Lovers’ Challenge on Splitcoaststampers on Monday.  I went through my iris folding designs and selected an Iris Folding Hot-Air Balloon.  This design was more difficult from one’s I’ve tried before.

The iris folding on this card  is the upper part of the balloon.  I wish I could show you the actual design; however, it is copyrighted.  But you can get a sense of the design by the flow of the folded pieces of designer series paper.  An iris folding design includes lines, which represent where the folds go, and numbers (e.g., 1 – 26) within the shape.  Each number represents a fold.

There are four different “patterns” of numbers for this design.  A pattern is the designer paper, specialty paper, card stock, etc., that you chose to use to fold and adhere to the card stock where numbers are located.  For example, Pattern A of this design included the numbers 1, 3, 7, 11, 15, 19 and 23.  I selected a pattern from the Stampin Up Carried Away Designer Series Paper (i.e., the colorful hot-air balloons), cut 1-1/2″ strips of the pattern, folded them in half, placed them over the numbers for Pattern A, and attached them to my card stock that has the outline cutout of the design.  The right side of the balloon is where Pattern A is located.

Pattern B is located where the folds of Mint Macaron paper is located, Pattern C is where the Watermelon Wonder (orange) folds are located, and Pattern D is where the Night of Navy folds are located.  To get a better sense of a design, numbers, and patterns, you can go HERE for numerous pictures.

These are examples of other cards I have created featuring Iris Folding:       


If you have not tried this technique, I encourage you to try it.  It is a lot of fun.  Thanks for stopping in, and I hope you enjoyed your visit!


Butterfly_1_1God’s Blessings!
Stamping With Guneaux Designs By Beverly Polen
Firm Reliance on Divine Providence!


PROVERBS 30:5 & 6 (NIV)

Every word of God is flawless; he is a shield to those who take refuge in him.  Do not add to his words, or he will rebuke you and prove you a liar.”

Altenew Peony Bouquet Birthday Card

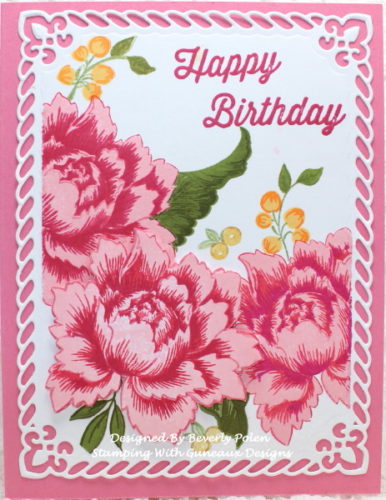
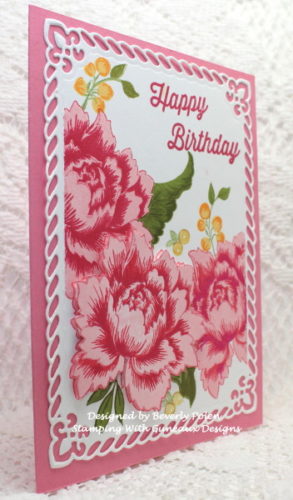
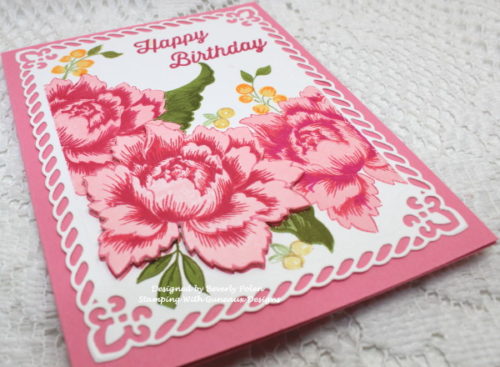
Happy Monday!  Did you have a nice weekend?  The weather was wonderful where I live in Florida!  During the weekend I made this gorgeous Altenew Peony Bouquet Birthday Card.  I love the Altenew Peony Bouquet Stamp Set!

Altenew Peony Bouquet Birthday Card

The Altenew Peony Bouquet Stamp Set is a multi-layering group of stamps.  They create a beautiful peony.  To create the three peonies on this beautiful card, I used three different pink inks for the five stamps that create a peony.  I did not like the way the ink appeared on the bottom center peony, so I stamped it again on separate card stock and fussy cut it out.  I have a matching die set for the peonies; however I did not what the white edges that a die cut typically leaves.  I used double-sided foam tape to pop up the flower.

Altenew Peony Bouquet Birthday Card

The frame that the images are on was cut out using the Spellbinders Enchanted Labels.  I think it is a beautiful frame.  I used the Hero Arts Birthday Celebration Stamp Set for the Happy Birthday sentiment.

Altenew Peony Bouquet Birthday Card

I hope I have inspired you with the beautiful card!  Have a wonderful day, and if you have feedback, I would love to hear it.  Leave a message in the comment section.


Altenew Peony Bouquet Birthday Card  Altenew Peony Bouquet Birthday Card  https://www.ellenhutson.com/a-cardstock-neenah-classic-crest-solar-white-25-pk/


MATTHEW 6:22-24

Jesus said:  “The eye is the lamp of the body.  If your eyes are good, your whole body will be full of light.  But if your eyes are bad, your whole body will be full of darkness.  If then the light within you is darkness, how great is that darkness!”