
CP Paisley Peacock Stamp Set
Perfect Reason Collection
Hello, my friends! Do you like peacocks? I think peacocks are one of God’s splendid creations. The males are more beautiful and are typically blue and green. They are known for their iridescent tails with colorful “eye” markings of blue, gold, red, and other hues. The large train of feathers is used in mating rituals and courtship displays. It can be arched into a magnificent fan that reaches across the bird’s back and touches the ground on either side.
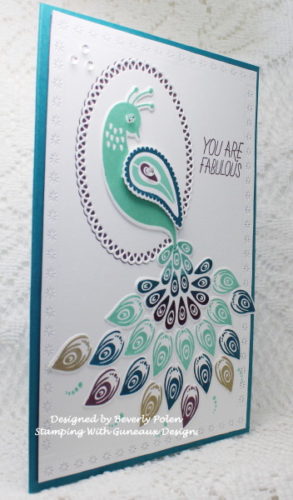
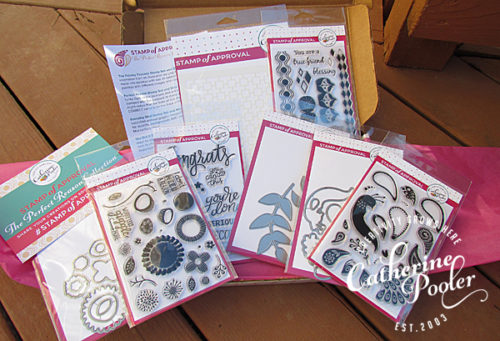
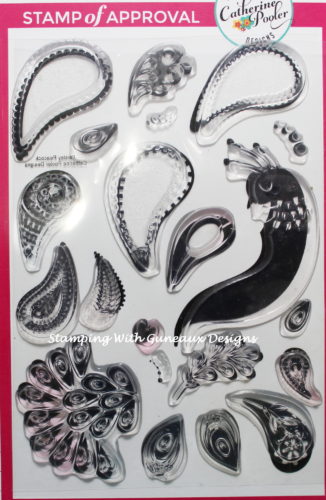
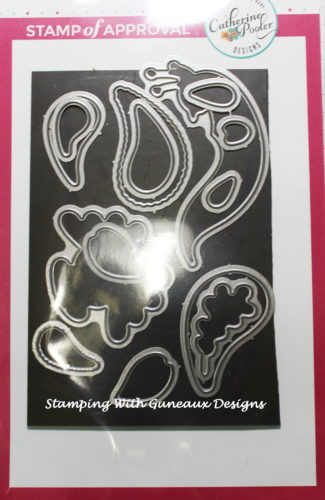
I am seeing a lot of peacock stamps being showcased on various crafting websites. This week I receive some peacock stamps and wanted to feature them on a card. Therefore my card share today is of a beautiful peacock with his long train of feathers. It features Catherine Pooler’s (CP) recent released stamp set, CP Paisley Peacock Stamp Set and a matching die set. This set has 21 great stamps, and my card only features 7 of those. Catherine’s Perfect Reason Collection includes this stamp set and matching dies along with three other stamp sets, two other sets of dies, and one stencil. As of this writing, she has only 15% of her collection available and those will sell fast.

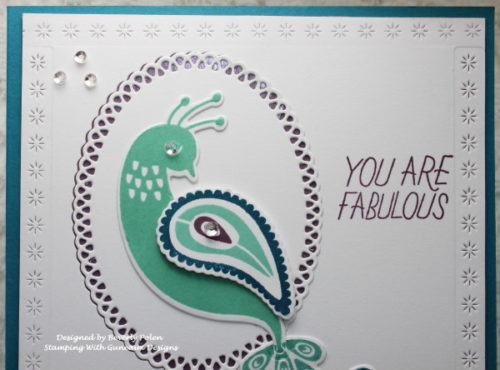
The colors I used when creating this card were SU Pool Party, Island Indigo, Perfect Plum, and Encore Metallic Gold. These colors are those of a Splitcoaststampers Color Challenge to which I submitted my card. I stamped seven of the stamps in these colors and die cut each piece. I have 21 die cuts creating the peacock.
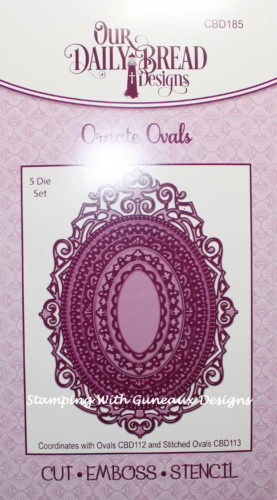
To spotlight the body of the peacock, I cut out an oval using a die from the ODBD Ornate Ovals on the top left corner of the Solar White Card Stock. I attached a piece of SU Perfect Plum card stock behind the oval and attached both pieces into the negative cut out panel. I then attached the peacock’s body and one wing.
To develop the peacock’s train of feathers, I added each die cut feather in rows. I included three gold feathers to incorporate a touch of gold for the Color Challenge.

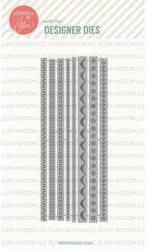
I used Essentials by Ellen Stitching Lines dies to add the embossed border on the card. I then added clear sequins to the eye and wing of the peacock, and to the top left of the card.
I hope you are inspired by my card featuring CP Paisley Peacock Stamp Set! Here is a picture of the contents of Catherine’s Perfect Reason Collection.


 God’s Blessings!
Stamping With Guneaux Designs By Beverly Polen
Firm Reliance on Divine Providence!
MATTHEW 7:15-17
Jesus said: “Watch out for false prophets. They come to you in sheep’s clothing, but inwardly they are ferocious wolves. By their fruit you will recognize them. Do people pick grapes from thornbushes, or figs from thistles? Likewise every good tree bears good fruit, but a bad tree bears bad fruit.”


