Heartfelt Creations Eyelet Oval-Shaped Card

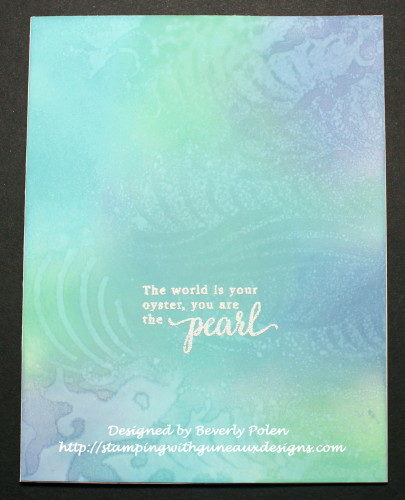
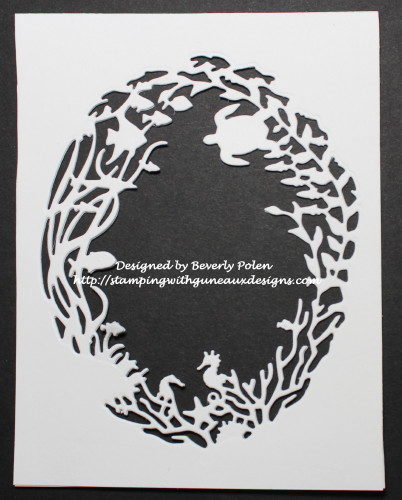
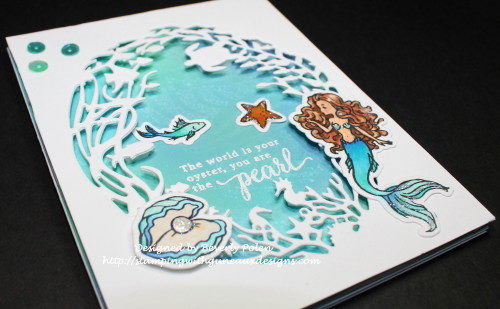
Thanks for stopping by today to see my latest creation, my Heartfelt Creations Eyelet Oval-Shaped Card.  If you have followed my site, you know that I love making cards in the shape of cutting dies.  For this card, I used the Heartfelt Creations Eyelet Oval Dies to create the card shape.
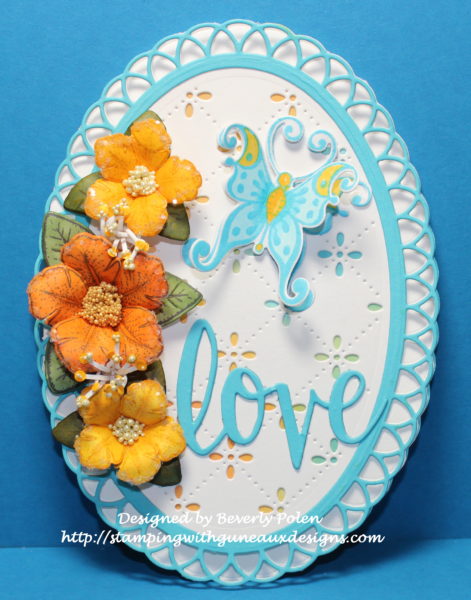
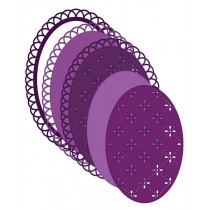
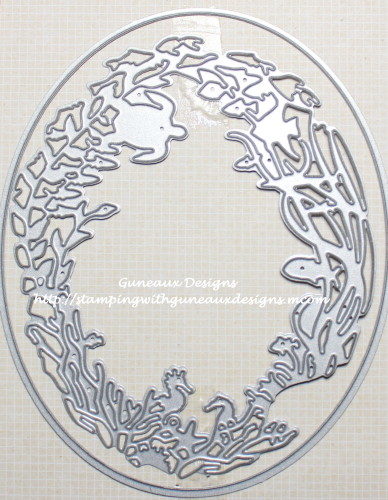
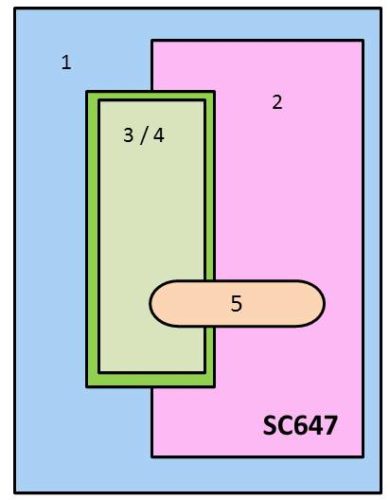
There are three dies in the Eyelet Oval set.  For the purpose of understanding which of the three dies used for each step of creating the card, I’ve given each die a name as shown in this photo.
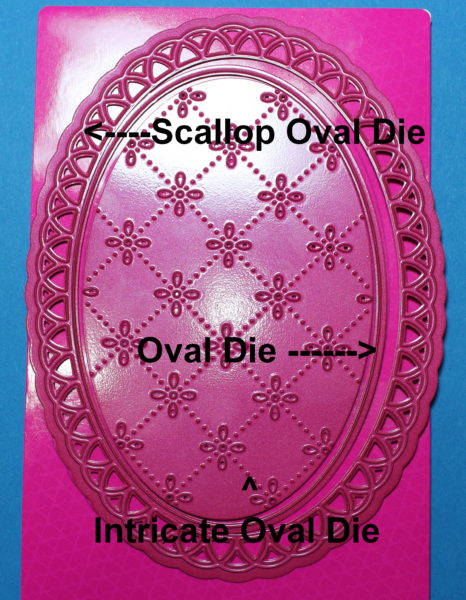
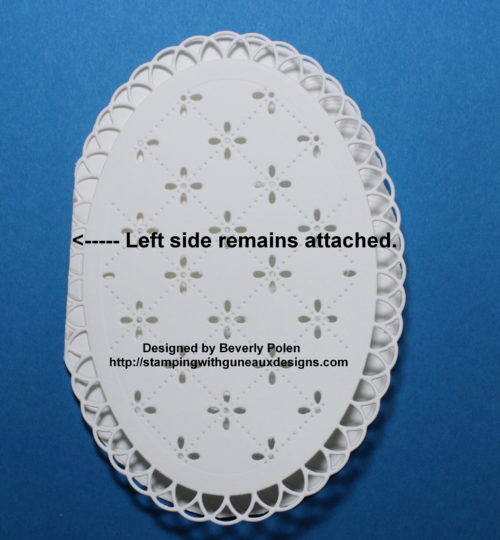
To create the card base for my Heartfelt Creations Eyelet Oval-Shaped Card, I folded in half a 8-1/2″ x 11″ piece of 110 lb. white card stock and placed it onto a cutting plate.  I laid the scallop oval die onto the card stock with the left side of the die outside of the edge of the cutting plate.  This was done to assure the left side of the card base remained connected after cutting it.  I then centered the intricate oval die onto the card stock.  The top cutting plate was placed in the same position as the bottom cutting plate as shown in this photo.
I ran the cutting sandwich through my die-cutting machine only twice as I did not want the back of the card base to cut, but to leave an impression.  The heavier weight of the card stock helped to achieve an impression instead of a cut.  As a result, I fussy cut around the impression on the back of the card base, which was not difficult at all.
Using the scallop oval and oval dies, I cut two Tempting Turquoise (Stampin’ Up! color) scalloped ovals and attached one to the card front and one to the card back to stabilize the card base.  The following photo shows this.
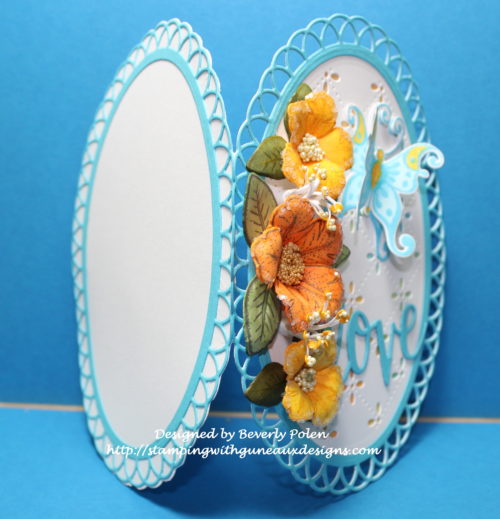
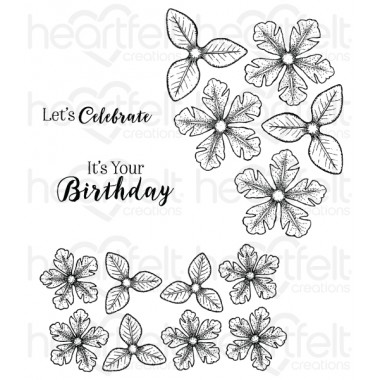
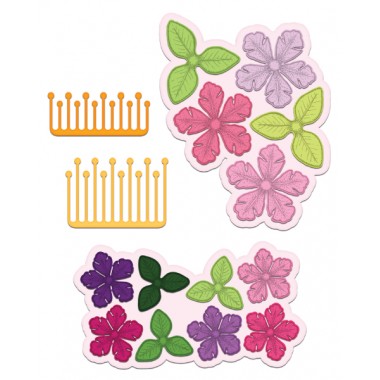
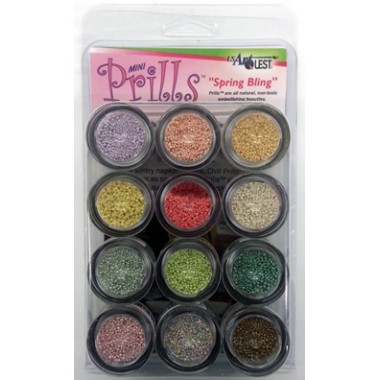
Then I used the oval die to cut from white card stock an oval.  I sponged Cracked Pistachio, Spiced Marmalade, and Fossilized Amber Ranger Distress Oxide inks onto the oval, blending as necessary.  I attached that to the back of the card front.  You can see the colors peeking through in this photo.  You can also see the beautiful flowers I created with the Heartfelt Creations Small Classic Petunia Stamps, Dies, and Prills.
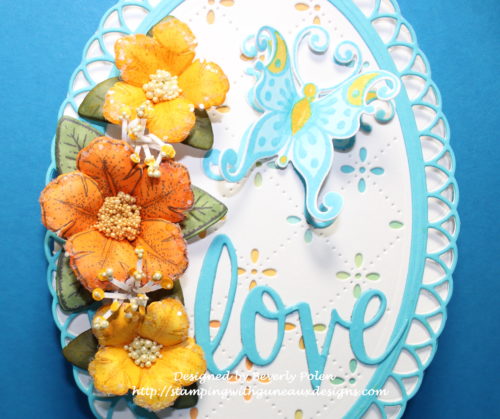
The beautiful butterfly on the card front was made with the Heartfelt Creations Botanical Wings Stamp Set and Butterfly Medley Dies.  
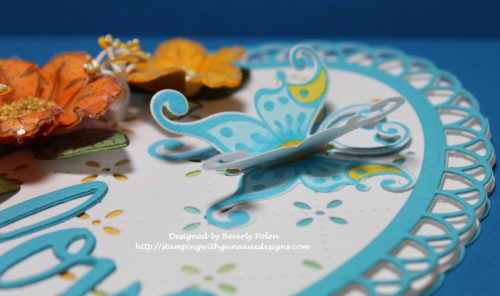
I finished the card with adding the “love” sentiment that I cut from Tempting Turquoise card stock using a Hero Arts word die.

I am submitting this card for the Tuesday Color Challenge on Splitcoaststampers.

What do you think of my Heartfelt Creations Eyelet Oval-Shaped Card?   


Butterfly_1_1

God’s Blessings!
Stamping With Guneaux Designs By Beverly Polen
Firm Reliance on Divine Providence!


Isaiah 41:10

“So do not fear, for I am with you; do not be dismayed, for I am your God.  I will strengthen you and help you; I will uphold you with my righteous right hand.”

CottageCutz Happy Father’s Day Card

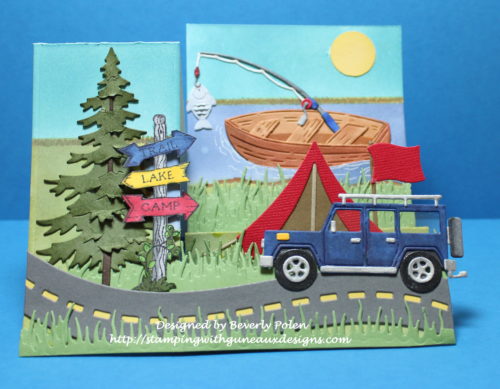
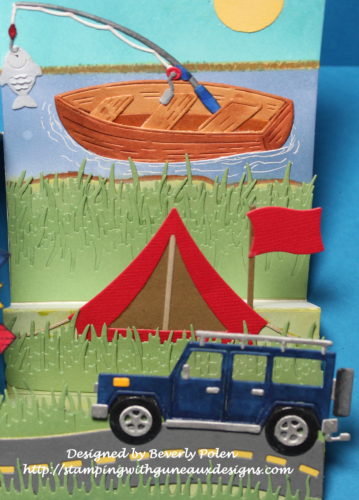
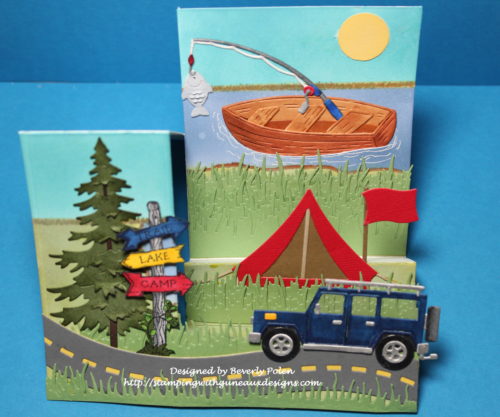
Are you looking for a design for a Father’s Day Card?   I suggest a side-step card with masculine elements.  That was my choice for my card, “CottageCutz Happy Father’s Day Card“.  Why did I title my card, CottageCutz Happy Father’s Day Card?  Because I used several CottageCutz masculine dies to create my card.  The Scrapping Cottage, the maker of CottageCutz dies, has so many wonderful dies from which to chose for any occasion.  Check out its on-line store and blog.

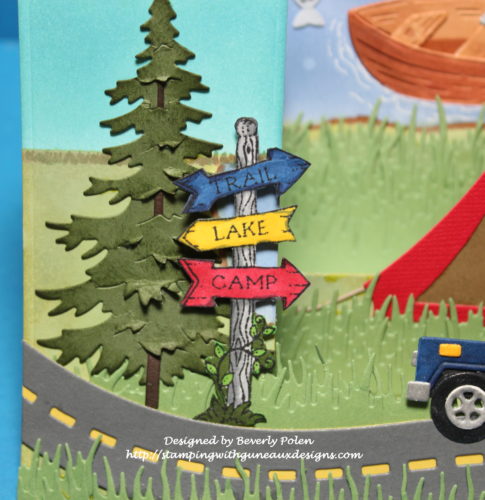
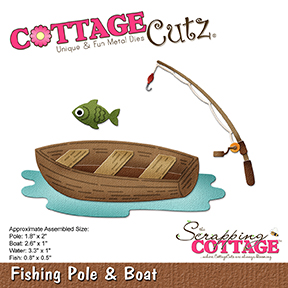
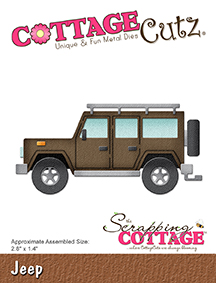
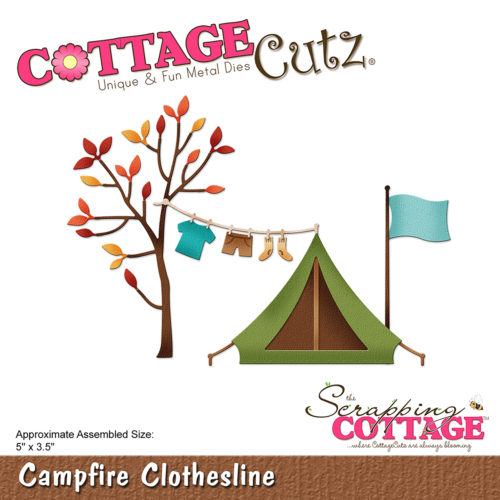
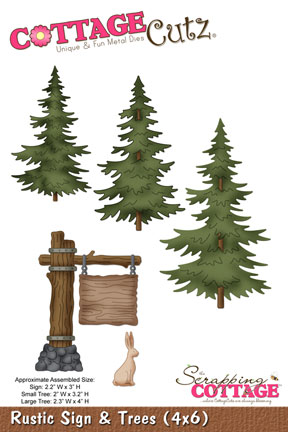
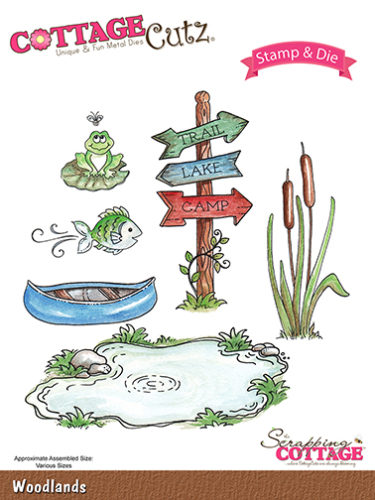
The CottageCutz dies I used to create my card are the Fishing Pole & Boat Die, Jeep Die, Campfire Clothesline Die, Woodlands Dies, Rustic Sign & Trees Die, and Spring Grass Die.  These and other dies used are listed near the end of this post.

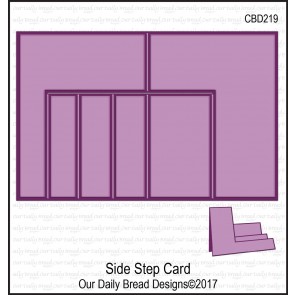
I was feeling lazy when I made my card, so instead of cutting card stock and scoring it manually to form my card base, I used the Our Daily Bread Designs Side Step Card Die to create my side-step card base from white card stock.  Then I cut a 3-1/2″ x 4″ piece of white card stock to attach to the back step of the base.  Using various inks, I sponged the sky, water, and grass areas.

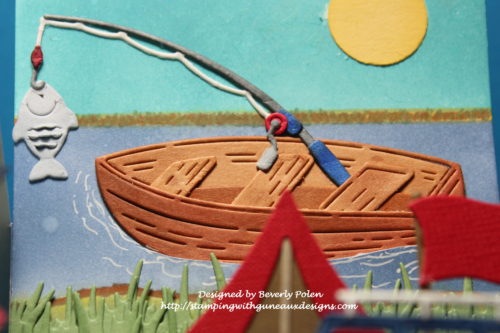
For the back step of the card, I die cut the fishing pole and boat from white card stock, colored the pieces with Copic Sketch Markers, glue together the pieces, and attached them to the step.

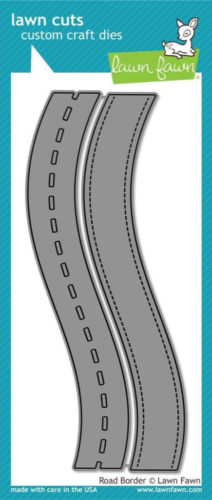
For the second step, I die cut the tent and flag with the Campfire Clothesline Die and from red, brown, and tan card stock; glued the pieces together; and attached them to the step.  For the first step, I die cut from white card stock the jeep, colored the pieces with Copic Sketch Markers, and set aside.  I used the Spring Grass die to cut from green card stock several pieces of grass and attached them to the three steps.  Using the Lawn Fawn Road Border Dies, I cut the road from gray and yellow card stock, glued them together, and attached onto the first step.  Then I attached the Jeep.

Using the Rustic Sign & Trees Die, I die cut the tree on the left side of the card with green and brown card stock, attached the pieces together, and added to the card base.  I then die cut the sign from the Woodlands Dies, colored it with Copic Sketch Markers, added foam tape to the back, and attached it in front of the tree.  That finished my card.

I love the card!  What do you think of it?


Butterfly_1_1

God’s Blessings!
Stamping With Guneaux Designs By Beverly Polen
Firm Reliance on Divine Providence!


James 1:19

“My dear brothers and sisters, take note of this: Everyone should be quick to listen, slow to speak and slow to become angry.”

Hero Arts Underwater Adventure Monthly Kit

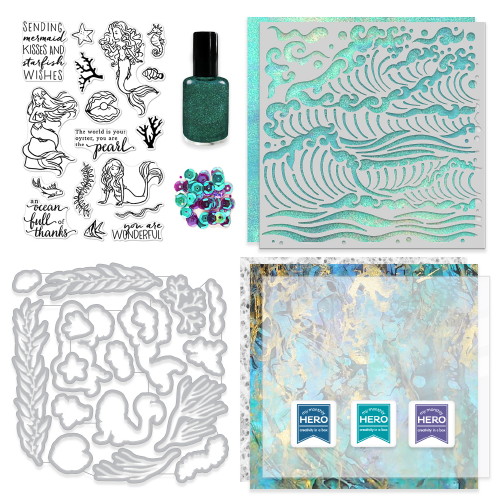
Happy Wednesday!!  Did you get a chance to purchase the May Hero Arts Underwater Adventure Monthly Kit?  I was blessed to purchase it before it sold out!  These kits sale out rapidly and are not available again from Hero Arts.  This is how Hero Arts describes the May Hero Arts Underwater Adventure Monthly Kit:

“Join us for an underwater adventure with this month’s May My Monthly Hero Kit! The stamp set has mermaids, undersea life and sentiments that go along with them. You can easily create beautiful scenes with the coordinating dies and frame cuts. Using the stencil you can create the feeling of movement that is subtle or dramatic. There are ink cubes, papers and a specialty iridescent ink that all work together effortlessly. Sequins add a bit of sparkle and with the acetate sheets that are included you can make stunning shaker cards that create a window into your underwater world.”

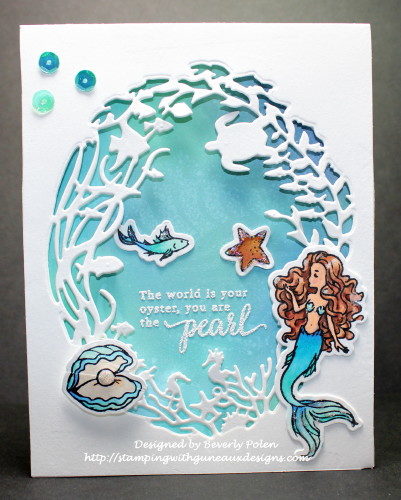
The kit has wonderful products, and I am sharing a card I made with it.

Here is a photo of the kit:

To create the card, I used three of Tim Holtz’s Distress Oxide Inks to sponge the colors onto a piece of Neehan Solar White Card Stock.  Next, I spritzed water onto the stencil from the kit and laid it over my sponging.  I love the look it gives.  Then I added the sentiment with VersaMark Ink and white embossing powder, which I heat set.

Next, I cut out two fancy ovals using the Reef Border and Frame Fancy Dieswhich is an “add-on” for the Hero Arts Underwater Adventure Monthly Kit.  I glued the two cutouts together for more weight.  (As of this posting, this die is still available.)

I used three of the stamps from the kit to stamp with Black Ink and color with Copic Sketch Markers.
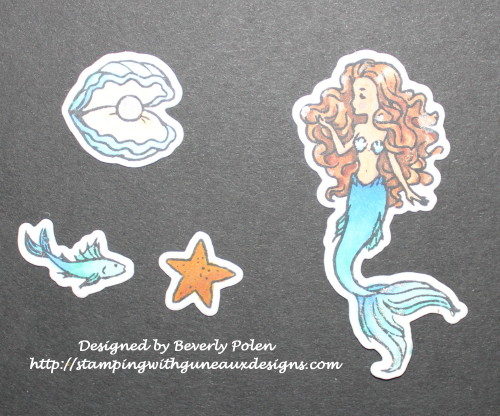
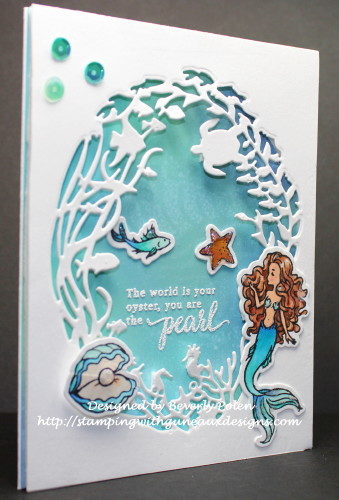
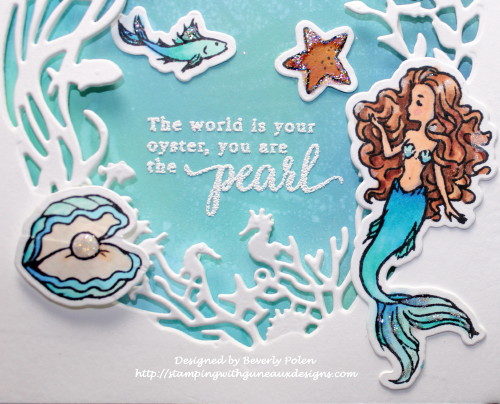
To finish the card, I attached the colored and stenciled piece to an A2 white card base. Then I applied a double layer of foam tape to the oval cutouts and attached them over the stenciled piece.  Lastly, I added the elements in the above photo to the card and three sequins.

Tell me what you think of the card?  I hope you draw inspiration from it!


Because the Reef Border and Frame Fancy Die is the only product that can be purchased as of this posting, I am only showing that product with a link.


Butterfly_1_1

God’s Blessings!
Stamping With Guneaux Designs By Beverly Polen
Firm Reliance on Divine Providence!


Hebrews 12:14

“Make every effort to live in peace with everyone and to be holy; without holiness no one will see the Lord.”

Heartfelt Creations Classic Petunia

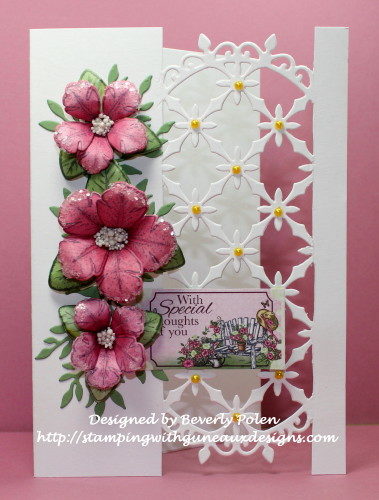
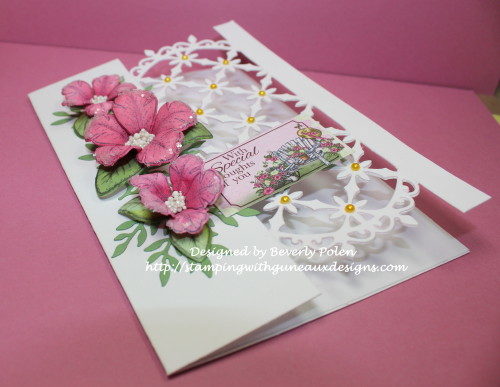
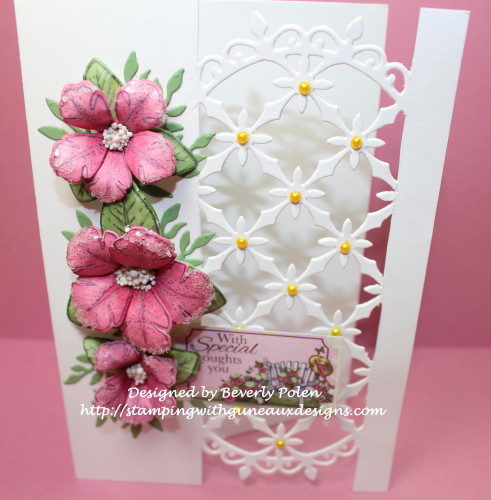
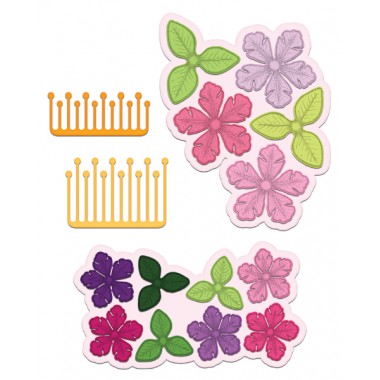
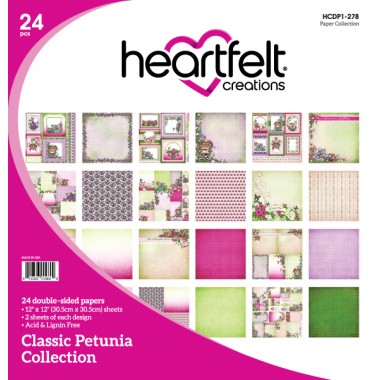
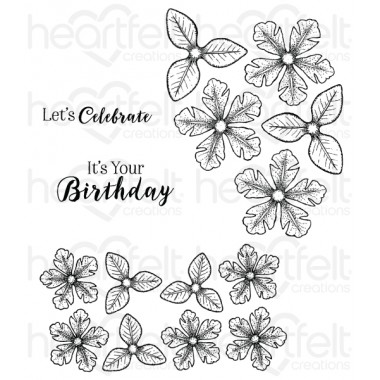
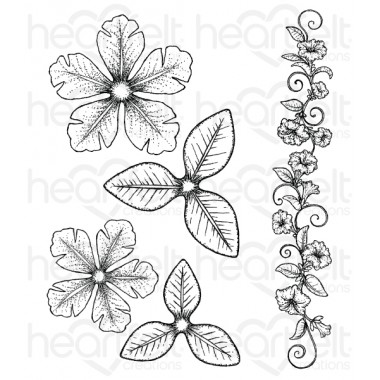
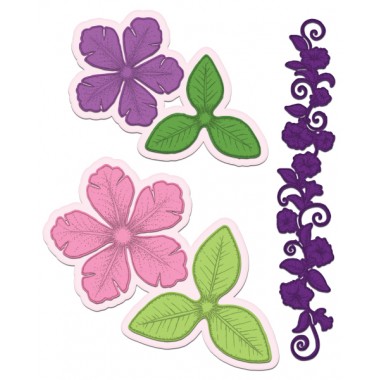
Hello, my friends, and thank you for stopping by Guneaux Designs!  Have you seen the Heartfelt Creations Classic Petunia collection?  The collection is beautiful, and recently I fell in love with it and had to purchased the collection.  I am showcasing the Heartfelt Creations Classic Petunia collection by using the Small and Large Classic Petunia Stamp Sets and matching Dies on my beautiful card share for today.

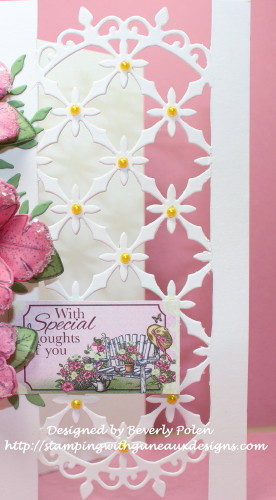
I created my card with a 6″ x 8-1/2″ piece of Neenah Solar White Card Stock that I folded to create a 4-1/4″ x 6″ card base.  I wanted to use the Heartfelt Creations Decorative Oval die to cut out a 2″ section of the front of the card base.  What a task that was!  But I was successful.  The key to achieving this is the placement of the cutting plates for my die-cutting machine. The bottom cutting plate is lined up differently from the top plate when running the card base and die through the machine.

After cutting the card base with the oval die, I cut out another 2″ Decorative Oval section from white card stock and attached that to the back of the card base oval, lining it up carefully!  I used 110 LB card stock; therefore, the second oval added additional support for the card.

I used a yellow Copic Sketch Marker to color some SU Basic Pearls and attached them to the oval die cut, as you can see in the above photo.  The photo also shows the sentiment that is from the Heartfelt Classic Petunia Paper Collection.

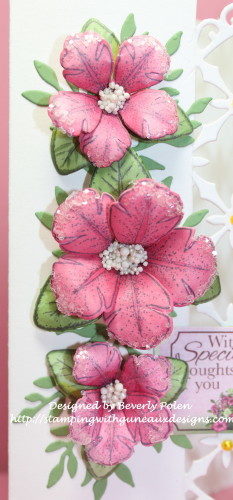
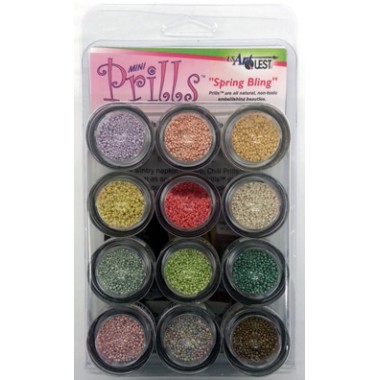
My next step was to stamp, cut out, color, decorate, and assemble the small and large petunias.  I used the Heartfelt Creations Classic Petunia dies to cut out the petals and leaves from Neenah Solar White card stock and colored them with Copic markers closely related to the SU Sweet Sugarplum color.  This color was selected to response to a Splitcoaststampers Color Challenge (i.e., Sweet Sugarplum, Daffodil Delight, and Wild Wasabi).  After coloring and assembling the flowers, I added some SU glitter to the ends of the petals and White Prills to the centers.

Then I attached the flowers to the left side of the card base.

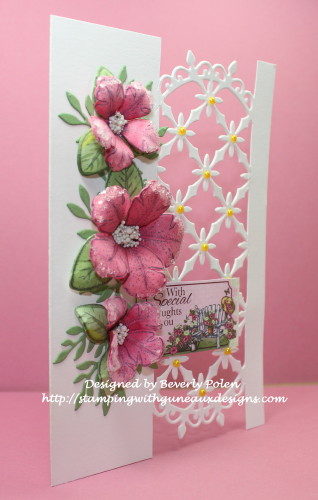
I hope you find inspiration from my Heartfelt Creations Classic Petunia card.  Here are a couple photos of the card taken at different angles.

I also submitted this card for two other Splitcoaststampers challenges.  One is a sketch challenge, and the other a Ways To Use It Challenge (i.e., add pearls to a project).


Butterfly_1_1

God’s Blessings!
Stamping With Guneaux Designs By Beverly Polen
Firm Reliance on Divine Providence!


1 John 3:1

“How great is the love the Father has lavished on us, that we should be called children of God!  And that is what we are!  The reason the world does not know us is that it did not know him.”

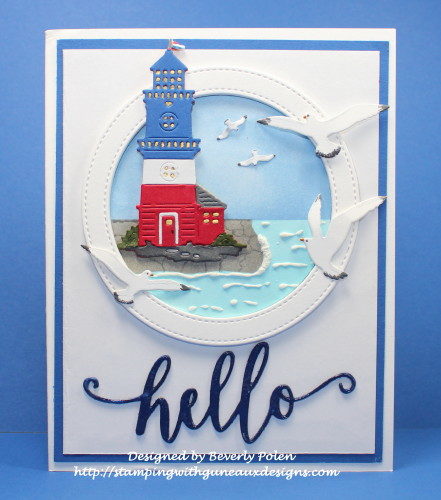
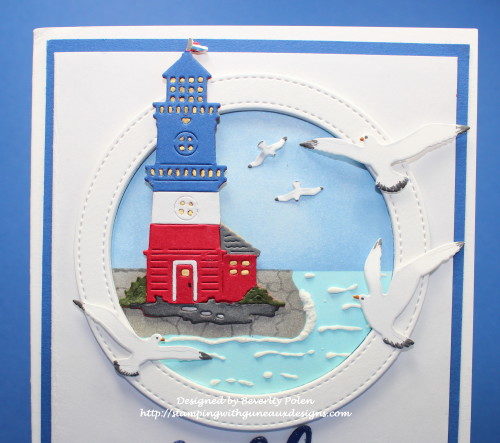
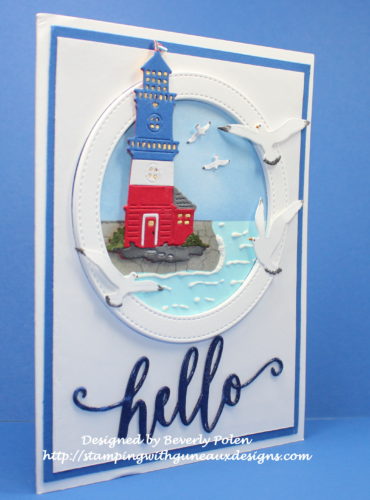
Hello from the CottageCutz Lighthouse

HELLO FROM THE COTTAGECUTZ LIGHTHOUSE

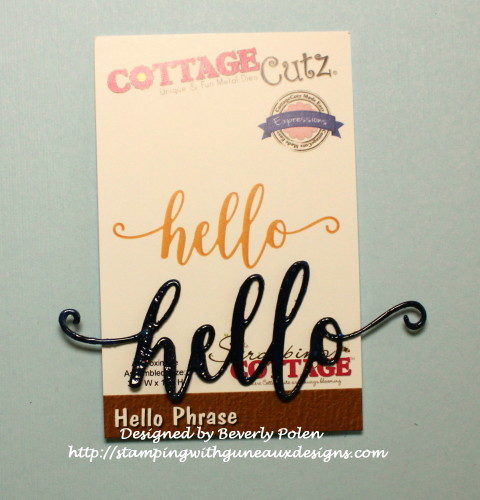
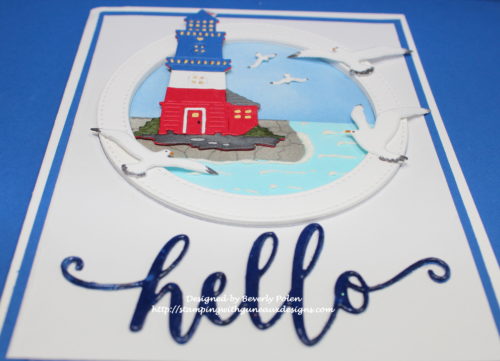
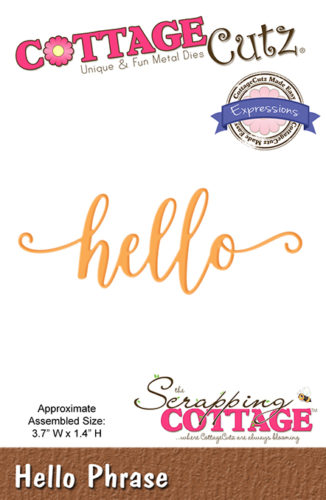
Hello, friends, and welcome to Guneaux Designs!  Today I am a guest designer for the Scrapping Cottage Blog.  My “Hello form the CottageCutz Lighthouse” card share features the CottageCutz Hello Phrase die, which is a newly released word die from the CottageCutz Expressions Plus collection.

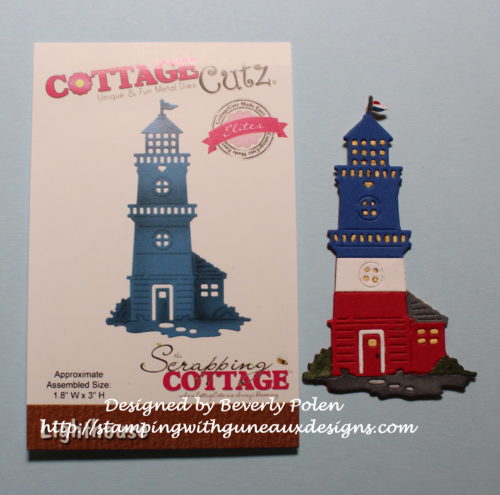
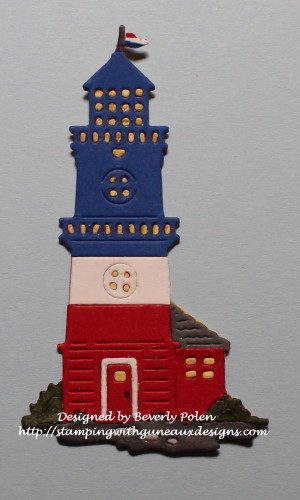
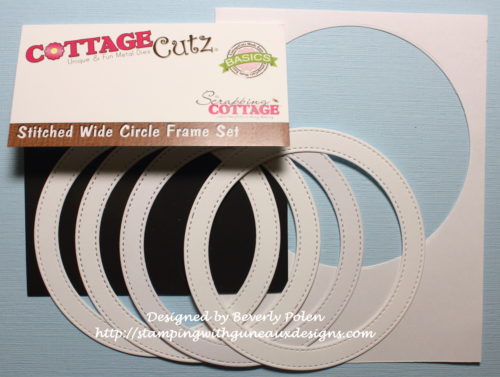
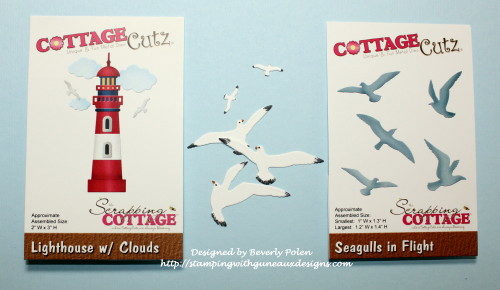
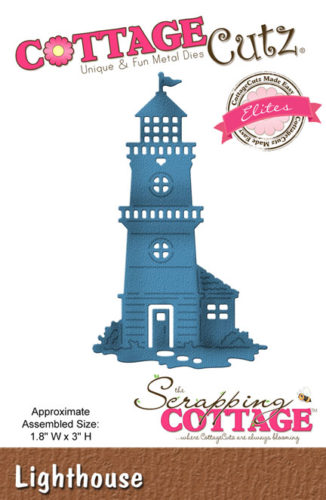
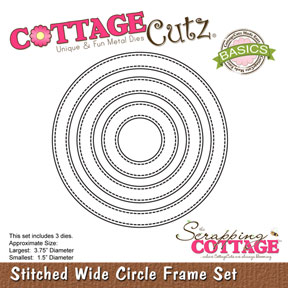
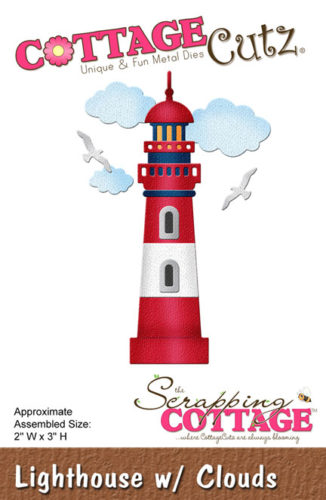
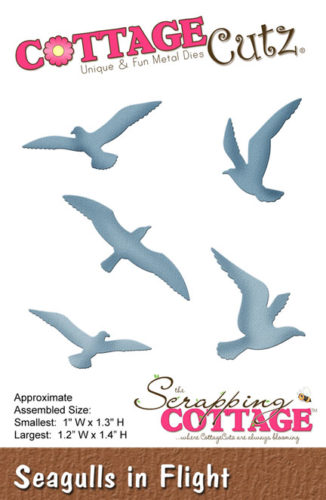
My card also features other CottageCutz dies: the CottageCutz Lighthouse die, Stitched Wide Circle Frame Set dies, CottageCutz Lighthouse w/ Clouds die, and CottageCutz Seagulls in Flight Die.

These are the steps I took to make this “Hello from the CottageCutz Lighthouse” card:

  • Using the CottageCutz Lighthouse die, I cut out the lighthouse in white, red, blue, green, gray, and yellow card stock and assembled the pieces.
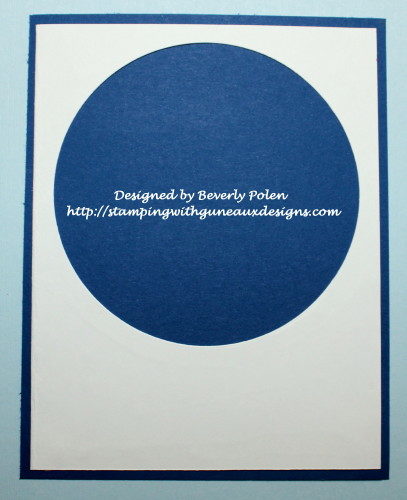
  • I used the CottageCutz Stitched Wide Circle Frame Set dies to cut several circle frames and a circle from a 4-1/4″ x 5-1/2″ piece of white card stock.

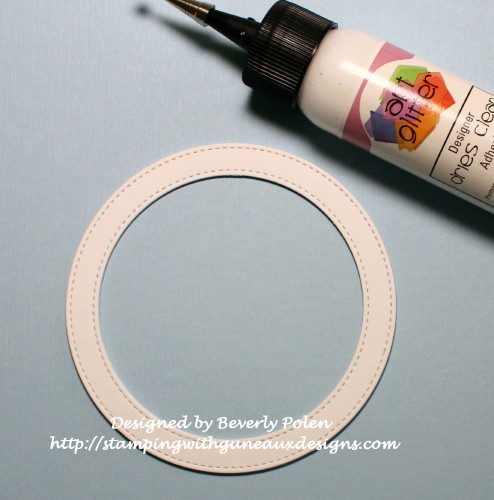
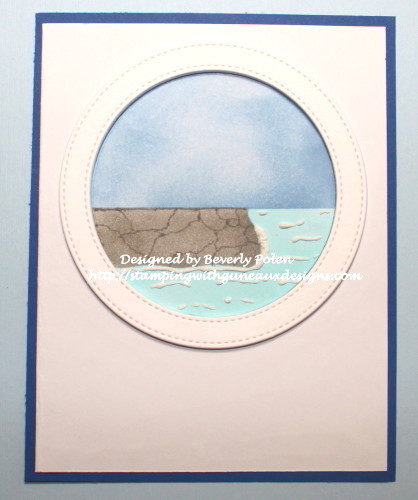
  • I glued the circle frames together to create dimension.

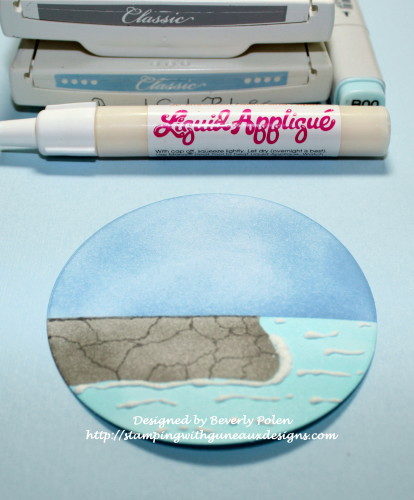
  • Using the circle that was cut out from the 4-1/4″ x 5-1/2″ piece of white card stock, I colored a sky, rock cliff, and ocean on it.  I added Liquid Applique in selected areas and heat set it.

  • I cut out three “hello” sentiments using the CottageCutz Hello Phrase die and blue card stock.  I glued them together, covered the sentiment with VersaMark Ink and Clear Embossing Powder, and heat set it.

  • I cut out seagulls from the CottageCutz Lighthouse w/ Clouds Die and CottageCutz Seagulls in Flight Die, and added a touch of color to them.  I rolled the wings with my fingers.

  • I began assembling my card by cutting a 4-1/2″ x 5-3/4″ piece of blue card stock to which I glued the 4-1/4″ x 5-1/2″ piece of white card stock with the circle cut out.

  • To this piece, I attached both the circle frames and colored circle inside of the cut out circle.

  • Lastly, I added the lighthouse, seagulls, and hello sentiment to the above piece. Then I attached it to a 4-3/4″ x 6″ white card base.

I hope you enjoy the card and are inspired by it!


These are the CottageCutz dies used to create my Hello from the CottageCutz Lighthouse card.


Butterfly_1_1God’s Blessings!
Stamping With Guneaux Designs By Beverly Polen
Firm Reliance on Divine Providence!


John 14:23 & 24

Jesus replied, “If anyone loves me, he will obey my teaching.  My Father will love him, and we will come to him and make our home with him.  He who does not love me will not obey my teachings.  These words you hear are not my own; they belong to the Father who sent me.” 

Otterly Awesome

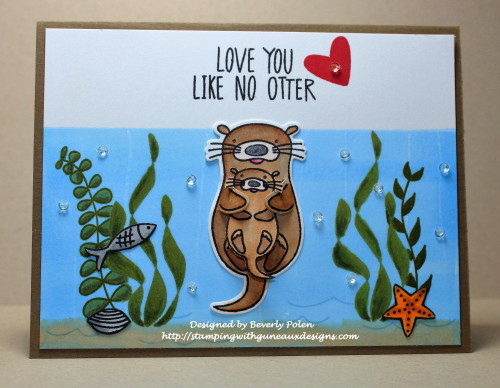
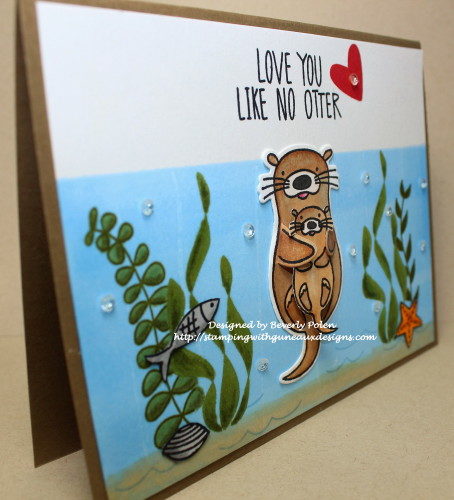
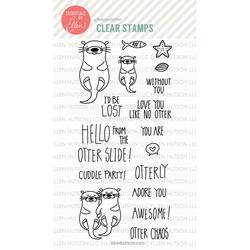
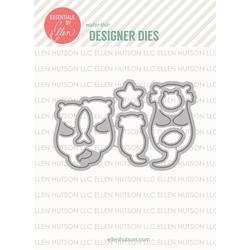
Essentials by Ellen has some fantastic stamps and matching dies.  Her Otterly Awesome stamp set and matching die are so adorable!  I am sharing a card I made that showcases the Otterly Awesome stamp set.

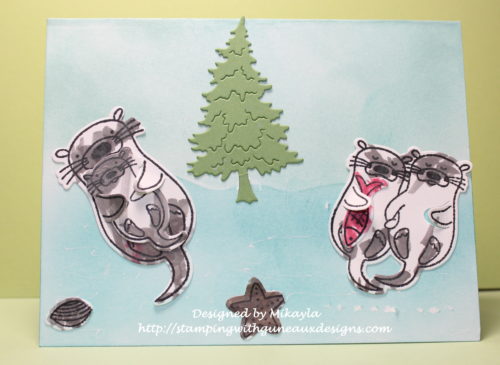
But first, I want to share that my two-year old granddaughter LOVES to craft with me, and I LOVE spending time with her crafting.  She and I have been crafting together since she was a little over one-year old.  She is amazing and has learned so much in that short time. She knows how to put paper and a die onto my die-cutting machine and turn the handle to cut out the items.  I could fill this post with information about her crafting skills, but I will stop.  But I will say that one day she will be a fantastic card maker.  You can see one of her cards at the bottom of this post.

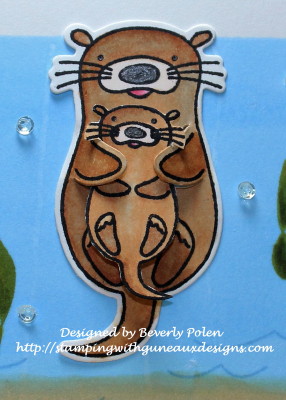
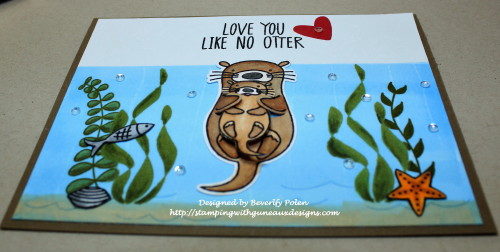
Aren’t the otters so cute!!  Mommy otter is holding her little otter baby while enjoying the water in this ocean scene.  When die cutting the mommy otter, her arms are cut so she is able to hold her little one.

To make this card, I:

  • Stamped, colored, and die cut the two otters,
  • Placed the baby otter in mommy otter’s arms, popping up the baby with foam dots to give it some dimension,
  • Stamped, colored, and die cut the fish, starfish, and clam shell,
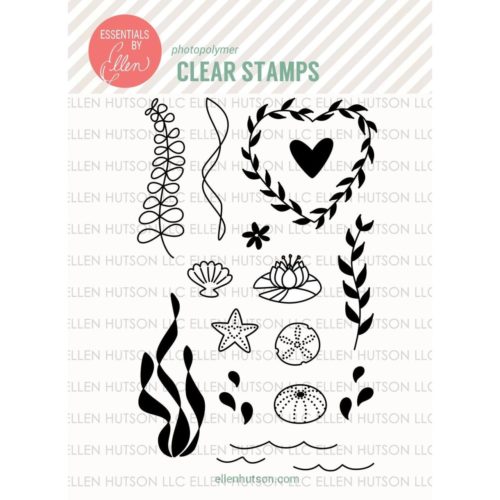
  • Used the Otter Ware Stamp Set to stamp and color the seaweed onto a white card stock base,
  • Used copic sketch markers to color the ocean,
  • Attached the otters to the card base,
  • Stamped the sentiment using stamps from both stamp sets, and
  • Added sequins to the card.

I enjoyed making this fun card, and my granddaughter loved the stamps and dies also. She created the following card.  I sponged some color onto the card base for her, and she selected, stamped, die cut, colored, and attached the items where she wanted them.  If you have never seen a pine tree in an ocean, you can now say you have!

I hope you are having a wonderful Memorial Day weekend remembering the ones who have defended our great country, the USA, and sacrificed their lives so we could have freedom!


Butterfly_1_1God’s Blessings!
Stamping With Guneaux Designs By Beverly Polen
Firm Reliance on Divine Providence!


1 Thessalonians 4:13  & 14

“Brothers, we do not want you to be ignorant about those who fall asleep, or to grieve like the rest of men, who have no hope.  We believe that Jesus died and rose again and so we believe that God will bring with Jesus those who have fallen asleep in him.”