CottageCutz Happy Father’s Day Card

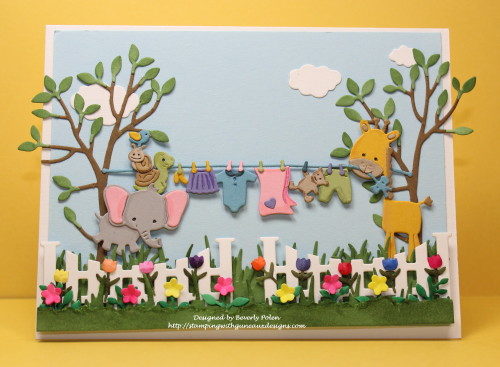
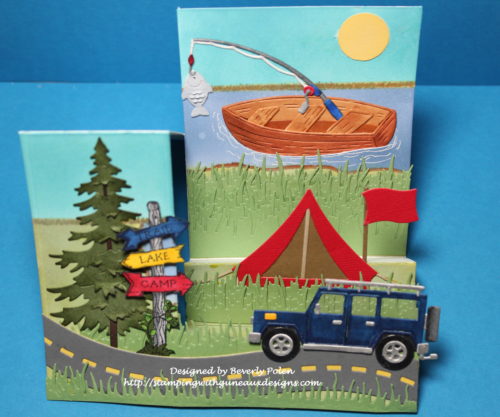
Are you looking for a design for a Father’s Day Card?   I suggest a side-step card with masculine elements.  That was my choice for my card, “CottageCutz Happy Father’s Day Card“.  Why did I title my card, CottageCutz Happy Father’s Day Card?  Because I used several CottageCutz masculine dies to create my card.  The Scrapping Cottage, the maker of CottageCutz dies, has so many wonderful dies from which to chose for any occasion.  Check out its on-line store and blog.

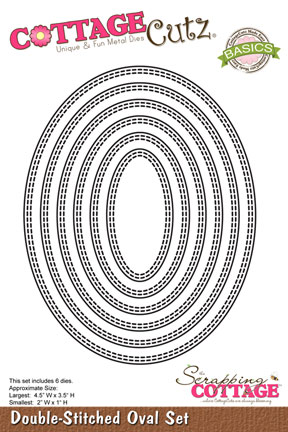
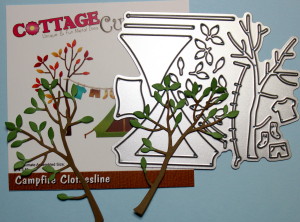
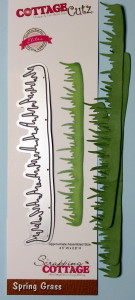
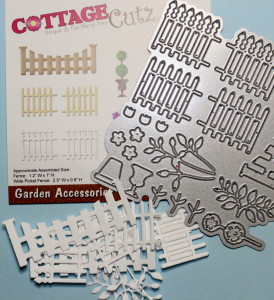
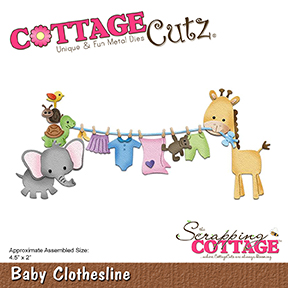
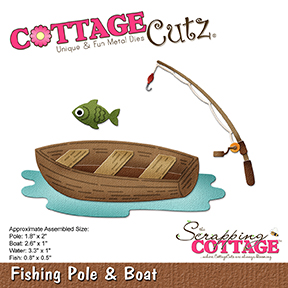
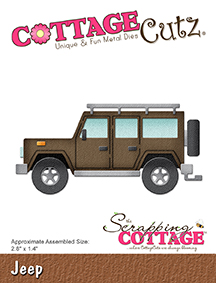
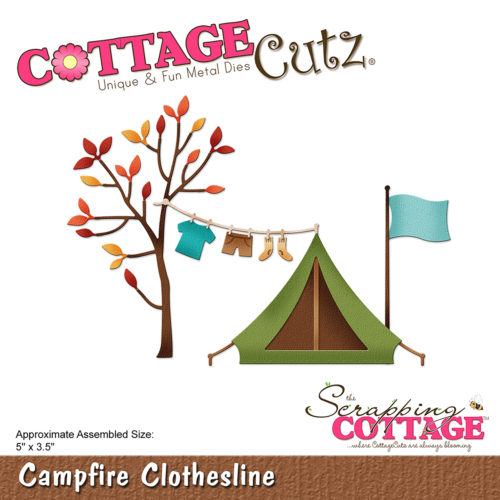
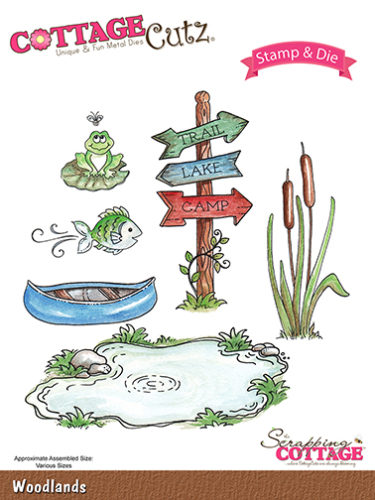
The CottageCutz dies I used to create my card are the Fishing Pole & Boat Die, Jeep Die, Campfire Clothesline Die, Woodlands Dies, Rustic Sign & Trees Die, and Spring Grass Die.  These and other dies used are listed near the end of this post.

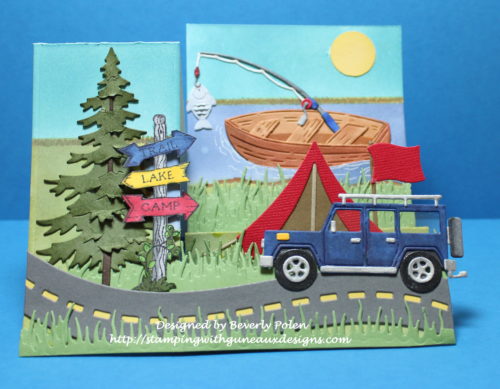
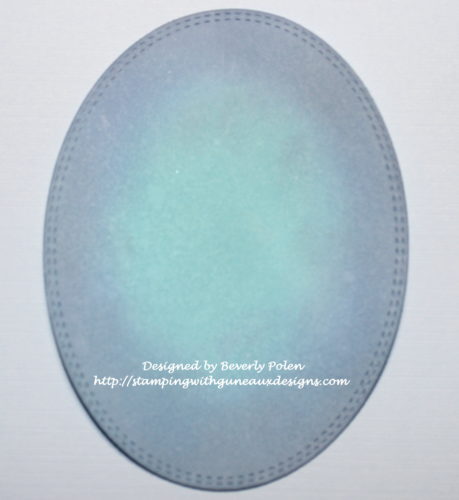
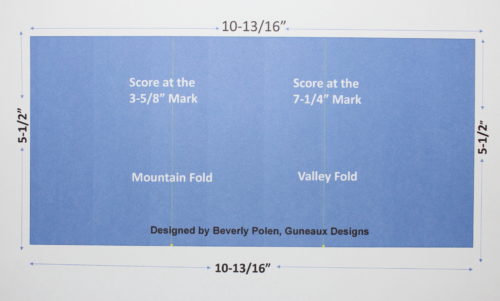
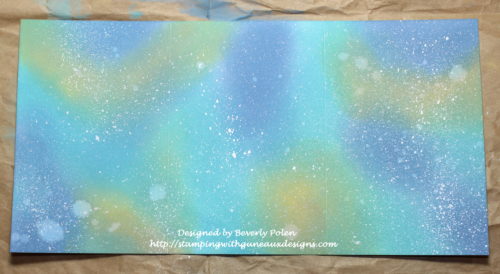
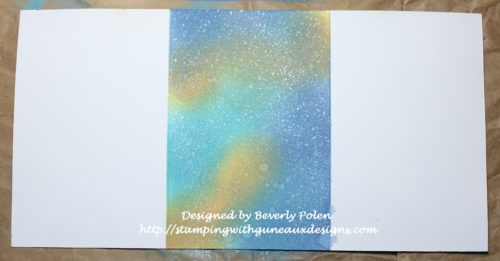
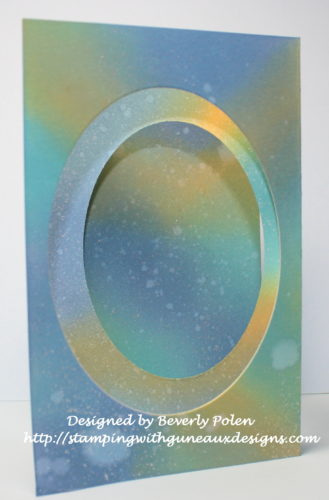
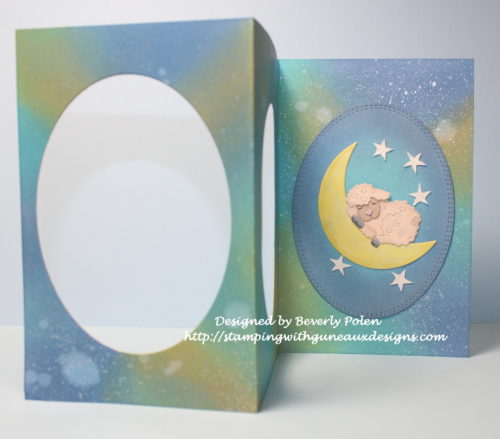
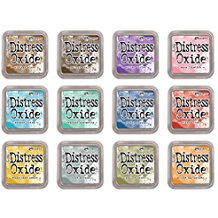
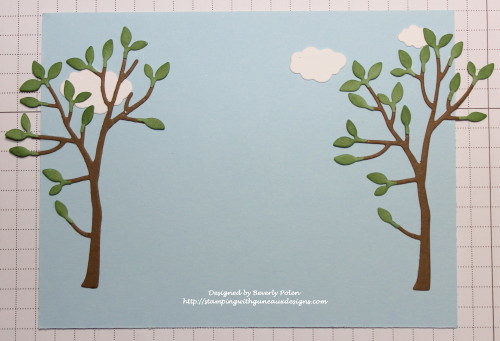
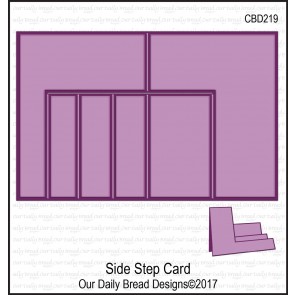
I was feeling lazy when I made my card, so instead of cutting card stock and scoring it manually to form my card base, I used the Our Daily Bread Designs Side Step Card Die to create my side-step card base from white card stock.  Then I cut a 3-1/2″ x 4″ piece of white card stock to attach to the back step of the base.  Using various inks, I sponged the sky, water, and grass areas.

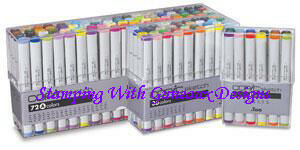
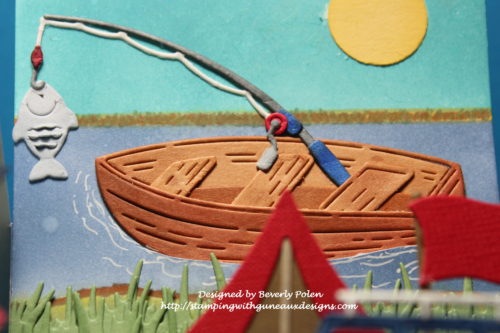
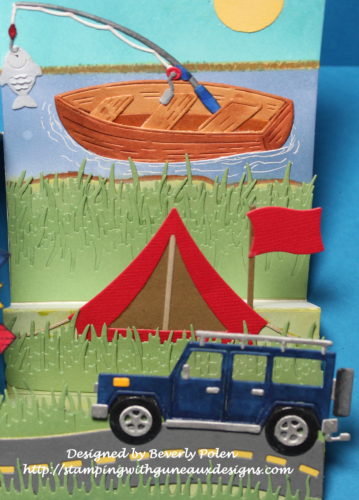
For the back step of the card, I die cut the fishing pole and boat from white card stock, colored the pieces with Copic Sketch Markers, glue together the pieces, and attached them to the step.

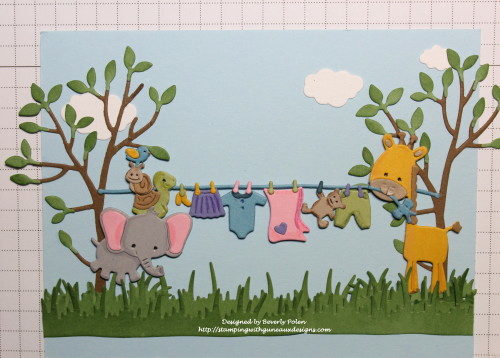
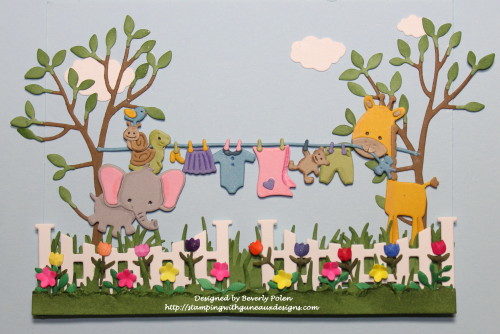
For the second step, I die cut the tent and flag with the Campfire Clothesline Die and from red, brown, and tan card stock; glued the pieces together; and attached them to the step.  For the first step, I die cut from white card stock the jeep, colored the pieces with Copic Sketch Markers, and set aside.  I used the Spring Grass die to cut from green card stock several pieces of grass and attached them to the three steps.  Using the Lawn Fawn Road Border Dies, I cut the road from gray and yellow card stock, glued them together, and attached onto the first step.  Then I attached the Jeep.

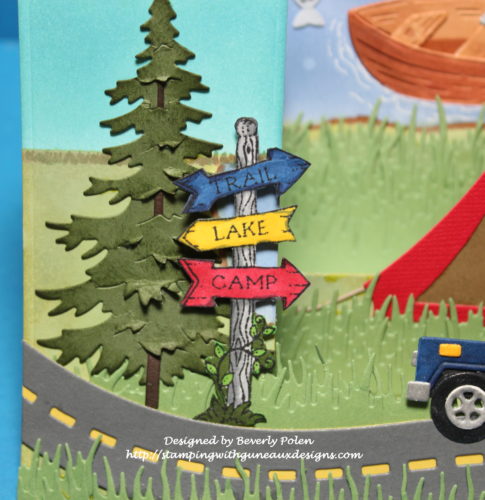
Using the Rustic Sign & Trees Die, I die cut the tree on the left side of the card with green and brown card stock, attached the pieces together, and added to the card base.  I then die cut the sign from the Woodlands Dies, colored it with Copic Sketch Markers, added foam tape to the back, and attached it in front of the tree.  That finished my card.

I love the card!  What do you think of it?


Butterfly_1_1

God’s Blessings!
Stamping With Guneaux Designs By Beverly Polen
Firm Reliance on Divine Providence!


James 1:19

“My dear brothers and sisters, take note of this: Everyone should be quick to listen, slow to speak and slow to become angry.”

CottageCutz Baby Lamb on the Moon

Hello, friends, and thanks for stopping by Guneaux Designs!  Today I am a guest designer for the Scrapping Cottage Blog, and I have a lovely card featuring a recently released CottageCutz Baby Lamb on the Moon die.  I think the baby lamb is so cute!

The card design is a Z-Fold with ovals cut out from the first and second sections.  You can see through the ovals to the main element on the back section of the card, which is the CottageCutz Baby Lamb on the Moon.   I have not seen before a Z-Fold card with the first two sections cut out for windows to see through to the main image on the back section.  If there is no such design in the crafting world, I guess I just created a new Z-Fold card design.  LOL!

To create my Z-Fold card, I cut from white card stock the pieces from the lovely CottageCutz Baby Lamb on the Moon Die.

I colored the pieces with Copic Sketch Markers, adding a touch of gray to the moon.  Afterwards, I glued the pieces together.

Using the second and third to the largest CottageCutz Double-Stitched Oval Dies, I cut out an oval and frame from white card stock.  I later colored the frame with a yellow copic marker.  I also cut a second frame with the largest and second to the largest dies and color it yellow.

I colored the oval with two of the new Tim Holtz Oxide Ink Pads (i.e., faded jeans, and broken china).  I used the lighter blue for the center of the oval for the moon’s glow.

Then, I cut a 10-13/16″ x 5-1/2″ piece of white card stock and, on the 10-13/16″ side, scored at the 3-5/8″ and 7-1/4″ measurements.  The 3-5/8″ score line is a mountain fold and the 7-1/4″ score line is a valley fold.  At this point,  I did not fold the card stock on the score lines until I finished additional steps.

I wanted to create the appearance of a galaxy; therefore, I sponged three of the Tim Holtz Oxide Inks (i.e., fossilized amber, faded jeans, and broken china) onto the card stock and spritzed it lightly with water.  After drying, I used a toothbrush and diluted white acrylic paint to splatter paint onto the colored card stock.

After that dried, I turned the card stock over and colored the center section with the same inks, spritzed with water, and splattered with acrylic paint. When the card is finished, this section will be the inside center fold.

Before folding on the score lines, I placed the second largest Double-Stitched Oval Die on the first section of the card and the third largest die on the center section, centering them as much as possible.  I ran the card stock and dies through my die cutting machine.

I then folded the card on the score lines, and the following photo shows result.

Next, I assembled the card by attaching the baby lamb and moon onto the oval previously colored and adhered it to the last section of the card.  I used an old star stamp to stamp, emboss, fussy cut, and add to this piece.

Then I added the largest yellow frame to the first section of the card and the smaller yellow frame to the inside center section.

When the card is folded closed, the middle section that was inked on the back will show as the second section.  It does not have a yellow oval frame on it.

I did not add other embellishments to the card as I did not want to distract from the “galaxy” effect on the card.  A sentiment will be added when I know who is the recipient.

I hope you enjoy this card and take time to browse the recently released BABY and SCRIPT DESIGN DIES!  The script dies are 25% off for a limited time!  Have a blessed day!


Butterfly_1_1God’s Blessings!
Stamping With Guneaux Designs By Beverly Polen
Firm Reliance on Divine Providence!


JAMES 5:1-6

 “Now listen, you rich people, weep and wail because of the misery that is coming upon you.  Your wealth has rotted, and moths have eaten your clothes.  Your gold and silver are corroded.  Their corrosion will testify against you and eat your flesh like fire.  You have hoarded wealth in the last days.  Look!  The wages you failed to pay the workmen who mowed your fields are crying out against you.  The cries of the harvesters have reached the ears of the Lord Almighty.  You have lived on earth in luxury and self-indulgence.  You have fattened yourselves in the day of slaughter.  You have condemned and murdered innocent men, who were not opposing you.”

CottageCutz Baby Clothesline

COTTAGECUTZ  BABY  CLOTHESLINE

Hello, my friends!  I am so glad you could stop by to visit!  Today, I am a guest designer for the Scrapping Cottage.  In that capacity, I have for you a baby card that features one of the dies that was just released.  If you have yet to see the new baby release on Scrapping Cottage, you can find the dies here.  They are so adorable!  My card showcases the new die, CottageCutz Baby Clothesline.

To create the card, I used several other CottageCutz dies as well, as you will see below. To make the card, follow these steps:

Step 1.  Use the CottageCutz Baby Clothesline Die to cut out the clothesline pieces and attach them together.  The assembled piece measures approximately 4-3/4″.

Step 2.  Use the CottageCutz Lighthouse With Clouds die to cut out some clouds.

Step 3.  Use the CottageCutz Campfire Clothesline Die to cut and assemble two trees.

Step 4.  Use the CottageCutz Spring Grass Die to cut out three pieces of grass from green card stock.

Step 5.  Use the CottageCutz Garden Accessories Die to cut out the pieces from white card stock.  Except for the fence, I colored the pieces using Copic Sketch Markers.

Step 6.  Start assembling the card by cutting a 5-1/4″ x 4″ piece of blue card stock for the first layer of the card.  Attach the clouds and trees to the blue card stock.

Step 7.  Attach two pieces of the grass in layers using foam tape on the second layer.  Attach the assembled clothesline with foam tape.  Ensure the giraffe and elephant’s feet are touching the grass.  I cut two small pieces from another blue clothesline to extend the first line to the trees.

Step 8.  Attach the fence to the left and right sides of the piece using foam tape.  Attach a third layer of grass with foam tape at the bottom of the fence.  Color and add the flowers and stems onto the fence.  Cut a 5-1/4″ x 3/4″ piece of green card stock, tear a small portion from the top, sponge on green ink, and place it at the bottom of the fence and floral stems.

Step 9.  Cut a 8-1/2″ x 5-1/2″ piece of white card stock, fold in half for the card base, and attach the above piece to the card base front.

I hope you try creating a card with the CottageCutz Baby Clothesline Die.  It will be fun!


These are the CottageCutz dies used on the card:


Butterfly_1_1God’s Blessings!
Stamping With Guneaux Designs By Beverly Polen
Firm Reliance on Divine Providence!


 1 CORINTHIANS 15:3-8

Apostle Paul said, “For what I received I passed on to you as of the first importance: that Christ died for our sins according to the Scriptures, that he was buried, that he was raised on the third day according to the Scriptures, and that he appeared to Peter, and then to the Twelve.  After that he appeared to more than five hundred of the brothers at the same time, most of whom are still living, though some have fallen asleep.  Then he appeared to James, then to all the apostles, and last of all he appeared to me also, as to one abnormally born.”