GUNEAUX DESIGNS ODBD SEEDS OF TODAY
Happy Friday, everyone!! Before I retired I really looked forward to Fridays. When I got home from a stressful week at work, all I wanted to do over the weekend was rest. Speaking of Fridays, this Friday I have for you a Guneaux Designs ODBD Seeds of Today Greeting Card. I created this card in response to a Splitcoaststampers Ways To Use It Challenge, WT617, to create with something OLD, NEW, BORROWED, and BLUE. The New Year is precipitating challenges involving something new and I love that idea.
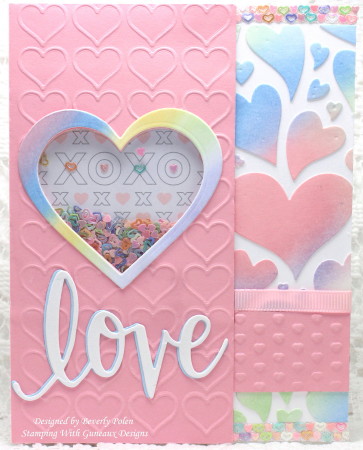
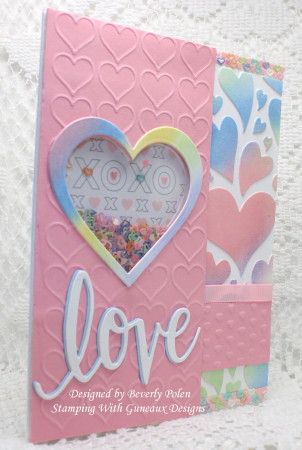
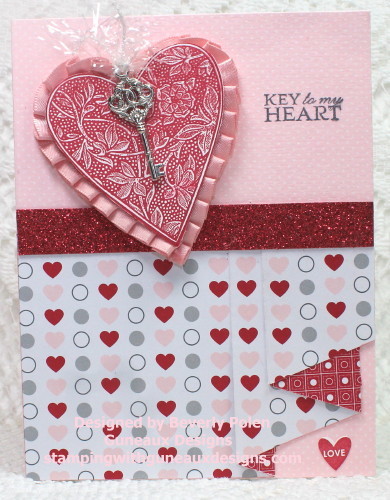
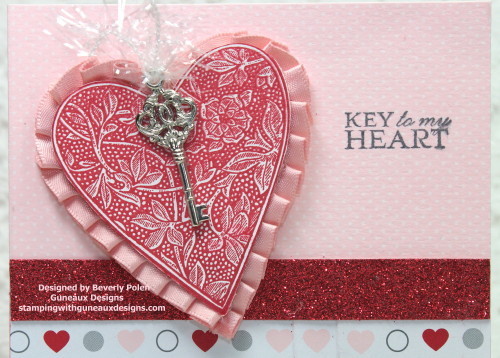
To satisfy the borrowed element of the challenge, I cased a Valentine card I made in 2012.

To make this card I did the following:
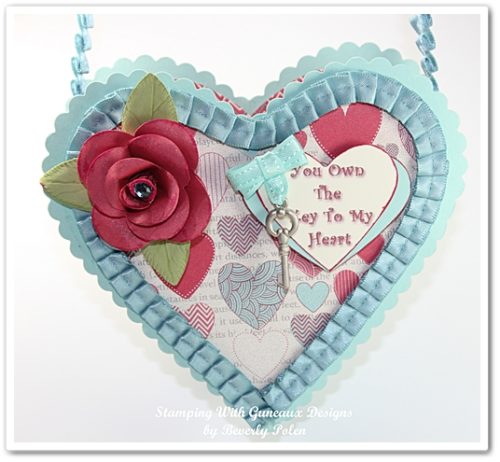
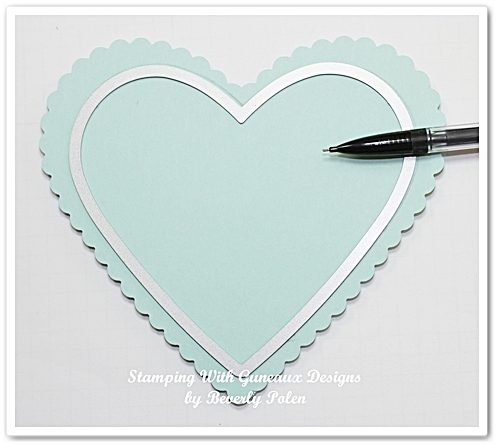
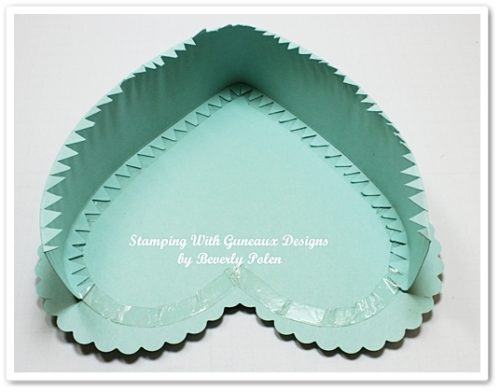
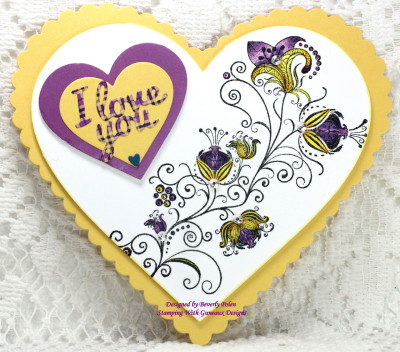
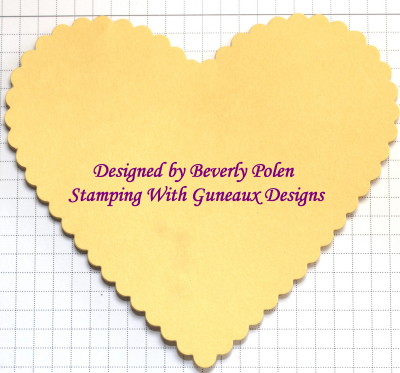
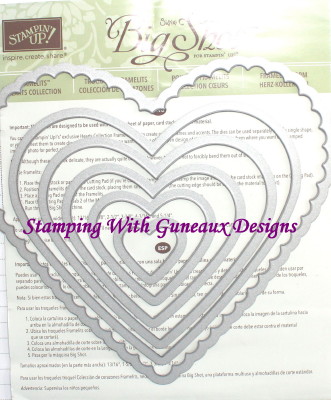
- Using my old 2009 Big Shot, retired and old Stampin’ Up! (SU) Hearts Collection Dies, and a folded piece of Daffodil Delight card stock, I cut out my heart shaped card base. The dies were issued as a new product in the SU Occasions Mini Catalog dated January 4 – April 30, 2012. That makes them old to me! LOL
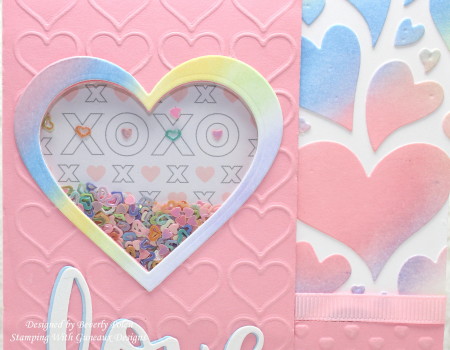
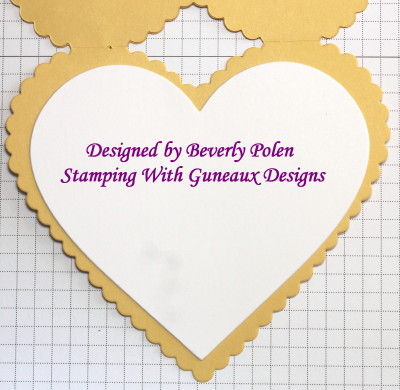
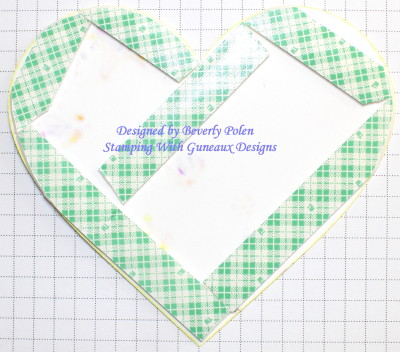
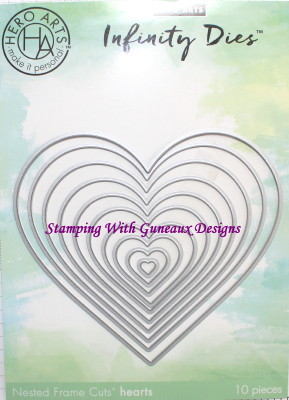
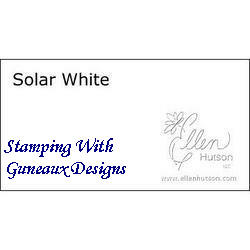
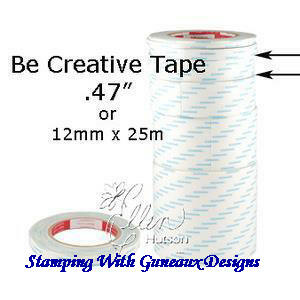
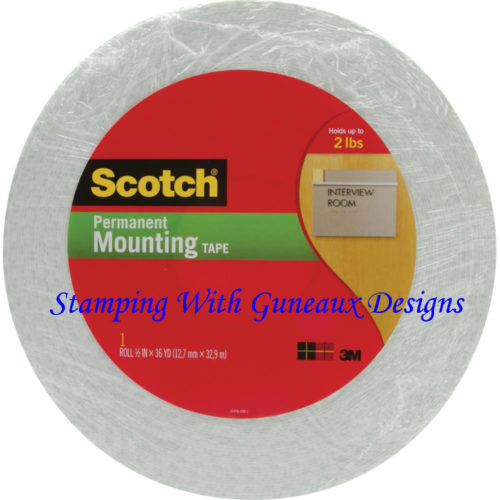
- Using the new Hero Arts Infinity Nesting Heart Dies, I cut two smaller hearts from Neenah Solar White Card Stock. I adhered one to the inside of the card, using the Be Creative Doubled-Sided Adhesive.
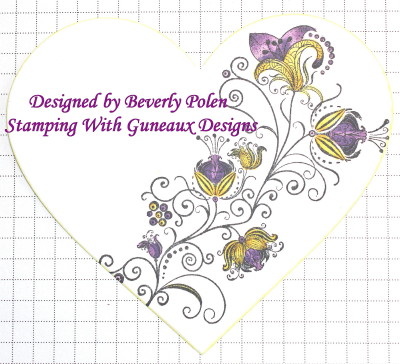
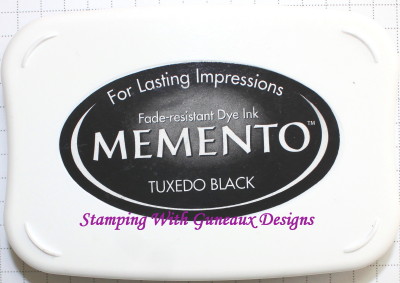
- I used the second white heart to stamp, with Memento Tuxedo Black ink, a floral image from the new January 2017 ODBD release, the ODBD Seeds of Today Stamp Set. I used Copic Sketch Markers in shades of purple and yellow to color the image.
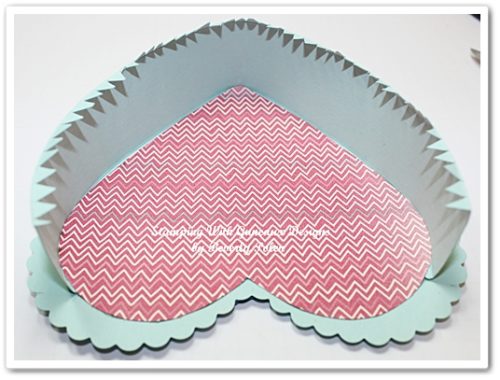
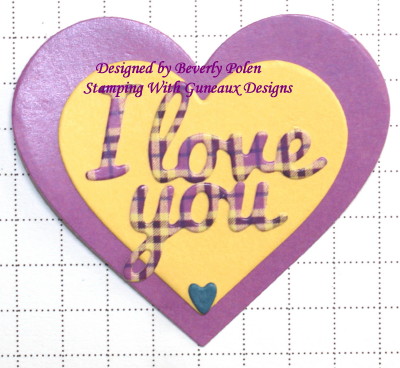
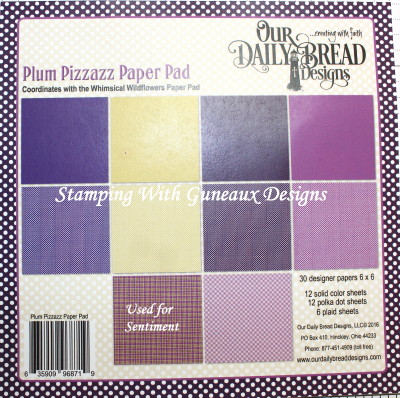
- Using the new Hero Arts Hearts Dies, new ODBD Plum Pizzazz Paper Pad (designer paper), and new (to me) CottageCutz I Love You Die, I cut two miniature hearts and added my I Love You sentiment. To satisfy the requirement to use something blue, I added a miniature, really miniature, blue heart at the bottom of the yellow heart die cut.
- I added double-sided-foam tape to the main panel with the stamped image and adhered that to the Daffodil Delight card base.
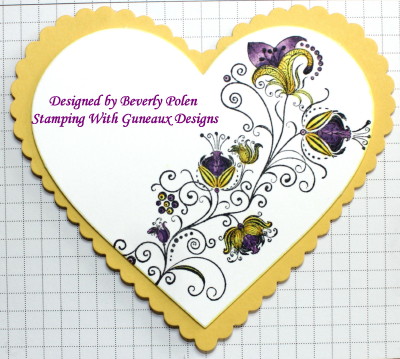
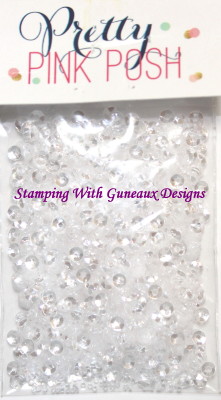
- I finished the card by adding the smaller hearts and Pretty Pink Posh Sparkling Clear Sequins.
Have a wond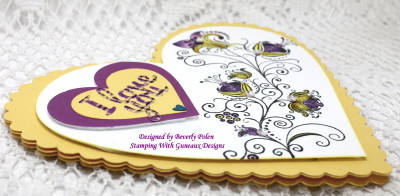 erful weekend!!
PRODUCTS USED (IN ORDER AS DISCUSSED IN THE POST)


 God’s Blessings!
Stamping With Guneaux Designs By Beverly Polen
Firm Reliance on Divine Providence!
The Glory Returns to the Temple: “Then the man brought me to the gate facing east, and I saw the glory of God of Israel coming from the east. His voice was like the roar of rushing waters, and the land was radiant with his glory. The vision I saw was like the vision I had seen when he came to destroy the city and like the visions I had seen by the Kebar River, and I fell face down. The glory of the Lord entered the temple through the gate facing east. Then the Spirit lifted me up and brought me into the inner court, and the glory of the Lord filled the temple.” Ezekiel 43:1-5 (Ezekiel was a Jewish Priest/Prophet who spoke these words.)