How to Make a Center Step Card – Happy Birthday

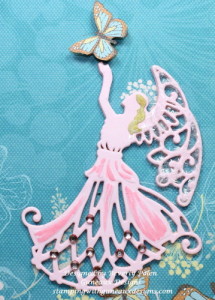
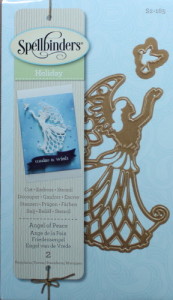
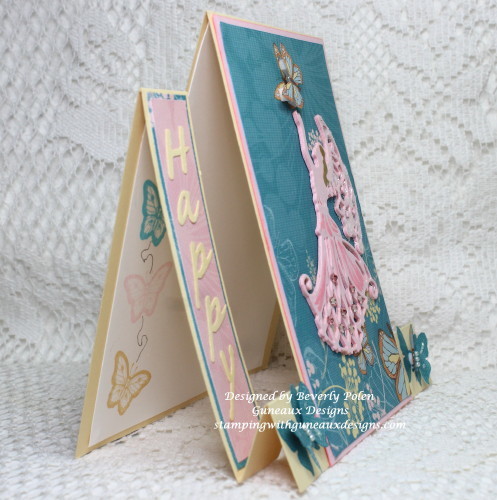
The purpose of this post is to provide a tutorial on how to make a center step card. The card shown in the post is a Happy Birthday card that I made for my little angel granddaughter.  I refer to her as my angel, thus I thought the Spellbinders Holiday Angel of Peace Dies would work perfectly for my center step card.
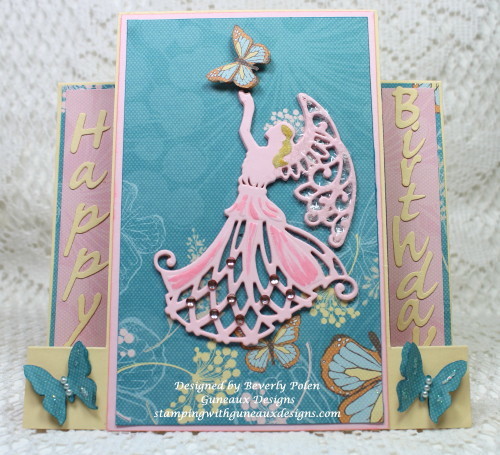
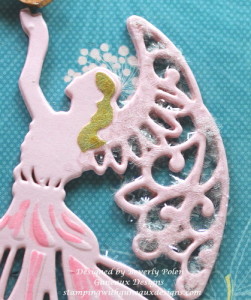
How to make a Center Step CardThe following pictures are closeups of card sections.  You will note that the angel’s wings are covered with a tinsel glitter, which is Martha Stewart’s Crystal Tinsel Glitter (discontinued).

How to make a Center Step CardHow to make a Center Step Card

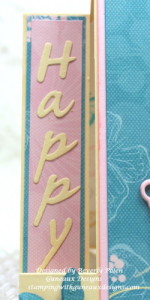
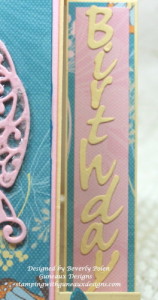
These pictures are closeups of the Happy Birthday sentiment on the left and right sides of the card and the Spellbinders Angel of Peace Dies.

How to make a Center Step CardHow to make a Center Step CardSpellbinders Holiday Angel of Peace


TUTORIAL ON HOW TO MAKE A CENTER STEP CARD
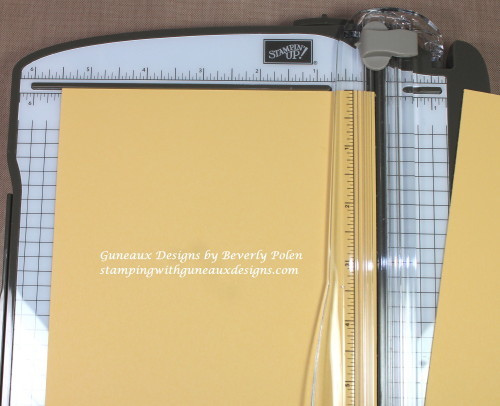
STEP 1: Using a paper trimmer/cutter, cut an 11″ x 5-1/2″ piece of card stock.

How to Make a Center Step Card

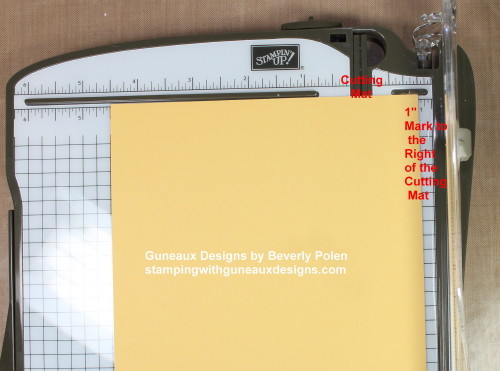
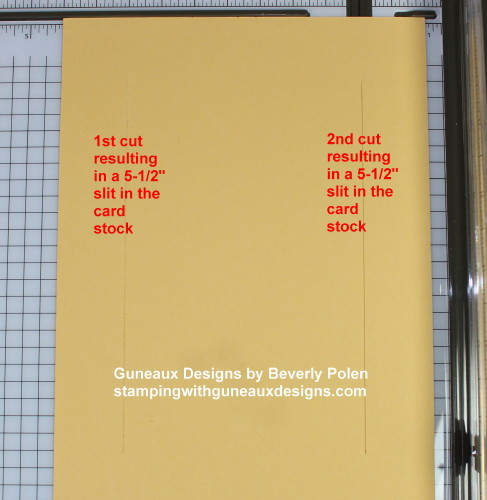
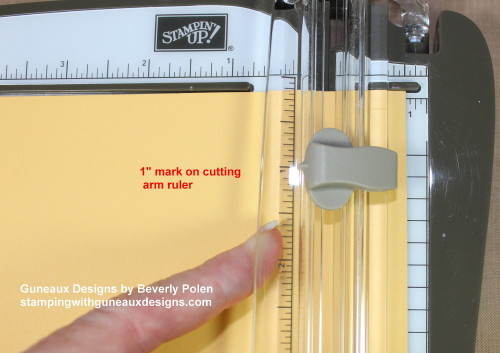
STEP 2:  Leave the 11″ x 5-1/2″ cut piece of card stock on the trimmer, moving the right side to the 1″ mark on the right side of the cutting mat (i.e., the rubber channel that the blade slides through when cutting).

NOTE:  The terms used for a trimmer depends on the type of trimmer used (e.g., Guillotine cutter, Bypass trimmer, etc.).  Thus, in this tutorial,  I have used terms that are applicable to my paper trimmer. Follow the directions for use of your type of trimmer.

How to Make a Center Cut Card

STEP 3:  Using the ruler on the cutting arm, move the cutting blade down to the 1″ mark. Lay the cutting arm down on the paper.

How to Make a Center Step Card Happy Birthday

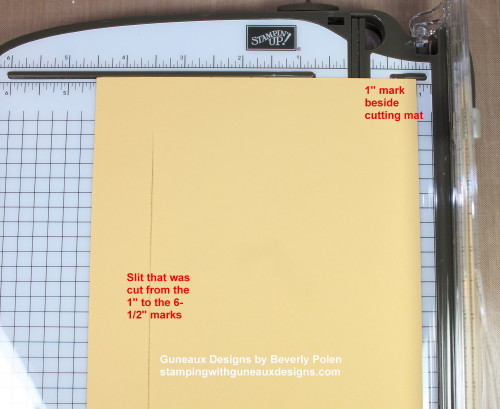
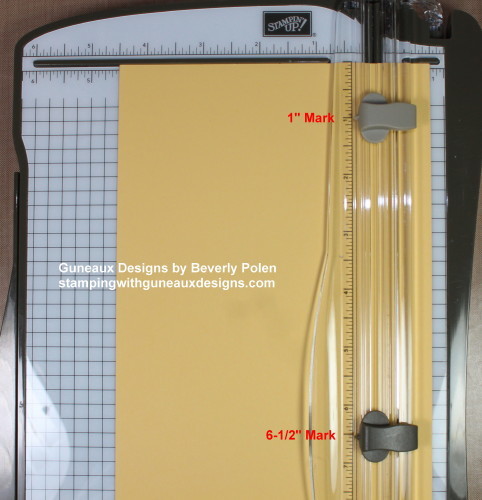
STEP 4:  Cut from the 1″ mark on the cutting arm ruler down to the 6-1/2″ mark.  This provides a 5-1/2″ slit on the card stock.

how-to-make-a-center-step-card-happy-birthday/

STEP 5:  Turn the card stock over with the 5-1/2″ slit on the left side.  Place the card stock at the 1″ mark that is to the right of the cutting mat.

http://stampingwithguneauxdesigns.com/how-to-make-a-center-step-card-happy-birthday/

STEP 6:  Before cutting, move the cutting blade on the cutting arm down to the 1″ mark (same as STEP 3).

STEP 7:  Cut from the 1″ mark down to the 6-1/2″ mark.  This provides a second 5-1/2″ slit on the card stock.

http://stampingwithguneauxdesigns.com/how-to-make-a-center-step-card-happy-birthday/

STEP 8:  Put the trimmer away and get out your paper scoring tool to score the piece of card stock.

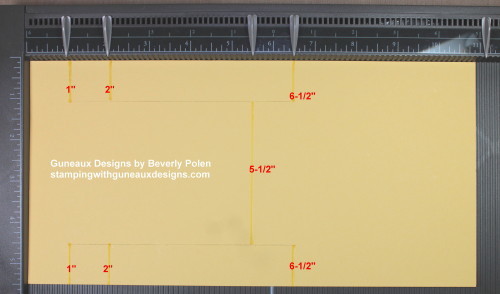
STEP 9:  Place the card stock onto the scoring tool with the 5-1/2″ side and slits to the far left on the tool.

http://stampingwithguneauxdesigns.com/how-to-make-a-center-step-card-happy-birthday/

STEP 10:  Score at the 1″, 2″, and 6-1/2″ marks, but ONLY from the top of the card stock down to the slit at the top, and from the slit at the bottom to the edge of the card stock. Your score lines will be 1″ long at the top and bottom, avoiding the area where the two slits are located (see picture below STEP 11).

STEP 11.  Score at the 5-1/2″ mark beginning at the first slit down to the second slit.

http://stampingwithguneauxdesigns.com/how-to-make-a-center-step-card-happy-birthday/

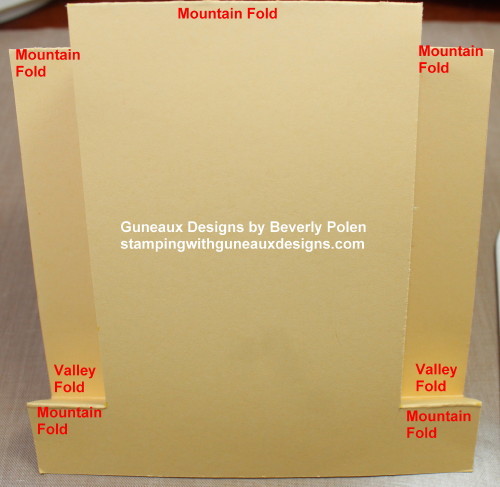
STEP 13:  Remove your card stock from the scoring tool and fold it according to the following:

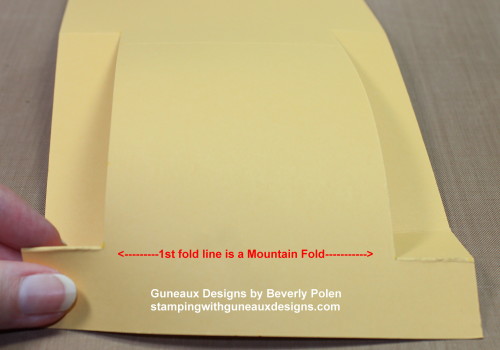
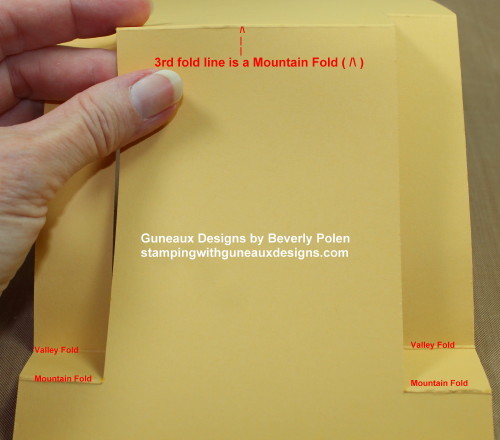
  • Fold at the first score marks (i.e., the 1″ score line on both sides) into a mountain fold (i.e. the folded crease is facing up).

How to Make a Center Step Card

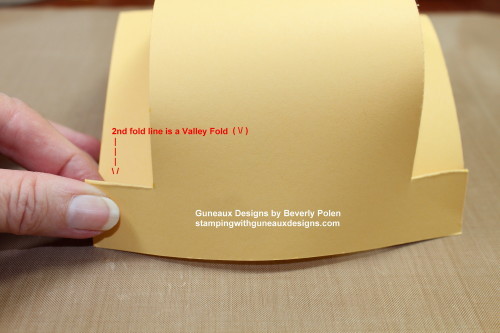
  • Fold at the second score line (i.e., the 2″ score line on both sides) into a valley fold (i.e., the folded crease is facing down).

How to Make a Center Step Card

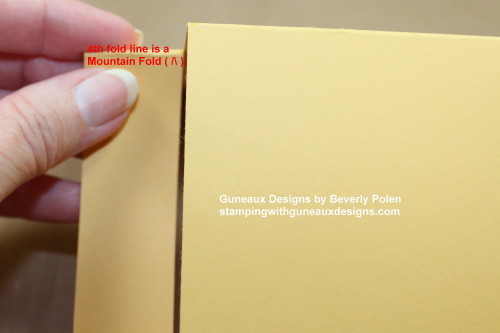
  • Fold  the 5-1/2″ score line into a mountain fold.

How to Make a Center Step Card

  • Fold the 6″ score line into a mountain fold.

How to Make a Center Step Card

How to Make a Center Step Card

STEP 14:  Now you can create a center step card base and decorate it according to your desires.

Hopefully my tutorial is easy to follow.  If you have any questions or comments, please feel free to leave them in the comment area (i.e., either at the end of this post or at the conversation bubble to the right of this post title).


Swallowtail Butterfly

God’s Blessings!

Stamping With Guneaux Designs by Beverly Polen

How to make a Center Step Card

HOW TO MAKE A CENTER STEP CARD
Hearth & Home Framelits Dies & Happy Scenes

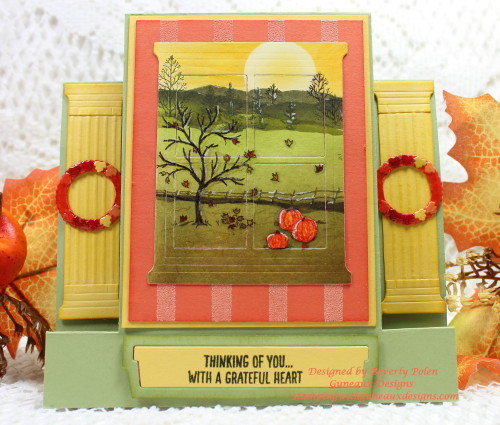
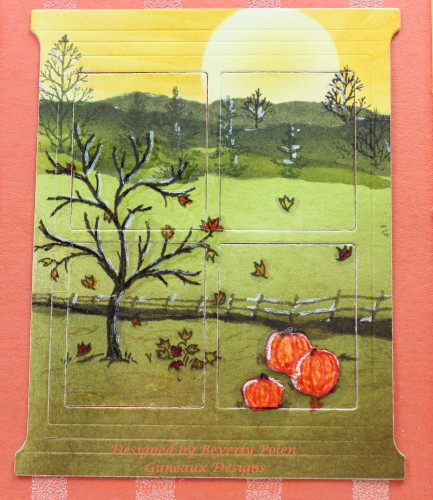
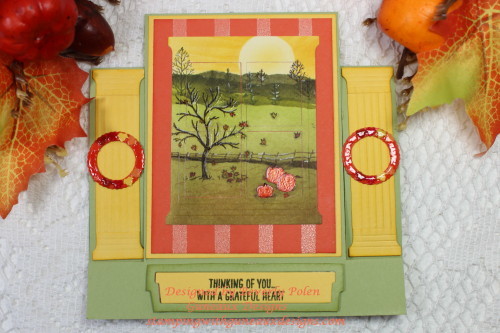
Thanks for stopping by!  🙂  My share for you today is a Center Step Card that features Stampin’ Up!’s Hearth & Home Framelits Dies and Happy Scenes Stamp Set.  I refer to my card as a Window Frame Wall Mural.  The reason for that is the complete window and frame are a scene instead of a scene outside the window.

Hearth & Home Framelits Dies & Happy Scenes

This card is the first one that I created with the Stampin’ Up! Hearth & Home Framelits Dies.  I ordered the dies many weeks ago and just received them recently.  BTW, if you have this set of dies, notice on the package they arrive in that the dies are called Framelits. However, in the on-line store and the mini catalog the dies are called Thinlits. I don’t know which they are, and it really doesn’t matter to me.  Just a tidbit!

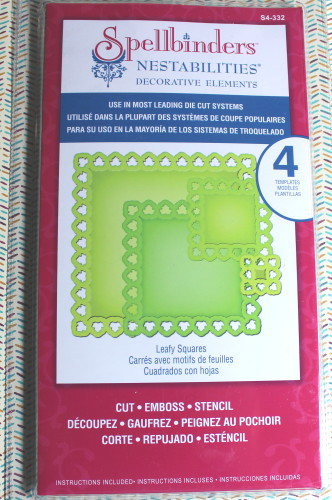
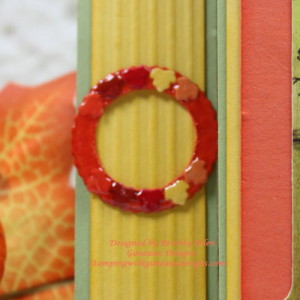
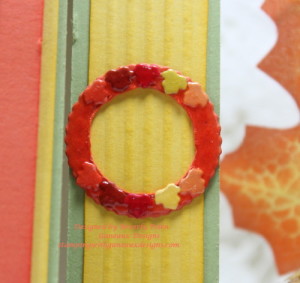
The two columns on the sides of the Center Step Card are enhanced by a wreath that is covered with tiny leaves.  I made the leaves with the Spellbinders Leafy Squares Dies (S4-332). Stampin Up Happy Scenes-Bohemian DSP5 and Spellbinders Leafy Squares  The pictures below give you a closeup of the wreaths which I covered with Stampin’ Up! Crystal Effects.

Hearth & Home Framelits Dies & Happy ScenesHearth & Home framelits Dies & Happy Scenes

The picture below is a closeup of the window that I created with the Stampin’ Up! Hearth & Home Framelits Dies and Happy Scenes Stamp Set. It gives you a better idea why I call the card, Window Frame Wall Mural.  🙂
Hearth & Home Framelits Dies & Happy Scenes Stamp Set

 Hearth & Home Framelits Dies & Happy Scenes Stamp Set

 I hope you enjoyed the card.  Have a wonderful, blessed week.


Swallowtail Butterfly

God’s Blessings!

Stamping With Guneaux Designs by Beverly Polen

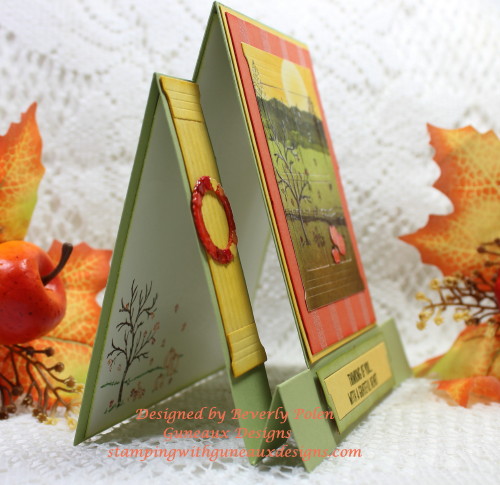
Hearth & Home Framelits Dies & Happy Scenes Stamp Set You can see in the above picture the inside of the card.  It includes a stamped image from the Stampin’ Up! Happy Scenes Stamp Set.

HEARTH & HOME FRAMELITS DIES & HAPPY SCENES STAMP SET

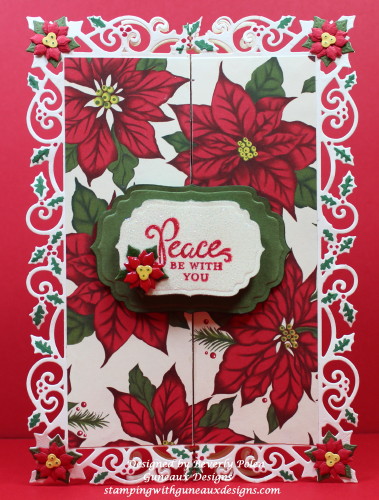
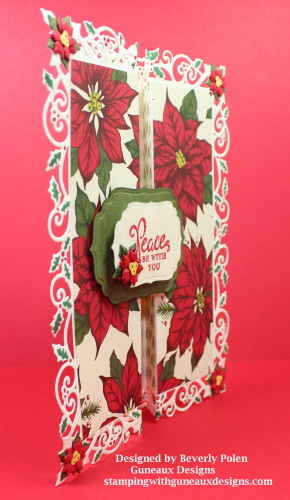
Home for Christmas DSP Gate Fold Card

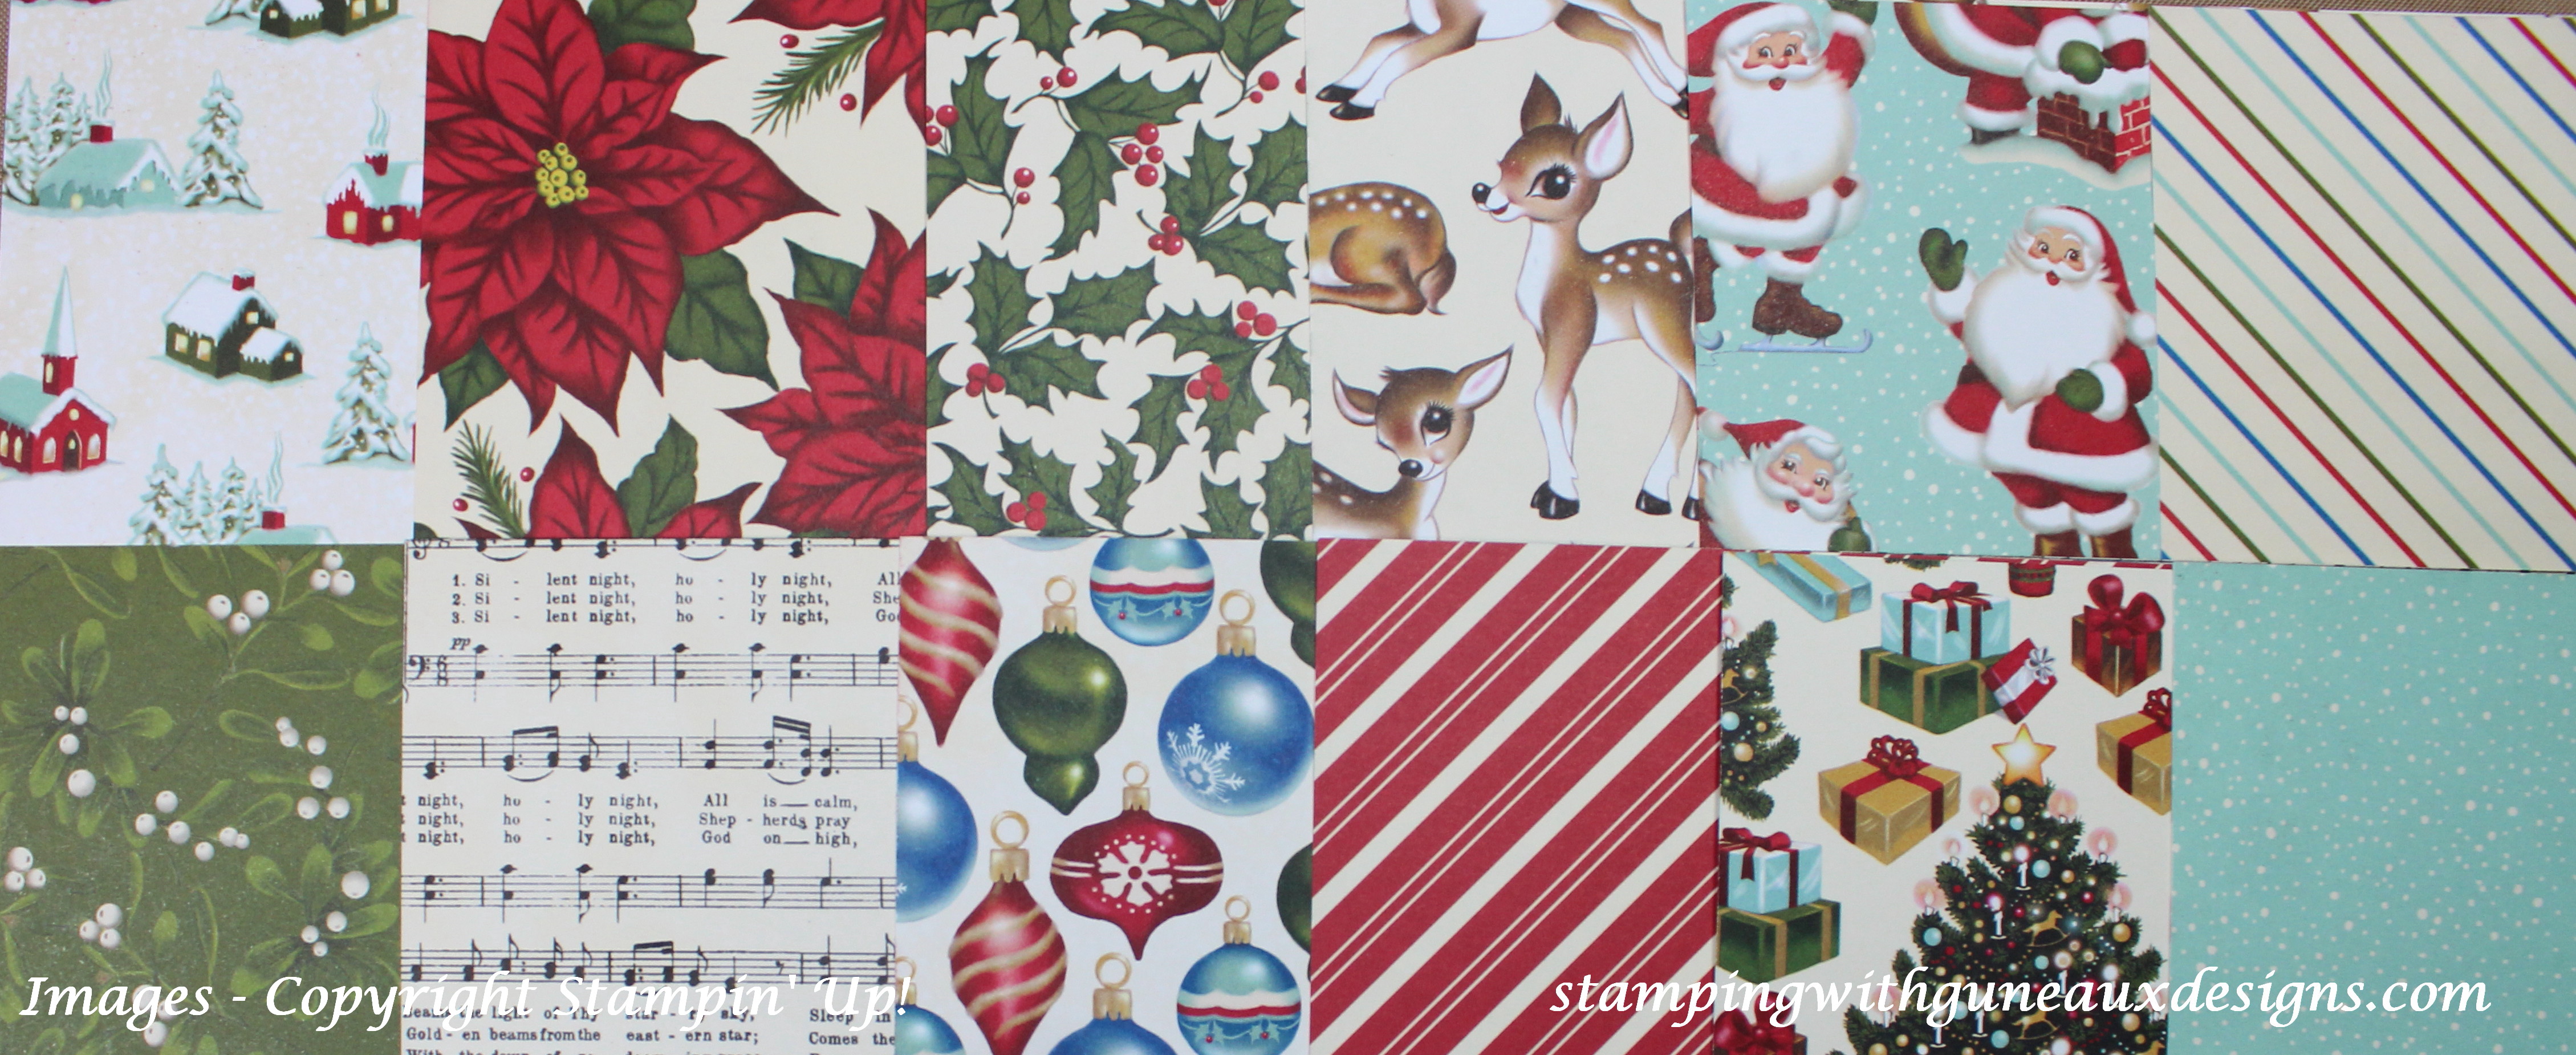
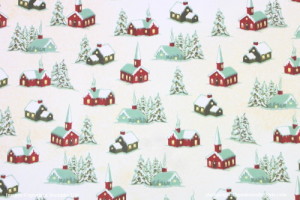
The Home for Christmas DSP from Stampin’ Up! is so nostalgic and takes me back to my childhood.  I love the designs of the paper which are shown below:Home for Christmas DSP

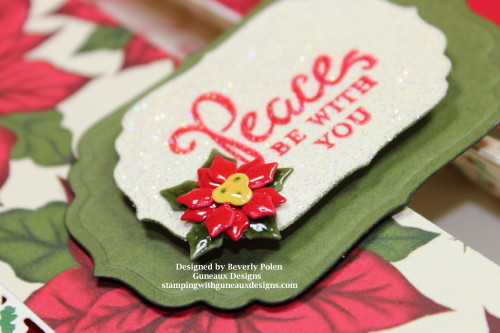
For my card, I chose the poinsettias design.  And to enhance the design from the Home for Christmas DSP, I used the Spellbinders Holiday 5 x 7 Holly Frame Template to die cut my gate fold card.

Home for Christmas DSP Gate Fold Card

Isn’t it beautiful?

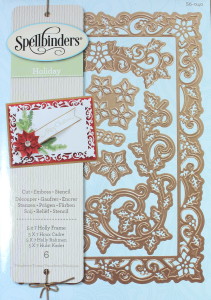
Spellbinders 5x7 Holly FrameThe holly and poinsettia die cuts from the Spellbinders Holiday 5 x 7 Holly Frame match the Home for Christmas DSP perfectly. The picture to the left is of the Spellbinders dies.
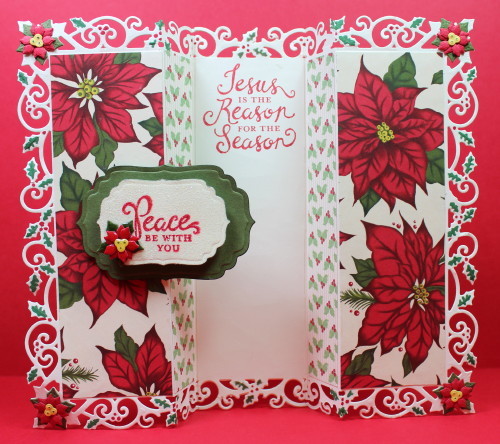
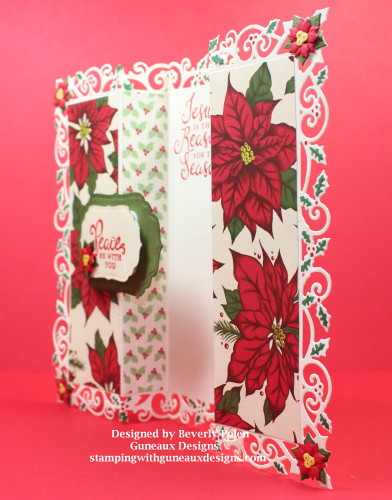
After cutting a piece of 10″ x 71/4″ Very Vanilla Card Stock (Stampin’ Up! item #101650), I scored and folded the card stock to form a gate fold card.  I  scored the piece of card stock at the 3″, 4″, 6″ and 7″ marks.

I folded the card stock in this order:  3″ score line is a mountain fold, 4″ valley fold, 6″ valley fold, and 7″ mountain fold.  Using my Big Shot and cutting plates, I laid the 5″ x 7″ holly frame onto my magnetic plate and cutting plate, folded the card stock into a gate fold, laid the card on top the holly frame, laid another cutting plate on top of the gate fold card, and run it through the big shot.  Leaving the cut gate fold card within the frame, I used green and red inks to emboss along the edges.  This picture below gives you a better idea.

Home for Christmas DSP Gate Fold Card

For the two sides of the inside of the card, I felt that the back side of the poinsettias design of the Home For Christmas DSP just would not look good.  This is the back side of the poinsettias design:

Home for Christmas DSP

The holly design within the Home for Christmas DSP is too bold to me for this purpose. Therefore, I decided to dig into my stash of retired designer series paper for something that would better fit the poinsettias.  I found the holy design of the old Stampin’ Up! Berry Bouquet Specialty Designer Series Paper that is more muted.  That was it!  It matched perfectly!  Thus, you’ll see it on the inside of the card.

Home for Christmas DSP Gate Fold Card

Home for Christmas DSP Gate Fold Card


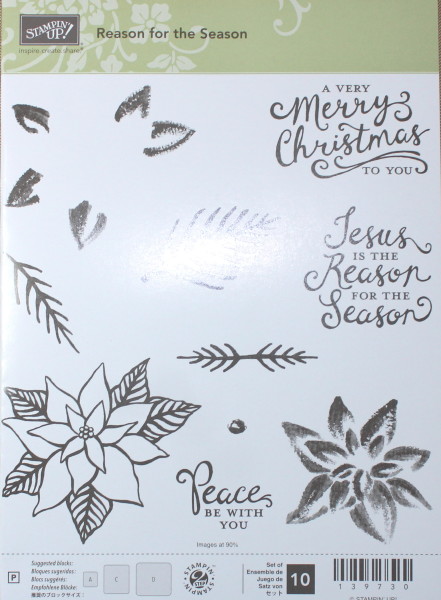
I added to my gate fold card two sentiments from the Stampin’ Up! Reason for the Season Stamp Set (Item #139730).  The picture to the right shows one and the second one can be seen on the card’s inside in the above pictures.

Reason for the Season Stamp SetHome for Christmas DSP Gate Fold Card


I embellished the outside sentiment with Stampin’ Up! Iridescent Ice Embossing Powder (Item #101930) and a poinsettia made with a couple dies from the Spellbinders Holiday 5 x 7 Holly Frame die cuts.  I used Stampin’ Up! Crystal Effects on the poinsettia.

I hope you enjoyed the card as much as I did making it!  Don’t forget to leave a comment!

Butterfly

God’s Blessings!

Stamping With Guneaux Designs

By

Beverly Polen

Home for Christmas DSP Gate Fold Card

Home for Christmas DSP Gate Fold Card

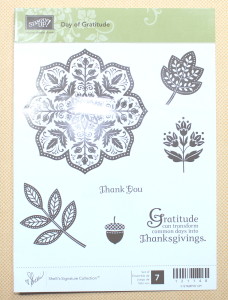
Day of Gratitude Stamp Set

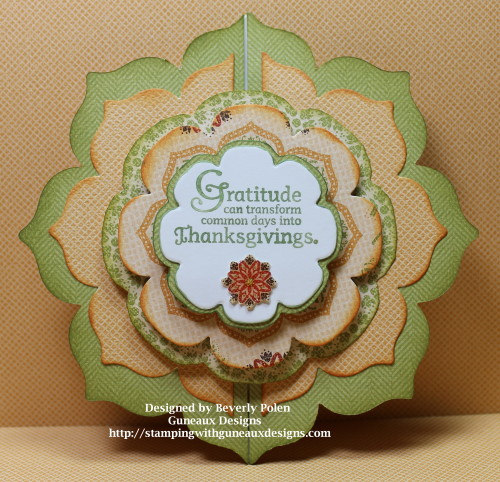
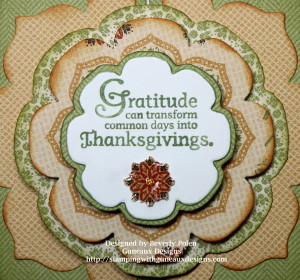
The Stampin’ Up! (SU) Day of Gratitude Stamp Set is one of my favorite SU stamp sets for the Autumn.  And the beautiful Autumn Spice Specialty Designer Series Paper (DSP) that goes with the stamp set is one of my favorite SU DSP.  Although both are retired products, I decided to use them to create my gratitude gate fold card.

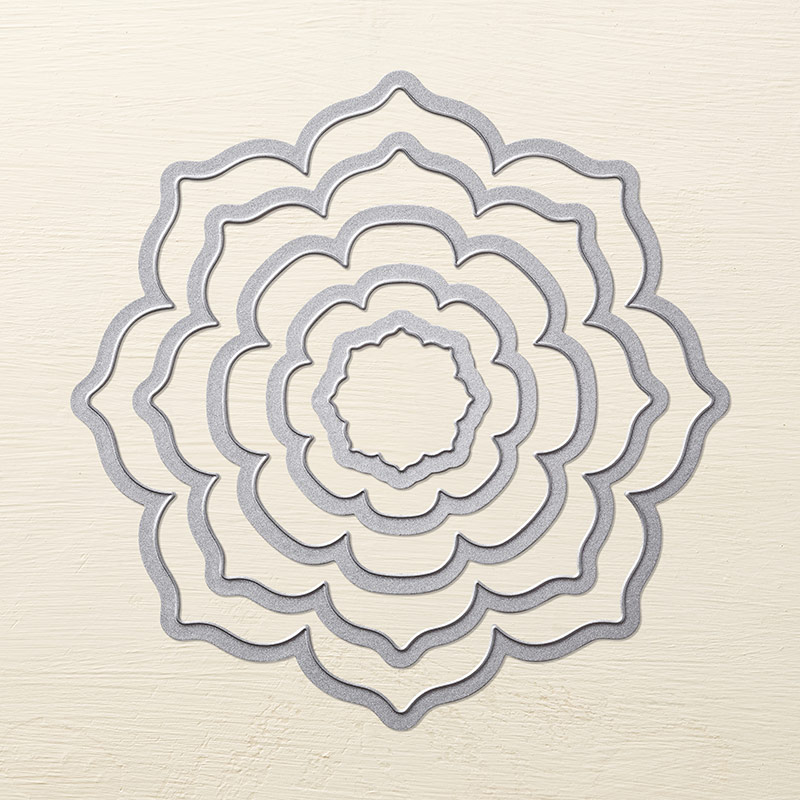
Day of Gratitude Stamp Set and SU Floral Frames Framelits

Isn’t the name of the DSP so appropriate for this time of the year?  What comes to your mind when you think, “Autumn Spice”?  I think of fall apples and the products that are made with them.  For example, spicy apple butter, spicy apple cider, apple pie, and other yummy products.  The “spice of autumn” brings to my mind leaves turning to beautiful colors, leaves falling from the trees, and children playing in piles of leaves.  OK, so much for that!!

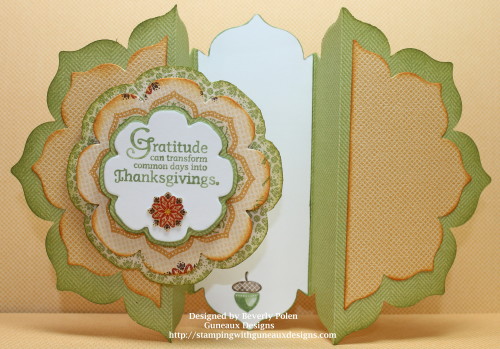
Day of Gratitude Stamp SetI created the Day of Gratitude gate fold card by using the SU’s Floral Frames Framelits. In 2012, I first published the method for folding card stock and using SU framelits to create a gate fold card.  Click HERE and you’ll find a tutorial on using the SU framelits to create a gate fold card.

Day of Gratitude Stamp Set

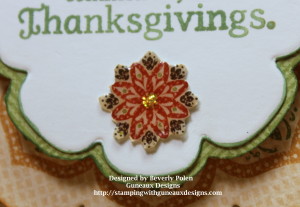
Day of Gratitude Stamp SetThe above pictures are closeups of the sentiment which is part of the Day of Gratitude Stamp Set.  I really like the medallion that I fussy cut from the DSP, covered it with Stampin’ Up! Crystal Effect, and added a drop of Ranger Yellow Stickels.
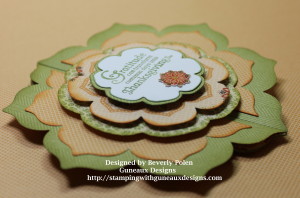
As you can see in the following picture, I added foam adhesive dots to the layers of the sentiment to give the card so dimensions.

Day of Gratitude Stamp Set

Tell me, what is your favorite Stampin’ Up! autumn stamp set!!

Products Used for the Gate Fold Card featuring the Day of Gratitude Stamp Set:

Stamps:  Stampin’ Up! Day of Gratitude Stamp Set

Paper:  Stampin’ Up! Autumn Spice Specialty Designer Series Paper and Whisper White Card Stock

Ink:  Stampin’ Up! Wild Wasabi Classic Ink (for sentiment)

Accessories:  Stampin’ Up! Floral Frames Framelits, Sizzix Big Shot, Stampin’ Up! Crystal Effects, Foam Adhesive Dots, and Sticky Strip

Day of Gratitude Stamp SetStampin' Up! Floral Frames Framelits

Day of Gratitude Stamp Set     SU Floral Frames Framelits

ButterflyGod’s Blessings!

Stamping With Guneaux Designs

By

Beverly Polen

Day of Gratitude Stamp Set

DAY OF GRATITUDE STAMP SET GATE FOLD CARD

Stampin Up Deco Labels Framelits and Morning Meadow Card

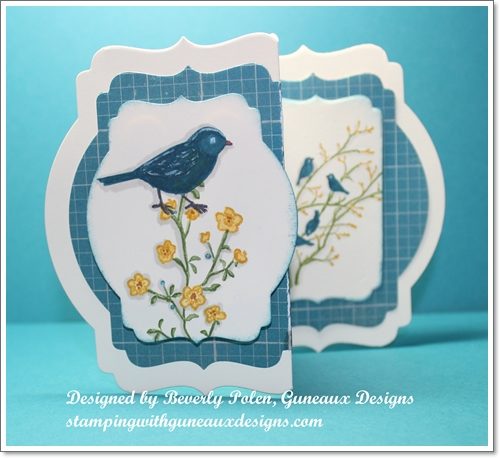
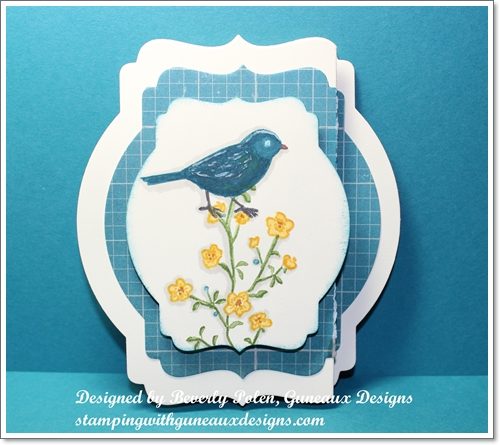
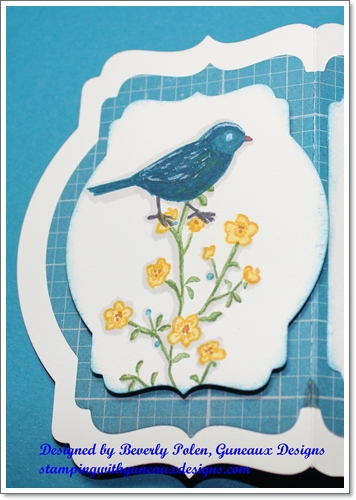
I love the new Stampin Up Deco Labels Framelits, don’t you? I keep thinking of things to make with them as I did with this Stampin Up Deco Labels Framelits and Morning Meadow Card.  The framelits, Stampin Up Morning Meadow Stamp SetStampin Up Label Love Stamp Set, and Stampin Up Serene Silhouettes Stamp Set are highlighted on the card.  A tutorial for making the card can be found below.

This picture shows the closed card.  If anyone has a trick to prevent Designer Series Paper from “cracking” when folded, please leave me a comment to share your trick.  Thank You!

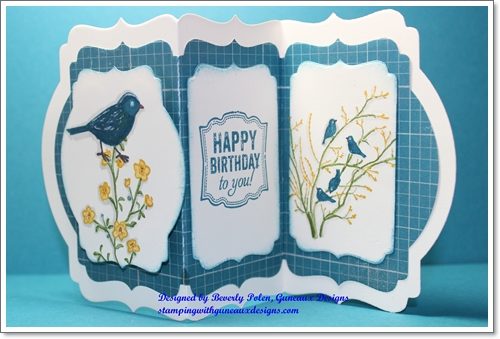
This picture is of the card completely open.

I love using the Stampin Up Framelits to create unique cards.  If you haven’t seen my previous posts of cards made with other framelits, you can see one HERE and another one HERE.

SUPPLIES USED FOR THE STAMPIN UP DECO LABELS FRAMELITS CARD:

Paper: Soho Subway Designer Series Paper (130140), Very Vanilla Card Stock (101650)

Stamps: Morning Meadow Hostess Stamp Set (129678), Stampin Up Label Love Stamp Set (130622), and Serene Silhouettes Stamp Set (127324)

Ink: Island Indigo Classic Ink (126986), Crushed Curry Stampin’ Write Marker (131901), Gumball Green Stampin’ Write Marker (126856 – package), White Pigment Ink (105021 -Gel Pen), Basic Gray Stampin’ Write Marker (131261 – package)

(NOTE: These are the inks I used. The stamp image(s) you select obviously will dictate the inks you use.)

Accessories: Big Shot Die Cutting Machine (113439), Deco Labels Framelits (130102), Stampin’ Dimensionals (104430), and Adhesive

TUTORIAL TO MAKE THE STAMPIN UP DECO LABELS FRAMELITS BIRTHDAY CARD:

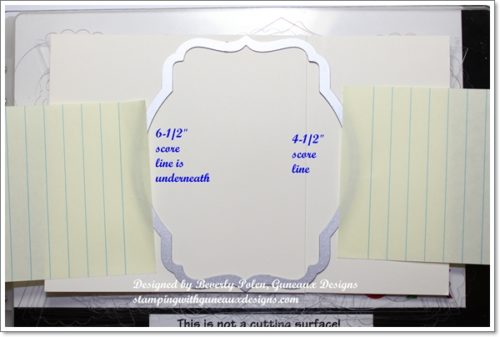
Step 1. Cut an 11″ x 4-1/2″ piece of Very Vanilla Card Stock.

Step 2. Score at the 4-1/2″ and 6-1.2″ marks.

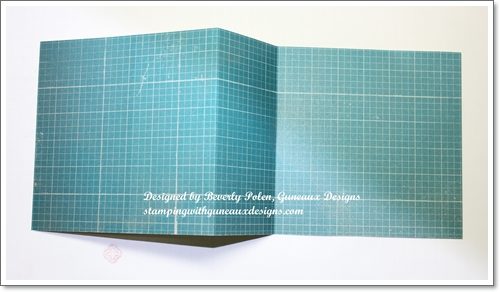
Step 3. Make a mountain fold at the 4-1/2″ score line and a valley fold at the 6-1/2″ score line.

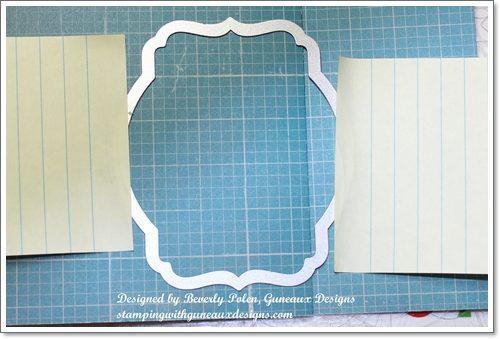
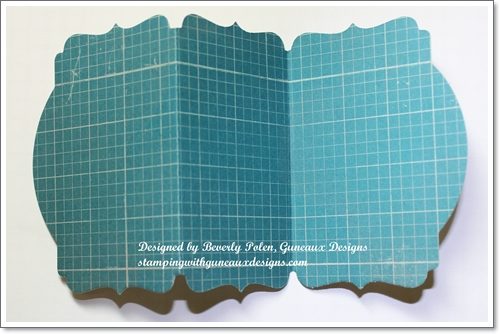
Step 4. Lay the folded card stock on top of a Big Shot Cutting Board and center the largest framelit from the Deco Labels Framelits over the folds. You’ll need to slightly lift the left side of the card stock to see the 6-1/2″ fold in order to center the framelit.

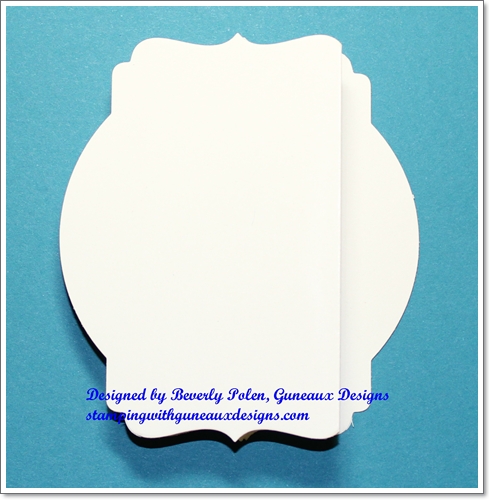
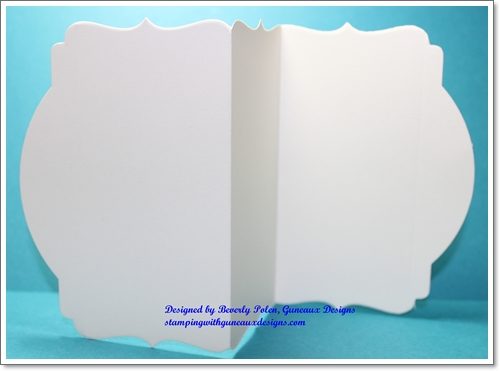
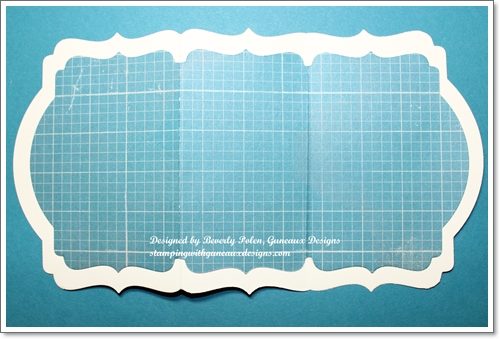
Step 5. Finish building the Big Shot sandwich and run it through your Big Shot Die Cutting Machine.  The following pictures show the results. 

Step 6. Repeat Steps 1 – 5, using the Island Indigo and Very Vanilla design from the Soho Subway Designer Series Paper and the next to the largest framelit from the Stampin Up Deco Labels Framelits.

Step 7. Using adhesive, attach the Island Indigo piece to the Very Vanilla Card Stock. If you use liquid glue, allow the piece to dry while lying flat and then crease the folds.

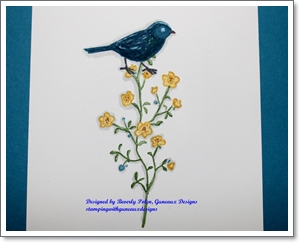
Step 8. Ink and stamp on Very Vanilla Card Stock the floral and bird stamps images from the Morning Meadow Hostess Stamp Set (or use another stamp set for your images).

Step 9. Place the next to the largest Stampin Up Deco Labels Framelit over your image(s) that you stamped in Step 8 and run it through the Big Shot Die Cutting Machine.

Step 10. Sponge Island Indigo Classic Ink around the stamped label and adhere it to the left side of the card.  When attaching this label, it will hang over the crease slightly.  Not to worry!

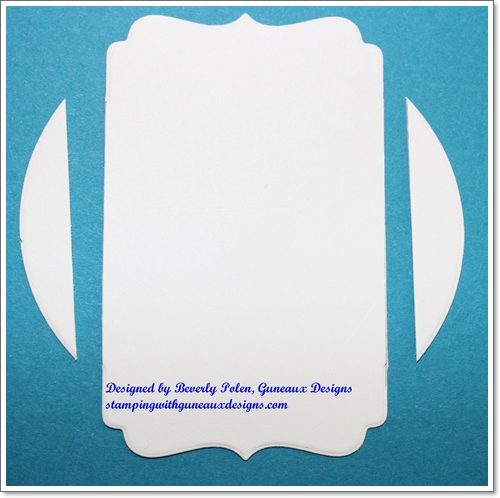
Step 11. Using the same framelit, cut another label from Very Vanilla Card Stock. This label is too large to fit onto the center. Therefore, you’ll need to cut the sides off as is shown in the below picture.  This piece is for the sentiment or a personal note.  Attach it onto the center of the card.  I stamped onto this piece the “Happy Birthday to you!” image from the Stampin’ Up! Label Love Stamp Set.

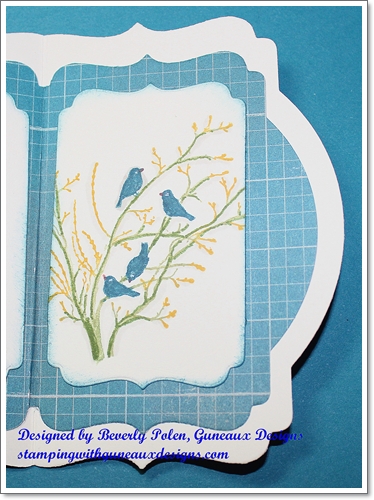
Step 12. Ink and stamp onto Very Vanilla Card Stock the image of birds in a tree from the Serene Silhouettes Stamp Set.  Use the same framelit and cut out this label.  It too is too large for the right side of the card, so bear that in mind when cutting the label.  Cut off the sides as done in Step 11.  If you don’t cut off the right side of the label, the card will not look correct when closed.

Step 13. Attach the stamped and modified Very Vanilla label to the right side of the card.

Step 14.  Finished!  Enjoy the Stampin Up Deco Labels Framelits Card!

God’s Blessings!
Stamping With Guneaux Designs
by
Beverly Polen

STAMPIN UP DECO LABELS FRAMELITS AND MORNING MEADOW CARD

Gate Fold Card Made With Floral Frames Framelits

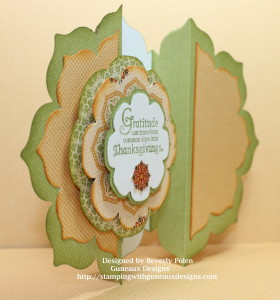
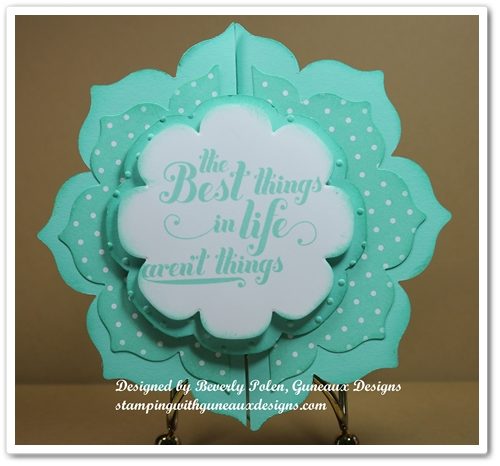
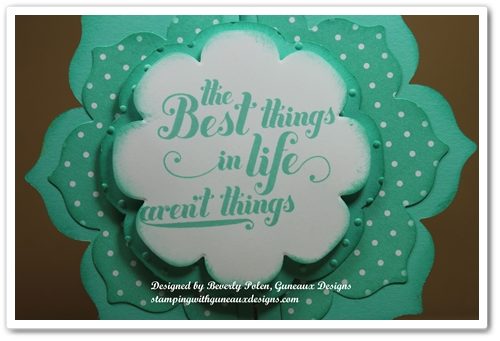
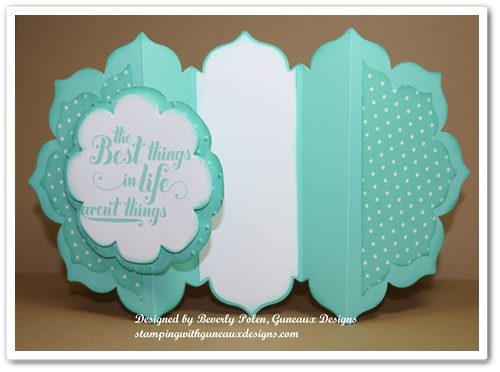
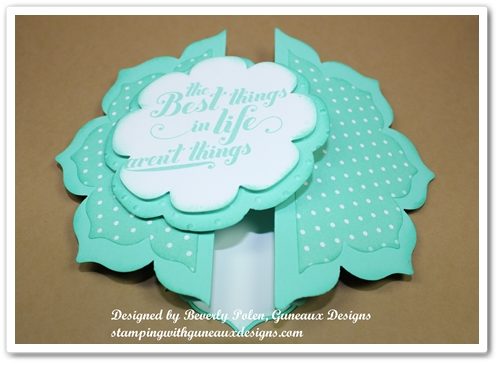
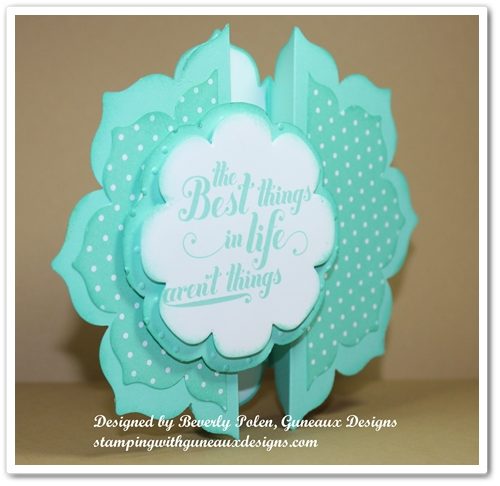
Not all cards are created equal and not all cards are folded in half.  My card today, a Gate Fold Card made with floral frames framelits from Stampin’ Up!, folds on the left and right sides.  However, it is folded differently than most gate fold cards.  The difference is that most gate fold cards are folded with the center piece being the largest part of the card.  My card’s center piece is the smallest part of the card.  I love my newly discovered way of using Stampin’ Up!’s framelits to create gate fold cards, and I hope you enjoy them.

The following is a close-up picture of the sentiment, which is from the Stampin’ Up! Feel Goods Stamp Set:


This picture shows the open card:


SUPPLIES USED FOR THE GATE FOLD CARD MADE WITH FLORAL FRAMES FRAMELIST

Paper:  Coastal Cabana Card Stock (131297), Whisper White Card Stock (100730), and 2013-2015 In-Color Designer Series Paper Stack (130136)

Stamps:  Feel Goods Stamp Set (129684 – c)

InkCoastal Cabana Classic Ink (131175)

Accessories:  Floral Frames Framelits (127012)


 INSTRUCTIONS:

Any of the larger Stampin’ Up! Framelits can be used to create a gate fold card in the manner I created this one.  To make this gate fold card made with floral frames framelits, follow the tutorial I posted HERE.  The primary difference for this card is simply the framelits used.  Enjoy!


 God’s Blessings!
Stamping With Guneaux Designs
by
Beverly Polen

 GATE FOLD CARD MADE WITH FLORAL FRAMES FRAMELITS