Papillon Potpourri Stamp Set – Stampin’ Up!

Papillon Potpourri Stamp Set – Stampin’ Up!

Today’s greeting card features the Papillon Potpourri Stamp Set – Stampin’ Up!(123759 – catalog item number – clear mount).  I love butterflies, so the Papillon Potpourri is one of my favorite stamp sets.
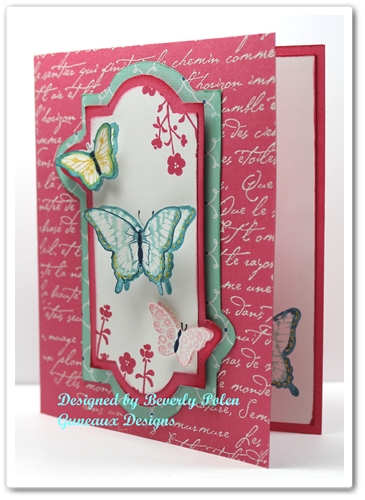
The card base is made with a piece of the new In-Color Strawberry Slush Card Stock.  Using VersaMark Ink (102283), I stamped a background stamp onto the card front.  It was  covered with White Embossing Powder  (109132 – catalog item number) and heat set. (I love any kind of embossing).

I think the butterflies in the above picture of the card appear to be hovering over the card with their shadow showing underneath.  I have to give the credit for the effect to my camera (lol).  Oh, wait….maybe it was the person behind the camera creating the effect.  Regardless, I think those wonderful Stampin’  Dimensionals (104430 – catalog item number) played a role as well!  Don’t you just love the 3-D effect on greeting cards?

Look closely at the layers on the card.  You also may want to look at the card front in the picture below.  It appears as though I cut out the pieces using a framelit from the Apothecary Accents Framelits (127003 – catalog item number).  Well, my framelit doesn’t have the two “bump outs” on it, does yours?
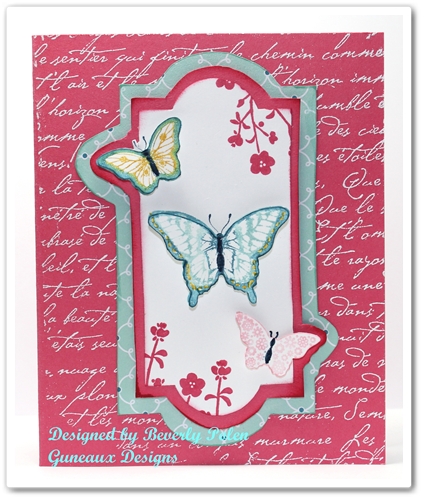
I did use the framelit from the Apothecary Accents, but I did not use it to cut out the paper that forms the layers.

How often do you start making a card with one intent and then the card ends up being completely different?  That’s what happened on my card.

I first stamped the butterflies from the Papillon Potpourri Stamp Set onto a 3-1/2″ x 4-3/4″ piece of Whisper White Card Stock.  I had planned to add some other elements to that piece of card stock, but then I wasn’t happy with it.

I wondered if I had a framelit that would fit around the butterflies, and if so, I would use that to cut out the piece.  Well, the framelits that I have are either too big or small.  As usual, I didn’t let that defeat me.  I wanted to use the Apothecary Accents framelit, so I decided to lay it around the butterflies and trace around the inside with a pencil.  I couldn’t trace across the two small butterflies, so I decided to go around them.  I “fussy cut” out the framelit, which resulted in the two bump outs.  You needed to know all of this, right?

I then traced the outside of the framelit onto a piece of Strawberry Slush Card Stock, allowing for the bump outs.  As for the bottom layer that is the Pool Party design from the Quatrefancy Specialty Designer Series Paper (130141), I free-handed it.
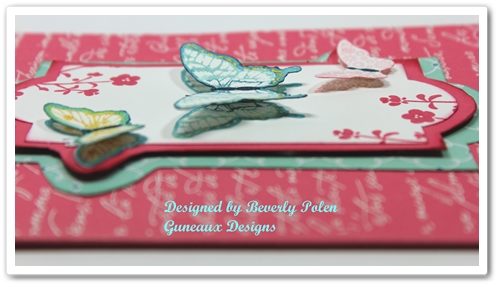
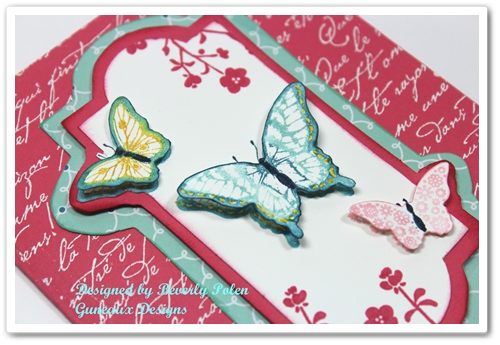
Notice the little flowers at the top right and bottom left of the Whisper White Card Stock.  They are from a stamp in the Hostess Morning Meadow Stamp Set.

I hope you enjoyed the card and my rambling.  You can leave a comment by clicking on the “chat bubble” at the right of the post’s title.  I love to get comments! 


God’s Blessings!
Stamping With Guneaux Designs
by
Beverly Polen
 PAPILLON POTPOURRI STAMP SET – STAMPIN’ UP!

Stampin Up More Amore DSP Valentine Purse

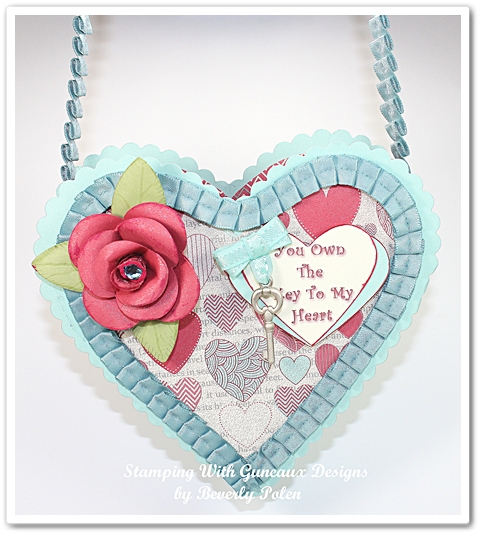
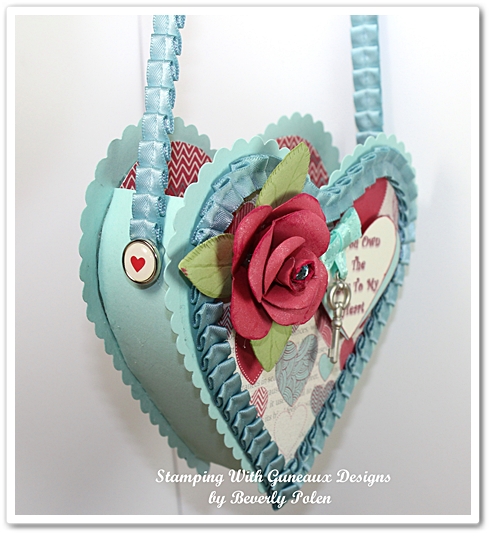
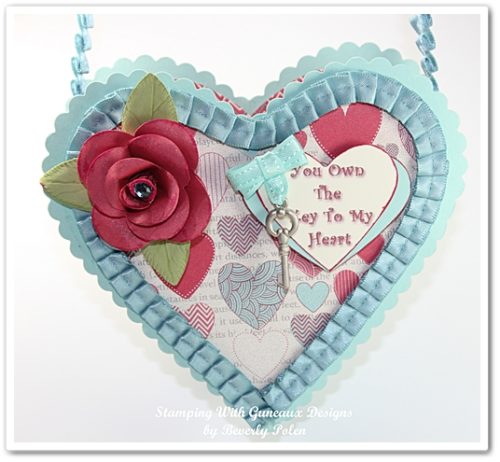
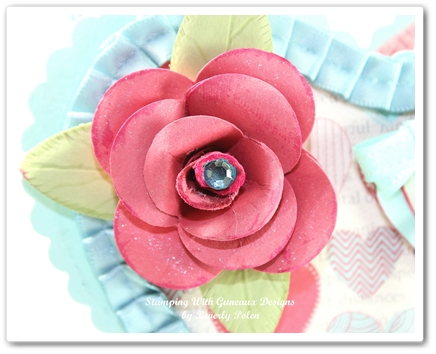
Today I am sharing how to make this beautiful Stampin Up More Amore DSP Valentine Purse!  I made this for my granddaughter, and I am sure she will be delighted when she receives it on Valentine’s Day!


SUPPLIES USED TO MAKE THE STAMPIN UP MORE AMORE DSP VALENTINE PURSE

Paper:  Stampin Up More Amore DSP (129309), Pool Party Card Stock, Primrose Petals Card Ctock, and Certainly Celery Card Stock

Ink:  Primrose Petals Classic Ink

Accessories:  Hearts Collection Framelits (125599); Big Shot, Platform, and Cutting Plates; Sticky Strip or Adhesive of your choice; Ribbon of your choice, and Brads of your choice


INSTRUCTIONS FOR MAKING THE STAMPIN UP MORE AMORE DSP VALENTINE PURSE

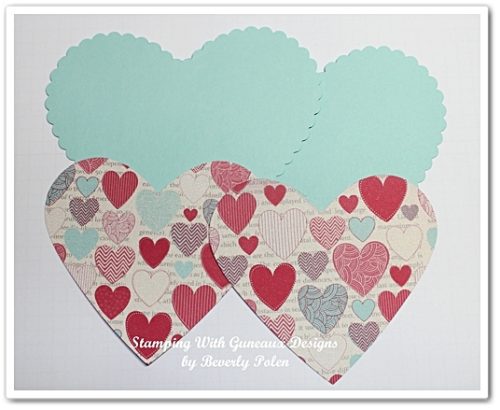
  • Using the Big Shot and Hearts Collection Framelit (Scalloped), cut out two Pool Party hearts.
  • Cut out two hearts from the Stampin Up More Amore DSP with the next to the largest heart framelit

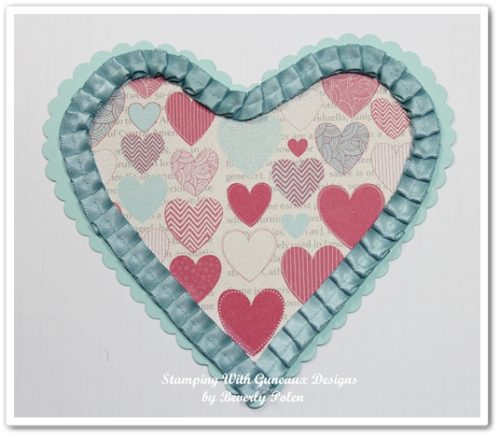
  • Attach the DSP hearts to the Pool Party hearts and add ribbon around the edges of each.

  • Cut an 8-1/4″ x 2″ piece of Pool Party Card Stock and score it along the 8-1/4″ side at the 1/4″ and 1-1/2″ marks.
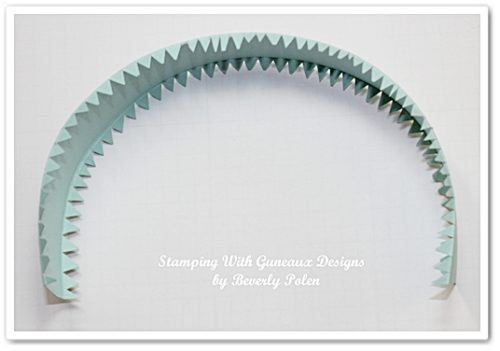
  • Place one end of the card stock between your thumb and index finger and hold it.  Now place the card stock between your opposite thumb and index finger and begin to curl the card stock by repeatedly moving your thumb and finger down the 8-1/4″ length of the card stock.  This will make the card stock more pliable and it will curl up into a half-circle.
  • Cut notches along the 1/4″ and 1-1/2″ scored sides of the card stock.

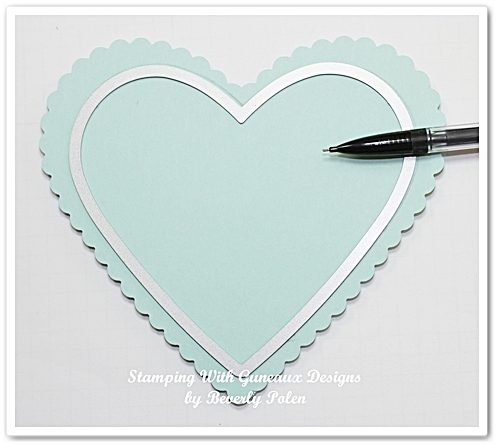
  • Use the next to the largest heart framelit and trace around it with a pencil on the back side of both heart pieces.  Make sure the heart framelit is placed on both hearts at the same spot.

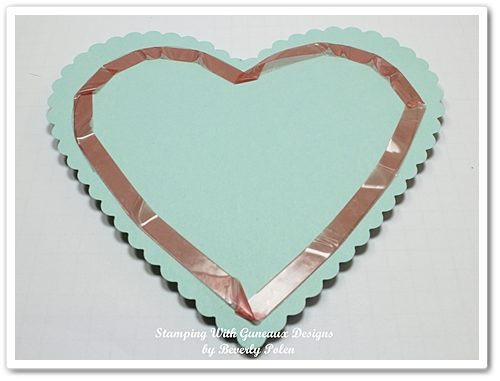
  •  Attach Sticky Strip to each heart along the pencil tracing.

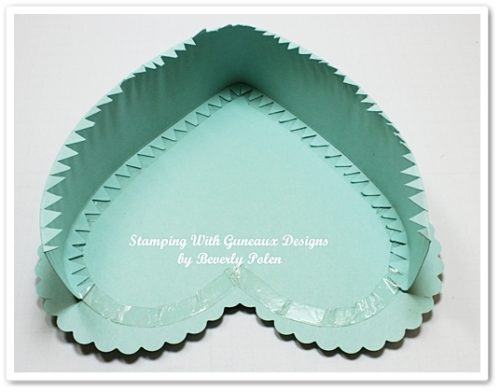
  • Remove the red liner from the Sticky Strip and begin attaching one side of the 8-1/4″ notched piece of Pool Party Card Stock to one of the hearts.  Assure both ends will line up evenly.

  • Select a DSP design that you want to be the purse liner and trace the outer rim of the next- to-the-largest-heart framelit onto this DSP twice.
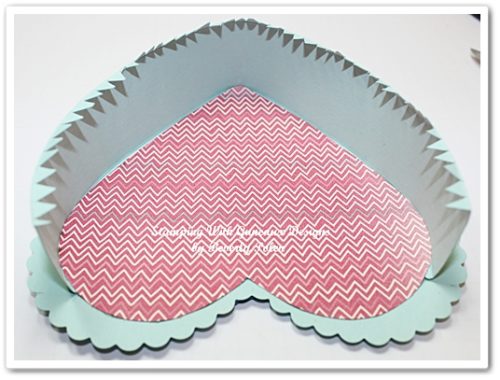
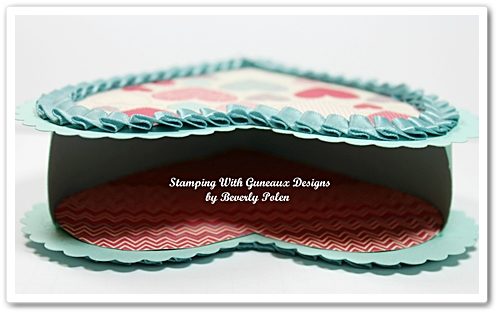
  • Cut out both hearts and insert one into the purse and press it down to adhere it, as shown in the below picture.  At this point you may be thinking, “Wouldn’t it have being easier to add this before the purse side piece was added?”  Yes, however, the notched portion of the 8-1/4″ piece of card stock would not be covered up if the heart were added first.

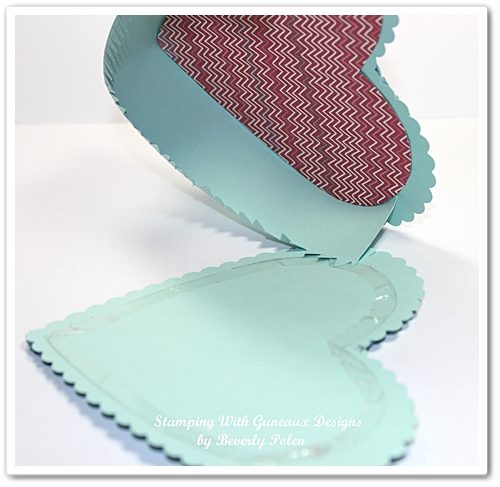
  • Begin attaching the second heart to the first heart by lining it up with the edge of the other notched side of the heart and begin adhering it..

  •  Just as before, Insert the second DSP heart inside  and press it down to adhere it.  You now have the bottom of the purse made.

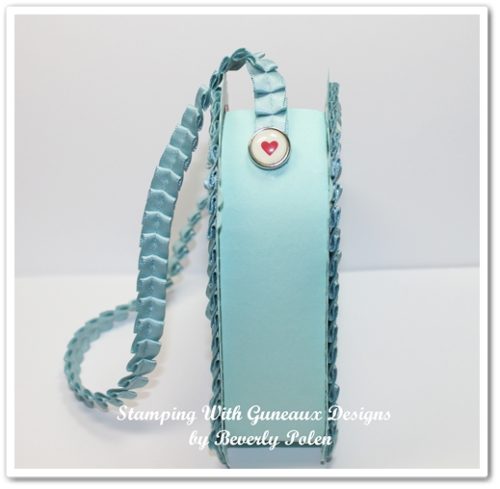
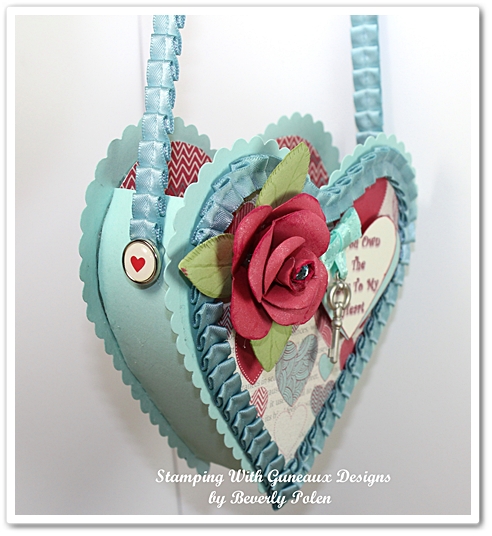
  • Attach to the purse sides a handle made of the ribbon that was used around the front and back of the purse.  Use hot glue to attach.
  • Select two medium to large brads, remove their prongs, and attach to the ends of the ribbon with hot glue.  I used two of Stampin Up epoxy brads from long ago.

  •   Decorate the purse front as desired.

 God’s Blessings!
Stamping With Guneaux Designs
by
Beverly Polen

 STAMPIN UP MORE AMORE DSP VALENTINE PURSE

Stampin Up Dude, You Are Welcome Kit

Stampin Up Dude, You are Welcome Kit!  Today, Stampin’ Up! introduces its new, very manly stamping kit – the Stampin Up Dude, You Are Welcome Kit (132807).

Stampin Up Dude, You Are Welcome Kit

Guys don’t always have the easiest time expressing themselves, but with the Dude, You’re Welcome! kit, they’ll have:

  • Four wood-mount stamps (double-mounted) with the perfect sentiment for every occasion,
  • Twelve 4″ x 6″ postcards in four different (manly) colors,
  • Twelve gray envelopes,
  • A Basic Gray Classic Stampin’ Pad, and
  • An instructional guide (for the most novice stamper)!

Basically, the kit includes everything a dude needs to create the perfect manly card that any woman would adore, all packaged in an appropriately masculine box.

Item

Description

Price

132807

Dude, You’re Welcome! Kit

$24.95

 Need more information?  Check out this video: 

Stamping With Guneaux Designs

God’s Blessings!
Stamping With Guneaux Designs
by
Beverly Polen
Stampin Up Dude, You Are Welcome Kit

Be of Good Cheer DSP – Christmas Card

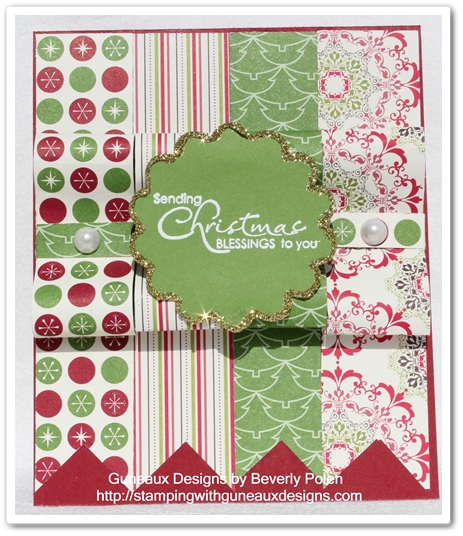
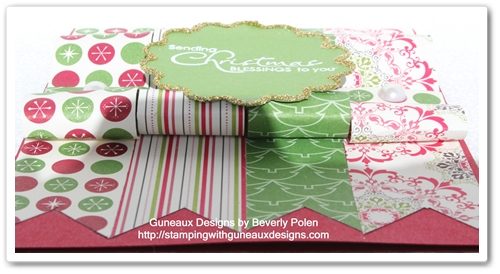
There are so many cute designs within the Stampin’ Up! Be of Good Cheer DSP, and I’ve used four of the designs to create this Christmas card that I am sharing today.

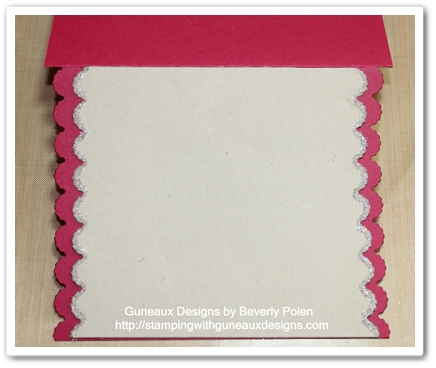
(Can you see the sparkle of glitter at the bottom left of the scallop?  I love how that caught the light.)

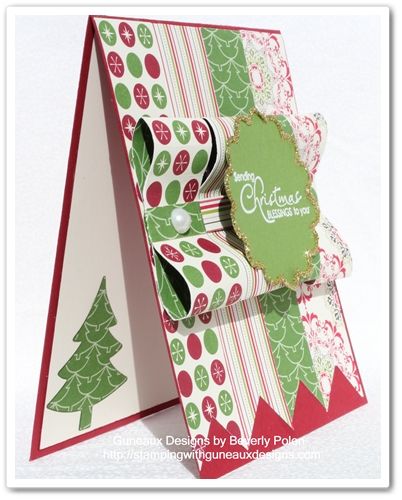
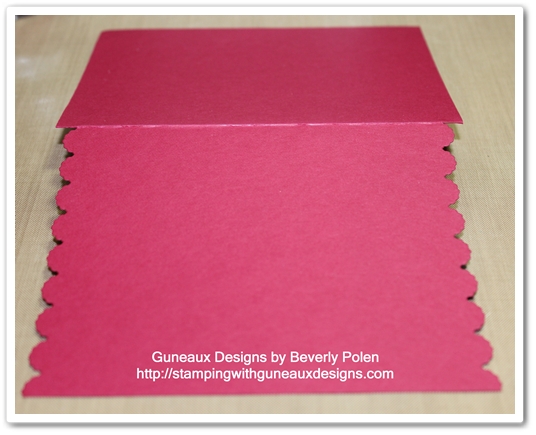
Here are additional pictures of the card.  The following one is a side view that also shows the card’s inside.

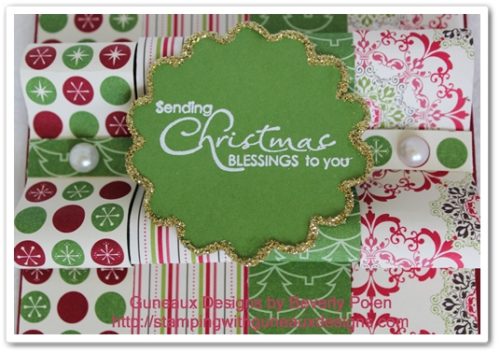
This picture is a closeup of the center piece of the card.

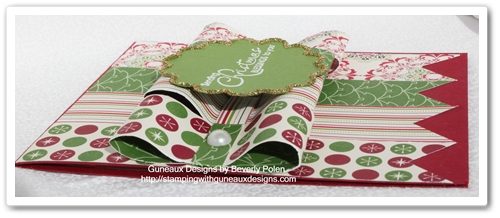
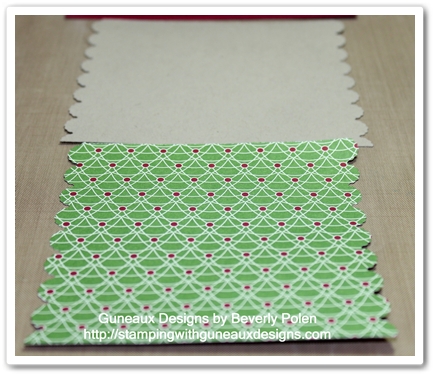
This picture provides a better view of the DSP that is rolled up in the center of the card.

This card seems to me to not need a tutorial as it is obvious how to create it.  Do you disagree?  If so, let me know!

Stampin’ Up! supplies used to create this card featuring the Be of Good Cheer DSP:

Stamp Set:  Christmas Blessings (123809)

Paper:  Be of Good Cheer Designer Series Paper (126896) and Cherry Cobbler Card Stock (119685)

Ink:  VersaMark Ink

Accessories: 1-3/4″ Scallop Circle Punch (119854), Multipurpose Liquid Glue (110755), Gold Glitter, White Embossing Powder (109132), Heat Gun, Large Basic Pearls (119247) and Holiday Ornaments Framelits (127816 – for the tree on the card’s inside)

God’s Blessings!
Stamping With Guneaux Designs
by
Beverly Polen
 My camera shadow is showing on this picture – got to be more careful!

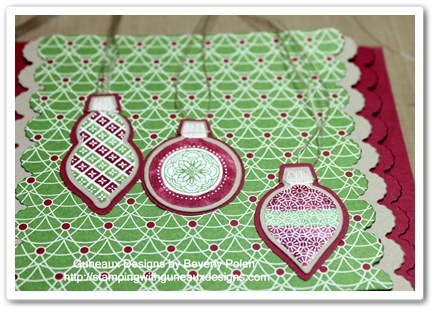
Ornament Keepsakes Stamp Set and Be of Good Cheer DSP Christmas Card

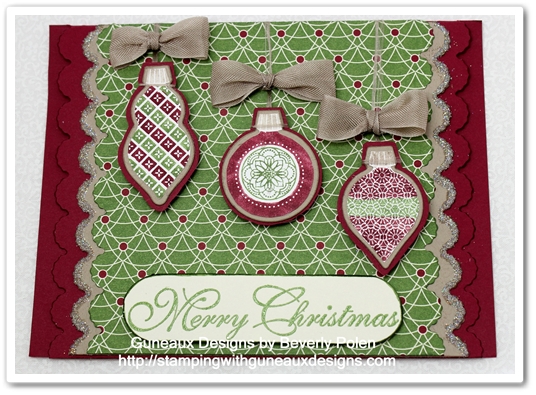
I cannot get enough of making cards with the Ornament Keepsakes Stamp Set (128051) from Stampin’ Up! (SU)!  My opinion is that this set is one of SU’s best sets for the season.  For today’s card share, I have coupled the Ornament Keepsakes Stamp Set with the Stampin’ Up! Be of Good Cheer DSP (126896).

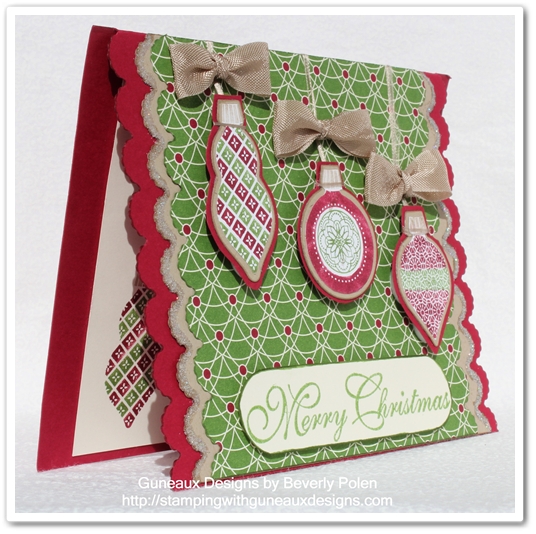
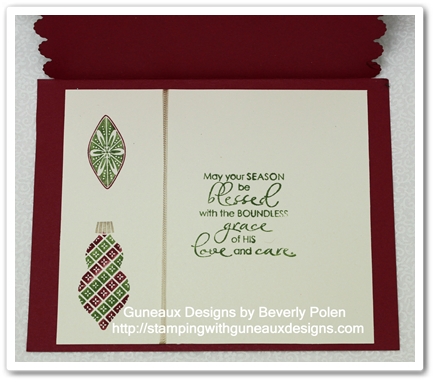
The picture below provides a side view, including the inside, of the card.

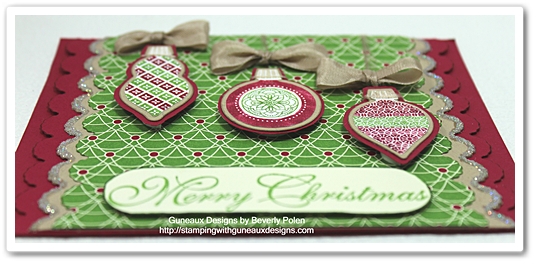
This picture shows the dimensions of the card.

This picture is of the card’s inside.

Stampin’ Up! Supplies (including catalog item numbers) Used to Create the Ornament Keepsakes Christmas Card:

Stamp Sets:  Ornament Keepsakes Stamp Set (128051), Greetings of the Season (128033), and Christmas Blessings (123809)

Paper:  Raspberry Ripple Card Stock (126842), Crumb Cake Card Stock (120953), Whisper White Card Stock (100730), and Be of Good Cheer Designer Series Paper(126896)

Ink (Stampin’ Write Markers): Raspberry Ripple (126856 – comes in a pack of 5 different colors),  Gumball Green (same as above), Crumb Cake (120967), and a VersaMark Ink Pen

Accessories:  Adorning Accents Edgelits (125595), Holiday Ornaments Framelits (127816), Crumb Cake  1/2″ Seam Binding Ribbon (122332), Heat Tool, Heat and Stick Powder (100625), Dazzling Diamonds Glitter (102023), and Foam Adhesive Circles

Instructions for Creating the Ornament Keepsakes Christmas Card:

You will:

  • Cut an 8-1/2″ x 5-1/2″ piece of Raspberry Ripple Card Stock and fold it in the middle to form the card base.
  • Cut along both 5-1/2″ sides of the card front using the scalloped Adorning Accents Edgelit.

  • Cut a 4-1/4″ x 4-7/8″ piece of Crumb Cake Card Stock and a 4-1/4″ x 4-5/8″ piece of the Be of Good Cheer Designer Series Paper.
  • Cut along both 4-7/8″ sides of the Crumb Cake Card Stock and the 4-5/8″ sides of the piece of Be of Good Cheer DSP using the scalloped Adorning Accents Edgelit.

  •  Apply VersaMark Ink around the scalloped edges of the Crumb Cake Card Stock, cover with Heat and Stick Powder, heat set, cover with Dazzling Diamonds Glitter, and heat set.
  • Attach to the front of the card front.

  • Cover the three Ornament Keepsakes stamps with Gumball Green, Raspberry Ripple, and Crumb Cake ink using the Stampin’ Write Markers (see first picture).
  • Stamp the images onto Whisper White or Very Vanilla Card Stock.
  • Cut the images out with the appropriate Holiday Ornaments Framelits.
  • OPTIONAL ORNAMENT MATS:
    • Cut off the white border of each ornament.
    • Cut out the same ornaments using the framelits and Crumb Cake Card Stock.
    • Trace around each Crumb Cake ornament onto Raspberry Ripple Card Stock and cut them out about 1/16″ outside the tracings.
    • Adhere the Crumb Cake ornaments to the stamped ornaments, and the Raspberry Ripple ornaments to the Crumb Cake ornaments.
  • Attach thread, twine, cord, etc., around the top of each ornament…Attach foam adhesive circles onto the back of each ornament.
  • Attach each ornament onto the piece of the Be of Good Cheer DSP.  Wrap the thread (or whatever you choose to use) over the top of the DSP and adhere to the back side.
  • Tie three bows using the Crumb Cake1/2″ Seam Binding Ribbon and attach them to the card front (see first picture).
  • Cover with Gumball Green Ink the “Merry Christmas” stamp from the Christmas Blessings stamp set and stamp the image onto a piece of Very Vanilla Card Stock.
  • Cut out the sentiment and adhere to the bottom of the piece of DSP.
  • Adhere the DSP over the Crumb Cake Card Stock that was previously adhered to the card front.
  • Decorate the card’s inside as desired.
God’s Blessings!
Stamping With Guneaux Designs
by
Beverly Polen

 Enjoy making Christmas cards with your Ornament Keepsakes Stamp Set!

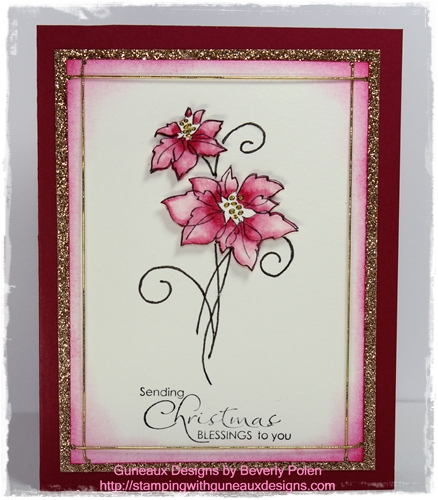
Stampin Up Christmas Blessings Card – Pink Poinsettias

When I saw the Stampin Up Christmas Blessings Stamp Set in the new annual catalog, I knew I had to have it (as well as many other new sets).  Well, I’m embarrassed to admit that I got caught up with creating with other stamp sets and…..forgot I have this one!  I’m quite sure it’s called “Old Age” or maybe “Chemo Brain”!

Regardless, today’s post focuses on the Stampin Up Christmas Blessings stamp set.  I decided that I wanted pink poinsettias, therefore, I created them.  I love how the card pops with the Glimmer Paper and Gold Cord!

Supplies used to create this Stampin Up Christmas Blessings card:

Stamps:  Stampin Up Christmas Blessings Stamp Set (123809)

Paper:  Watercolor Paper (122959), Champagne Glimmer Paper (127885), and Raspberry Ripple Card Stock (126842)

Ink:  Melon Mambo Classic Ink (126948), Melon Mambo Stampin Write Marker (119702), and Blender Pen (102845)

Accessories:  Gold Elastic Cord (can pick up at a craft store or, if you’re lucky, you’ll have some of Stampin Up’s retired cord), Paper Snips (103579), Stampin’ Dimensionals (104430) or Foam Adhesive, Sticky Strip (104294) or other strong adhesive, and Stamping Sponges (101610)

Instructions for creating this Stampin Up Christmas Blessings card:

  • Cut a 3-1/2″ x 4-3/4″ piece of Stampin Up Watercolor Paper.
  • Cover with Black StazOn Ink the poinsettias stamp from the Christmas Blessings stamp set.
  • Stamp the image on the piece of Watercolor Paper.
  • Using a Melon Mambo Stampin Write Marker and a Blender Pen, color the poinsettias.

When coloring the poinsettias, think of each petal as being in thirds.

  • The bottom of a petal is 1/3 of the petal and is near the stamen.
  • The next 1/3 is the middle of the petal, and the next at the top.
  • The bottom 1/3 is darker than the middle 1/3.
  • The middle 1/3 is lighter than the bottom 1/3, but darker than the top 1/3.
  • The top 1/3 is lighter than the middle 1/3.
  • Using the Melon Mambo marker (brush end), color in the bottom of the petal.
  • Swipe the Blender Pen’s brush end back and forth on scrap paper until there is no ink spreading on the paper.
  • Using the clean Blender Pen, color the middle 1/3 of the petal by picking up some of the Melon Mambo ink at the very edge of where the bottom and middle thirds meet.
  • Swipe the Blender Pen’s brush end back and forth on scrap paper until there is no ink spreading on the paper.
  • Using the clean Blender Pen, pull color from the middle 1/3 to color the top 1/3 of the petal.
  • Repeat until all petals are colored.
  • Using the marker, slightly darken the portions of each petal that the natural light would not hit.
  • OPTIONAL:
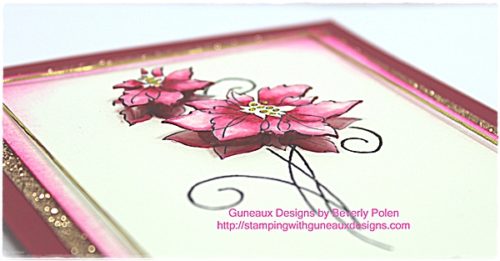
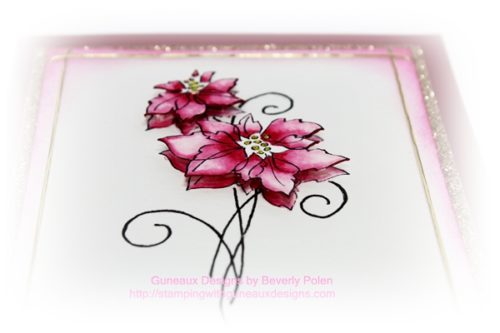
    • Except for the size of the Watercolor Paper, repeat all of the above to provide a second layer of poinsettias.  The paper size should be small enough for the poinsettias image to just fit.
    • Cut out the second set of poinsettias, attach dimensionals, and adhere on top of the first poinsettias.
  • Stamp the sentiment, “Sending Christmas Blessings To You”, at the bottom of the Water Color Paper (see picture).
  • Sponge Melon Mambo Classic Ink around the edge of the Watercolor Paper.
  • Snip the corners (see picture) and wrap the Gold Elastic Cord around the Watercolor Paper and adhere it to the back side of the paper.
  • Cut a 3-3/4″ x 5″ piece of Champagne Glimmer Paper and adhere to it the Watercolor Paper.
  • Cut an 8-1/2″ x 5-1/2″ piece of Raspberry Ripple Card Stock and fold it in the center for the card base.
  • Attach the decorated Watercolor Paper and Glimmer Paper to the Raspberry Ripple card base.
  • Finished!  Enjoy!
God’s Blessings!
Stamping With Guneaux Designs
by
Beverly Polen
 

Now it’s your turn to make a beautiful card using the Stampin Up Christmas Blessings stamp set!