Be of Good Cheer DSP – Christmas Card

There are so many cute designs within the Stampin’ Up! Be of Good Cheer DSP, and I’ve used four of the designs to create this Christmas card that I am sharing today.

(Can you see the sparkle of glitter at the bottom left of the scallop?  I love how that caught the light.)

Here are additional pictures of the card.  The following one is a side view that also shows the card’s inside.

This picture is a closeup of the center piece of the card.

This picture provides a better view of the DSP that is rolled up in the center of the card.

This card seems to me to not need a tutorial as it is obvious how to create it.  Do you disagree?  If so, let me know!

Stampin’ Up! supplies used to create this card featuring the Be of Good Cheer DSP:

Stamp Set:  Christmas Blessings (123809)

Paper:  Be of Good Cheer Designer Series Paper (126896) and Cherry Cobbler Card Stock (119685)

Ink:  VersaMark Ink

Accessories: 1-3/4″ Scallop Circle Punch (119854), Multipurpose Liquid Glue (110755), Gold Glitter, White Embossing Powder (109132), Heat Gun, Large Basic Pearls (119247) and Holiday Ornaments Framelits (127816 – for the tree on the card’s inside)

God’s Blessings!
Stamping With Guneaux Designs
by
Beverly Polen

 My camera shadow is showing on this picture – got to be more careful!

Ornament Keepsakes Stamp Set and Be of Good Cheer DSP Christmas Card

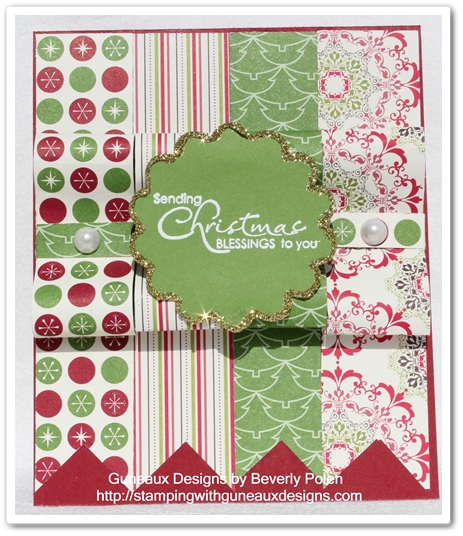
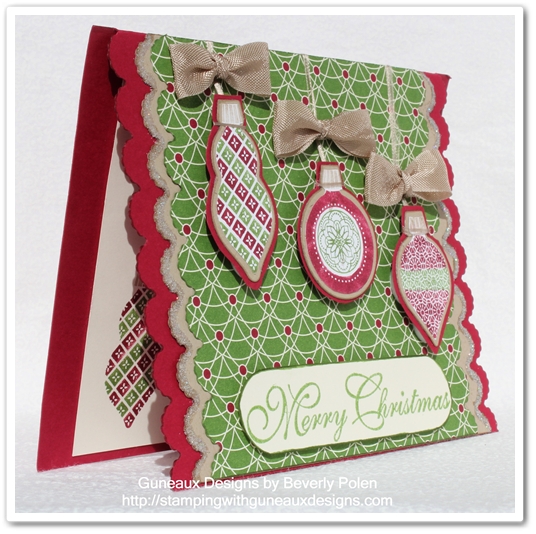
I cannot get enough of making cards with the Ornament Keepsakes Stamp Set (128051) from Stampin’ Up! (SU)!  My opinion is that this set is one of SU’s best sets for the season.  For today’s card share, I have coupled the Ornament Keepsakes Stamp Set with the Stampin’ Up! Be of Good Cheer DSP (126896).

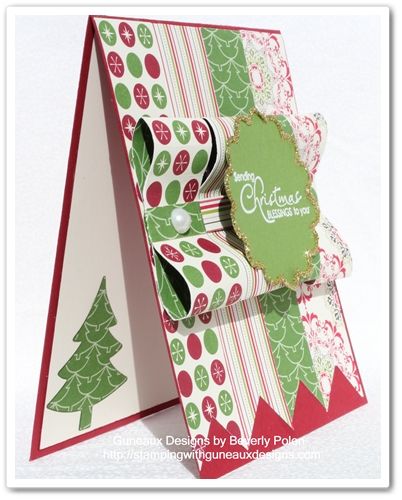
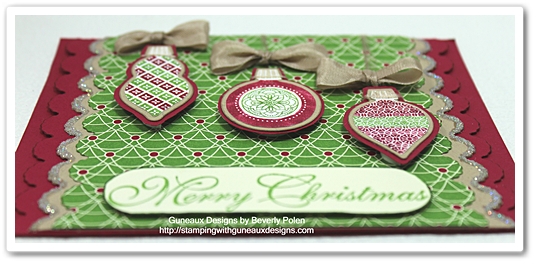
The picture below provides a side view, including the inside, of the card.

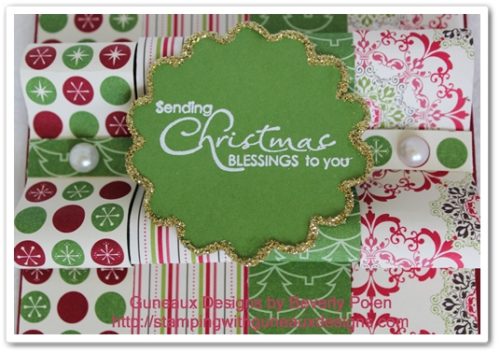
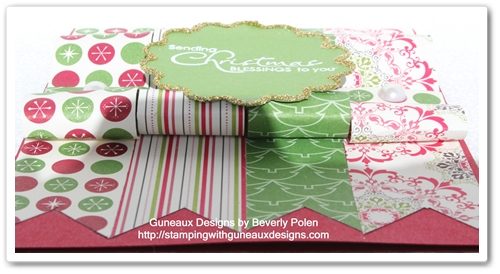
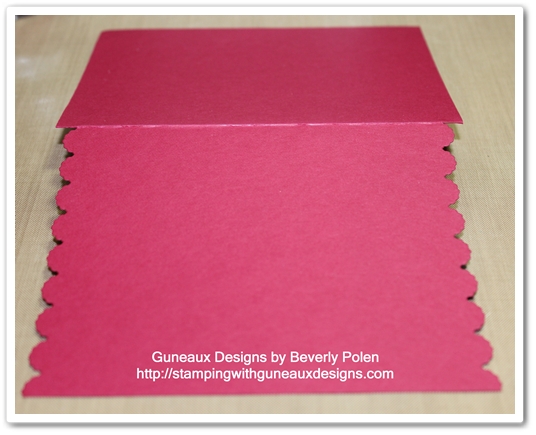
This picture shows the dimensions of the card.

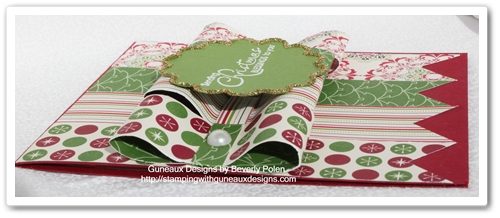
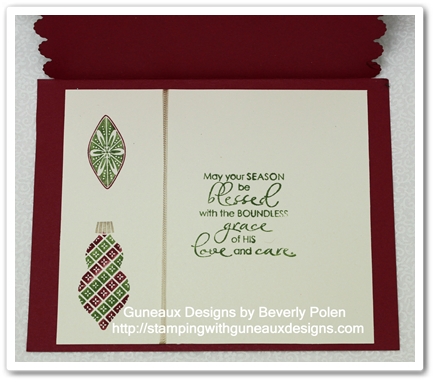
This picture is of the card’s inside.

Stampin’ Up! Supplies (including catalog item numbers) Used to Create the Ornament Keepsakes Christmas Card:

Stamp Sets:  Ornament Keepsakes Stamp Set (128051), Greetings of the Season (128033), and Christmas Blessings (123809)

Paper:  Raspberry Ripple Card Stock (126842), Crumb Cake Card Stock (120953), Whisper White Card Stock (100730), and Be of Good Cheer Designer Series Paper(126896)

Ink (Stampin’ Write Markers): Raspberry Ripple (126856 – comes in a pack of 5 different colors),  Gumball Green (same as above), Crumb Cake (120967), and a VersaMark Ink Pen

Accessories:  Adorning Accents Edgelits (125595), Holiday Ornaments Framelits (127816), Crumb Cake  1/2″ Seam Binding Ribbon (122332), Heat Tool, Heat and Stick Powder (100625), Dazzling Diamonds Glitter (102023), and Foam Adhesive Circles

Instructions for Creating the Ornament Keepsakes Christmas Card:

You will:

  • Cut an 8-1/2″ x 5-1/2″ piece of Raspberry Ripple Card Stock and fold it in the middle to form the card base.
  • Cut along both 5-1/2″ sides of the card front using the scalloped Adorning Accents Edgelit.

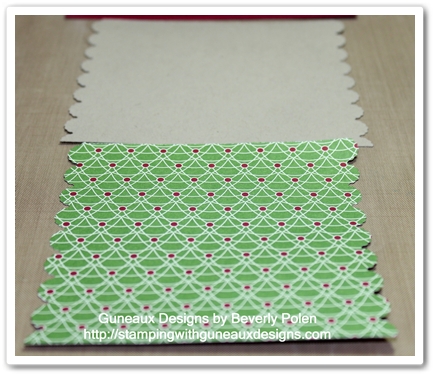
  • Cut a 4-1/4″ x 4-7/8″ piece of Crumb Cake Card Stock and a 4-1/4″ x 4-5/8″ piece of the Be of Good Cheer Designer Series Paper.
  • Cut along both 4-7/8″ sides of the Crumb Cake Card Stock and the 4-5/8″ sides of the piece of Be of Good Cheer DSP using the scalloped Adorning Accents Edgelit.

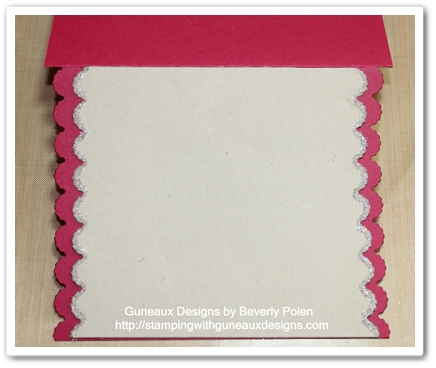
  •  Apply VersaMark Ink around the scalloped edges of the Crumb Cake Card Stock, cover with Heat and Stick Powder, heat set, cover with Dazzling Diamonds Glitter, and heat set.
  • Attach to the front of the card front.

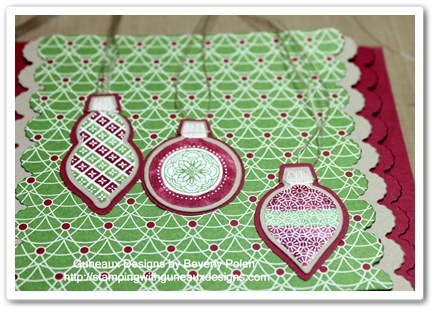
  • Cover the three Ornament Keepsakes stamps with Gumball Green, Raspberry Ripple, and Crumb Cake ink using the Stampin’ Write Markers (see first picture).
  • Stamp the images onto Whisper White or Very Vanilla Card Stock.
  • Cut the images out with the appropriate Holiday Ornaments Framelits.
  • OPTIONAL ORNAMENT MATS:
    • Cut off the white border of each ornament.
    • Cut out the same ornaments using the framelits and Crumb Cake Card Stock.
    • Trace around each Crumb Cake ornament onto Raspberry Ripple Card Stock and cut them out about 1/16″ outside the tracings.
    • Adhere the Crumb Cake ornaments to the stamped ornaments, and the Raspberry Ripple ornaments to the Crumb Cake ornaments.
  • Attach thread, twine, cord, etc., around the top of each ornament…Attach foam adhesive circles onto the back of each ornament.
  • Attach each ornament onto the piece of the Be of Good Cheer DSP.  Wrap the thread (or whatever you choose to use) over the top of the DSP and adhere to the back side.
  • Tie three bows using the Crumb Cake1/2″ Seam Binding Ribbon and attach them to the card front (see first picture).
  • Cover with Gumball Green Ink the “Merry Christmas” stamp from the Christmas Blessings stamp set and stamp the image onto a piece of Very Vanilla Card Stock.
  • Cut out the sentiment and adhere to the bottom of the piece of DSP.
  • Adhere the DSP over the Crumb Cake Card Stock that was previously adhered to the card front.
  • Decorate the card’s inside as desired.
God’s Blessings!
Stamping With Guneaux Designs
by
Beverly Polen

 Enjoy making Christmas cards with your Ornament Keepsakes Stamp Set!

Stampin Up Watercolor Winter

As the calendar turns to October, I begin to think about holiday cards like this one that features the Stampin Up Watercolor Winter Stamp SetThe card is actually a birthday card for a special person who has a birthday during December.    Stampin Up Watercolor Winter

This view of the card shows the dimensions of the key elements from the Stampin Up Watercolor Winter stamp set:

Stampin Up Watercolor Winter

I love the pine needles and cones from the Stamping Up Watercolor Winter set.  In the past I have resorted to making my own pine needles for cards.  So this set will go a long way in speeding up my stamping of pine-related elements on cards.

Stampin Up Watercolor Winter

Don’t you just love the new Vintage Faceted Designer Buttons as shown here?

Let’s make this card together.  Go to your craft room and get out the following supplies:


Stampin Up Supplies:

Stamp Sets (clear mount):  Stampin Up Watercolor Winter (129727) and Bring On The Cake (for the sentiment) – (121958)

Paper:  Crumb Cake Card Stock (120953), Cherry Cobbler Card Stock (119685), Gumball Green Card Stock (126840), Whisper White Card Stock (100730), and Be of Good Cheer Designer Series Paper (126896)

Ink (Classic):  Real Red (126949), Cherry Cobbler (126966), Gumball Green (126861),  (Markers) Soft Suede and Chocolate Chip (119703)

Accessories:  Big Shot Die-Cutting Machine (113439), Petals-A-Plenty Textured Impressions Embossing Folder (116824), Cherry Cobbler Dazzling Details (125585), Dazzling Details (124117), Vintage Faceted Designer Buttons (127555), and Brights Collection 3/16″ Brads (119740)


Buy Stampin Up Products

INSTRUCTIONS FOR MAKING THIS CARD FEATURING THE STAMPIN UP WATERCOLOR WINTER STAMP SET

  • Fold an 8-1/2″ x 5-1/2″ piece of Crumb Cake Card Stock in the middle to for a card base.
  • Cut a  5-1/4″ x 4″ piece of Cherry Cobbler Card Stock.
  • Place the Cherry Cobbler Card Stock into the Petals-A-Plenty Embossing Folder and run through the Big Shot.
  • Cut a 4-3/4″ x 2-1/4″ piece of Whisper White Card Stock. 
  • Cover the outline poinsettia stamp with Real Red Ink and stamp onto the center of the Whisper White Card Stock.
  • Cover the solid poinsettia stamp with Cherry Cobbler and stamp over the outline poinsettia stamp image (recommend using a Stamp-A-Ma-Jig – 101049).
  • Cover the pine needles stamp with Gumball Green Ink and stamp the image in the two places shown in the picture of the card.
  • Cover the outline pine cone stamp with a Soft Suede Stampin Write Marker and stamp the image in the two places shown in the picture.
  • Cover the solid pine cone stamp with a Chocolate Chip Stampin Write Marker and stamp the image over the outline pine cone image (recommend using a Stamp-A-Ma-Jig).
  • Apply Cherry Cobbler Dazzling Details onto the poinsettia as desired.
  • Apply Dazzling Details (white) onto the pine needles and cones as desired.
  • Take two Cherry Cobbler Designer Brads and cut off the prongs.
  • Adhere the brads into the center of two small Vintage Faceted Designer Buttons (I used Crystal Effects).
  • Adhere the buttons to the Whisper White card stock as shown in pictures.
  • Cover with Soft Suede the Birthday Wishes stamp from the Bring On The Cake Stamp Set and stamp as shown in the pictures. You want to ink the word “Birthday” first and stamp it and then the word “Wishes”.
  • Cut a 4-15/16″ x 2-7/16″ piece of Crumb Cake Card Stock and adhere the decorated Whisper White Card Stock to it to form a mat.
  • Cut two 2″ squares of design from the Be of Good Cheer Designer Series Paper (see pictures).
  • Cut two 2-1/4″ squares of Gumball Green Card Stock.
  • Adhere the two square pieces of the designer series paper to the two squares of Gumball Green Card Stock.
  • Adhere the Cherry Cobbler Embossed Card Stock to the front of the card base.
  • Adhere the designer series paper and mat squares to the Cherry Cobbler Embossed Card Stock (see pictures).
  • Place dimensionals on the back of the  Crumb Cake mat with the decorated Whisper White Card Stock.
  • Remove the backing from the dimensionals and adhere to the card front (see pictures).
  • Using a Gold Gel Pen, cover the center of the flowers that are embossed onto the Cherry Cobbler Card Stock.

Buy Stampin Up Products

God’s Blessings!
Stamping With Guneaux Designs
by
Beverly Polen
Enjoy the Stampin Up Watercolor Winter Stamp Set!