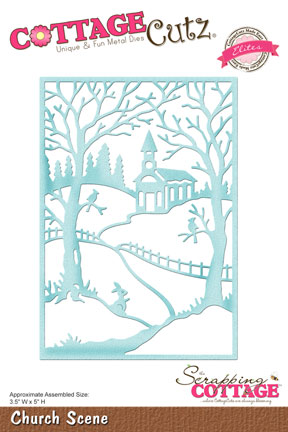
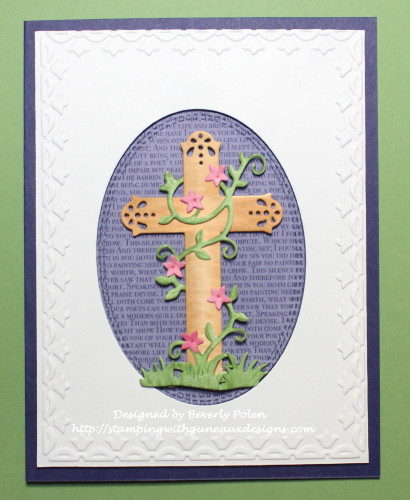
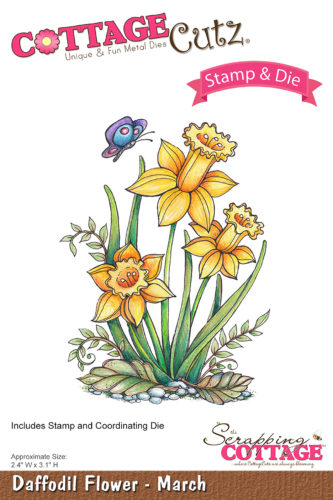
CottageCutz Church Scene
Hello, friends, and welcome to Guneaux Designs! I am pleased to bring you a card featuring the CottageCutz Church Scene Die. This Church Scene die is versatile as it can be adapted to create a card for each season of the year (i.e., spring, summer, fall, and winter). For Christians, Easter is today. When I think of Easter, I recall memories of my childhood of going to church on Easter morning and getting Easter-related goodies (no, that was not the only reason for going – LOL). My childhood memories of Easter are the driving force behind my Easter card. This card also features the Stamping Inlay Technique.
To create the card, follow these steps:
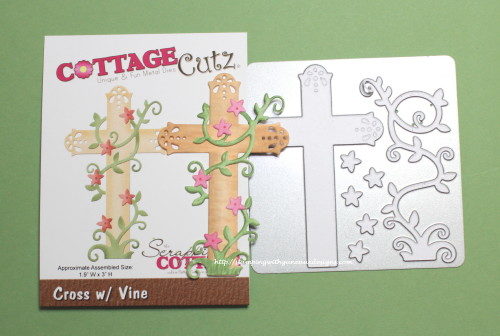
Step 1. Cut out the CottageCutz Church Scene frame from white card stock.
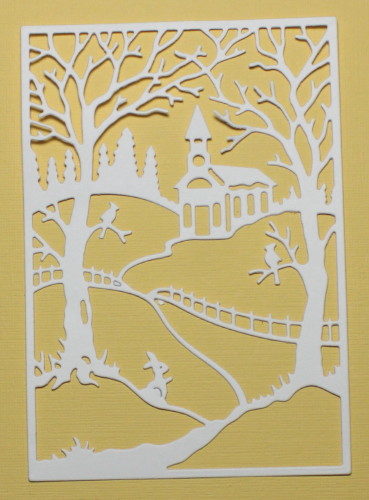
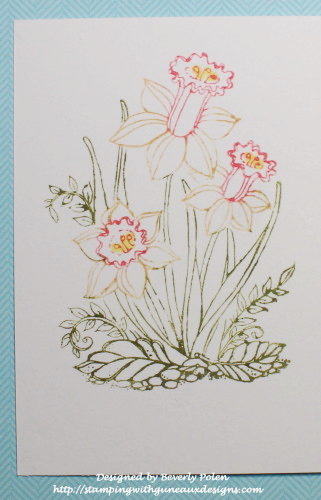
Step 2: Color the white cut out frame as desired along with the tiny pieces for the church’s door, windows, etc. I used Copic Sketch Markers to color the cut out.
 Step 3. After coloring the scene and tiny church pieces, turn the frame over and add strips of a strong adhesive.
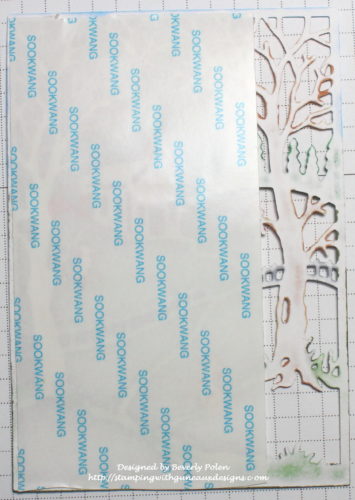
Step 4. Turn the church scene frame back over and add the church’s windows, door, etc. that you colored in Step 3. Ensure these pieces attach well to the adhesive.
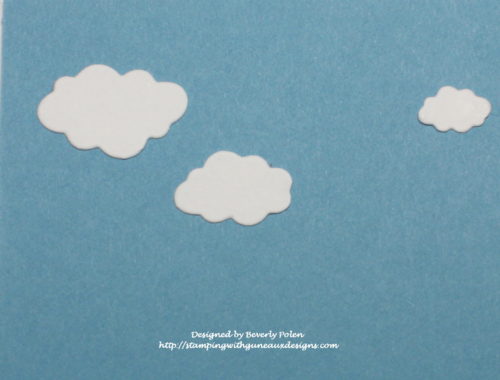
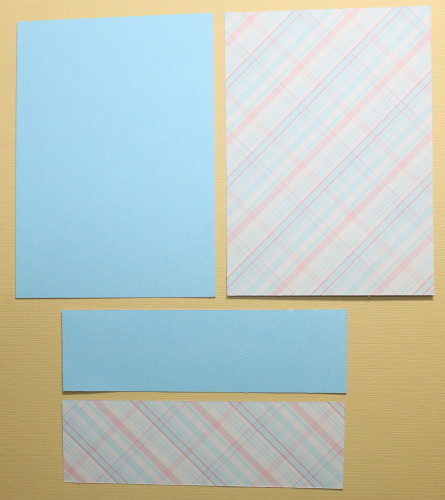
Step 5. Cut a 2-1/2″ x 3-3/4″ piece of blue card stock. This will be used for the sky.
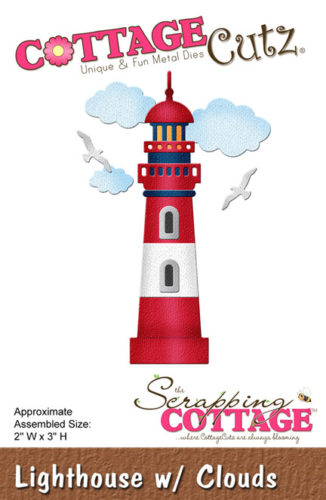
Step 6. Cut out three white clouds using the CottageCutz Lighthouse w/ Clouds Die.
Step 7. Position the clouds where you want them to show in the sky and attach them to the small piece of blue card stock.
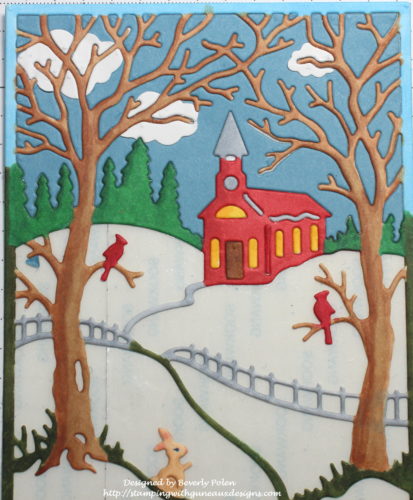
Step 8. Place the CottageCutz Church Scene Die face down on the blue piece of card stock, ensuring the sky portion of the die is fully covered by the die.
Step 9. Run this through a die cutting machine and add the blue pieces to the sky section of the church scene frame. Ensure the pieces adhere well. I love the clouds behind the tree branches. (Note the church door, windows, etc.)
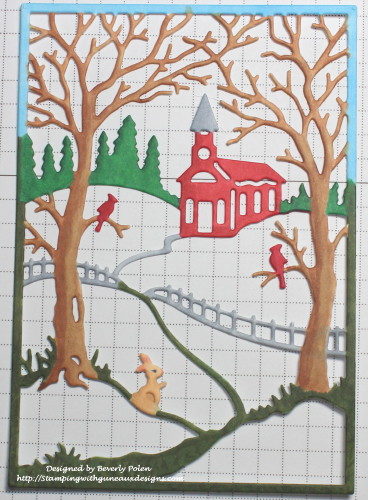
Step 10. Cut a 4″ square of dark green card stock. Lay the CottageCutz Church Scene Die face down onto the card stock, ensuring the grassy areas of the scene are covered by the die.
Step 11. Run this through a die cutting machine. Because this section has tiny pieces along the fence, try to keep the pieces within the die so it will be easier to determine their appropriate location. To accomplish this, after running the die and card stock through the die cutting machine, lift the bottom cutting board with the die still on it. Take it to your work station, turn it over so the die cuts are facing upward, and use tweezers to carefully remove the pieces and adhere them well to the church scene frame.
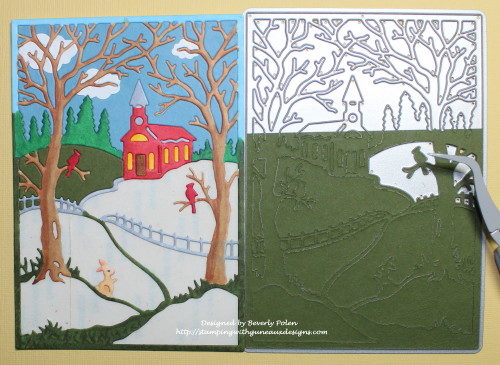
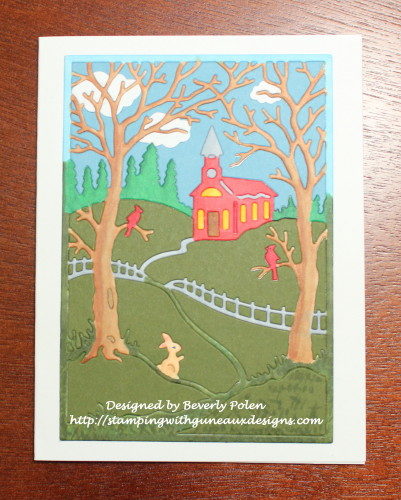
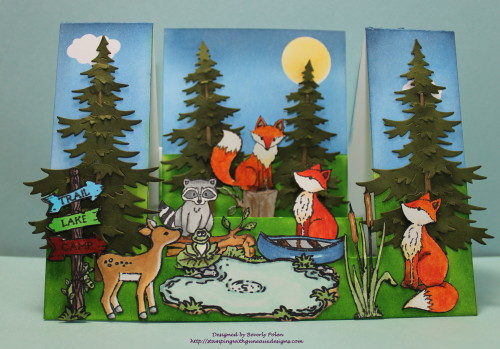
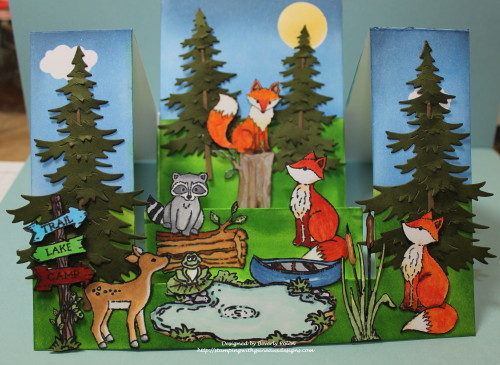
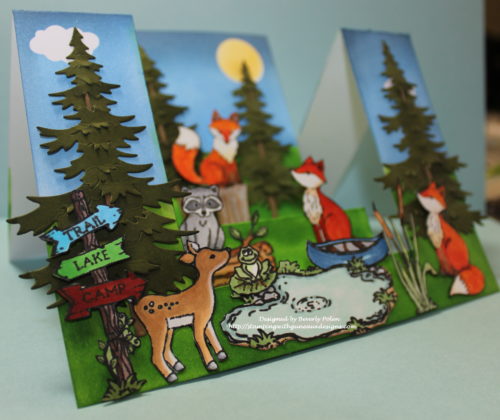
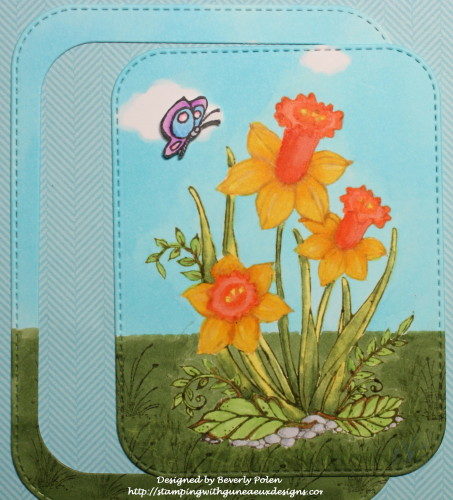
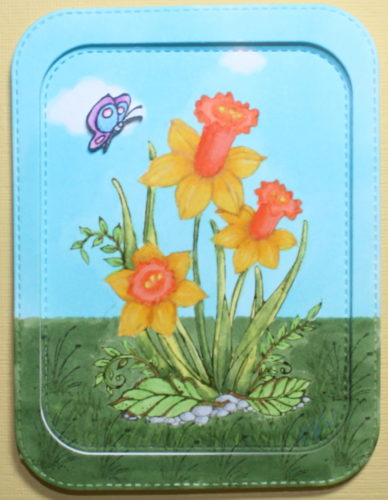
Step 12. After adding all the pieces, the church scene will look similar to the following photo. At this point, I think the scene comes alive! The little bunny is now very visible.
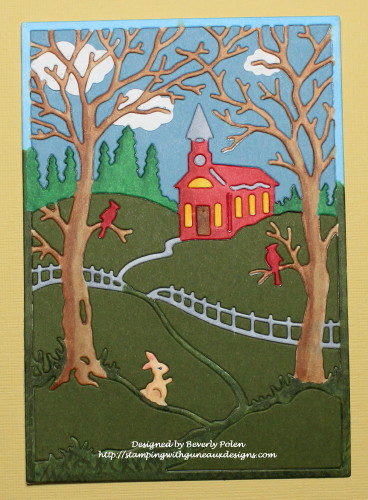
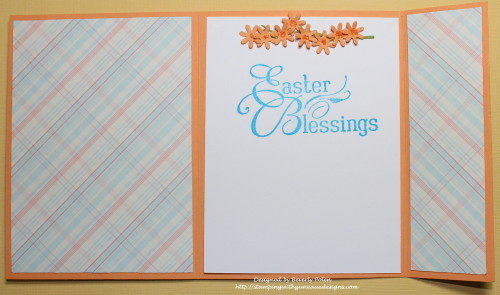
Step 13. Add the scene to a card base and add a sentiment.
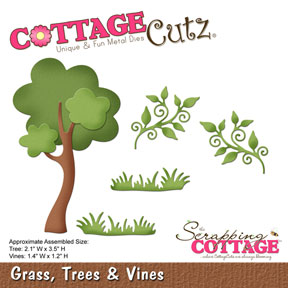
(Option: cut small leaves and attach to the two trees in the scene.)
 God’s Blessings!
Stamping With Guneaux Designs By Beverly Polen
Firm Reliance on Divine Providence!
MARK 16:6-7
“Don’t be alarmed,” he said. “You are looking for Jesus the Nazarene, who was crucified. He has risen! He is not here. See the place where they laid him!


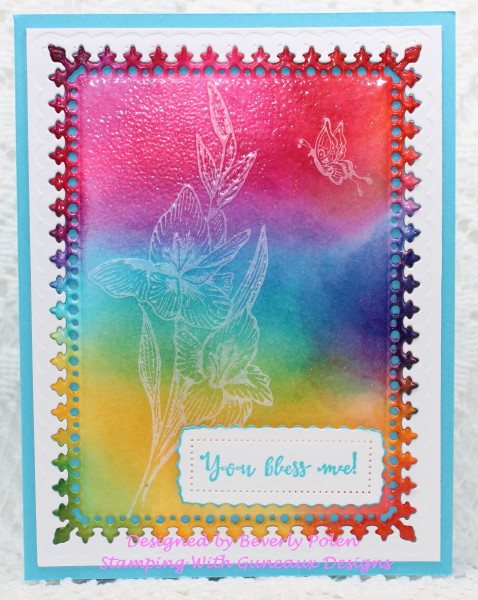
 Step 2. Cut the largest rectangle from a piece of white card stock using the
 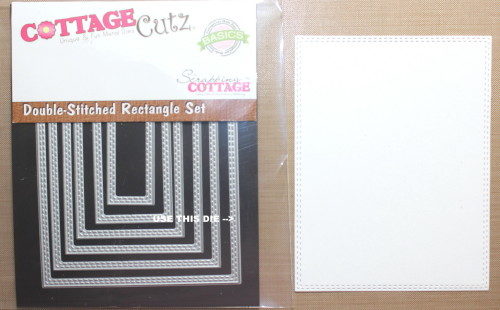 Step 3. Scrunch up a piece of saran wrap.
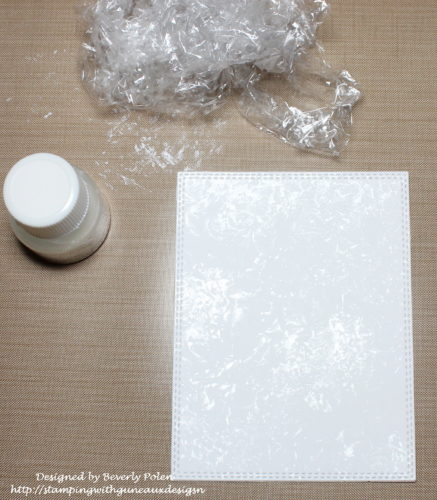 Step 7. After that dries, sponge on two or three different colors of distress ink (aqua and purple used for this card).
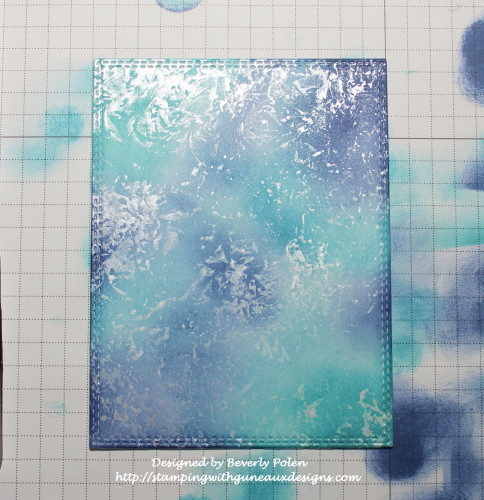 Step 8. Choose a stencil of your liking (I used a Catherine Pooler stencil), and place it over the colored panel.
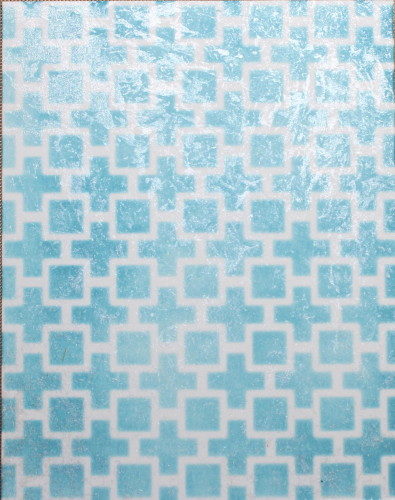
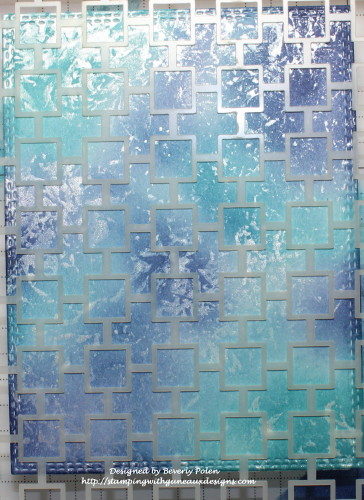 Step 10. Remove the stencil right away and lay a dry piece of paper towel across the panel to remove excess water (no rubbing).
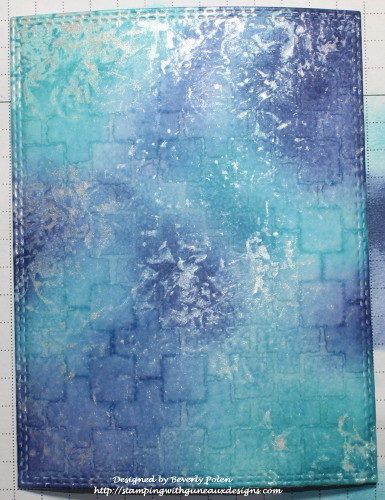 Step 12. While that is drying, cut a 3-3/4″ x 4-3/4″ piece of white card stock.
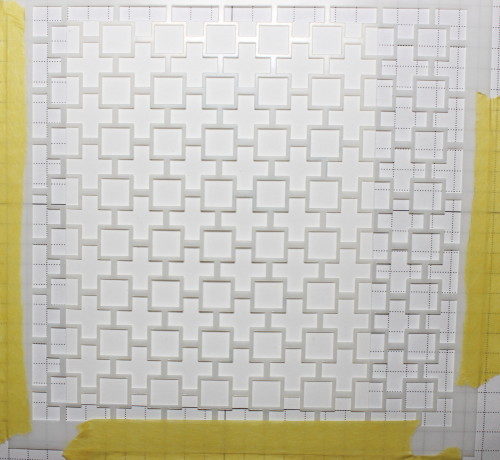
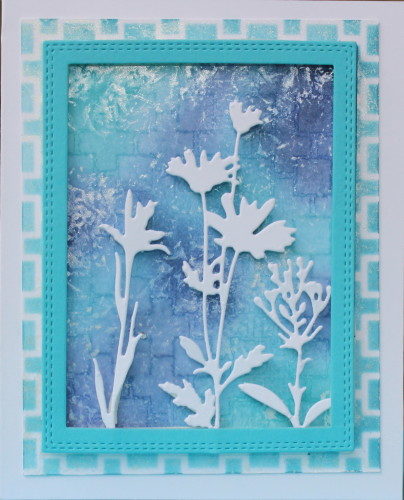
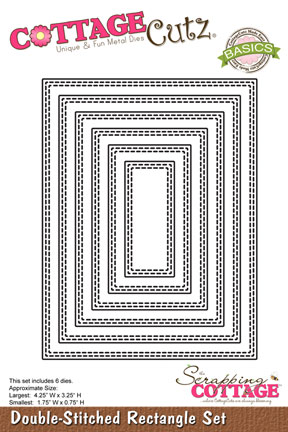
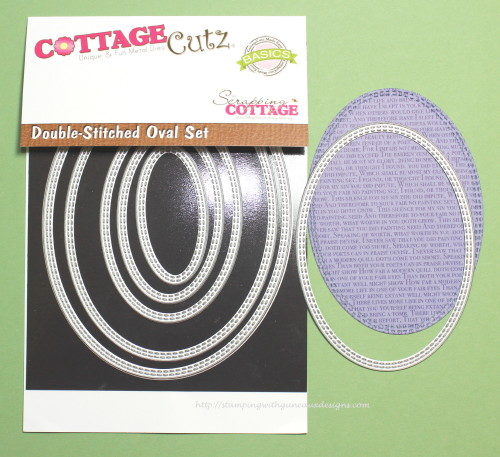
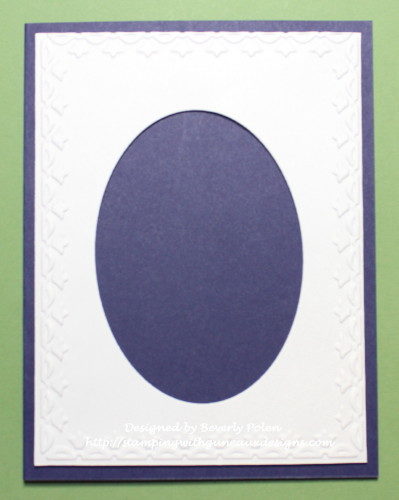
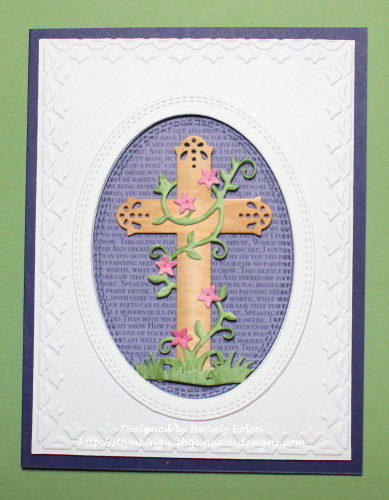
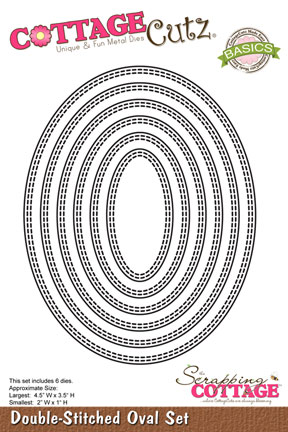
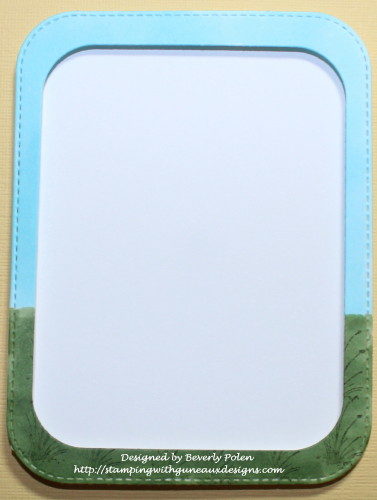
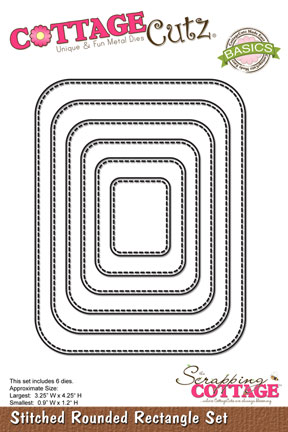
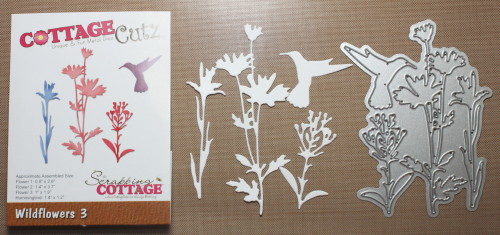
 Step 18. Select a piece of card stock that closely matches the lightest ink color used and cut out a rectangle frame using the two largest dies from the CottageCutz Double-Stitched Rectangle Set. This creates the following frame.
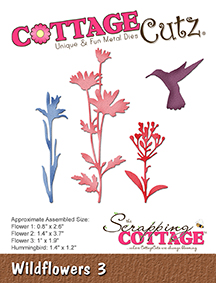
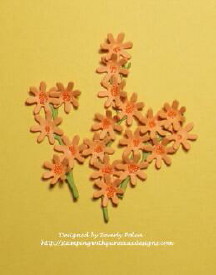
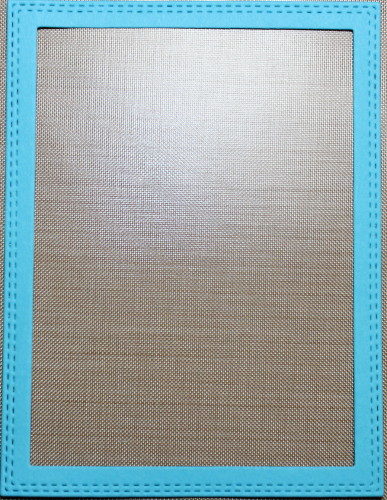 Step 19. Turn over the frame and with an adhesive, attach the white wildflowers to the bottom of the frame.
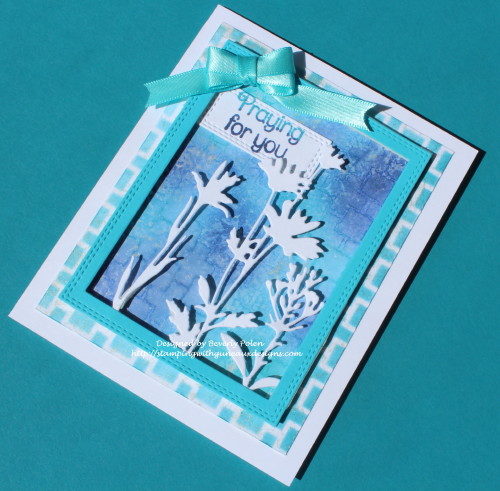
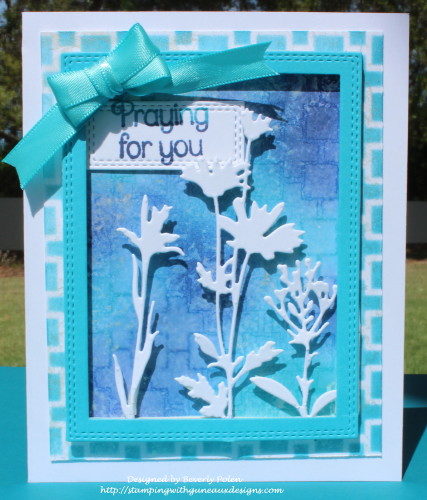
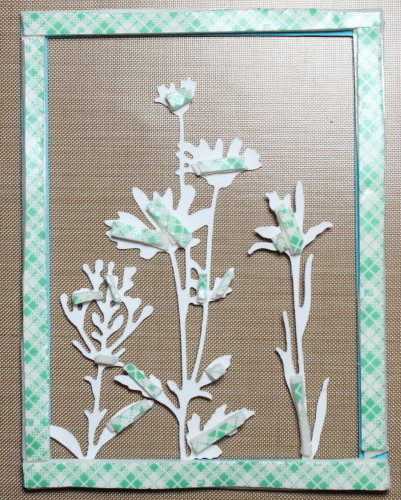 Step 21. Remove the paper from the tape and attach the frame to the rectangle completed in Step 11.