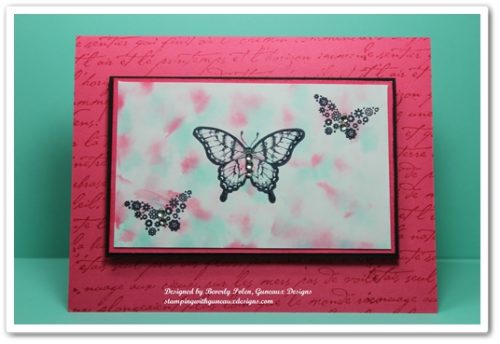
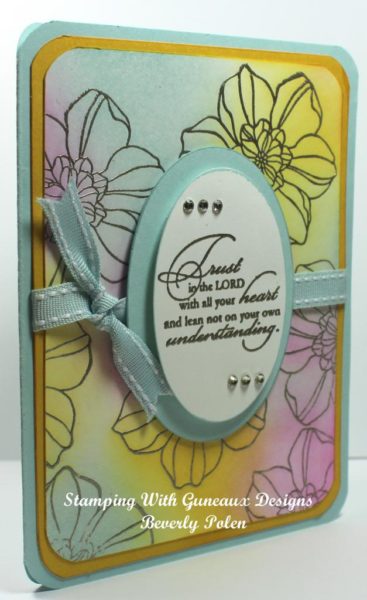
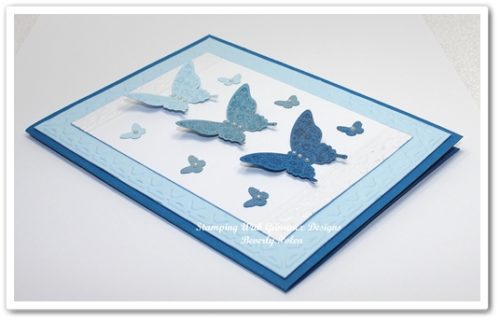
I suspect most crafters have tried the Polished Stone Technique. However, this is my first time although the technique has been around for some time. Polished Stone is a rich background technique that looks like rich marble. It is an excellent background for both feminine and masculine cards.
After looking closely at the above picture, can you tell that I left out one key product that most, but not all, crafters use for the Polished Stone Technique? It is the metallic ink. I have seen examples of this technique where the metallic ink was used and examples where it was not used. Well, I left it out because I did not have any metallic ink. However, I’ll provide you with the instructions that include the ink.
SUPPLIES USED FOR THE POLISHED STONE TECHNIQUE:
Paper: Glossy White Card Stock (I used Stampin’ Up!’s), Strawberry Slush Card Stock (131295), and Basic Black Card Stock (121045)
Stamps: Papillon Potpourri Stamp Set (123759) and Stampin’ Up!’s old French Script Background Stamp
Ink: Coastal Cabana Classic Ink Re-Inker (131164), Strawberry Slush Classic Ink Re-Inker (131167), and Stazon Ink
Accessories: Cotton Ball, Rubbing Alcohol, and Basic Rhinestones (119246)
INSTRUCTIONS FOR THE POLISHED STONE TECHNIQUE:
- Add a few drops of metallic re-inker randomly onto glossy card stock.
- Add rubbing alcohol onto a cotton ball.
- Add two or three drops of each classic re-inker color onto the cotton ball.
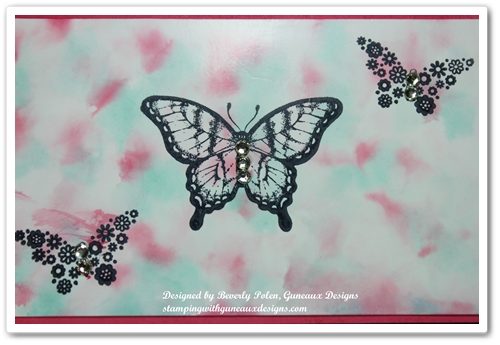
- Dab the cotton ball over the glossy card stock, continuing until you achieve the desired look. The rubbing alcohol will cause the re-inker colors to blend together, and the metallic re-inker will sit on top of the re-inker colors to give a marble look.
- Allow the card stock to dry, and if desired, seal it with an acrylic sealer.
- Stamp the desired image onto the “marbled” card stock with Stazon Ink.
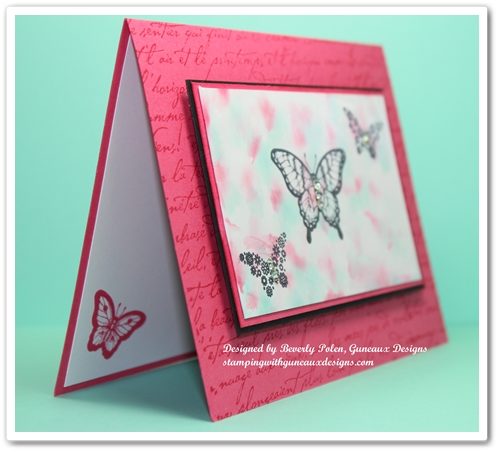
- Create your card!

This card can be a Happy Birthday, Happy Anniversary, Thinking of You, Thank You, or any type of card.
God’s Blessings!
Stamping With Guneaux Designs
by
Beverly Polen
 While shopping at Michaels recently, I came across this beautiful bird’s nest stamp. I had to buy it as I love stamps featuring birds. I created a Stampin’ Up! Gingham Garden DSP Bird’s Nest Card with the stamp.

 I hope you’ve enjoyed my Gingham Garden DSP Bird’s Nest Card! I made it for my brother who has been quite sick lately and I want him to know that I am thinking of him.

 Hope you are having a good weekend! Today’s card features the Stampin’ Up!
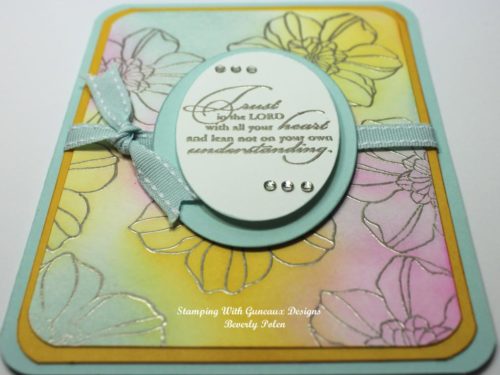
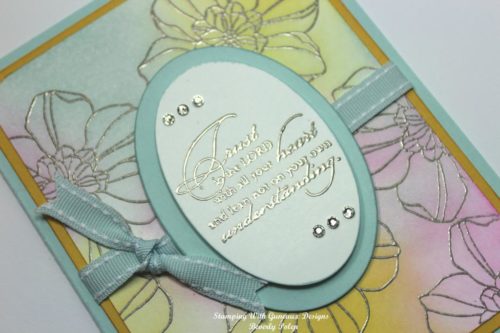 Using VersaMark, I stamped the sentiment from the Trust God Stamp Set onto a small piece of Whisper White Card Stock, covered it with the Pewter Stampin’ Embossing Powder and heat set it. I used the Stampin’ Up! Oval Framelits to cut out the sentiment and a Soft Sky Mat for it. I added six Basic Rhinestones to give the card a little bling. Before attaching the sentiment and mat to the card, I attached a piece of Soft Sky Ribbon to the center of the card. (So glad I still have some of the Stampin’ Up products in the returning colors!)
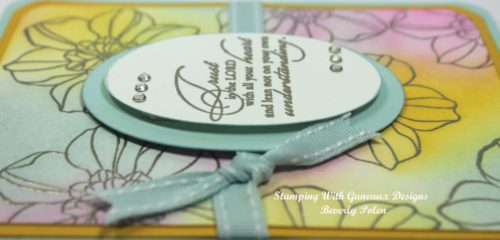
 With Stampin’ Up!’s stamp set for the month of April being the Best of Butterflies, I have another butterfly card to share. This one features the


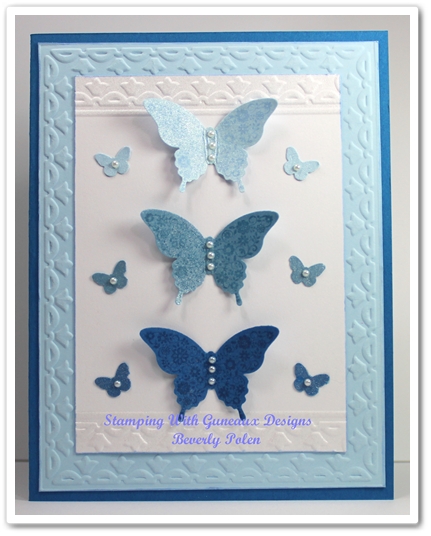 STAMPIN’ UP! PAPILLON POTPOURRI GREETING CARD.
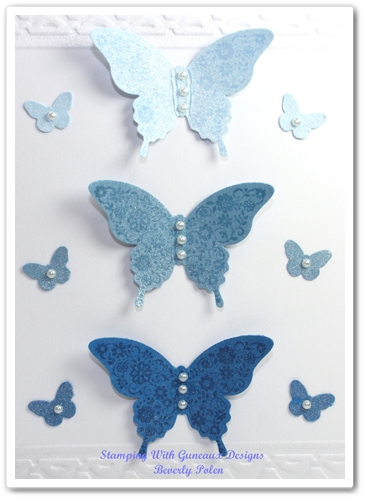
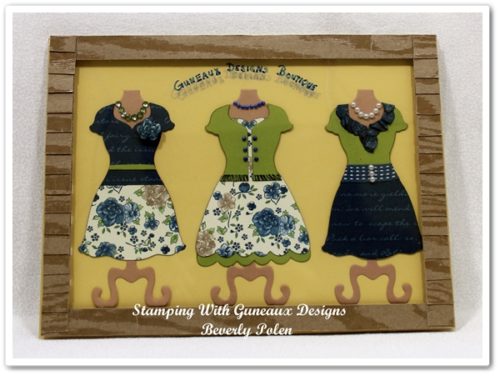
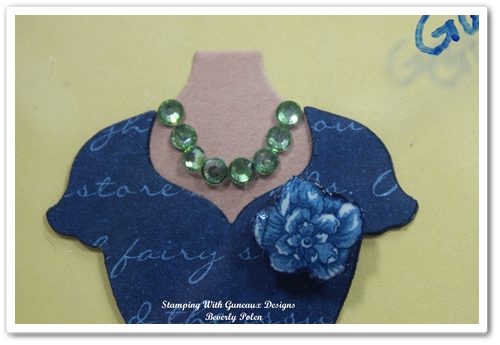
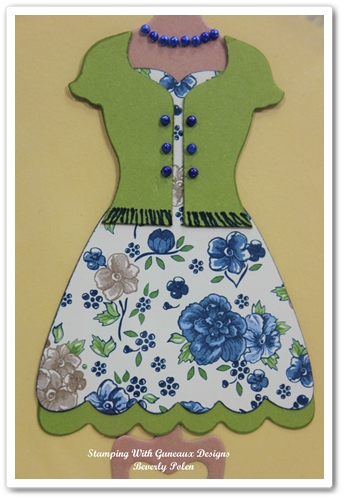
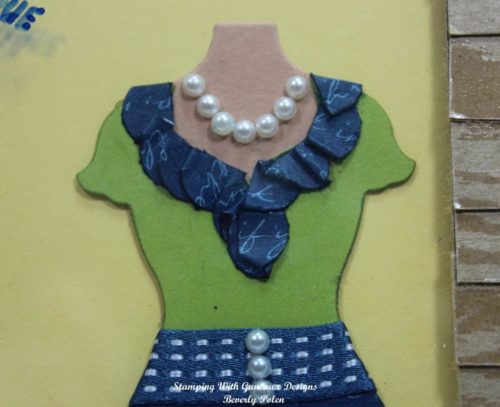
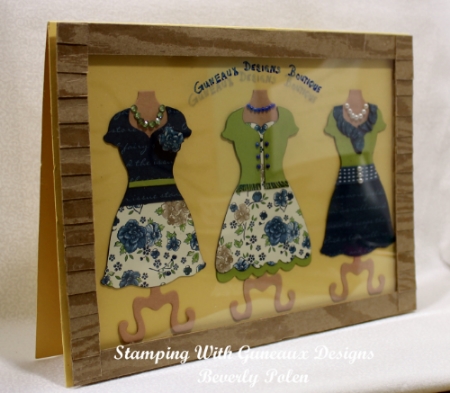
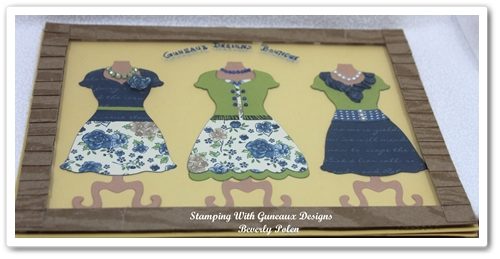
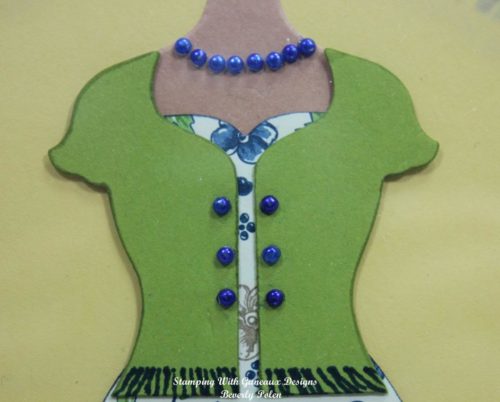 The outfit on the mannequin in the center of the Guneaux Designs Boutique window features a beautiful cardigan (photo to the left). The cardigan is wrapped around a gorgeous dress that was made with Lucky Limeade Card Stock and the same framelit used for the first outfit. The cardigan has beautiful pearl buttons that match the pearl necklace on the mannequin. The pearls were made with