Spellbinders Victorian Arch

SPELLBINDERS VICTORIAN ARCH

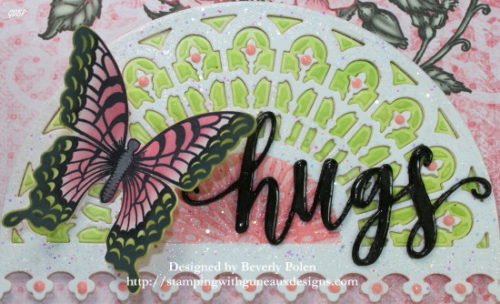
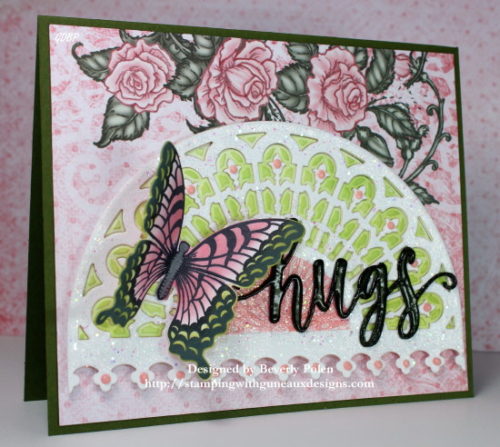
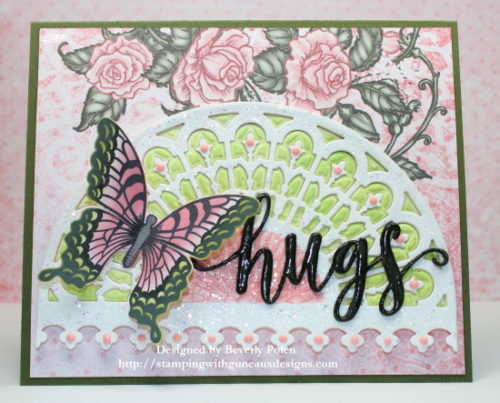
Hello, and welcome to Guneaux Designs.  Today’s card share features the Spellbinders Victorian Arch Dies.  I have had these dies for over a year but have not used them.  I decided to use them yesterday to respond to a Splitcoaststamper.com challenge related to hand fans.  When I read the challenge, I immediately thought of the Spellbinders Victorian Arch dies as they remind me of a hand fan.

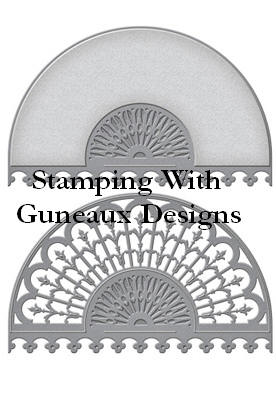
This is a photo of the Spellbinders Victorian Arch dies:

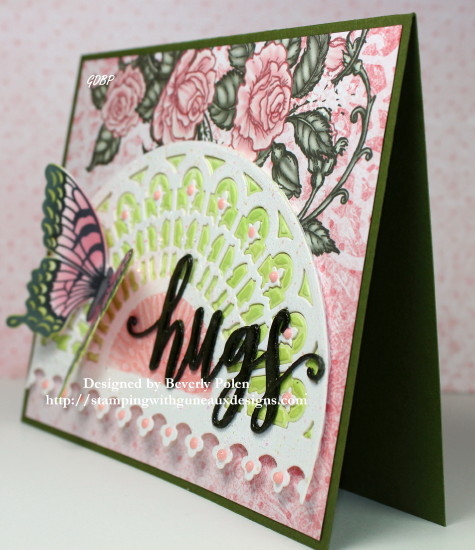
I used the dies and white card stock to cut out the arch.  I decorated the white arch with Nuvo Crystal Drops Bubblegum Blush drops and Heartfelt Creations Crystal Clear sparkly granules.  Subsequently, I cut a second Spellbinders Victorian Arch with white card stock on a foam sheet.  I did not want the small cutouts to come out of the die cut, and the adhesive foam sheet kept them in.  I colored the arch with a light green ink and adhered the first arch over top of the second one.

I cut a piece of designer paper from the Heartfelt Creations Classic Wedding Collection and attached it to my card base made from Stampin’ Up! Mossy Meadow card stock (retired).  I used a Stampin’ Up! Blushing Bride marker to outline the roses on the designer paper.  Then I attached the Spellbinders Victorian Arch onto the designer paper.

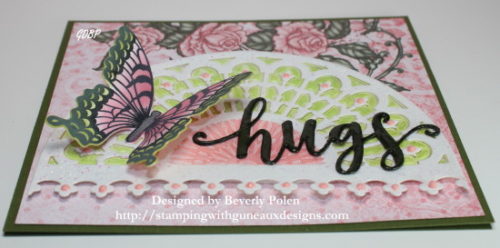
I wanted a butterfly to fill in the left side of the card.  Therefore, I used the Heartfelt Creations Botanical Wings Stamp Set and matching Die to create a butterfly.  Using green and pink Distress Oxide inks, I sponged the colors onto the butterfly and attached it to the arch with its wings raised.

For my “hugs” sentiment, I used a CottageCutz Hugs Phase Die to cut three Mossy Meadow “hugs”.  I adhered the three together and covered them with VersaMark® Watermark Ink.  I added clear embossing powder on the sentiment, heat set it, and attached it to the card.

I would love for you to share your thoughts about the card.  Feel free to leave a comment(s).


Butterfly_1_1

God’s Blessings!
Stamping With Guneaux Designs By Beverly Polen
Firm Reliance on Divine Providence!


1 Corinthians 11:4 & 5

“Every man who prays or prophesies with his head covered dishonors his head.  And every woman who prays or prophesies with her head uncovered dishonors her head – it is as though her head were shaved.”

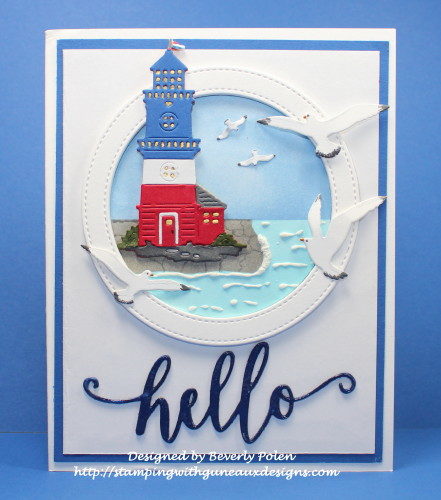
Hello from the CottageCutz Lighthouse

HELLO FROM THE COTTAGECUTZ LIGHTHOUSE

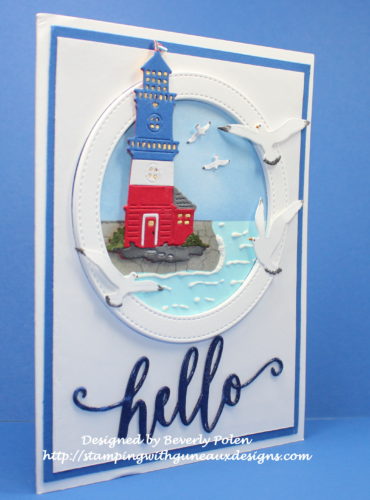
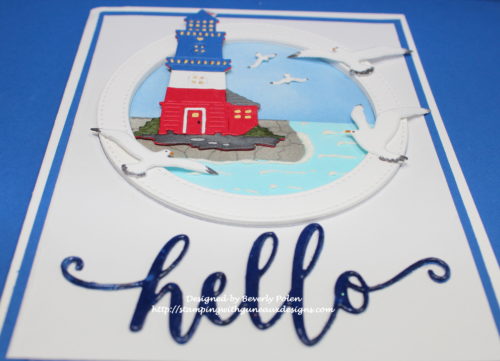
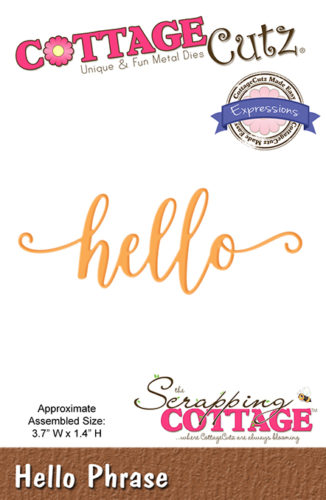
Hello, friends, and welcome to Guneaux Designs!  Today I am a guest designer for the Scrapping Cottage Blog.  My “Hello form the CottageCutz Lighthouse” card share features the CottageCutz Hello Phrase die, which is a newly released word die from the CottageCutz Expressions Plus collection.

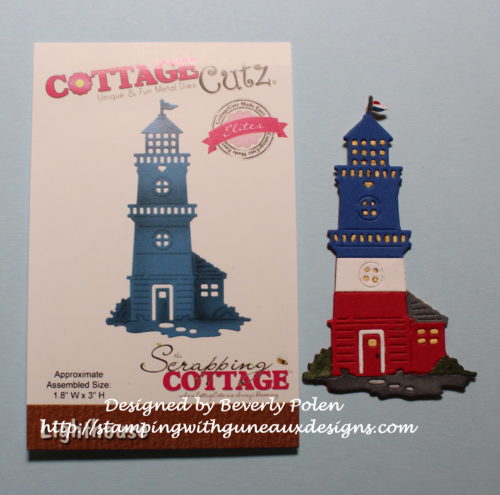
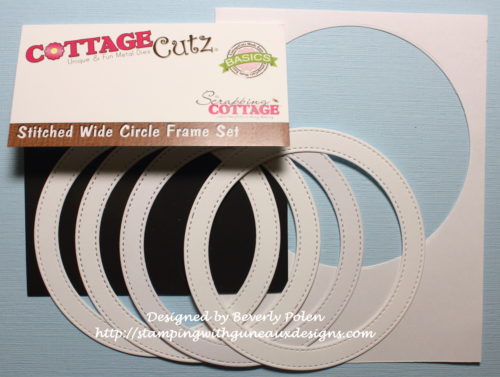
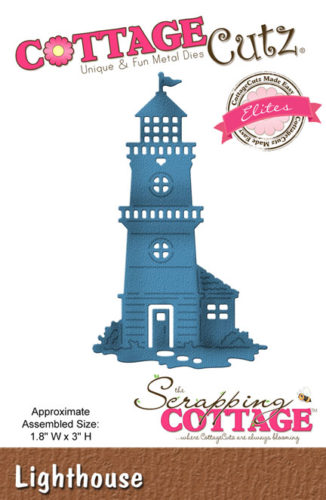
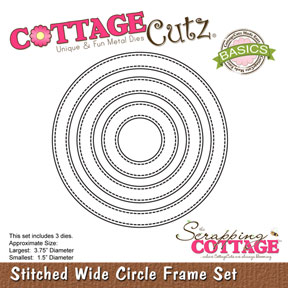
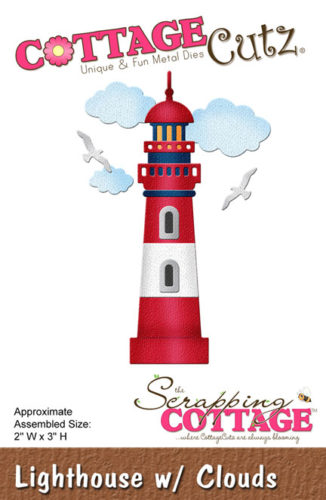
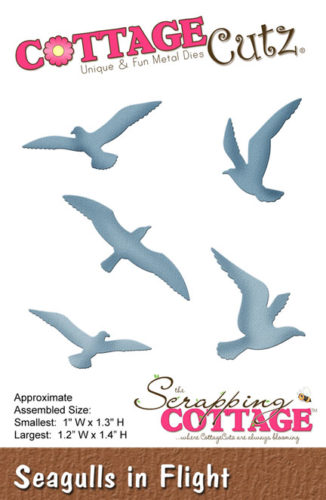
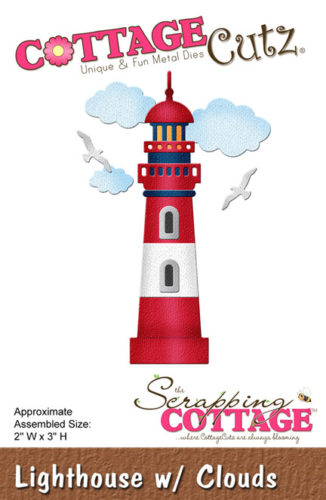
My card also features other CottageCutz dies: the CottageCutz Lighthouse die, Stitched Wide Circle Frame Set dies, CottageCutz Lighthouse w/ Clouds die, and CottageCutz Seagulls in Flight Die.

These are the steps I took to make this “Hello from the CottageCutz Lighthouse” card:

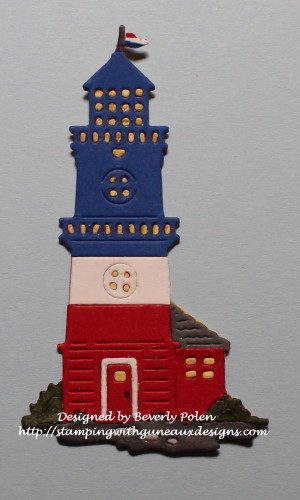
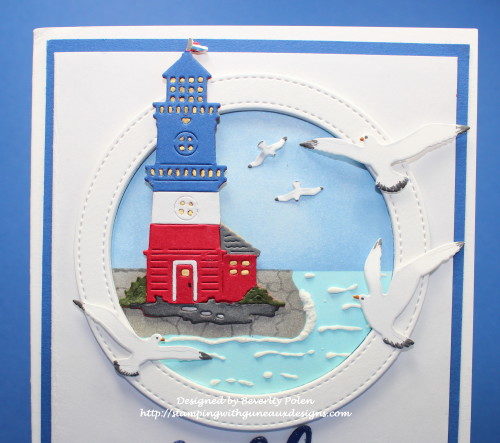
  • Using the CottageCutz Lighthouse die, I cut out the lighthouse in white, red, blue, green, gray, and yellow card stock and assembled the pieces.
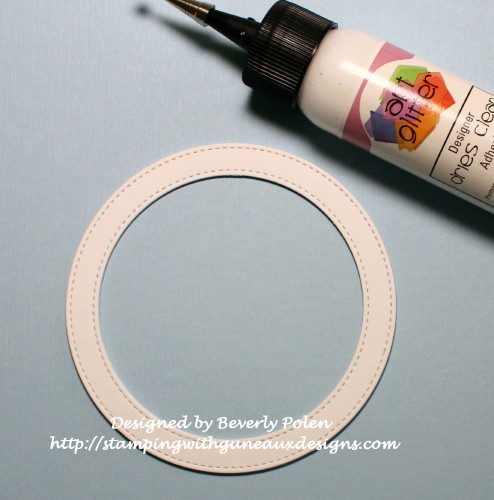
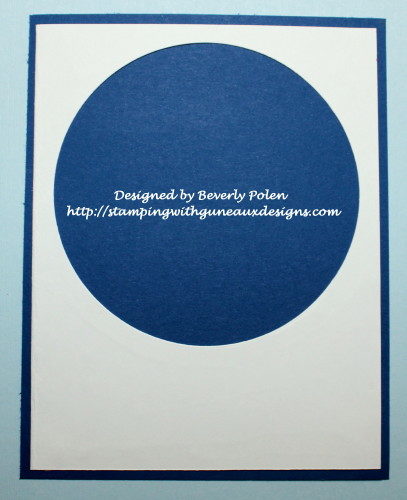
  • I used the CottageCutz Stitched Wide Circle Frame Set dies to cut several circle frames and a circle from a 4-1/4″ x 5-1/2″ piece of white card stock.

  • I glued the circle frames together to create dimension.

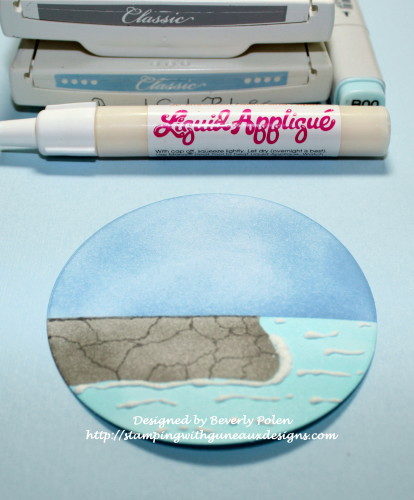
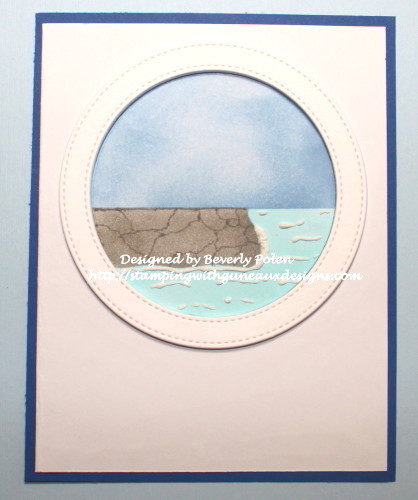
  • Using the circle that was cut out from the 4-1/4″ x 5-1/2″ piece of white card stock, I colored a sky, rock cliff, and ocean on it.  I added Liquid Applique in selected areas and heat set it.

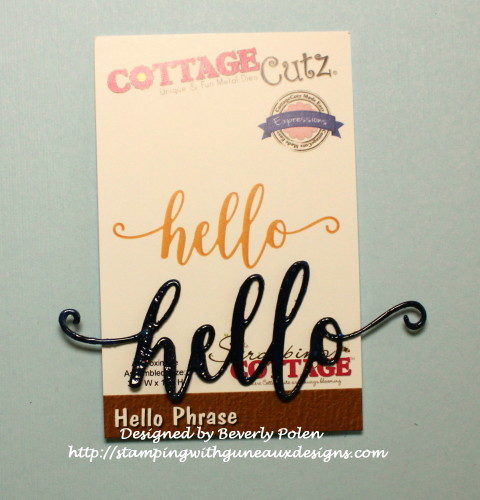
  • I cut out three “hello” sentiments using the CottageCutz Hello Phrase die and blue card stock.  I glued them together, covered the sentiment with VersaMark Ink and Clear Embossing Powder, and heat set it.

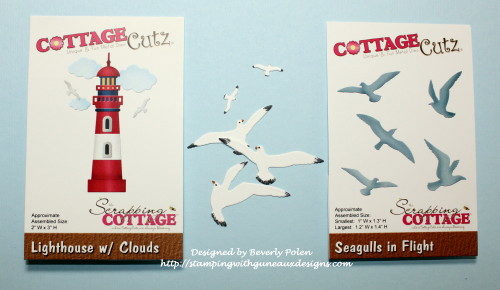
  • I cut out seagulls from the CottageCutz Lighthouse w/ Clouds Die and CottageCutz Seagulls in Flight Die, and added a touch of color to them.  I rolled the wings with my fingers.

  • I began assembling my card by cutting a 4-1/2″ x 5-3/4″ piece of blue card stock to which I glued the 4-1/4″ x 5-1/2″ piece of white card stock with the circle cut out.

  • To this piece, I attached both the circle frames and colored circle inside of the cut out circle.

  • Lastly, I added the lighthouse, seagulls, and hello sentiment to the above piece. Then I attached it to a 4-3/4″ x 6″ white card base.

I hope you enjoy the card and are inspired by it!


These are the CottageCutz dies used to create my Hello from the CottageCutz Lighthouse card.


Butterfly_1_1God’s Blessings!
Stamping With Guneaux Designs By Beverly Polen
Firm Reliance on Divine Providence!


John 14:23 & 24

Jesus replied, “If anyone loves me, he will obey my teaching.  My Father will love him, and we will come to him and make our home with him.  He who does not love me will not obey my teachings.  These words you hear are not my own; they belong to the Father who sent me.” 

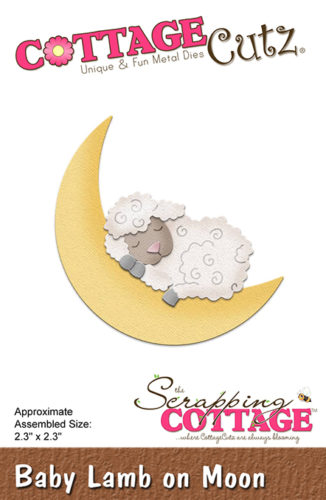
CottageCutz Baby Lamb on the Moon

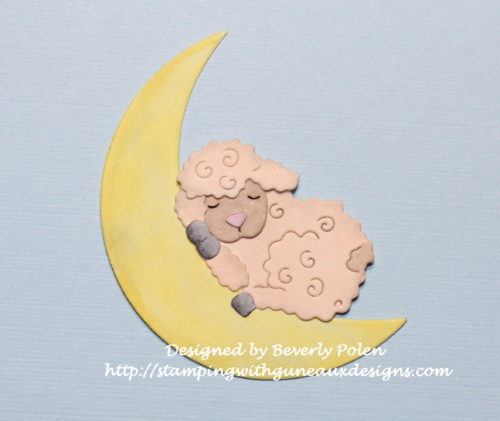
Hello, friends, and thanks for stopping by Guneaux Designs!  Today I am a guest designer for the Scrapping Cottage Blog, and I have a lovely card featuring a recently released CottageCutz Baby Lamb on the Moon die.  I think the baby lamb is so cute!
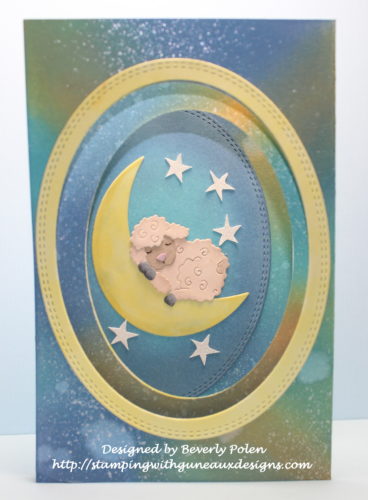
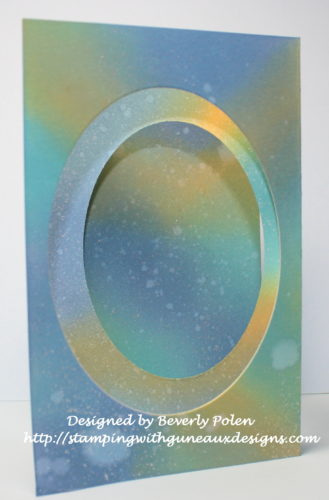
The card design is a Z-Fold with ovals cut out from the first and second sections.  You can see through the ovals to the main element on the back section of the card, which is the CottageCutz Baby Lamb on the Moon.   I have not seen before a Z-Fold card with the first two sections cut out for windows to see through to the main image on the back section.  If there is no such design in the crafting world, I guess I just created a new Z-Fold card design.  LOL!

To create my Z-Fold card, I cut from white card stock the pieces from the lovely CottageCutz Baby Lamb on the Moon Die.
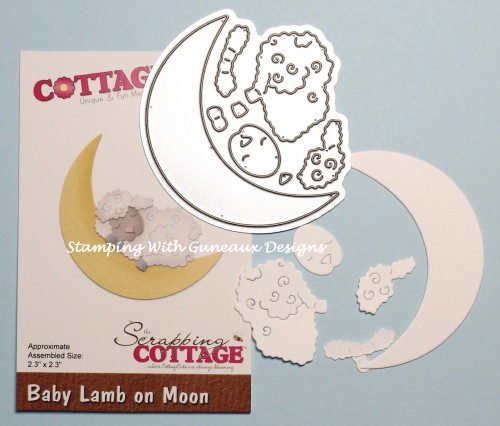
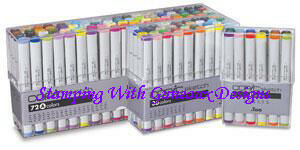
I colored the pieces with Copic Sketch Markers, adding a touch of gray to the moon.  Afterwards, I glued the pieces together.
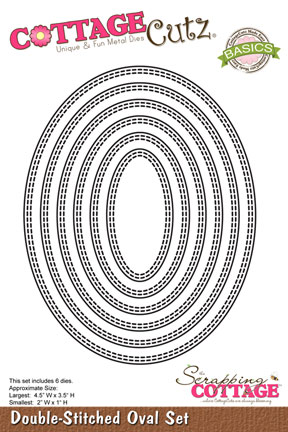
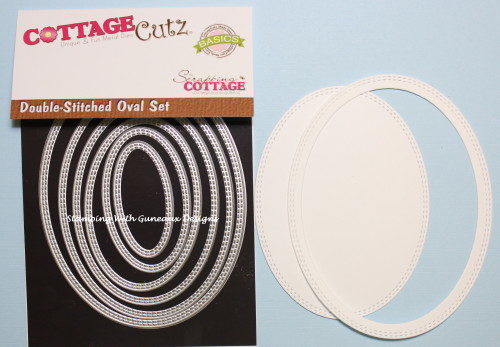
Using the second and third to the largest CottageCutz Double-Stitched Oval Dies, I cut out an oval and frame from white card stock.  I later colored the frame with a yellow copic marker.  I also cut a second frame with the largest and second to the largest dies and color it yellow.
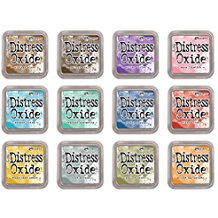
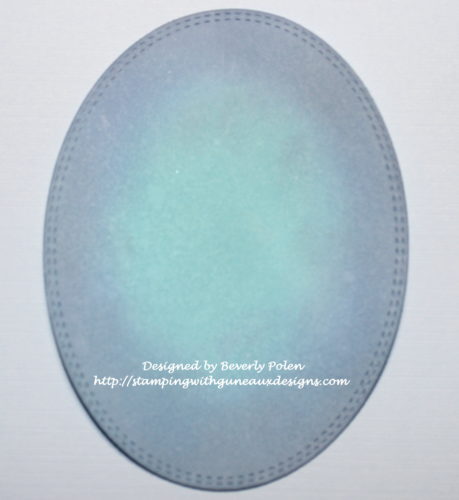
I colored the oval with two of the new Tim Holtz Oxide Ink Pads (i.e., faded jeans, and broken china).  I used the lighter blue for the center of the oval for the moon’s glow.
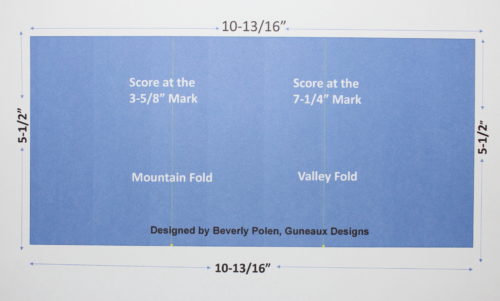
Then, I cut a 10-13/16″ x 5-1/2″ piece of white card stock and, on the 10-13/16″ side, scored at the 3-5/8″ and 7-1/4″ measurements.  The 3-5/8″ score line is a mountain fold and the 7-1/4″ score line is a valley fold.  At this point,  I did not fold the card stock on the score lines until I finished additional steps.
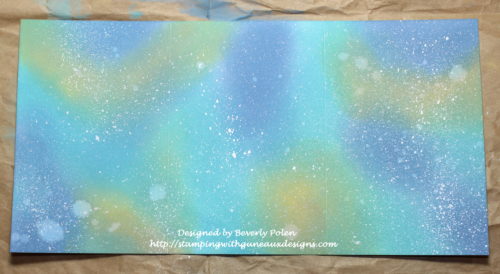
I wanted to create the appearance of a galaxy; therefore, I sponged three of the Tim Holtz Oxide Inks (i.e., fossilized amber, faded jeans, and broken china) onto the card stock and spritzed it lightly with water.  After drying, I used a toothbrush and diluted white acrylic paint to splatter paint onto the colored card stock.
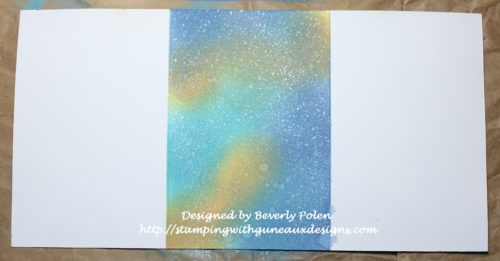
After that dried, I turned the card stock over and colored the center section with the same inks, spritzed with water, and splattered with acrylic paint. When the card is finished, this section will be the inside center fold.
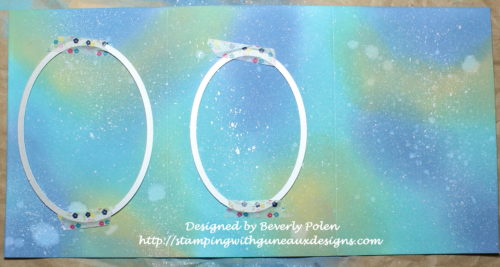
Before folding on the score lines, I placed the second largest Double-Stitched Oval Die on the first section of the card and the third largest die on the center section, centering them as much as possible.  I ran the card stock and dies through my die cutting machine.
I then folded the card on the score lines, and the following photo shows result.
Next, I assembled the card by attaching the baby lamb and moon onto the oval previously colored and adhered it to the last section of the card.  I used an old star stamp to stamp, emboss, fussy cut, and add to this piece.
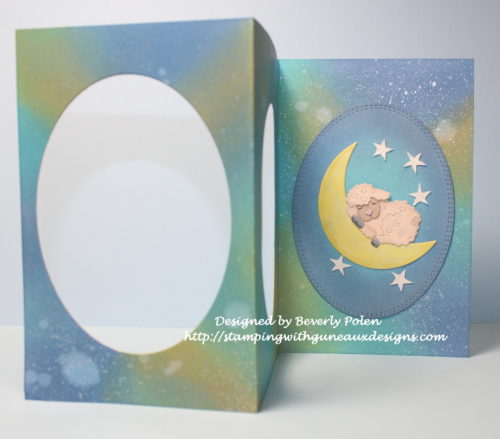
Then I added the largest yellow frame to the first section of the card and the smaller yellow frame to the inside center section.
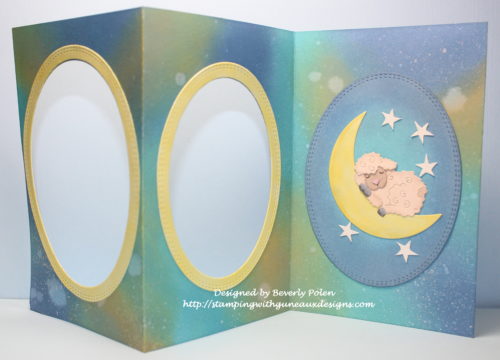
When the card is folded closed, the middle section that was inked on the back will show as the second section.  It does not have a yellow oval frame on it.

I did not add other embellishments to the card as I did not want to distract from the “galaxy” effect on the card.  A sentiment will be added when I know who is the recipient.

I hope you enjoy this card and take time to browse the recently released BABY and SCRIPT DESIGN DIES!  The script dies are 25% off for a limited time!  Have a blessed day!


Butterfly_1_1God’s Blessings!
Stamping With Guneaux Designs By Beverly Polen
Firm Reliance on Divine Providence!


JAMES 5:1-6

 “Now listen, you rich people, weep and wail because of the misery that is coming upon you.  Your wealth has rotted, and moths have eaten your clothes.  Your gold and silver are corroded.  Their corrosion will testify against you and eat your flesh like fire.  You have hoarded wealth in the last days.  Look!  The wages you failed to pay the workmen who mowed your fields are crying out against you.  The cries of the harvesters have reached the ears of the Lord Almighty.  You have lived on earth in luxury and self-indulgence.  You have fattened yourselves in the day of slaughter.  You have condemned and murdered innocent men, who were not opposing you.”
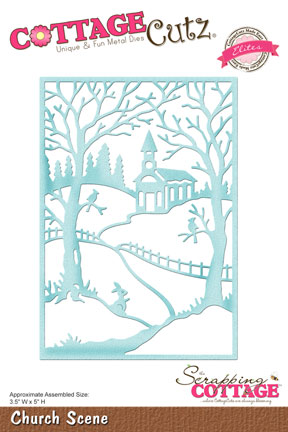
CottageCutz Church Scene

CottageCutz Church Scene

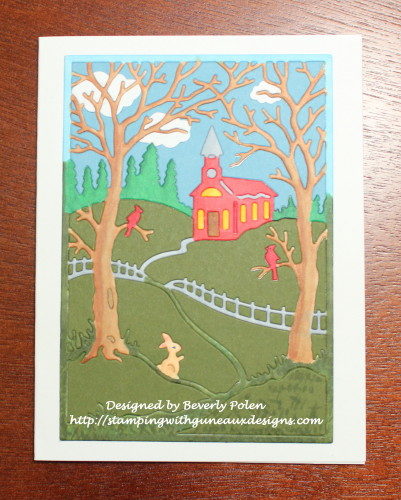
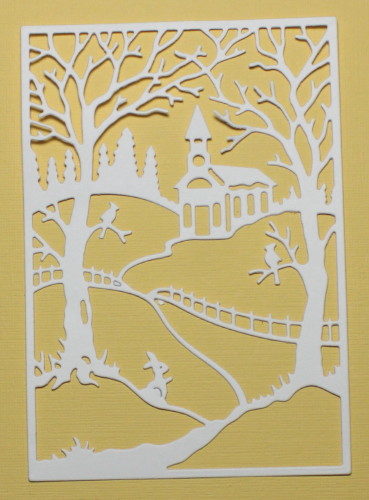
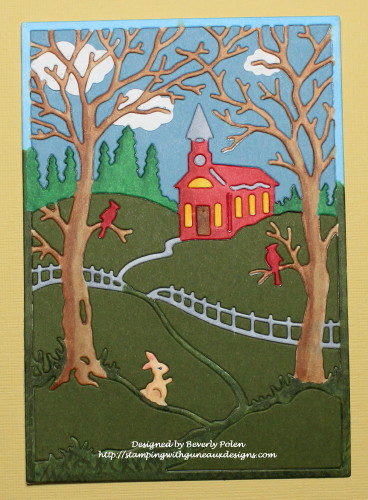
Hello, friends, and welcome to Guneaux Designs!  I am pleased to bring you a card featuring the CottageCutz Church Scene Die.  This Church Scene die is versatile as it can be adapted to create a card for each season of the year (i.e., spring, summer, fall, and winter).  For Christians, Easter is today.  When I think of Easter, I recall memories of my childhood of going to church on Easter morning and getting Easter-related goodies (no, that was not the only reason for going – LOL).  My childhood memories of Easter are the driving force behind my Easter card. This card also features the Stamping Inlay Technique.

CottageCutz Church Scene

To create the card, follow these steps:

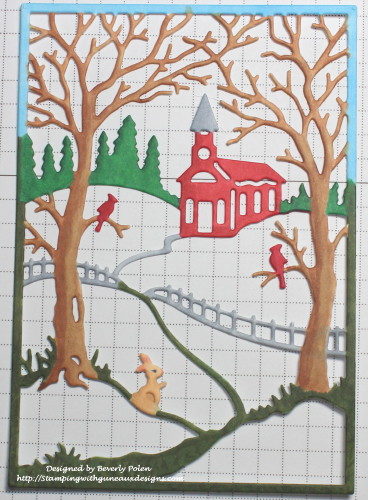
Step 1.  Cut out the CottageCutz Church Scene frame from white card stock.

Step 2:  Color the white cut out frame as desired along with the tiny pieces for the church’s door, windows, etc.  I used Copic Sketch Markers to color the cut out.

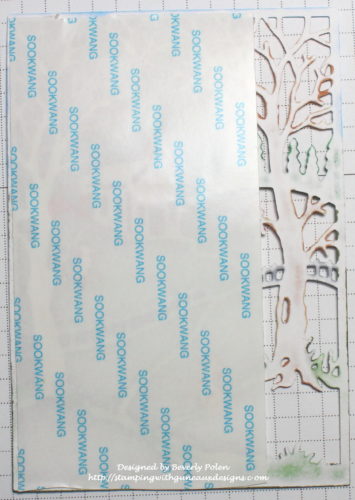
Step 3.  After coloring the scene and tiny church pieces, turn the frame over and add strips of a strong adhesive.

Step 4.  Turn the church scene frame back over and add the church’s windows, door, etc. that you colored in Step 3.  Ensure these pieces attach well to the adhesive.

Step 5.  Cut a 2-1/2″ x 3-3/4″ piece of blue card stock.  This will be used for the sky.

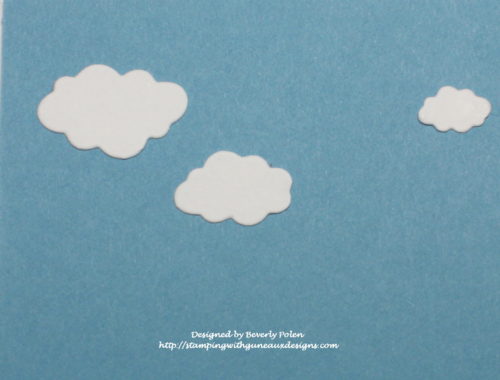
Step 6.  Cut out three white clouds using the CottageCutz Lighthouse w/ Clouds Die.

Step 7.  Position the clouds where you want them to show in the sky and attach them to the small piece of blue card stock.

Step 8.   Place the CottageCutz Church Scene Die face down on the blue piece of card stock, ensuring the sky portion of the die is fully covered by the die.

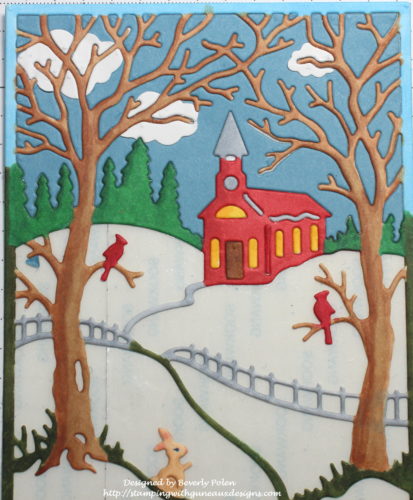
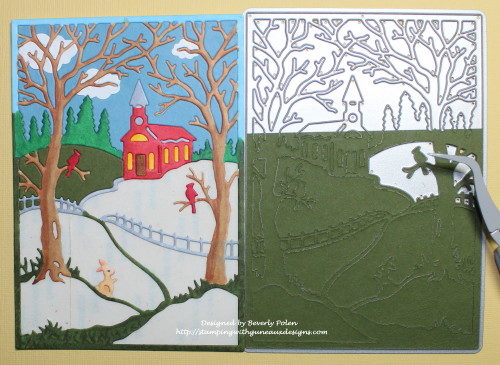
Step 9.  Run this through a die cutting machine and add the blue pieces to the sky section of the church scene frame.  Ensure the pieces adhere well.  I love the clouds behind the tree branches.  (Note the church door, windows, etc.)

Step 10.  Cut a 4″ square of dark green card stock.  Lay the CottageCutz Church Scene Die face down onto the card stock, ensuring the grassy areas of the scene are covered by the die.

Step 11.  Run this through a die cutting machine.  Because this section has tiny pieces along the fence, try to keep the pieces within the die so it will be easier to determine their appropriate location.  To accomplish this, after running the die and card stock through the die cutting machine, lift the bottom cutting board with the die still on it. Take it to your work station, turn it over so the die cuts are facing upward, and use tweezers to carefully remove the pieces and adhere them well to the church scene frame.

Step 12.  After adding all the pieces, the church scene will look similar to the following photo.  At this point, I think the scene comes alive!  The little bunny is now very visible.

Step 13.  Add the scene to a card base and add a sentiment.

(Option:  cut small leaves and attach to the two trees in the scene.)


Butterfly_1_1God’s Blessings!
Stamping With Guneaux Designs By Beverly Polen
Firm Reliance on Divine Providence!


MARK 16:6-7

“Don’t be alarmed,” he said.  “You are looking for Jesus the Nazarene, who was crucified.  He has risen!  He is not here.  See the place where they laid him! 

CottageCutz Woodlands & Woodland Animals

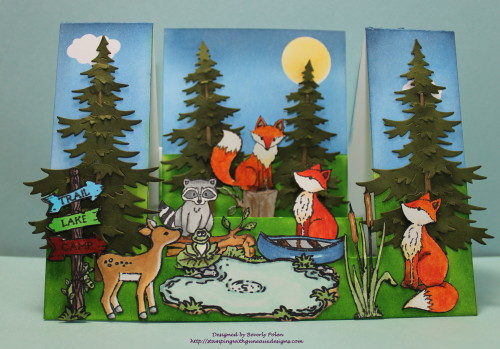
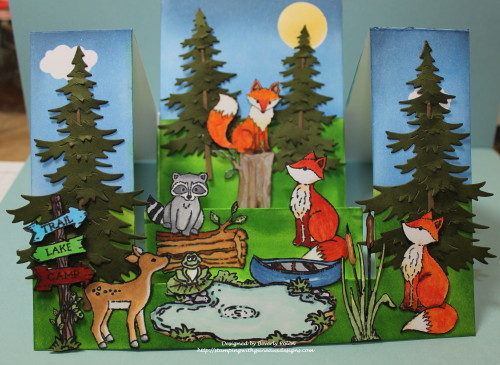
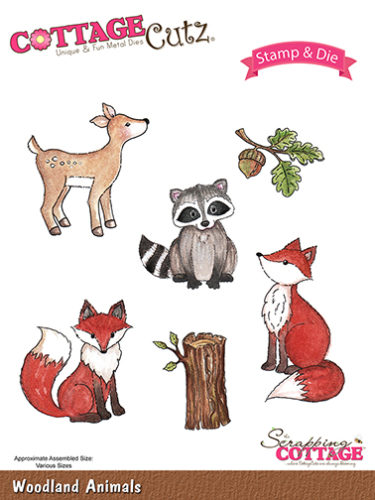
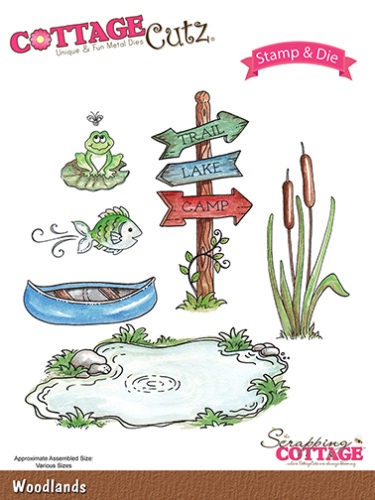
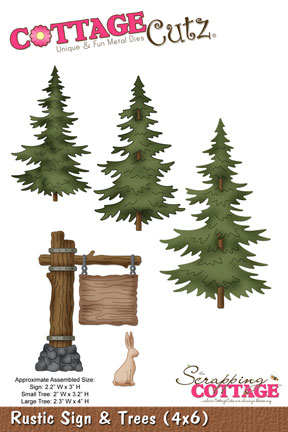
Hello, everyone!  So glad you stopped by Guneaux Designs.  Today I am a guest designer for the Scrapping Cottage blog.  The project I have created for you features the wonderful stamps and dies from the CottageCutz Woodlands & Woodland Animals, and the dies from the Rustic Sign & Trees.  I had so much fun creating this card, and I hope you enjoy it!

This photo shows the card more  open than the one above.

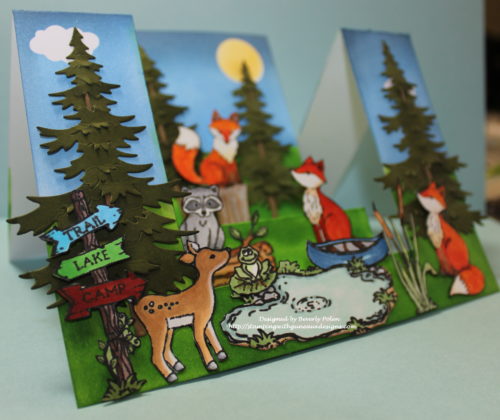
This photo shows the card at an angle

I love the gorgeous fox images and dies from the CottageCutz Woodland Animal Set; therefore, I had to add three foxes to my card.  The little raccoon is so adorable that I planned to add two but there was not room on the card.  If you have not purchased the set yet, I promise you will have so much fun creating with it and the CttageCutz Woodlands Set.

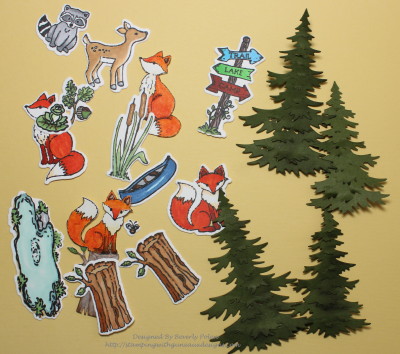
To create the card, I stamped, colored (with copics), and cut out the images I would use for the project.

After die cutting the elements, I decided I wanted to fussy cut around them, which I did. Then I created a Step Ladder Center Cut Card with white card stock and sponged on it a sky, sun, and grass.  It was then time to load up the card with the critters.  What fun!!

If you would enjoy making a similar card, select the elements you want to showcase and color and die cut them.  Then create the Step Ladder Center Cut Card by following these instructions.

  • Cut a 7″ x 10″ piece of card stock.
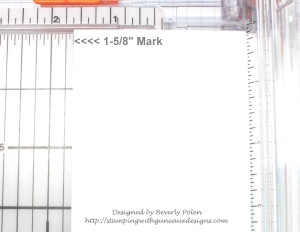
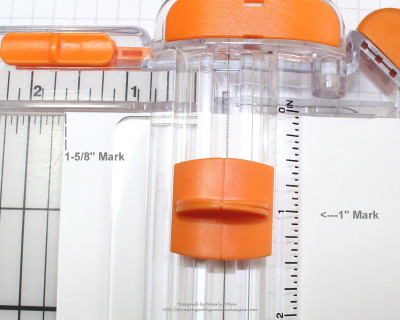
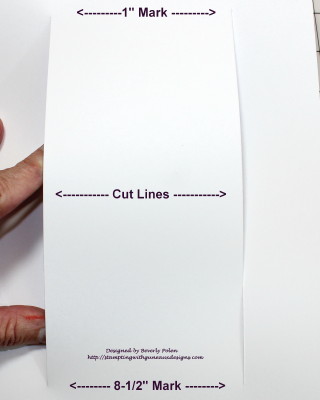
  • With the 7″ side at the top of a cutting tool (henceforth, trimmer), move the card stock to the left to the 1-5/8″ mark,

  • Move the cutting blade of your trimmer down to the 1″ mark and lower the cutting arm.

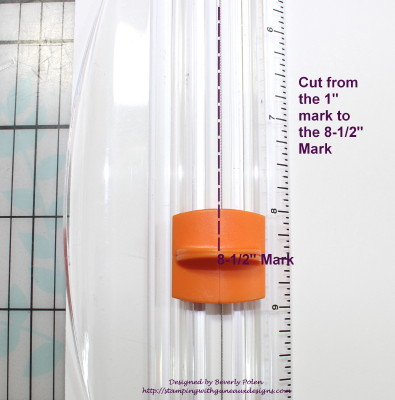
  • Cut the paper from the 1″ mark to the 8-1/2″ mark.

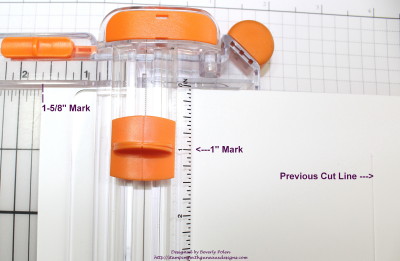
  • Turn the card stock over, (not around or the cut lines will not match), move it to the 1-5/8″ mark on the trimmer, move the cutting blade down to the 1″ mark, and lower the cutting arm.

  • Cut the card stock from the 1″ mark to the 8-1/2″ mark.

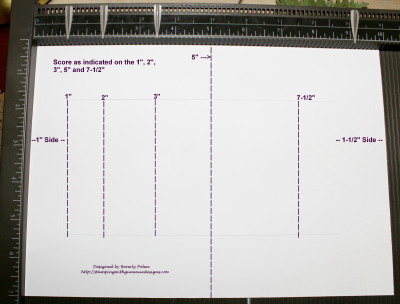
  • Remove card stock from the trimmer, and it will look like the following.  (NOTE: There is 1″ from the top of the 7″ side of the card stock to the first cut line, and 1-1/2″ from the cut line to the bottom.)

  • Place the card stock onto a scoring tool with the 10″ side at the top,  Ensure the 7″ side that is to the left on the scoring tool is the one that has cut lines 1″ from the side. Score at the 1″, 2″, and 3″ marks from the first cut line to the second cut line.  Score at the 5″ mark from the top to the bottom of the card stock.  Score at the 7-1/2″ from the first cut line to the second.

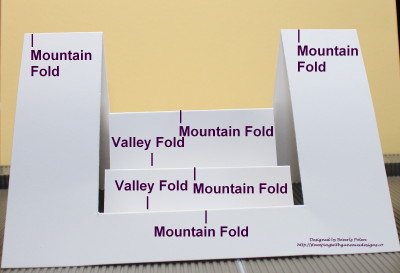
  • Now fold the card stock according to the following: a) 1″ score line is a mountain fold, b) 2″ score line is a valley fold, c) 3″ score line is a mountain fold, d) 5″ score line is a mountain fold on the two sides and a valley fold in the center, and e) 7-1/2″ score line is a mountain fold.
  • Decorate the card to your liking.  If desired and to support the elements placed on the back step (mountain fold) cut a 3-11/16″ x 4-7/8″ piece of card stock and attach it to the back step on which you can add your primary feature.  I added this piece to my card.  When the card is closed, this piece matches the two side folds at the top.

I hope you try this card fold and use the CottageCutz dies found at the Scrapping Cottage to showcase.  Have a great day!


COTTAGECUTZ STAMPS AND DIES USED ON THIS PROJECT:


Butterfly_1_1God’s Blessings!
Stamping With Guneaux Designs By Beverly Polen
Firm Reliance on Divine Providence!


JOHN 11:25-26

Jesus said to her, “I am the resurrection and the life.  He who believes in me will live, even though he dies; and whoever lives and believes in me will never die.  Do you be believe this?”