Polished Stone Technique With a Twist

Polished Stone Technique With A Twist

I have for you today a card I made using the Polished Stone Technique with a twist!  The method used for this card is easier and faster than the normal Polish Stone Technique.  You can view this POST for instructions on the normal Polish Stone Technique.


1 Peter 2:9

“But you are a chosen people, a royal priesthood, a holy nation, a people belonging to God, that you may declare the praises of him who called you out of darkness into his wonderful light.”


Continue reading

Glue Stick Resist Technique

GLUE STICK RESIST TECHNIQUE

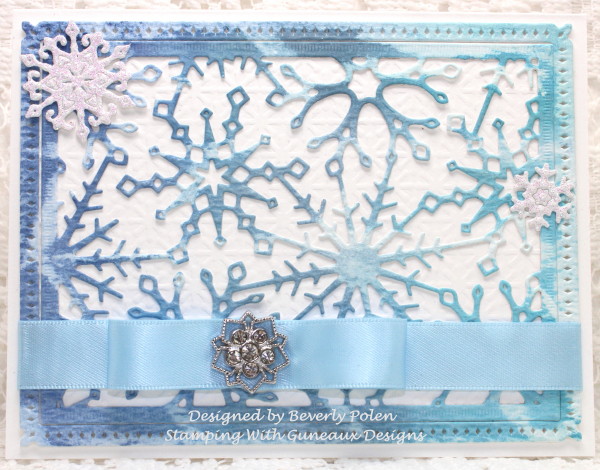
Another day and another card share!!  Hello, my friends.  Today’s card share features two items: the Glue Stick Resist Technique, and the ODBD Snowflake Sky Die.
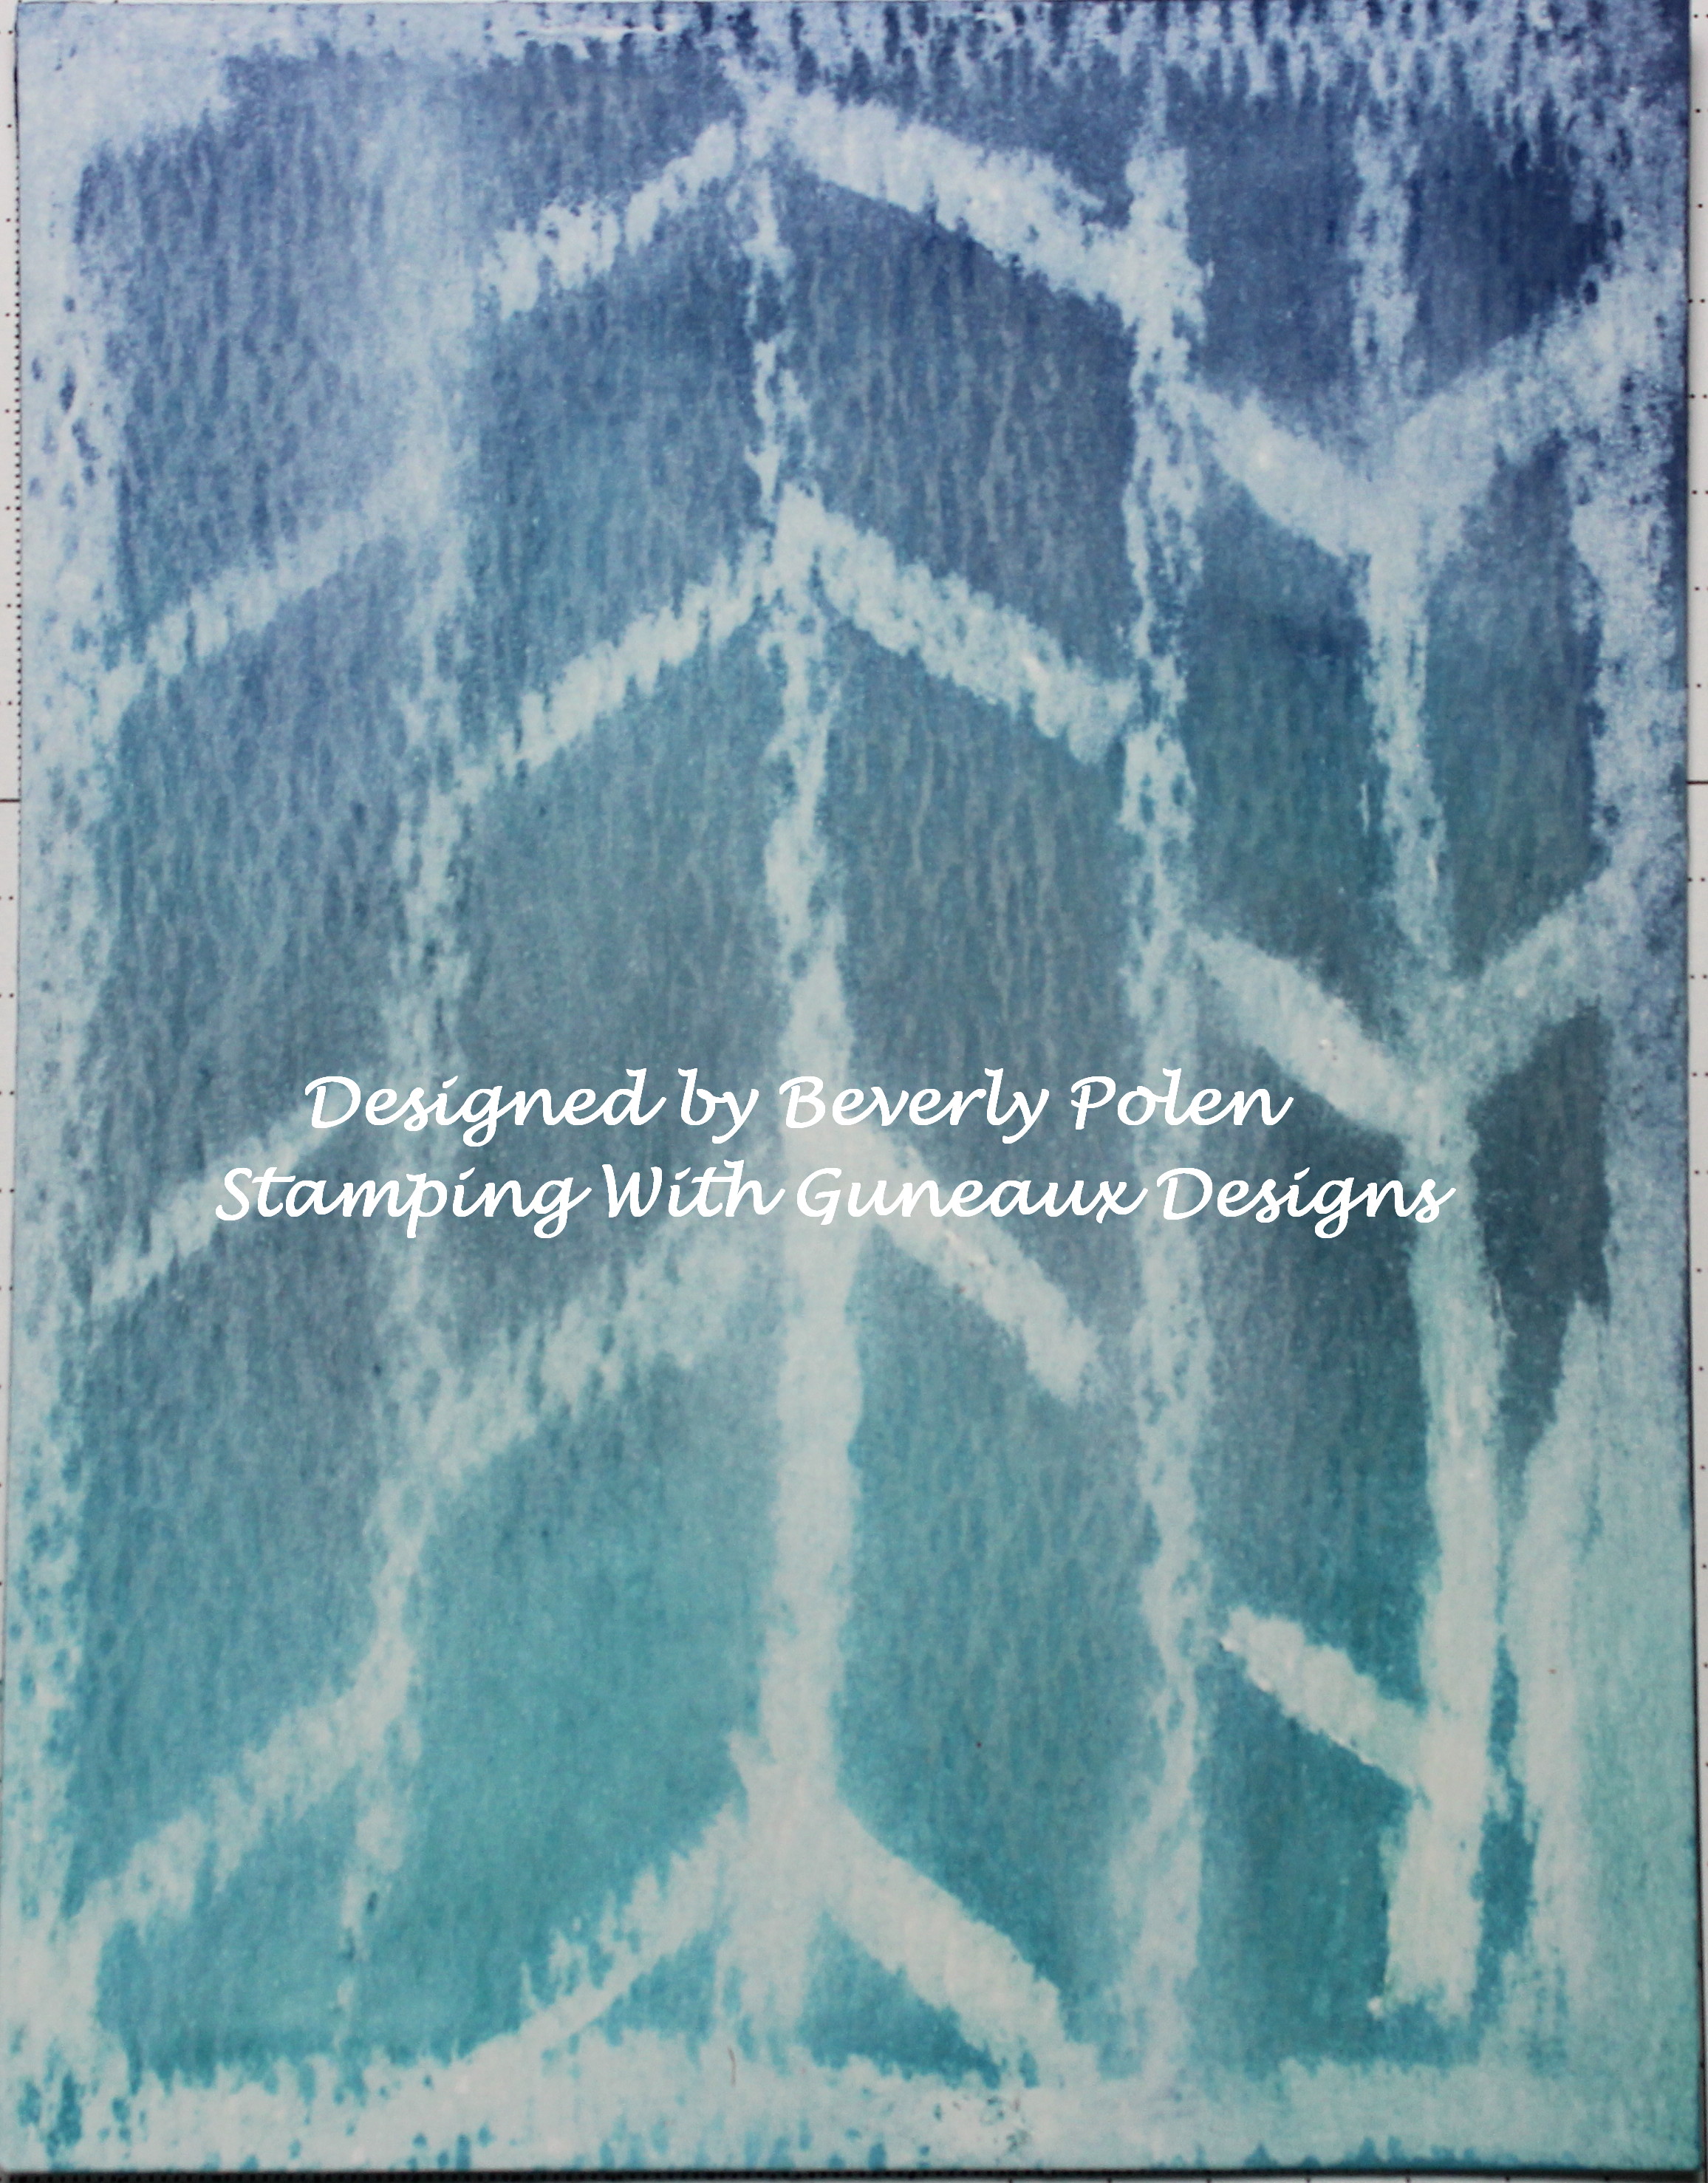
I had never heard of or try the Glue Stick Resist Technique until a challenge on Splitcoaststampers involved using it.  It actually is a fun technique.  It is quite similar to the Color Resist Technique, but using a glue stick instead of VersaMark stamped images covered with clear embossing powder.

To create the card, I applied a SU Glue Stick in a chevron pattern over a piece of water color paper. After the glue dried, I sponged three different colors of blue distress ink onto the panel. Then I removed the glue from the panel with a baby wipe.  If you do not have a baby wipe, a wet paper towel will work.  This photo shows the results, and it is just that simple.
I decided to use the piece of water color paper (i.e., above photo) to cut out a snowflake panel with the ODBD Snowflake Sky Dies.  I really like the outcome.  I also used the ODBD Snow Crystals Dies, which coordinate with the Snowflake Sky Dies, to add two white glitter snowflakes. Then I wrapped this panel with blue ribbon and a bow with a SU Frosted Finishes Embellishment in the center, offsetting the bow.
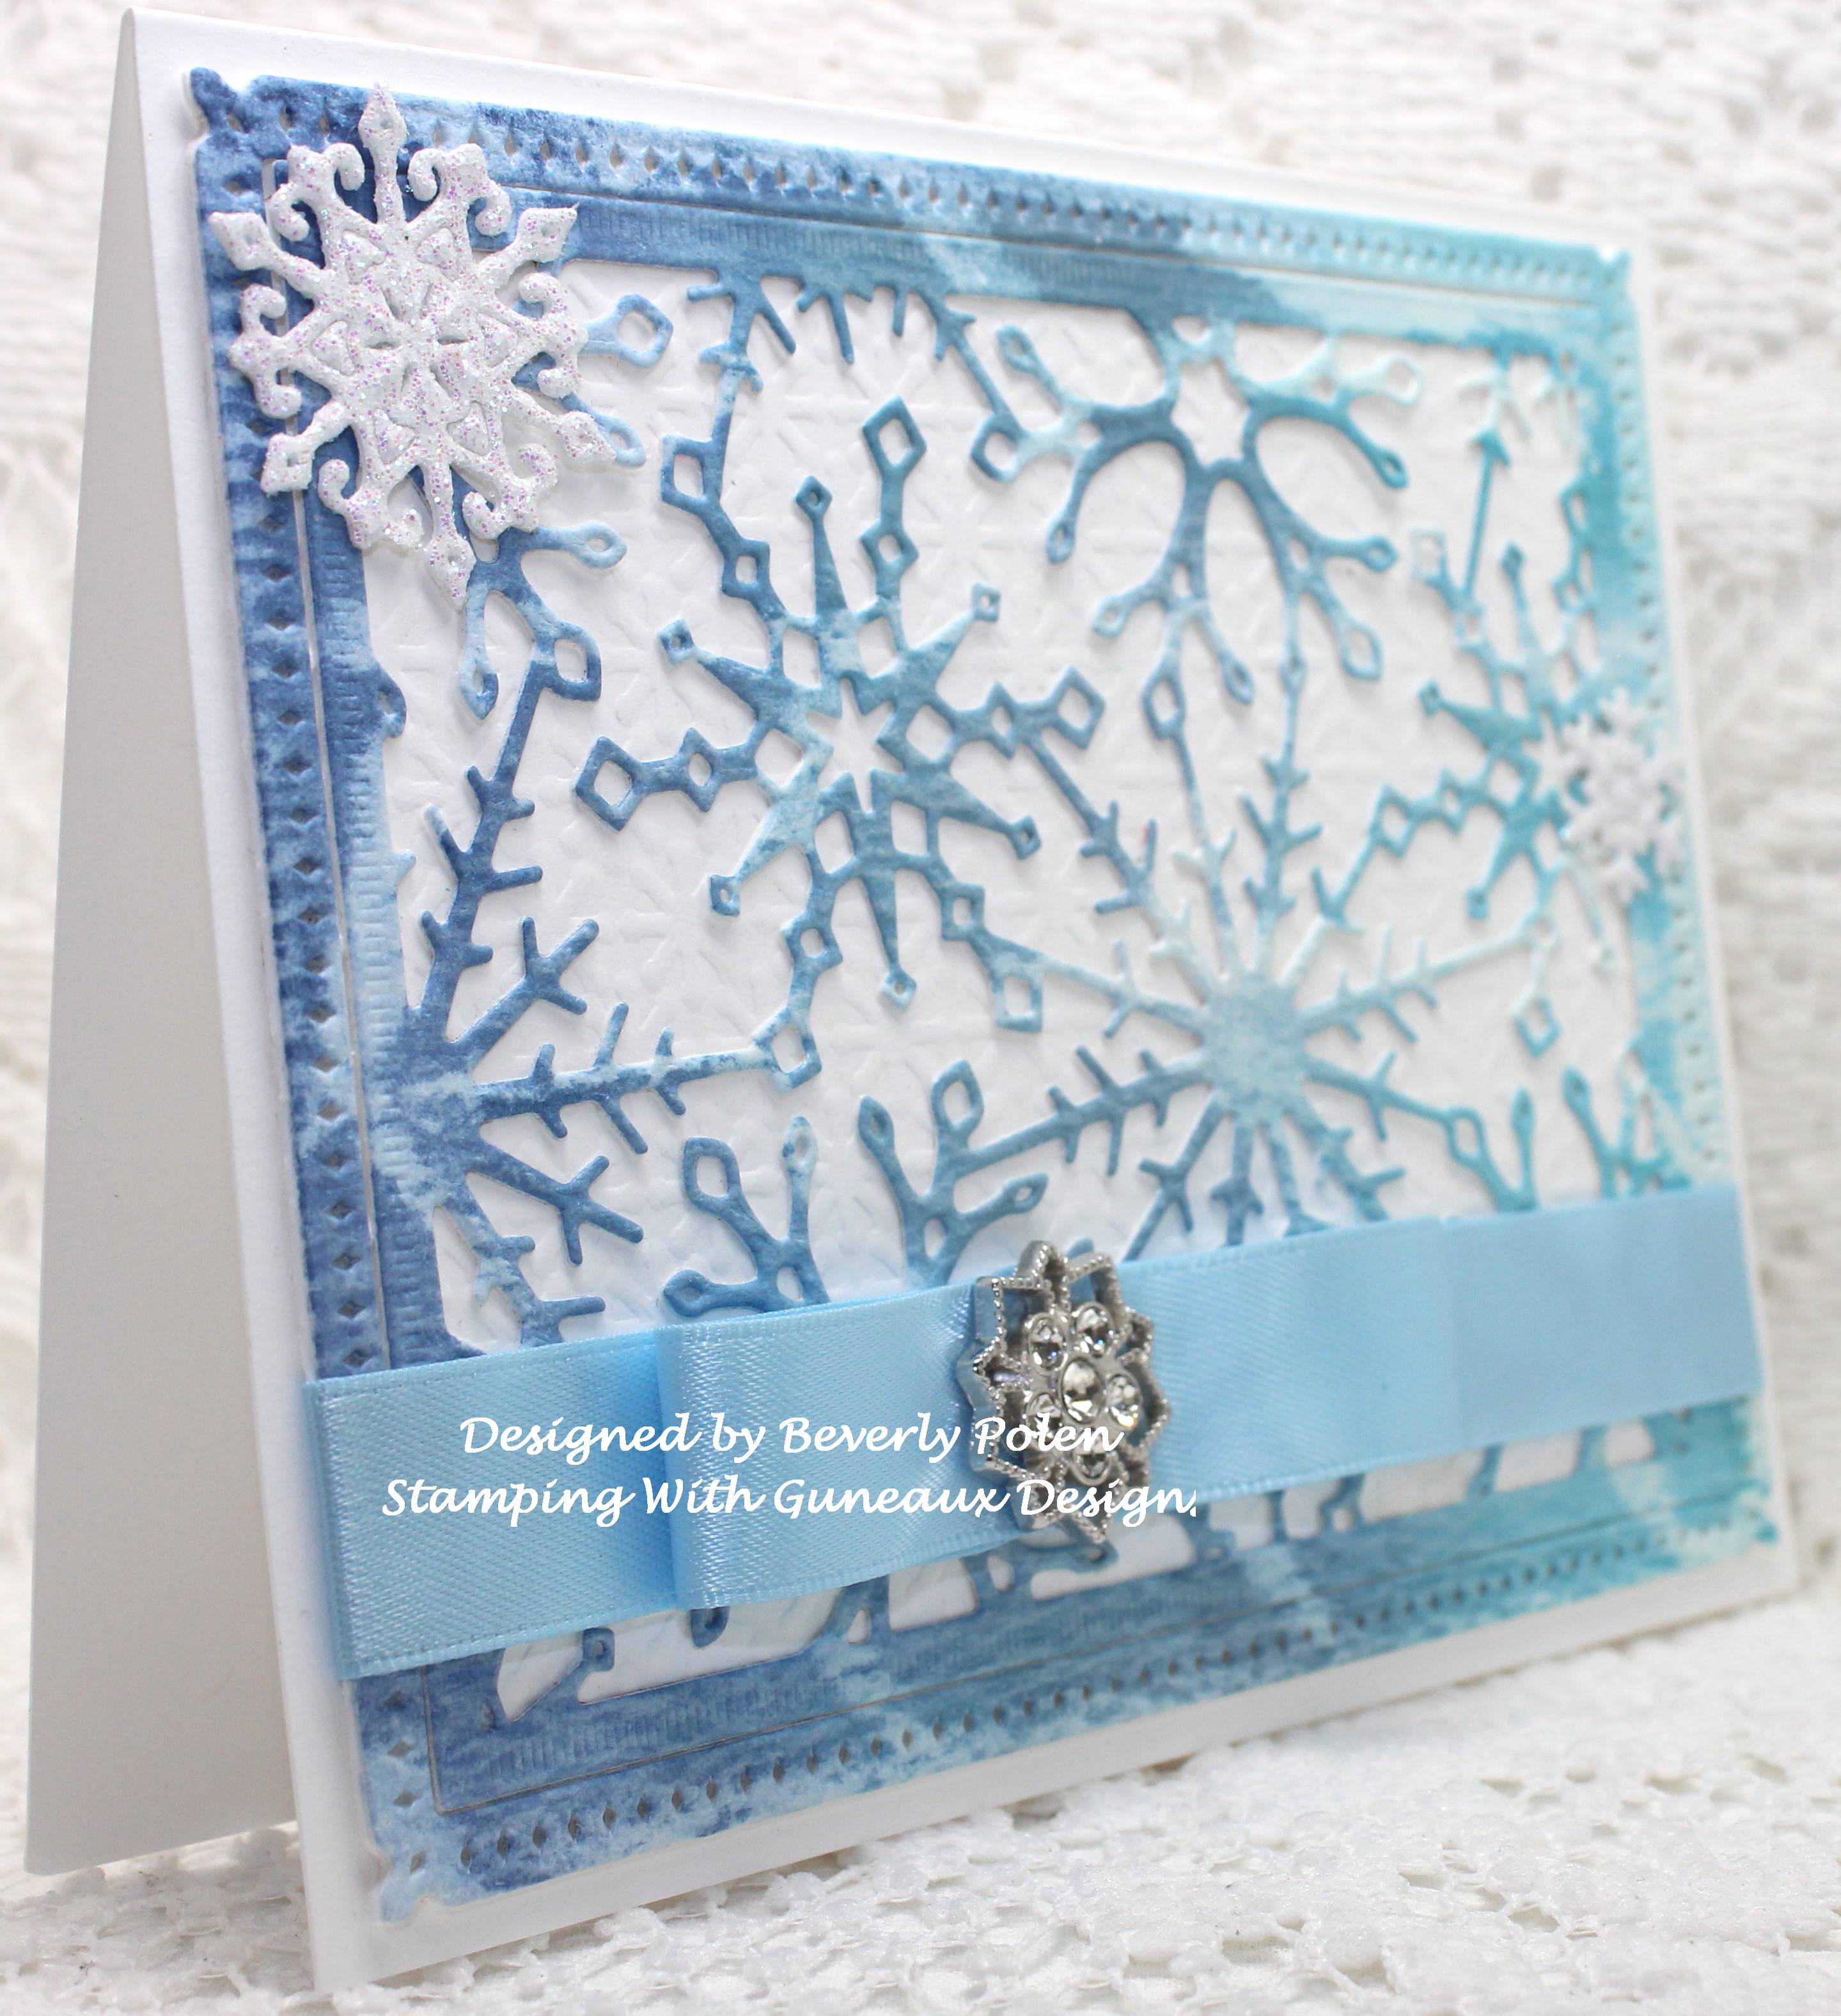

Paper: Solar White, American Crafts, Water Color Paper

Ink:  Tim Holtz Distress Inks

Accessories: SU Glue Stick, ODBD Snowflake Sky Dies, ODBD Snow Crystals Dies, SU Ribbon, SU Frosted Finishes Embellishment

Techniques: Glue Stick Resist Technique


Butterfly_1_1God’s Blessings!
Stamping With Guneaux Designs By Beverly Polen
Firm Reliance on Divine Providence!


1 JOHN 4:7-11

“Dear friends, let us love one another, for love comes from God.  Everyone who loves has been born of God and knows God.  Whoever does not love does not know God, because God is love.  This is how God showed his love among us:  He sent his one and only Son into the world that we might live through him.  This is love: not that we loved God, but that he loves us and sent his Son as an atoning sacrifice for our sins.  Dear friends, since God so loved us, we also ought to love one another.”
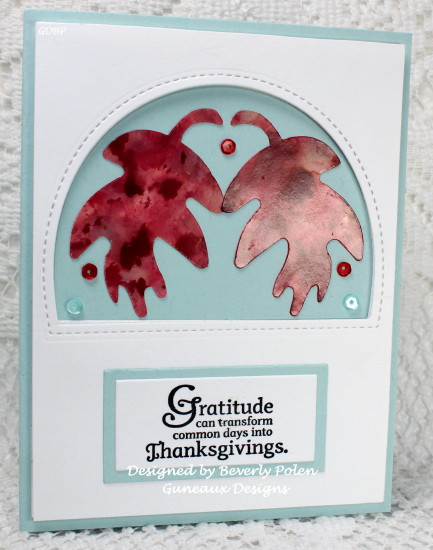
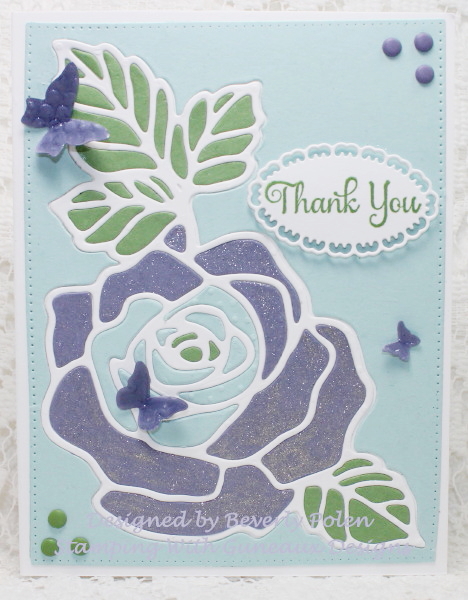
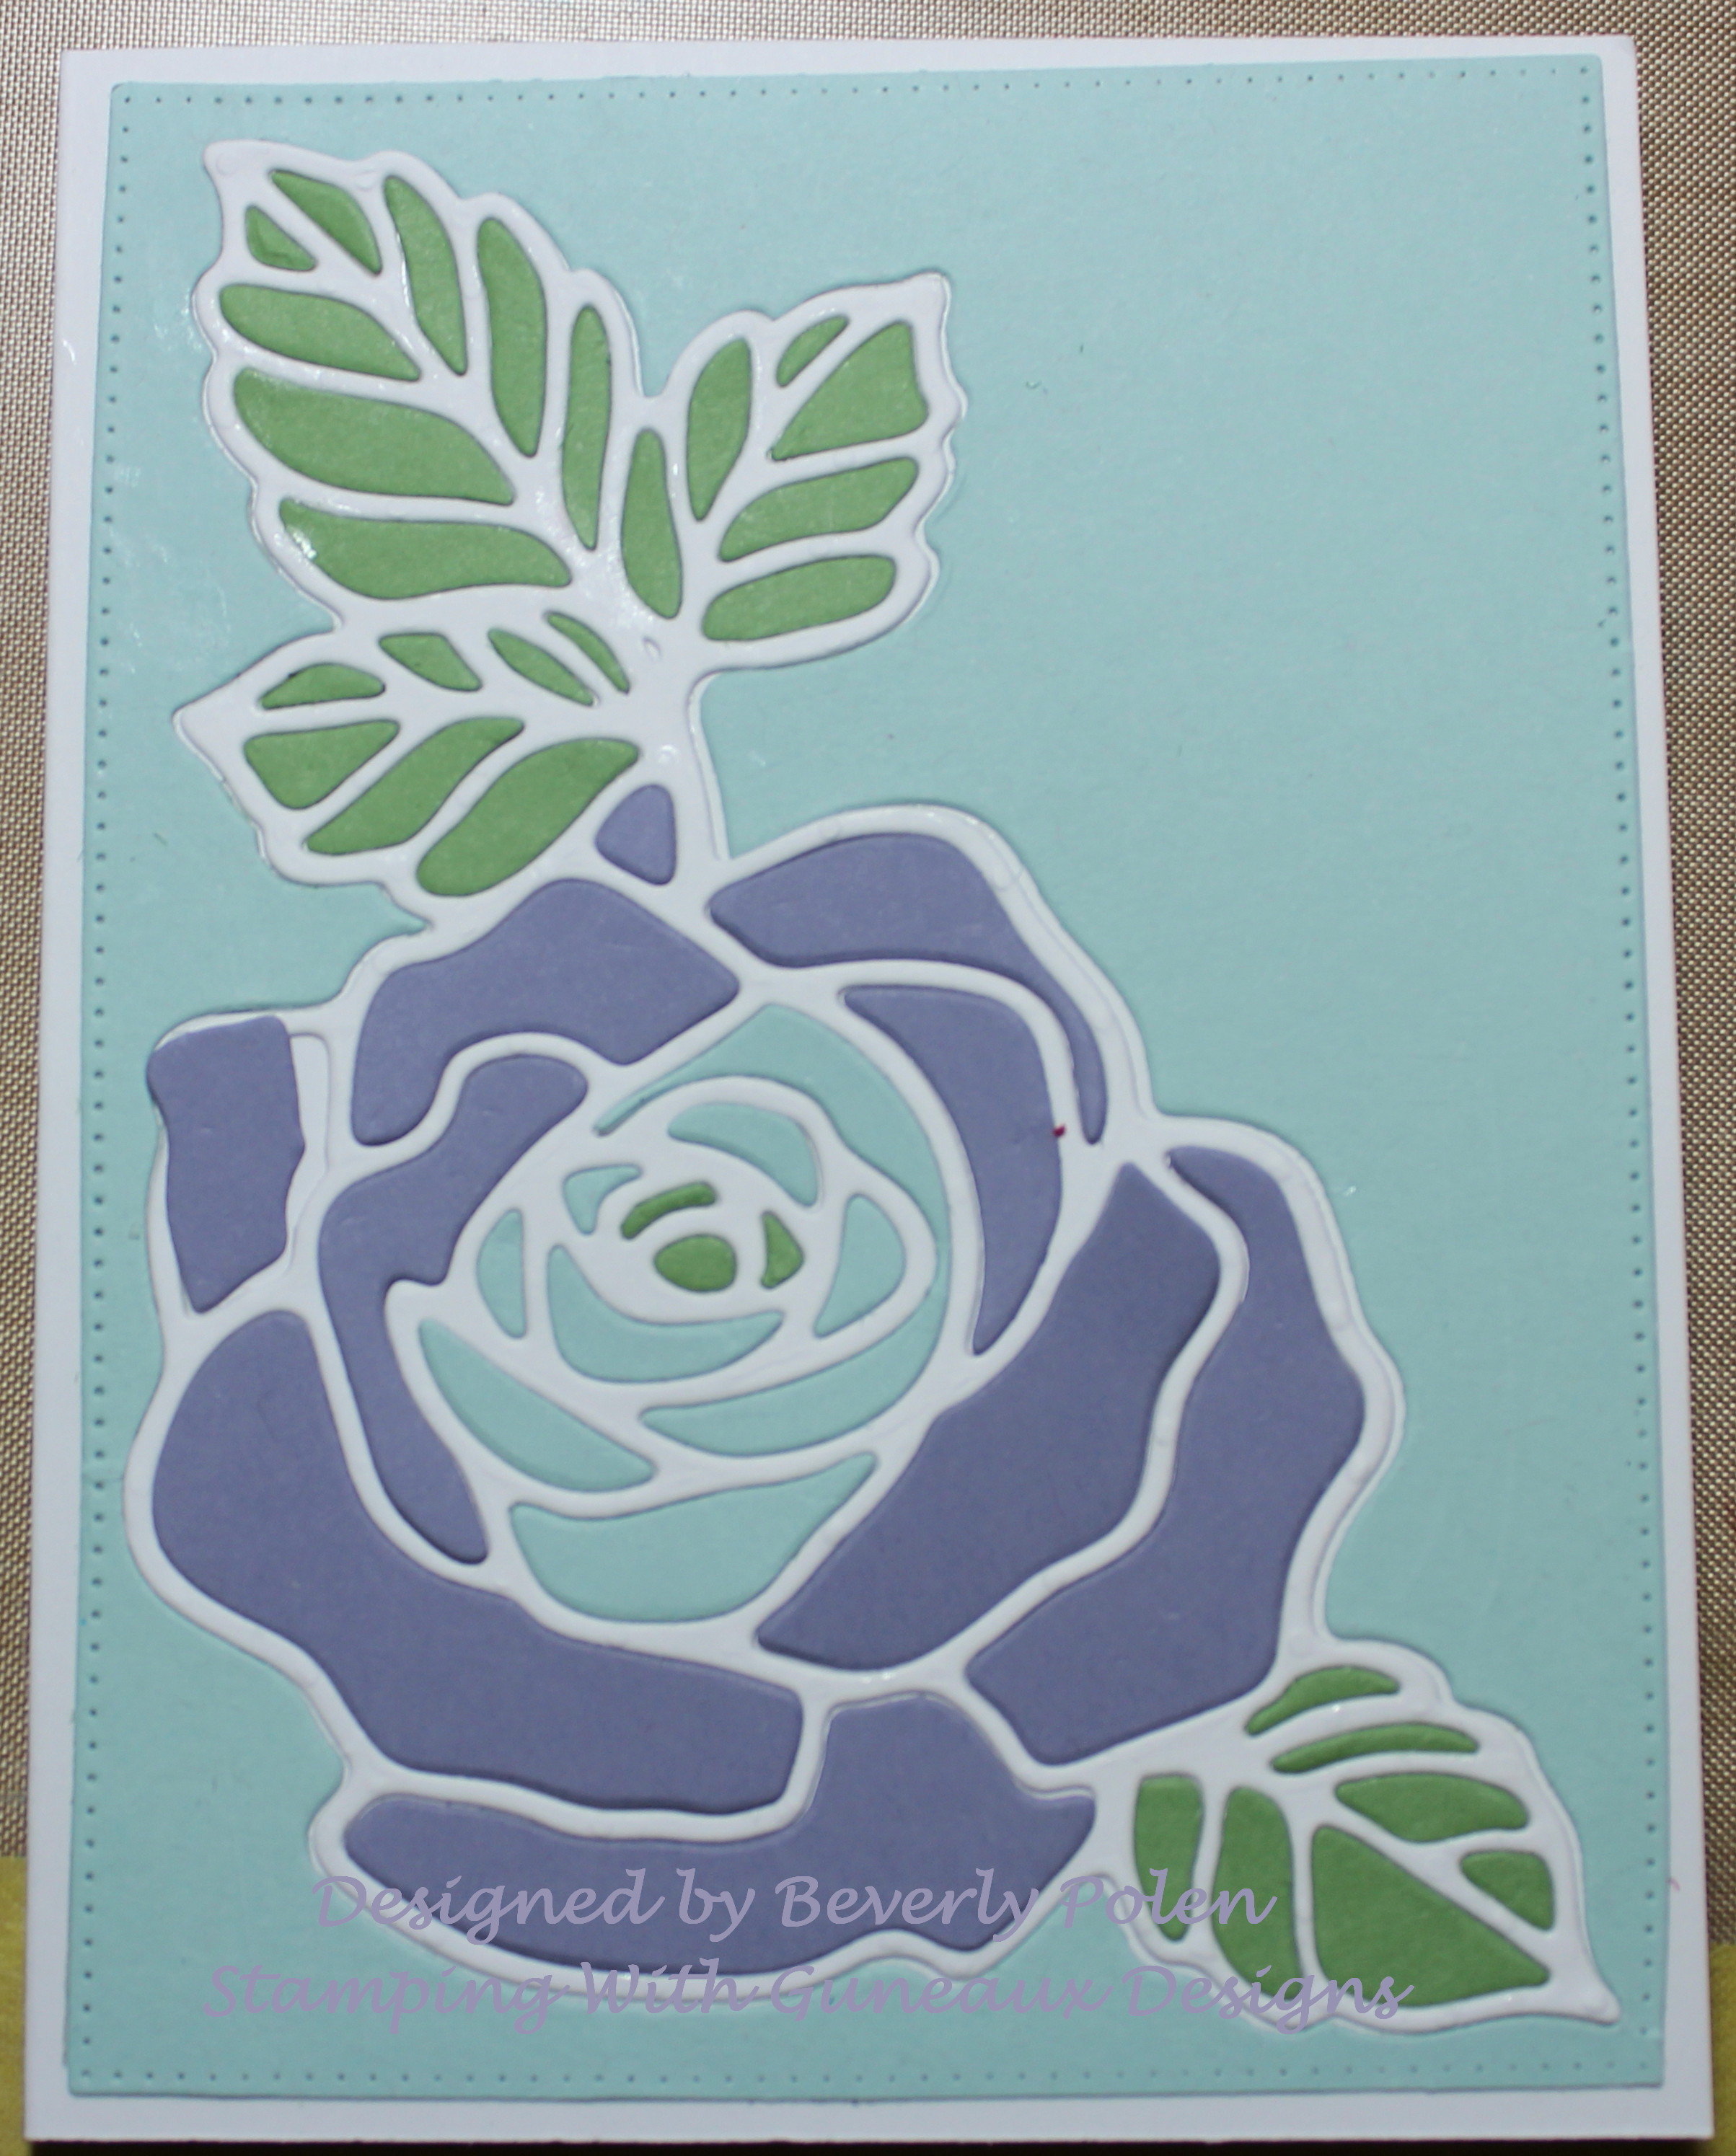
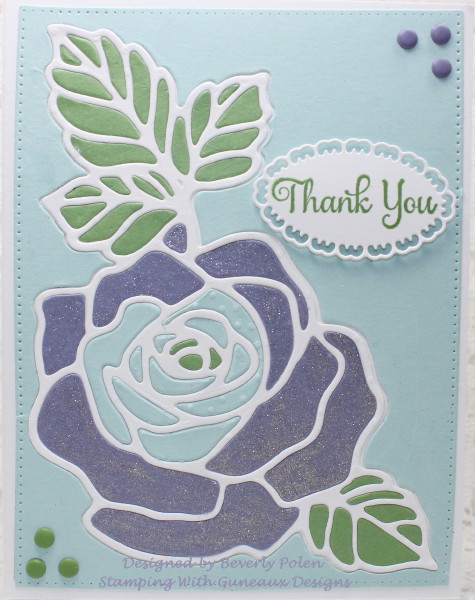
SU Rose Garden Thinlits Inlay Thank You Card

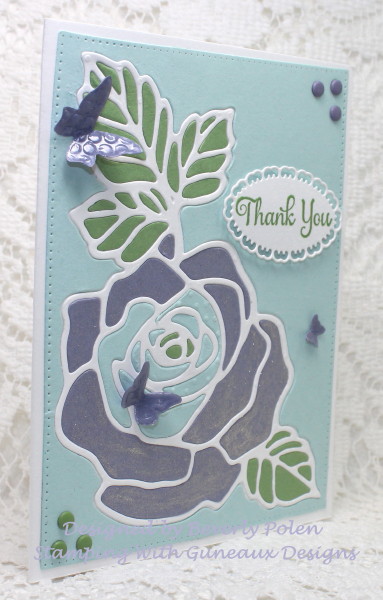
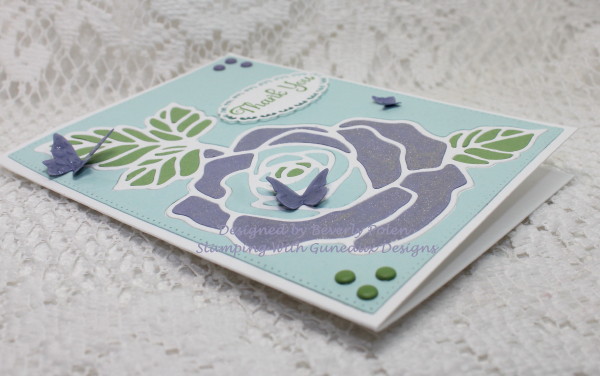
Hello, my friends!  Thanks for stopping by to view my latest project; SU Rose Garden Thinlits Inlay Thank You Card!  As the title indicates, I used the Inlay Technique to create the card.

I made this card for two reasons: 1) to thank my wonderful daughter who always looks out for me, and 2) to respond to a Splitcoaststampers Color Challenge.  The colors for the challenge is SU Soft Sky, Wisteria Wonder, and Wild Wasabi.

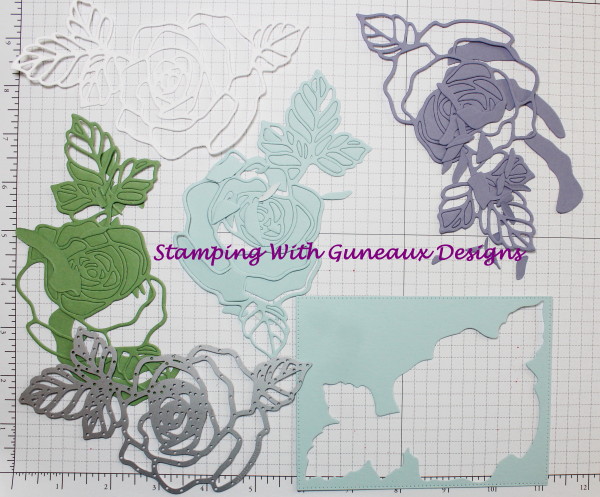
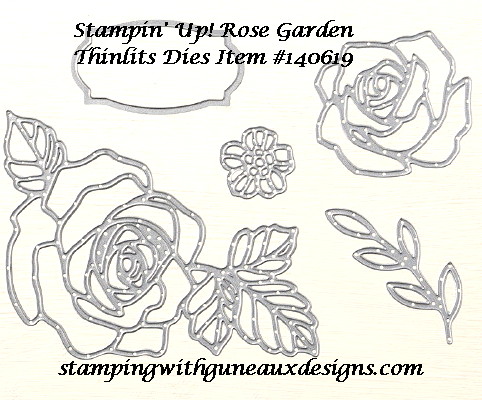
Creating the card, I first used the SU Rose Garden Thinlits Dies to cut out a White, Soft Sky, Wild Wasabi, and Wisteria Wonder Rose.

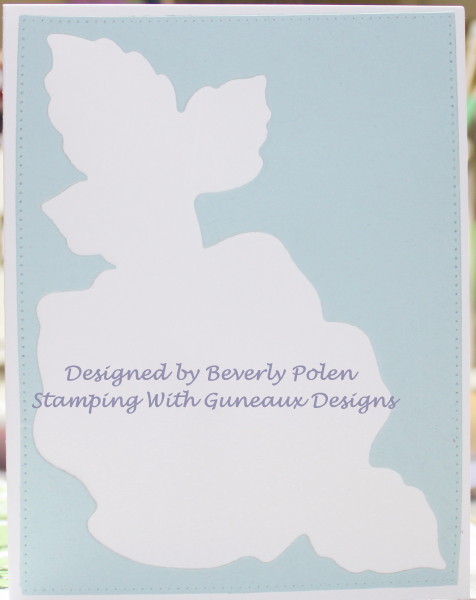
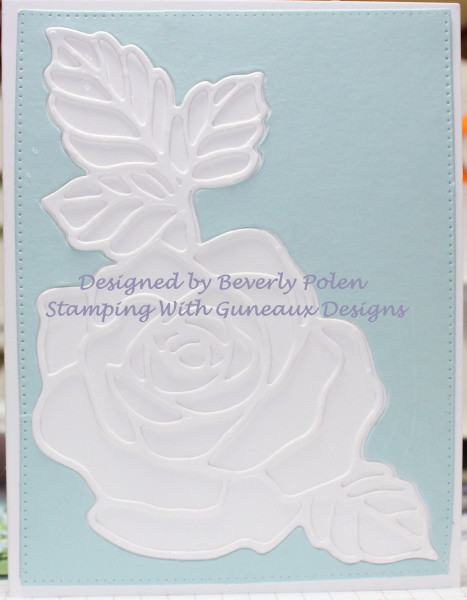
I took the negative of the Soft Sky cut out and adhere it to my card base.  Then I attached the White Rose cut out within the Soft Sky cut out.

Using the Soft Sky, Wild Wasabi, and Wisteria Wonder cut out pieces, I inlaid them into the White Rose cut out.

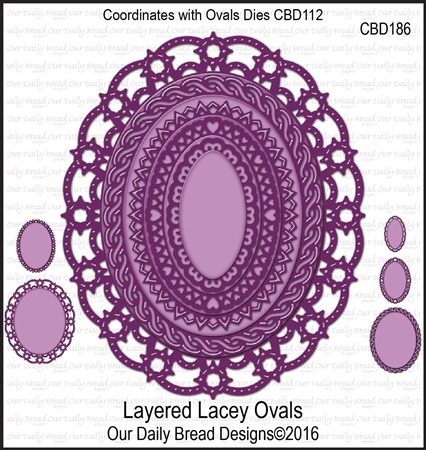
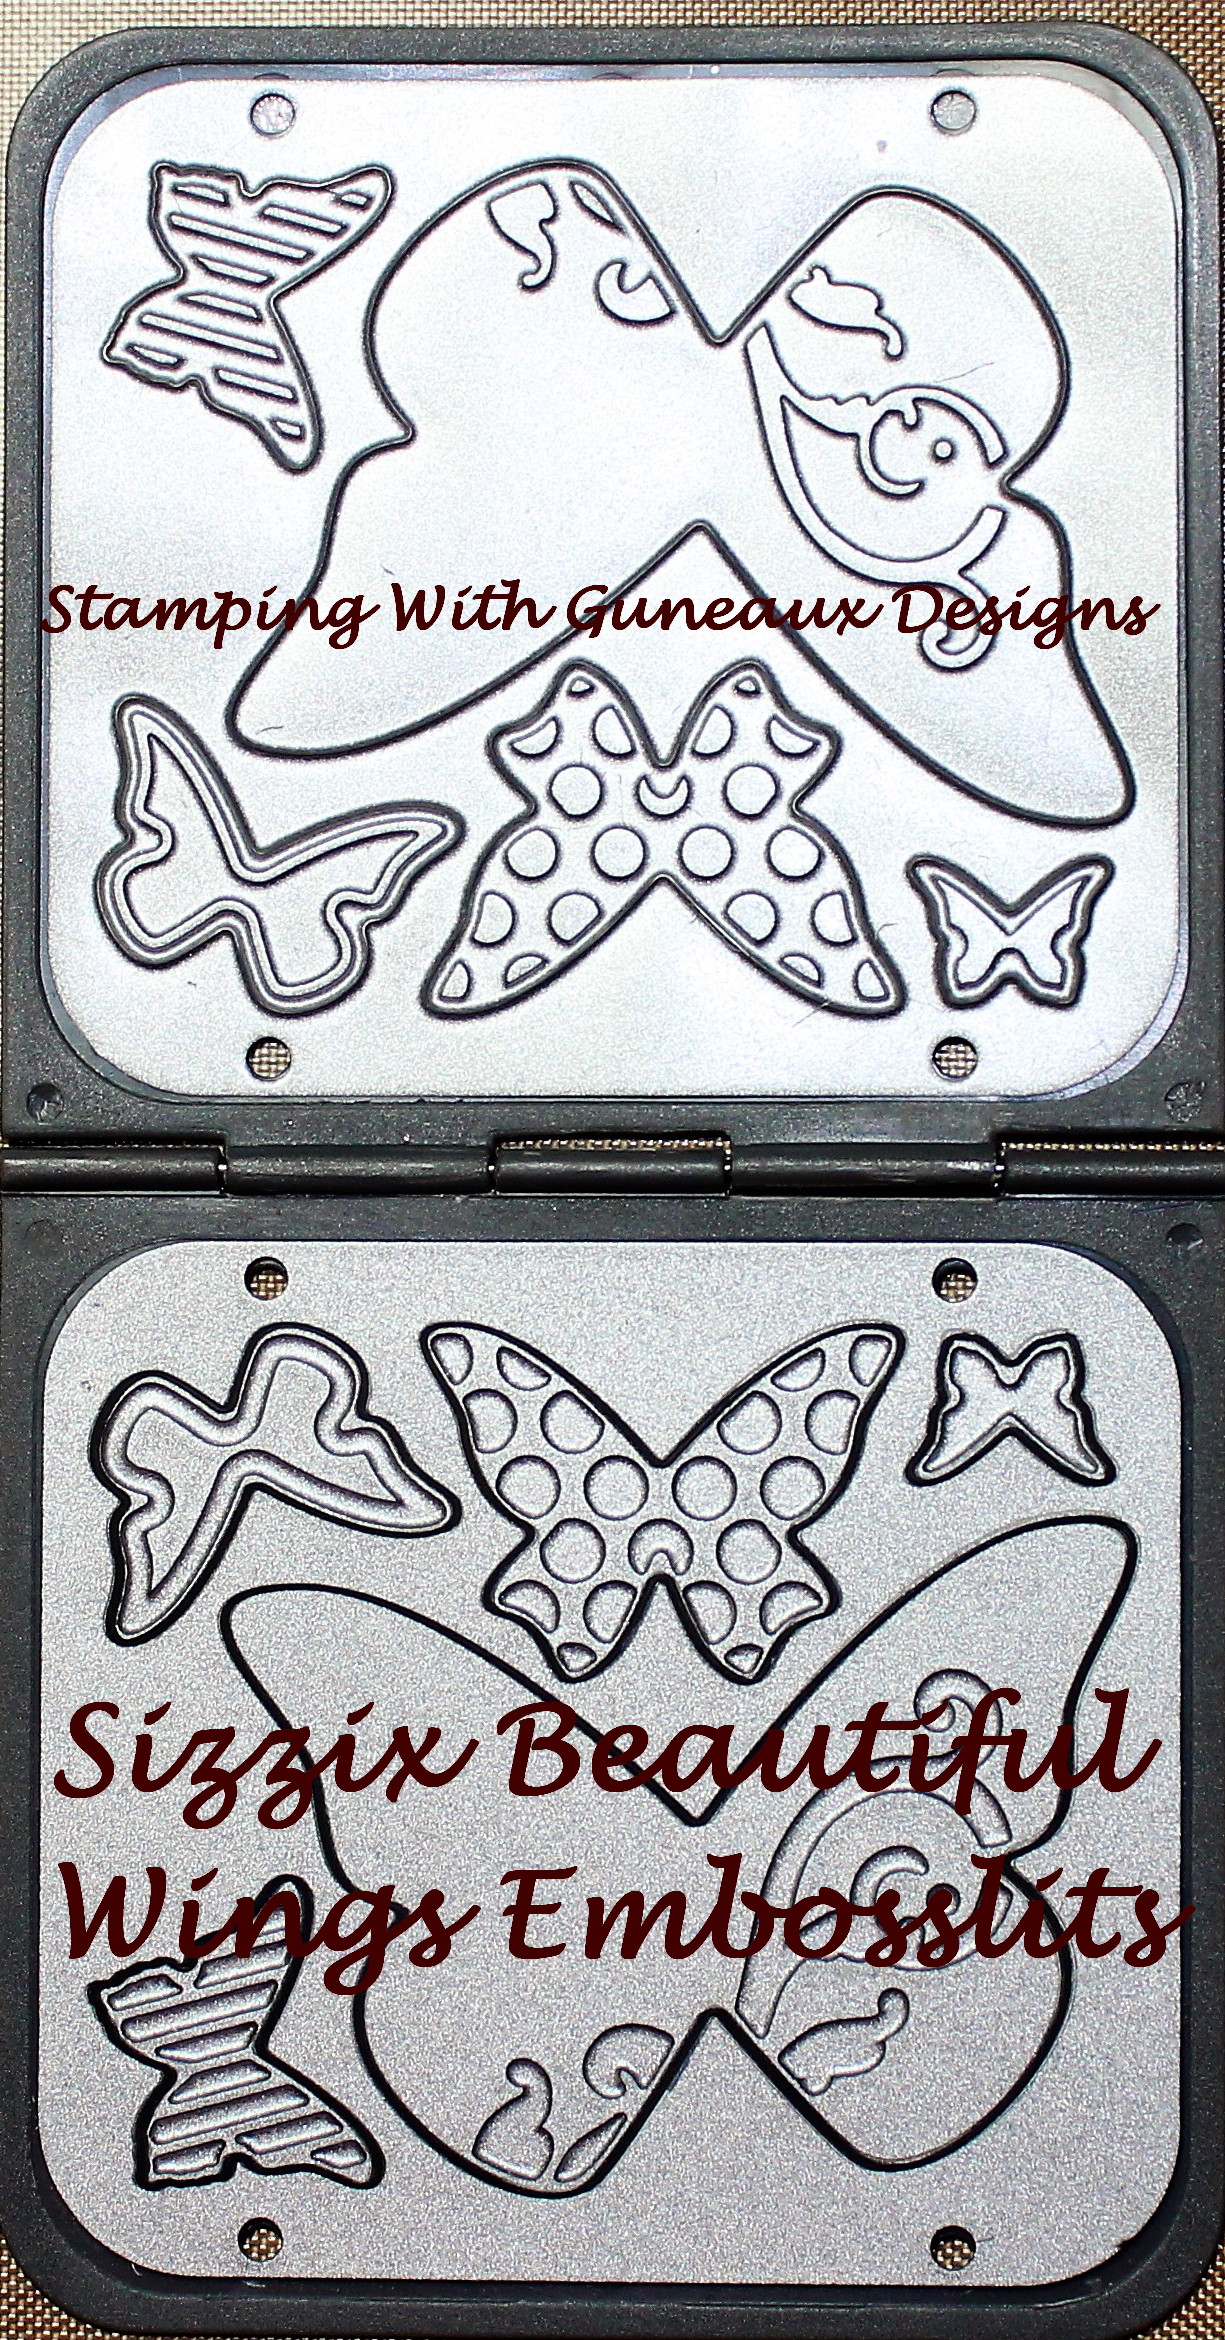
I stamped my Thank You sentiment onto a cut out using Our Daily Bread Designs (ODBD) Many Thanks Stamp Set and ODBD Layered Lacey Ovals Dies.  To embellish the card, I added Clear Wink of Stella onto the rose and attached Wild Wasabi and Wisteria Wonder enamel dots (SU retired product) on two corners.  I then added three butterflies I cut out with a retired Sizzix Butterfly Wings Embosslit.

Hopefully you are inspired by my card, and leave a comment!  


SU Rose Garden Thinlits Inlay Thank You Card    SU Rose Garden Thinlits Inlay Thank You Card  


Butterfly_1_1God’s Blessings!
Stamping With Guneaux Designs By Beverly Polen
Firm Reliance on Divine Providence!


 JAMES 1:19-21

James writes to the twelve Jewish tribes that are scattered among the nations:  “My dear brothers, take note of this:  Everyone should be quick to listen, slow to speak and slow to become angry, for man’s anger does not bring about the righteous life that God desires.  Therefore, get rid of all moral filth and the evil that is so prevalent and humbly accept the word planted in you, which can save you.”

Dry Embossing With A Stencil Technique

Yesterday’s card challenge at Splitcoaststampers was to create a card featuring the dry embossing with a stencil technique.  It has been many years since I’ve used a stencil to dry emboss card stock.  Regardless, I found the challenge to be fun.  When was the last time you dry embossed with a stencil?

Dry Embossing With A Stencil Technique

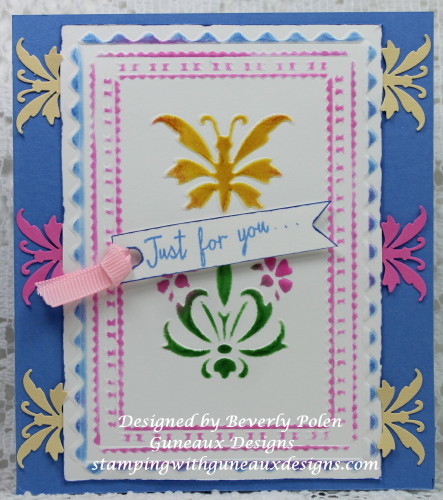
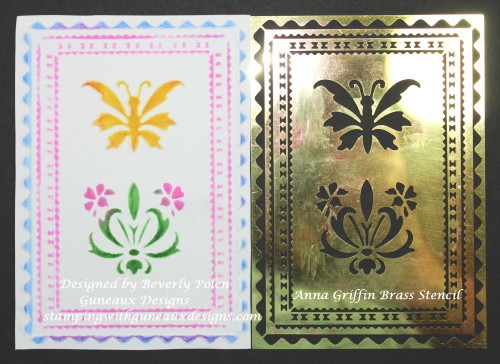
To create this card, I used an Anna Griffin Brass Stencil and Whisper White Card Stock.  With a correct die-cutting sandwich, I ran the paper and stencil through my die-cutting machine, which created an embossed piece of card stock.  Turning the embossed card stock face up, I placed the stencil over the embossed areas and used three different colors of ink to color the paper.  Because the embossed areas are raised, it was easy to color over the stencil onto the card stock.

Dry Embossing With A Stencil Technique

I have a matching butterfly punch that I used to punch out yellow and pink butterflies. These butterflies were adhered underneath and down the sides of  the embossed and colored card stock.  I adhered this piece to a Ballet Blue card base and created the sentiment with a ribbon attached.

It is just that simply!!!  If you’ve not tried this in a while, give it a try.  It’s easy and fun.

Thanks for stopping in and I hope you return soon!

BlogDivider_zpsed339ea1

SUPPLIES

Stamps:  SU Watercolor Wings (sentiment) and Rose Wonder (inside of card)

Paper: SU Whisper White, Pixie Pink, and Ballet Blue Card Stock

Paper Size: 4-1/2″ x 5-1/4″

Ink: SU Daffodil Delight, Pixie Pink, Ballet Blue, and Cucumber Crush

Accessories: Anna Griffin Brass Stencil, Anna Griffin Butterfly Punch, and Pink Ribbon

Techniques: Dry Embossing With A Stencil Technique

BlogDivider_zpsed339ea1

Swallowtail Butterfly

God’s Blessings!

Stamping With Guneaux Designs by Beverly Polen

DRY EMBOSSING WITH A STENCIL TECHNIQUE

Black Magic Technique – Easter Blossoms

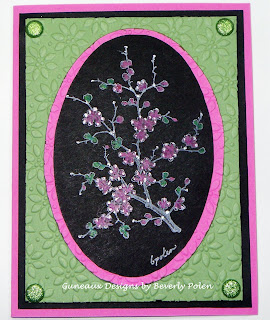
Workshop hostesses are very special people to me, and I greatly appreciate them. I wanted to let my last workshop hostess know how much I appreciate her preparation efforts; therefore, I created this card for her using the black magic technique.
Easter Blossoms
The black magic technique involves Black Card Stock (couldn’t there be a better name?). I had not used this technique before but plan to use it again. The card stock was cut using the Oval Scallop Frame Bigz Die.

The card features Stampin’ Up! Easter Blossoms Stamp Set in the 2011 Occasions Mini Catalog. I stamped the blossoms onto the card stock with Whisper White Craft Ink. After allowing the ink to dry, I used the Stampin’ Up! Watercolor Pencils to color the blossoms. The blossoms are matted with a Petals-A-Plenty embossed piece of Pixie Pink Card Stock (retired). The Wild Wasabi Card Stock is also enbossed with the same Textured Impressions Embossing Folder.

The card front is embellished with the wonderful Subtles Glimmer Brads. If you haven’t purchased any of the Glimmer Brads, you should. You won’t regret having such beautiful embellishments.

Interesting in purchasing these products? Click on the product names to be taken directly to the product.

God’s Blessings!
Guneaux Designs by Beverly Polen
Stampin’ Up! Demonstrator in Florida
 
FIRM RELIANCE ON DEVINE PROVIDENCE!