Stampin Up Secret Garden Stamp Set

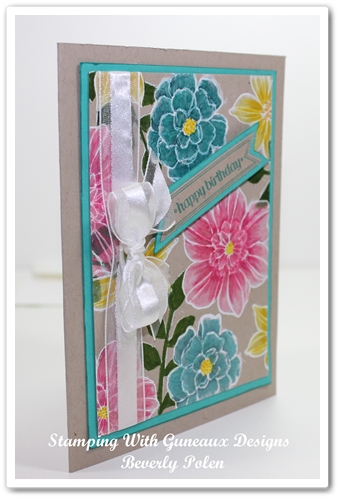
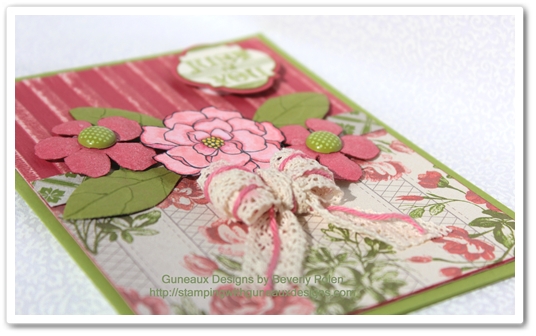
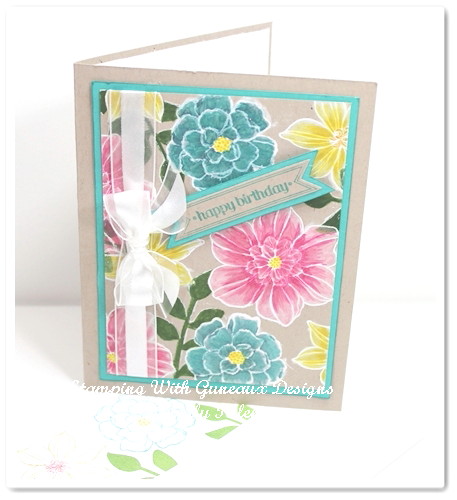
I am so ready for Spring, and the Stampin Up Secret Garden Stamp Set is perfect for making a Spring-related card.  The more I use the Stampin Up Secret Garden Stamp Set, the more I like it.  I think that the card I have for you today is beautiful, if I have to say so myself.  It features the Secret Garden Stamp Set.

I created a matching envelope for the card using the same stamp set.  It is seen better in following picture.

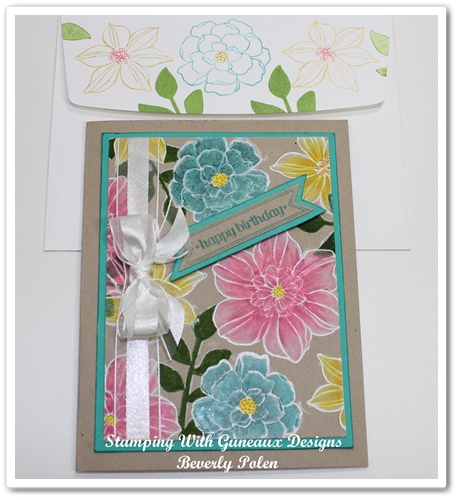
Creating this card took some time for me as it involves using Stampin’ Up!’s White Craft Ink as the initial layer of ink for the flowers.  This card is the first one I’ve made using this technique, of which I don’t know the name.

This technique is so beautiful on Stampin’ Up!’s Crumb Cake Card Stock.  I think I will try it on a dark card stock to see if it is as beautiful.

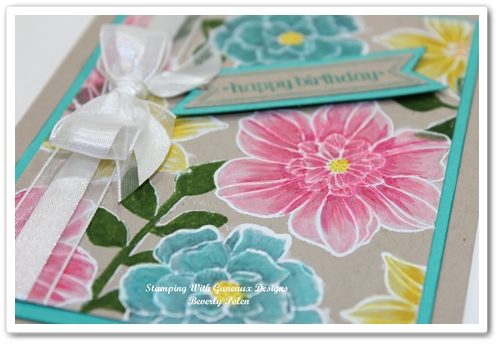
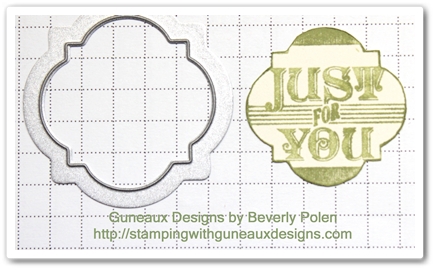
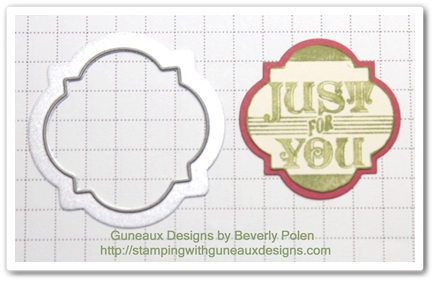
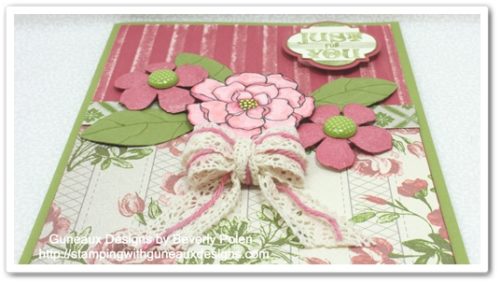
As you can see in this  picture, I used the Masking Technique to stamp the stem and leaves stamp image from the Stampin Up Secret Garden Stamp Set.  I used Gumball Green Classic Ink to stamp the image.

The first step when using the White Craft Ink technique is to cover your stamp(s) with VersaMark Ink.  Stamp the image(s) onto the card stock and cover with Stampin’ Up!’s White Embossing Powder.  Heat set the image and begain covering the image(s) using an Aqua Painter and the White Craft Ink.  After the White Craft Ink dries, begin to apply ink colors of your choice onto the image(s).  Begin with lighter colors and move to darker colors.  After applying the White Craft Ink, I used alcohol markers to color layers of ink onto the flowers.

SUPPLIES USED FOR THIS STAMPIN UP SECRET GARDEN STAMP SET CARD:

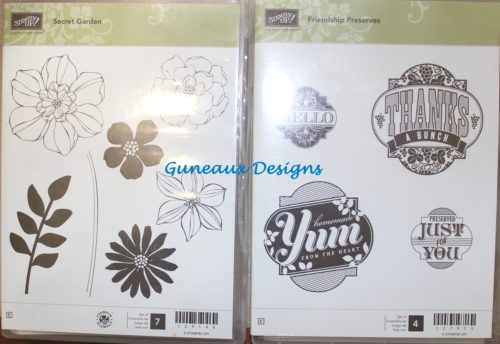
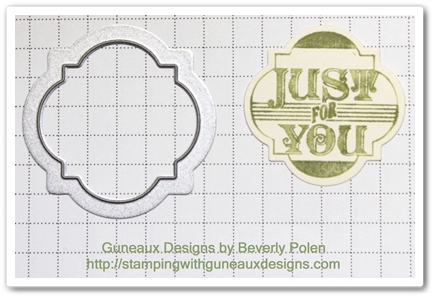
Stamp Sets:  Stampin Up Secret Garden Stamp Set (c – 129144) and Itty Bitty Banners Stamp Set (c – 126257 – sentiment)

Paper: Stampin Up Crumb Cake Card Stock  (120953) and the retired Bermuda Bay Card Stock (I think a color similar to this will be introduced in the next “In Color” collection).

Ink: Stamp Up White Craft Ink Refill (101780) , Gumball Green Classic Ink, VersaMark (102283), and Alcohol Markers (non-SU)

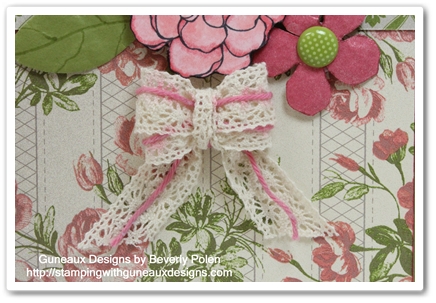
Accessories: Bitty Banners Framelits (129267),  Whisper White 5/8″ Organza Ribbon (114319), White Embossing Powder (109132), and Aqua Painter (103954)

 
God’s Blessings!
Stamping With Guneaux Designs
by
Beverly Polen

 STAMPIN UP SECRET GARDEN STAMP SET

Stampin Up Tea for Two DSP and Secret Garden Stamp Set

I love the floral design from the new Stampin Up Tea for Two Designer Series Paper (DSP).  Further, the Secret Garden Stamp Set is one of my favorites from the Stampin Up Spring 2013 Catalog along with the matching Secret Garden Framelits!

This is the card I made using the new products.  (FYI, there is a tool tip at the end of this post.)

This picture is a closeup of the beautiful images from the Secret Garden Stamp Set.

 This picture shows the bow I made while weaving in some baker’s twine.

___________________________________________________________________

SUPPLIES:

Stamp Sets:  Stampin Up Secret Garden and Friendship Preserves (for the sentiment)

Paper:  Stampin Up Tea for Two DSP (129311), Primrose Petals Core’Dinations Card Stock (129322), Very Vanilla Card Stock (101650), Whisper White Card Stock (100730), and Lucky Limeade Card Stock (122926)

Ink:  Lucky Limeade (126984), Primrose Petals (126858), Daffodil Delight Marker (119677), Memento Tuxedo Black, and various non-Stampin Up Makers for the center flower.

Accessories:  Sanding Block (124304 – to sand the core’dinations card stock), Stripes Textured Embossing Folder (123128), Blossom Punch (125603  –  for leaves), Secret Garden Framelits (129372 or 131099 for the Secret Garden Bundle – clear mount), In Color Printed Designer Brads (122940), 5/8″ Crochet Trim (118481), Whisper White Baker’s Twine (124262 – soaked in a water and Primrose Petals Ink mixture)


TOOL TIP:  When cutting with any of the Stampin’ Up! framelits, a mat is created around the image being cut out.  The color of the mat is the same color as the card stock on which the image is stamped.  You can choose to use a framelit that is  the next size up to create a mat of a different color of card stock; however, I believe this process makes the mat too large.  To get a perfect mat of a different color of card stock that is a reasonable size, try this tip:

  • Cut out your image with a framelit,
  • Cut around the edge of the image using paper snips to leave only the outline of the stamp image,
  • Cut a mat from a different color of card stock, using the same framelit.
  • Now you have a perfect mat of a different color and a small size!

God’s Blessings!
Stamping With Guneaux Designs
by
Beverly polen

Stampin Up Tea for Two DSP and Secret Garden Stamp Set