Spellbinders Astoria Decorative Accents and Labels

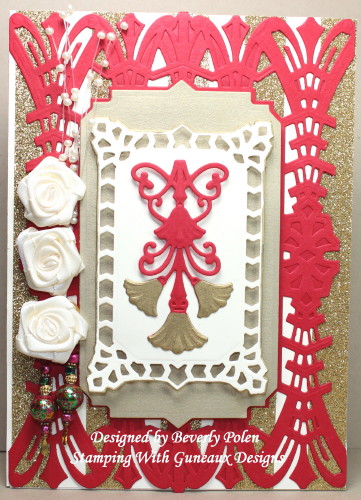
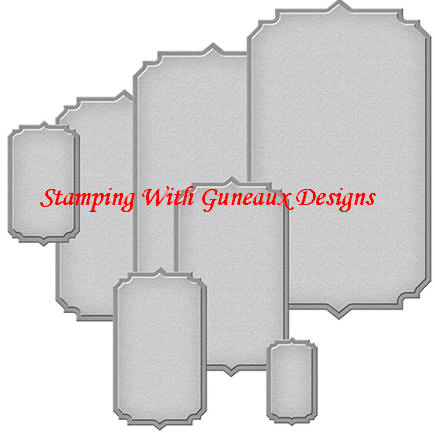
I have a card share today that is not my normal type of card.  It is an Art Deco card featuring the Spellbinders Astoria Decorative Accents and Labels Dies.

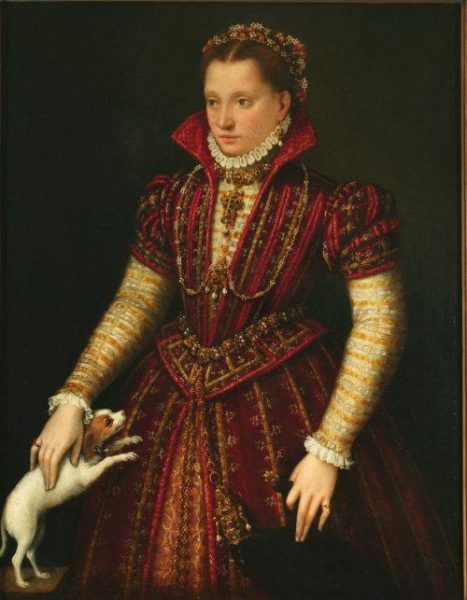
I created the card for Splitcoaststampers’ Inspiration Challenge hosted by Steph (SmilynStef).  She picked this great site, “I don’t wear dresses”, from which to draw inspiration when creating. This photo on the site was my inspiration for the card.  It is a portrait of a noblewoman, ca. 1580.  You can read about the portrait HERE and see a larger picture of her HERE.

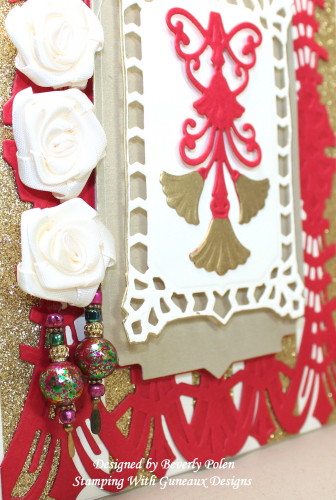
I love the red and gold in the woman’s dress and its high collar. I thought the red die cut panel would be a good representation of the high collar as well as reflecting the color of her dress. I used SU Brush Gold Card Stock to reflect the gold in the dress. I also used SU Gold Metallic Tape behind the red panel. To the left of the card, I added ribbon flowers and some beads above and below the flowers.


I enjoyed making the card, and I hope you enjoy viewing it.


THE PRIMARY PRODUCTS USED FOR THIS PROJECT


Butterfly_1_1God’s Blessings!
Stamping With Guneaux Designs By Beverly Polen
Firm Reliance on Divine Providence!


ISAIAH 45:22-25

“Turn to me and be saved, all you ends of the earth; for I am God and there is no other. By myself I have sworn, my mouth has uttered in all integrity a word that will not be revoked; Before me every knee will bow; by me every tongue will swear.  They will say of me, ‘In the Lord alone are righteousness and strength.’  All who have raged against him will come to him and be put to shame.  But in the Lord all the descendants of Israel will be found righteous and will exult.”

Paper Casting Technique

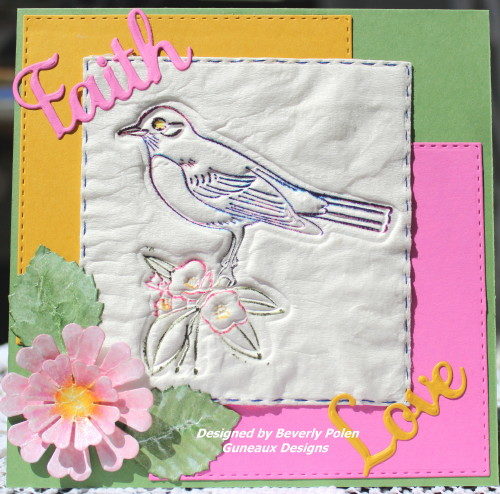
Have you ever tried the Paper Casting Technique?  It’s fun but challenging!

I used the technique to create this card for a Splitcoaststampers Technique Lovers Challenge, TLC582, hosted by Sabrina, aka Cook22.  This challenge includes a video on paper casting using bathroom tissue.   Check it out and create a card with the technique.

Paper Casting Technique

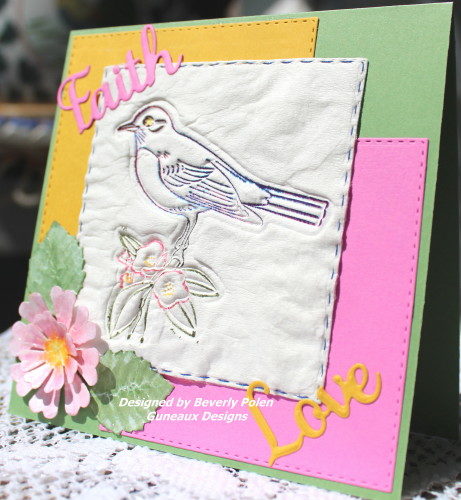
I made this card Monday, using the same bird stamp that is on yesterday’s Purple Starling card.  I have been hesitant to upload the card as my bathroom tissue is so wrinkled (of course, I wet it!), that I didn’t like it.  I saw so many beautiful cards in the Splitcoaststampers gallery that were made with this technique that were not wrinkled! Quite frankly, I thought this card is not about to be worthy of the challenge.

After some soul-searching, I decided that I would go ahead and post it since I took the time to create it, and let the chips fall where they may!

Using the technique, I wet (or soaked) 6-double panel pieces of tissue.  Then I stamped the bird into the wet tissue to create an impression.

When the tissue dried, I used all of the below listed inks to stamp the bird image. I first stamped the bird only with turquoise but it didn’t show well. Therefore, I kept adding different colors of ink to the bird portion of the stamp and re-stamping it, until I decided, enough is enough. Then I inked the remainder of the stamp to color the floral portion of the image.


UPDATE:  This card was listed in Splitcoaststampers Favorites for the week ending on April 24!  ” Congratulations! In the General Stamping forum, you’re in the FAVORITES for the week ending April 24.


Wrinkled-2_1

Then I thought, this tissue paper will not stick together, so I got out a needle and thread and stitched around the square. That was all for naught as it will still separate. Regardless, I die cut the paper flower and leaves, colored them with Copics, and spritzed them with Glimmer Mist. There was an interesting reaction to the mist and alcohol inks together.  It started fizzing!  At first I thought I had made some champagne! LOL

That’s all folks!  Thanks for viewing and leaving comments!  Don’t forget to check out the technique video!

BlogDivider_zpsed339ea1

Stamps: Martha Stewart Bird Stamp  Paper: SU Whisper White, Hello Honey, Pixie Pink, and Unknown Green  Card Size: 5-1/2″ Sq  Ink: SU Tempting Turquoise, Melon Mambo, Wisteria Wonder, and Rich Razzleberry; Copic Markers  Accessories: ODBD Pretty Posies Dies; ODBD Faith, Hope, & Love Dies; Sewing Needle; Blue Thread; ODBD Stitched Squares Dies; Tattered Angels Glimmer Mist; Water; Bathroom Tissue; and Heat Gun  Techniques: Paper Casting

BlogDivider_zpsed339ea1

SU Fifth Avenue Floral

God’s Blessings!

Stamping With Guneaux Designs

“And without faith it is impossible to please God, because anyone who comes to Him must believe that He exists and that He rewards those who earnestly seek Him.”  Hebrews 11:6

Color on Color Emboss Resist Technique

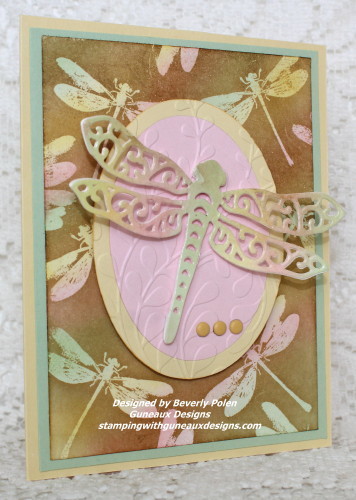
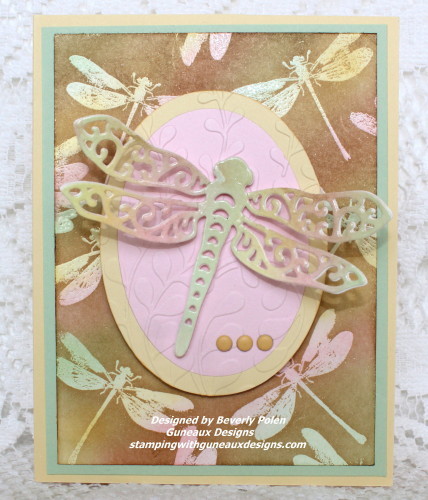
Sponging and blending inks onto card stock is one of my favorite forms of art.  I have made many cards in this manner; however, I have only used the Color on Color Emboss Resist Technique for very few cards.  This technique requires sponging and blending inks as well.
Color-On-Color-Emboss-Resist-Technique-2

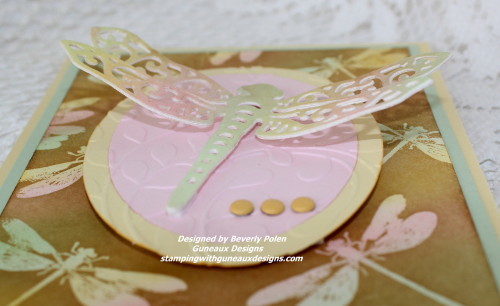
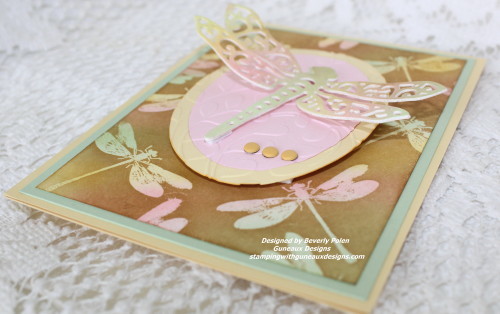
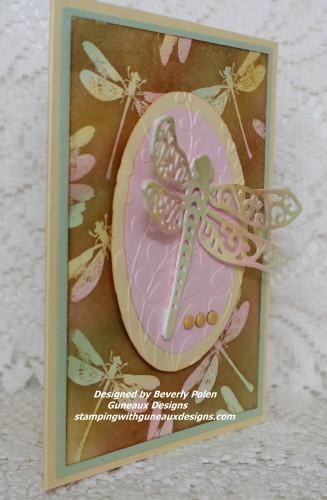
I have been thinking for a while that I wanted to create a card featuring the Color on Color Emboss Resist Technique.  Splitcoaststamper.com gave me the nudge to do so as it posted today a Technique Challenge for using the emboss resist technique.  I have included a tutorial in this post if you should want to try it too.  Here are additional pictures of my card.
Color-on-Color-Emboss-Resist-Technique_8_1Color-on-Color-Emboss-Resist-Technique-2Color-on-Color-Emboss-Resist-TechniqueColor-on-Color-Emboss-Resist-Technique

I did not add a sentiment on the card, but I will when an occasion arises that will dictate the type of sentiment needed. It will most likely be a “Thinking Of You” or “For You” sentiment.

BlogDivider_zpsed339ea1

SUPPLIES USED FOR THIS COLOR ON COLOR RESIST TECHNIQUE CARD:  

Stamps:  Stampin’ Up! Awesomely Artistic Stamp Set

Paper:  Stampin’ Up! Whisper White, Pink Pirouette, Barely Banana (retired), and Pistachio Pudding (retired) Card Stock

Ink: Stampin’ Up! Pistachio Pudding (retired), Barely Banana (retired), Pink Pirouette, and Baked Brown Sugar Classic Inks, and a VersaMark Watermark Stamp Pad

Accessories:  Stampin’ Up! Embossing Buddy, Clear Embossing PowderSponge Daubers, a heat gun, Stampin’ Up! Subtles Candy Dots, and Spellbinders Dragonfly Die – S2-157

Card Size: A2 – 5-1/2″ x 4-1/4″

I hope you enjoyed the card and plan to use the technique.  Now on to the tutorial.


BlogDivider_zpsed339ea1

COLOR ON COLOR RESIST TECHNIQUE TUTORIAL

A.  SUPPLIES NEEDED FOR USING THE COLOR ON COLOR EMBOSS RESIST TECHNIQUE:

Stamp:  Select a solid stamp that you want featured as the primary element.

Paper:  A white piece of card stock for sponging on ink and other card stock of your choice for your card.

Ink: You will need three light colors and one darker color and a watermark stamp pad

Accessories:  Talcum powder for rubbing across card stock before applying embossing powder; clear embossing powder, sponge daubers or sponges, and heat gun

B.  INSTRUCTIONS FOR THE COLOR ON COLOR EMBOSS RESIST TECHNIQUE:

1. Cut card stock accordingly:

  • 8-1/2″ x 5-1/2″ for card base
  • 5-1/4″ x 4″ for 1st layer
  • 5″ x 3-3/4″ for white card stock

2. Select a stamp that you want to be the main feature of the card.

3. Select three colors of ink that are light shades.

4. Using a sponge dauber, swirl your first light color onto the white card stock.
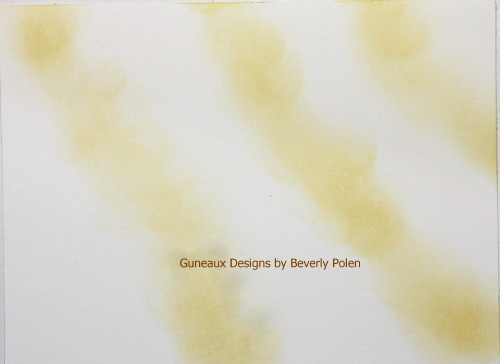
Color-on-Color-Emboss-Resist-Technique
5. Swirl your second light color onto the Whisper White Card Stock, and don’t worry about overlapping the colors.
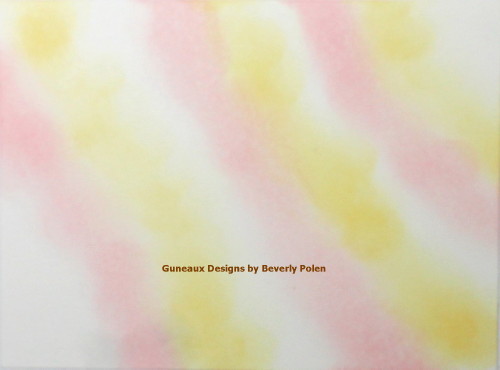
Color-on-Color-Emboss-Resist-Technique

6. Swirl your third light color onto the Whisper White Card Stock, and then look for places where you want to blend the colors and do that with the daubers. Don’t worry about the look too much as it will completely change when you add the darker color.

Color-on-Color-Emboss-Resist-Technique

7. AFTER the ink dries (make sure the ink is dry), rub the talcum powder over the complete piece of card stock.

8. Cover your selected stamp with a watermark ink and stamp the image randomly on the card stock.

9. Cover with the clear embossing powder and heat set. Let it cool.Color-on-Color-Emboss-Resist-Technique
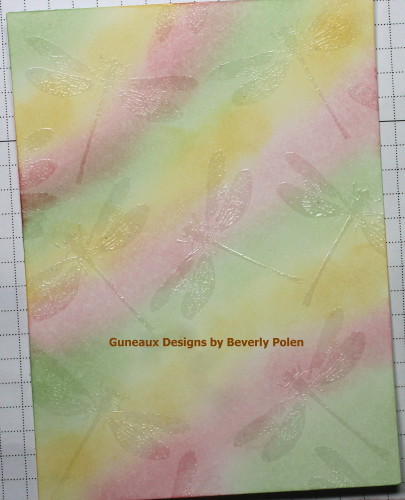
10. Swirl you dark color of ink all over the piece of card stock. You may need to do this a couple times or more.Color-on-Color-Emboss-Resist-Technique
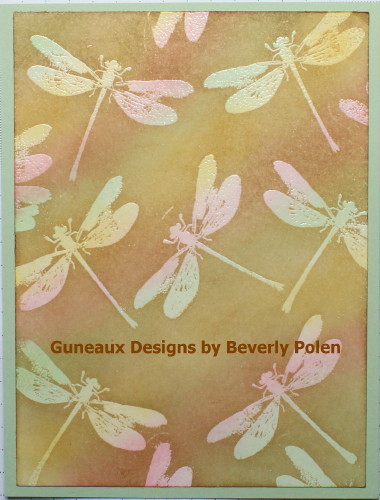
11. Using a paper towel, rub the excess dark ink from the embossed images. Isn’t it cool how the clear embossing takes on the colors?

12. After reaching the desired colors on the colored piece of card stock, use a stamp image (can be the same that was used for the embossing) to create a center piece for the card.

13. Adhere the pieces together and add your desired embellishments.

14. If desired, add a sentiment to the card.

Enjoy!!

BlogDivider_zpsed339ea1Swallowtail Butterfly
God’s Blessings!

Stamping With Guneaux Designs

by

Beverly Polen