Water Coloring Technique Tutorial – Ombre’ Watercolor Resist

Would you like a new water coloring technique tutorial?  In this post, Guneaux Designs is providing you with a water coloring technique tutorial that teaches you about  how to use the Ombre’ Watercolor Resist Technique.

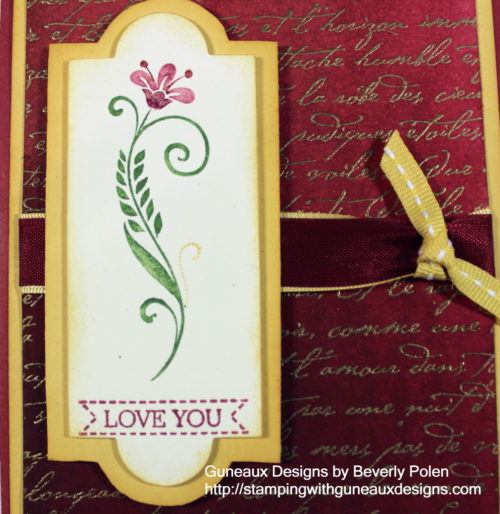
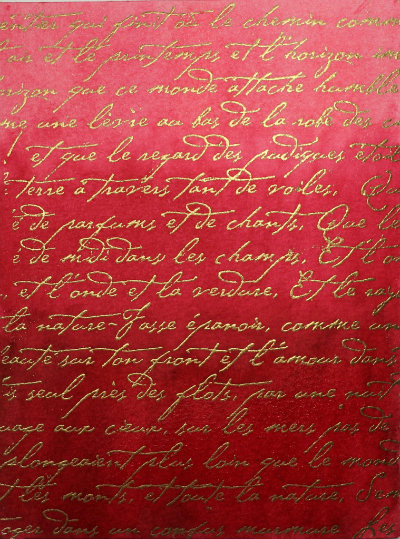
I love watercoloring techniques, especially when using the Stampin’ Up! Watercolor Paper.   I think it is the best around.  I used it when developing my card with the Ombre’ Watercolor Resist Technique.  Below is a picture of the watercolor paper after applying the Ombre’ Watercolor Resist Technique, and a picture of the card I made using the paper.
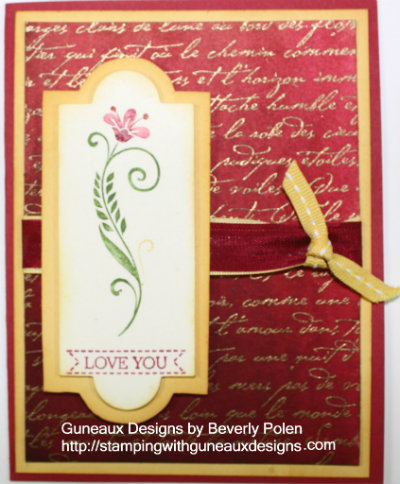
Here are additional pictures of the card (sorry – a little dark):
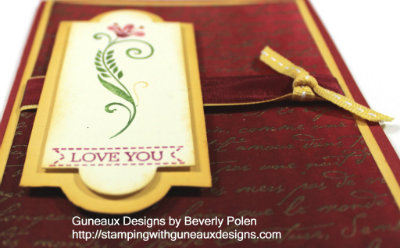
Stampin’ Up! Supplies Used (includes catalog numbers):

Stamp Sets:  Flowering Flourishes (126367), Itty Bitty Banners (126257), and En Francais (109521 – or a background stamp of your choice)

Paper:  Watercolor Paper (122959), Daffodil Delight Card Stock (119683), Primrose Petals Card Stock (129841), and Whisper White Card Stock

Ink: Stampin’ Write Markers – Gumball Green, Primrose Petals, Raspberry Ripple (126856 – the 2013-2014 In Colors come in one package) , Daffodil Delight (119677), Reinkers – Pretty in Pink (102295), Rose Red (102109), Primrose Petals (126851), and Raspberry Ripple (126852) {or colors of your choice}

Accessories:  Aqua Painter (103954), Cherry Cobbler Seam Binding Ribbon (120992), Daffodil Delight 1/8″ Taffeta Ribbon (119254), Embossing Buddy® (103083), VersaMark® Stamp Pad (102283), Gold Stampin’ Emboss® Powder (109129), and Heat Gun (129053)

Instructions:

1.  Swipe the Watercolor Paper with the Embossing Buddy®.

2.  Cover a background stamp with VersaMark® and stamp it onto the Watercolor Paper.

3.  Cover the Watercolor Paper with the Gold Stampin’ Emboss® Powder and use the Heat Gun to heat and melt the powder.  Allow to cool.

4.  With the Aqua Painter filled with water, completely cover the Watercolor Paper with water only.

5.  Beginning with the lightest color of ink (colors other than those I used may be used; just be certain to incorporate the same range of color intensity from light to dark), brush it onto the Watercolor Paper, starting at the bottom edge and moving upward.  The color will become lighter as you move up the paper.  If you have to add more ink to the Aqua Painter brush, begin applying the ink at the bottom edge and moving upward.

6.  Apply the next lightest color of ink onto the bottom ½ of the paper.

7.  Apply the medium color of ink onto the bottom 1/3 of the paper.

8.  Apply the dark color of ink onto the bottom ¼ of the paper.

9.  Allow the Watercolor Paper to dry and use on a card as desired.
ENJOY!

God’s Blessings!

Stamping with Guneaux Designs by Beverly Polen

ONE MORE DAY UNTIL THE DEBUT OF THE STAMPIN’ UP! HOLIDAY CATALOG!

Enjoy creating with this water coloring technique tutorial!

Window Frames Collection Framelits – How to Get More Than One Design

The upcoming Stampin’ Up! Holiday Catalog is chocked full of wonderful crafting supplies and ideas that I’m sure you’ll love.  There are four new sets of Framelits Dies in the catalog (woohoo!).  Today I’m providing a sneak peek at one set, the Window Frames Collection Framelits.

 
What is so great about this set of framelits is that you can get two different designs from it.  It’s like getting two sets of framelits in one!!  Here’s a look at another design.
 
 
Now how cool is that????  All you have to do is turn the Window Frames Collection Framelits to the left or right 1/4 of a turn!!  How simple can that be?
 
 
God’s Blessings!
Guneaux Designs by Beverly Polen

Betsy’s Blossoms Stamp Set, Comfort Cafe DSP, Diamond Fold Card

The Betsy’s Blossoms Stamp Set is so awesome!  But before I talk about the Betsy’s Blossoms Stamp Set, let me share that I hope you had a nice 4th of July celebrating the birth of our country.  Did you seize the opportunity to make something crafty to display during your festivities?

So it’s time to get back to work (ugh!).  Today I am sharing a diamond fold card that features the Betsy’s Blossoms Stamp Set and Comfort Cafe DSP.  I really like the way it turned out, and I hope you like it.

Don’t you just love the Stampin’ Up! Comfort Cafe Designer Series Paper (DSP) (126898)?  This card features the DSP as well as the Betsy’s Blossoms Stamp Set (126006), Kindness Matters Stamp Set (122902), and Bitty Banners Framelits.

 
I am very appreciative of your comments!!
 
God’s Blessings!
 
Stamping with Guneaux Designs by Beverly Polen
 
Enjoy creating paper crafts with the Betsy’s Blossoms Stamp Set!

Stampin’ Up! Petal Cone Die-Happy July 4th!

Do you have plans to celebrate today with family and friends?  How do you plan on decorating the table that will hold all of the yummy food?  I have an idea for you that features the Petal Cone Die, but you’ll need to get started creating it early in the day so you’ll have your table decorated prior to food being served.  Making several of these would further enhance your table.

Again, this table decoration features the Stampin’ Up! Petal Cone Die.  I love this die and use it often.

(Click on the pictures to enlarge)

 SUPPLIES:
 
Paper: Real Red Cardstock (102482), Whisper White Cardstock (100730), Night of Navy Cardstock (100867), Silver Glimmer Paper (124005), and Red Glimmer Paper (121790)
Accessories:  Big Shot Die-Cutting Machine (113439), Petal Cone Bigz L Die (121810), Retired Stars #2 Original Die, Full Heart Punch (119883), Strips Embossing Folder (123128), Vanilla Shimmer Smooch Spritz (118772), Adhesive of your choice, and Fourth of July decorations from a local craft store
 
To make this table decoration, follow these steps:
 
  • Cut 3 petal cones using the Petal Cone Die – 1 Whisper White, 1 Real Read, and 1 Night of Navy
  • Emboss each cone with the Strips Embossing Folder
  • Spritz each with the Vanilla Shimmer Smooch Spritz
  • Fold along each score line
  • Adhere the Real Red cone to the Whisper White cone, lining up the embossed strips
  • Adhere the Whisper White cone to the Night of Navy cone, lining up the embossed strips
  • Lay the adhered pieces face down (at this point you have not adhered the Night of Navy flap yet)
  • Adhere your craft store decorations about 1″ down from the top portion of the Whisper White cone (you will need to cut a small half circle from the top of each cone so that when you close and adhere the final pieces together, the decorations fit nicely into the top)
  • Place adhesive on the flap of the Night of Navy cone and adhere it to the Real Red cone, folding under the flaps of each cone
  • Adhere the folded flaps to each other
  • Set the adhered cones down on Real Red Cardstock and trace around it
  • Cut out the traced piece of Real Red Cardstock and adhere it to the bottom of the cones (this provides a bottom cover to hide the flaps)
  • Using the Stars #2 Die (or a star punch), cut out stars from the Red Glimmer and Silver Glimmer paper and Night of Navy Cardstock
  • Adhere the stars onto the final adhered cone where desired.
  • Decide on your sentiment and place it onto Whisper White Cardstock
  • Using the Full Heart Punch, punch out the sentiment from the Whisper White Cardstock, as well as a heart from the Read Glimmer Paper and Night of Navy Cardstock
  • Layer the hearts as shown in the pictures and adhere them to the cone
  • Enjoy
 
God’s Blessings!
 
 
Stamping With Guneaux Designs by Beverly Polen

Guneaux Designs Sliced Rock Technique – Polished

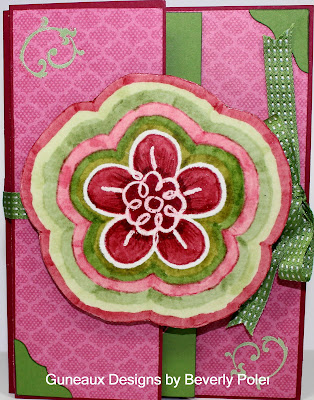
Last week I posted a video featuring the first version of my new Guneaux Designs Sliced Rock Technique.  That version, discussed in this previous post, is called "Guneaux Designs Sliced Rock Technique - Unpolished".  Today's version is called "Guneaux Designs Sliced Rock Technique - Polished".  The YouTube video LINK for this technique is posted below.  

This beautiful card below has a fold that I created and is different from any I have seen.  It may be “out there”; I just have not seen it.

Guneaux Designs Sliced Rock Technique - Polished

Note the ribbon that ties the card closed.  The ribbon is the new Gumball Green 3/8″ Stitched Satin Ribbon, and it is great to work with!  I looooove the feel of the new Satin Ribbons!

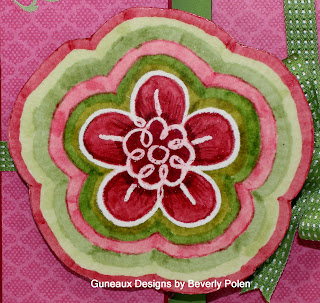
This picture below is a closeup of the card’s element (the flower) that I created with my new technique.  In the video below, you can see better how the element is “polished”.

Guneaux Designs Sliced Rock Technique - Polished   

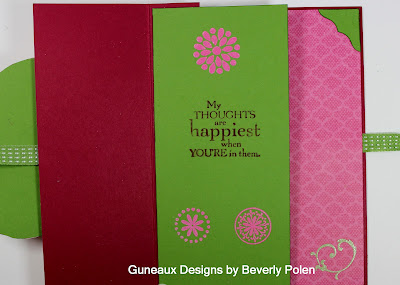
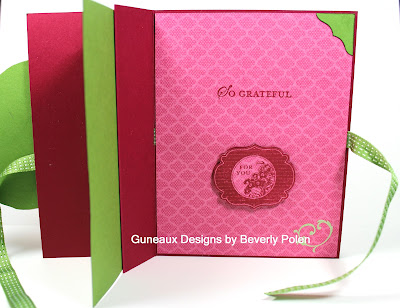
 This is the first portion of the card’s inside:

 Guneaux Designs Sliced Rock Technique - Polished

 This is the second portion of the card’s inside:

 Guneaux Designs Sliced Rock Technique - Polished

Enjoy the video featuring my new technique!


 God’s Blessings!

 Stamping With Guneaux Designs by Beverly Polen

Guneaux Designs Sliced Rock Technique – Polished

Stampin’ Up! Betsy’s Blossoms Stamp Set

Stampin’ Up! Betsy’s Blossoms Stamp Set

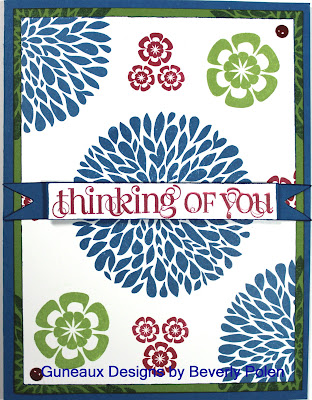
Hello, my friends!!  I’m providing you another sneak peek of a stamp set, the Stampin’ Up! Betsy’s Blossoms Stamp Set (126006), that becomes available on June 1.  Just a few more days!!

The card project is so easy.  All I did was stamp onto Whisper White Card Stock (100730) three of the six stamp images from the Stampin’ Up! Betsy’s Blossoms stamp set.  I used the new Gumball Green Ink (126861), Gumball Green Card Stock (126840), Pacific Point Ink (126951), Pacific Point Card Stock (111350), and the new Raspberry Ripple Ink(126859).  Now how simple is that?

God’s Blessings!
Stamping With Guneaux Designs
by
Beverly Polen
Stampin’ Up! Betsy’s Blossoms Stamp Set