Happy Mother’s Day Card

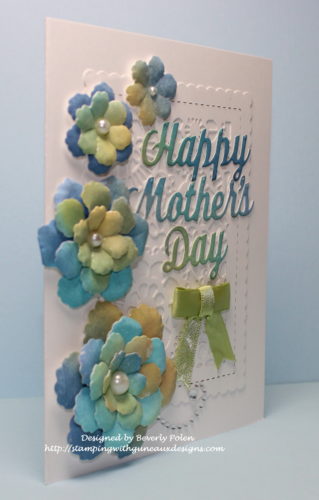
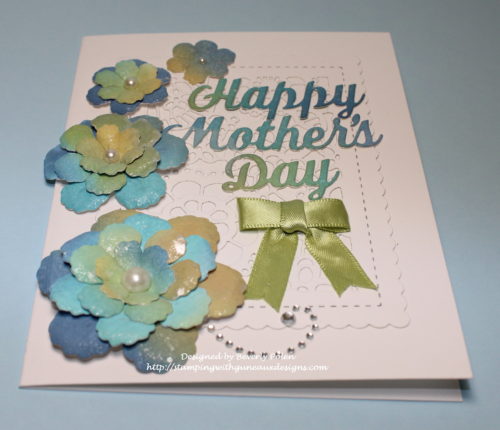
Thanks for stopping by Stamping With Guneaux Designs by Beverly Polen!!  My card share today is a Happy Mother’s Day Card.  Mother’s Day is this weekend and my card is for one of my daughters.  I have made another Happy Mother’s Day Card for my other daughter.  Both ladies are fantastic mothers, and I am so proud of them and how they are raising their children!

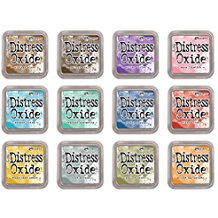
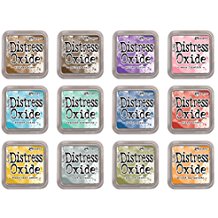
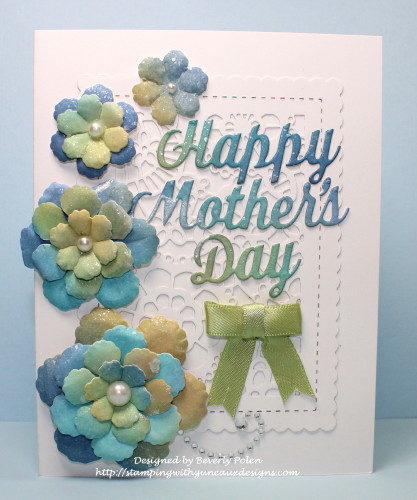
Have you tried the new Tim Holtz Oxide Inks?  I LOVE them!  They are fantastic for regular coloring, blended coloring, and any other type of coloring!  I used them to create the flowers and Happy Mother’s Day sentiment on this card.  Actually, I used an extra panel I had created for the CottageCutz Baby Lamb on the Moon card featured below and on the Scrapping Cottage Blog.

This is the panel I used for cutting the flowers and sentiment.  You may check my last post to learn how I created the panel.

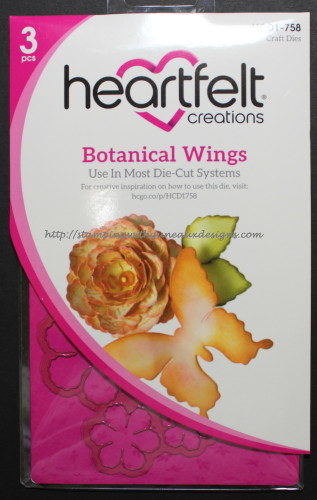
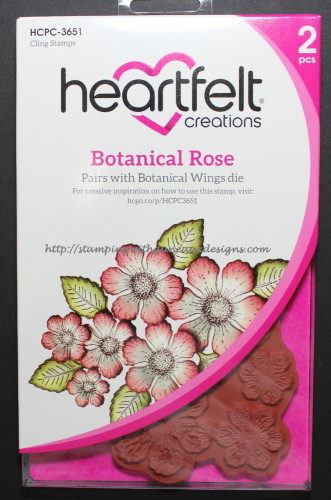
To make the flowers, I used the Heartfelt Creations Botanical Rose Die to cut out the flowers.  This die comes with the Heartfelt Creations Botanical Wings Die Set.  I assembled four instead of a normal odd numbers of flowers in response to the following Splitcoaststampers (SCS) Sketch challenge.  If desired, you can read the SCS comments HERE!

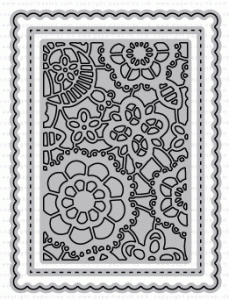
The gorgeous die cut behind the flowers was made with the Papertrey Ink Mix and Mat Scallops Die.  I think the die is awesome.  To finish the card, I added a swirl of rhinestones (and a bow) which you can better see in the below picture.  I added the Happy Mother’s Day sentiment that I made using the Impression Obsession Happy Mother’s Day Dies.

May you be inspired by my Happy Mother’s Day Card and try the Tim Holtz Oxide Inks!


Butterfly_1_1God’s Blessings!
Stamping With Guneaux Designs By Beverly Polen
Firm Reliance on Divine Providence!


1 John 4:13

“Everyone who believes that Jesus is the Christ is born of God, and everyone who loves the father loves his child as well.  This is how we know that we love the children of God: by loving God and carrying out his commands.” 

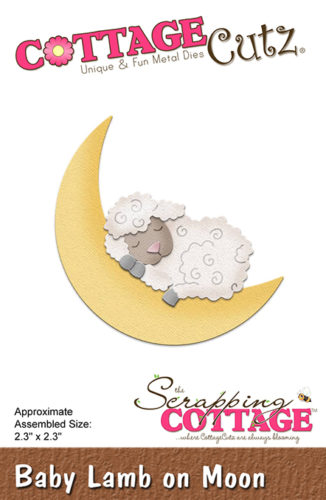
CottageCutz Baby Lamb on the Moon

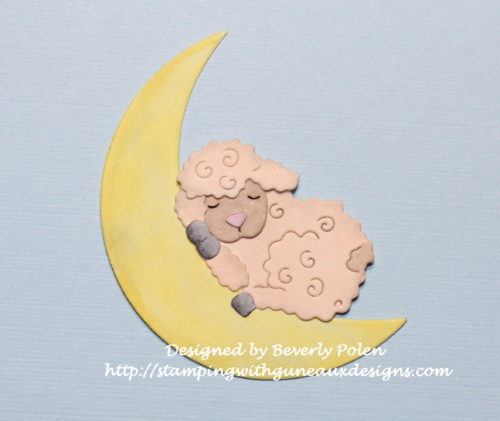
Hello, friends, and thanks for stopping by Guneaux Designs!  Today I am a guest designer for the Scrapping Cottage Blog, and I have a lovely card featuring a recently released CottageCutz Baby Lamb on the Moon die.  I think the baby lamb is so cute!
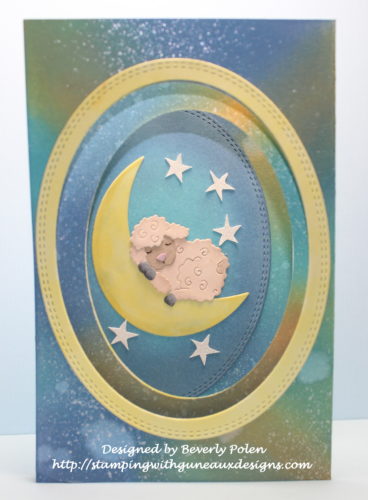
The card design is a Z-Fold with ovals cut out from the first and second sections.  You can see through the ovals to the main element on the back section of the card, which is the CottageCutz Baby Lamb on the Moon.   I have not seen before a Z-Fold card with the first two sections cut out for windows to see through to the main image on the back section.  If there is no such design in the crafting world, I guess I just created a new Z-Fold card design.  LOL!

To create my Z-Fold card, I cut from white card stock the pieces from the lovely CottageCutz Baby Lamb on the Moon Die.
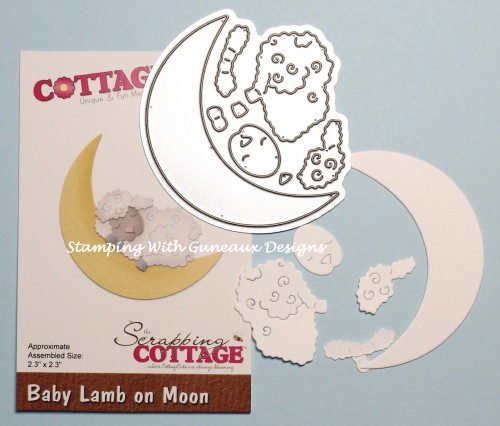
I colored the pieces with Copic Sketch Markers, adding a touch of gray to the moon.  Afterwards, I glued the pieces together.
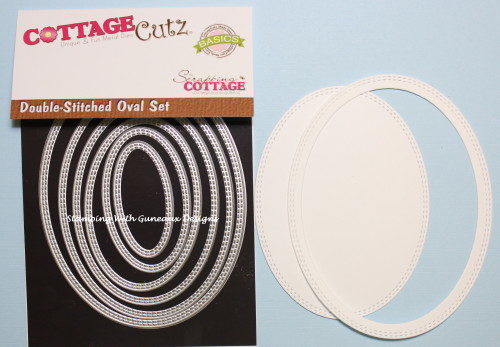
Using the second and third to the largest CottageCutz Double-Stitched Oval Dies, I cut out an oval and frame from white card stock.  I later colored the frame with a yellow copic marker.  I also cut a second frame with the largest and second to the largest dies and color it yellow.
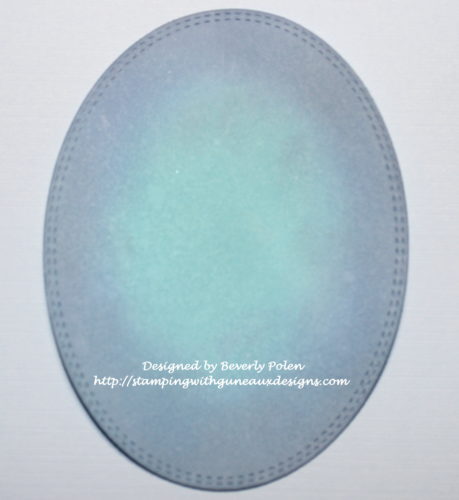
I colored the oval with two of the new Tim Holtz Oxide Ink Pads (i.e., faded jeans, and broken china).  I used the lighter blue for the center of the oval for the moon’s glow.
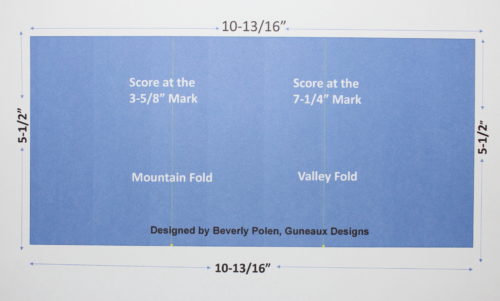
Then, I cut a 10-13/16″ x 5-1/2″ piece of white card stock and, on the 10-13/16″ side, scored at the 3-5/8″ and 7-1/4″ measurements.  The 3-5/8″ score line is a mountain fold and the 7-1/4″ score line is a valley fold.  At this point,  I did not fold the card stock on the score lines until I finished additional steps.
I wanted to create the appearance of a galaxy; therefore, I sponged three of the Tim Holtz Oxide Inks (i.e., fossilized amber, faded jeans, and broken china) onto the card stock and spritzed it lightly with water.  After drying, I used a toothbrush and diluted white acrylic paint to splatter paint onto the colored card stock.
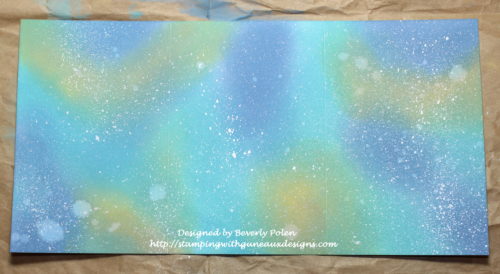
After that dried, I turned the card stock over and colored the center section with the same inks, spritzed with water, and splattered with acrylic paint. When the card is finished, this section will be the inside center fold.
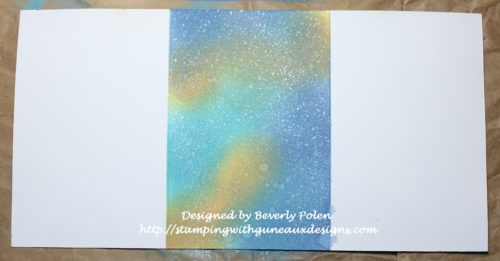
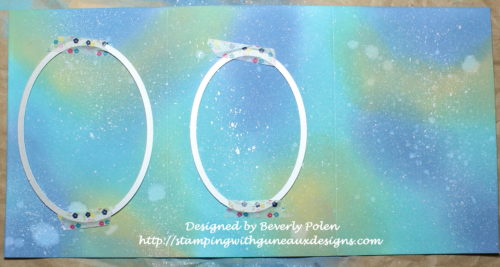
Before folding on the score lines, I placed the second largest Double-Stitched Oval Die on the first section of the card and the third largest die on the center section, centering them as much as possible.  I ran the card stock and dies through my die cutting machine.
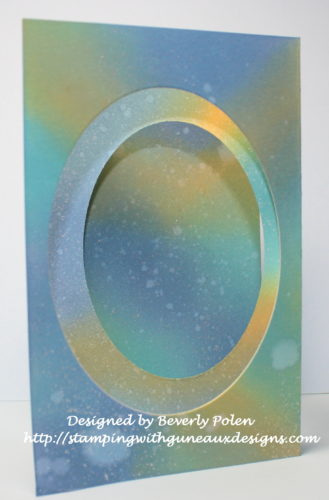
I then folded the card on the score lines, and the following photo shows result.
Next, I assembled the card by attaching the baby lamb and moon onto the oval previously colored and adhered it to the last section of the card.  I used an old star stamp to stamp, emboss, fussy cut, and add to this piece.
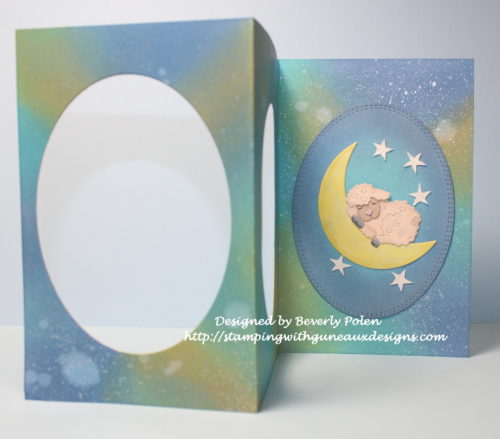
Then I added the largest yellow frame to the first section of the card and the smaller yellow frame to the inside center section.
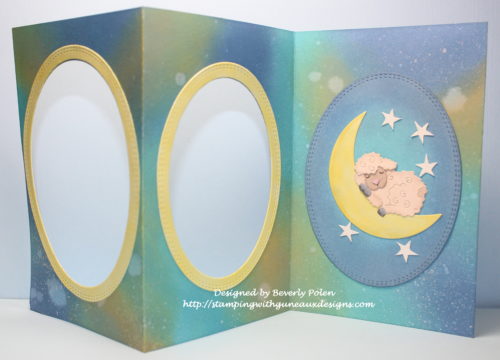
When the card is folded closed, the middle section that was inked on the back will show as the second section.  It does not have a yellow oval frame on it.

I did not add other embellishments to the card as I did not want to distract from the “galaxy” effect on the card.  A sentiment will be added when I know who is the recipient.

I hope you enjoy this card and take time to browse the recently released BABY and SCRIPT DESIGN DIES!  The script dies are 25% off for a limited time!  Have a blessed day!


Butterfly_1_1God’s Blessings!
Stamping With Guneaux Designs By Beverly Polen
Firm Reliance on Divine Providence!


JAMES 5:1-6

 “Now listen, you rich people, weep and wail because of the misery that is coming upon you.  Your wealth has rotted, and moths have eaten your clothes.  Your gold and silver are corroded.  Their corrosion will testify against you and eat your flesh like fire.  You have hoarded wealth in the last days.  Look!  The wages you failed to pay the workmen who mowed your fields are crying out against you.  The cries of the harvesters have reached the ears of the Lord Almighty.  You have lived on earth in luxury and self-indulgence.  You have fattened yourselves in the day of slaughter.  You have condemned and murdered innocent men, who were not opposing you.”
Papertrey Ink Lovely Lace

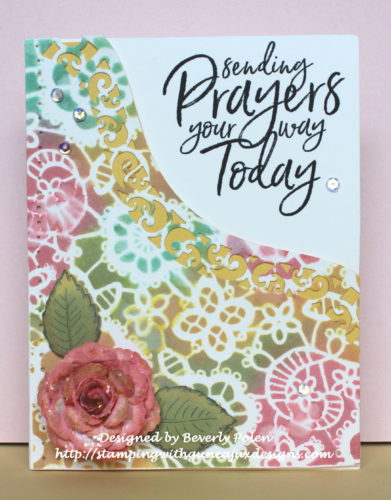
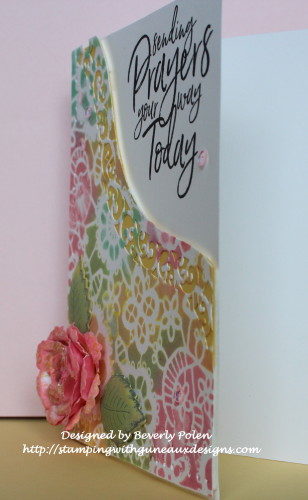
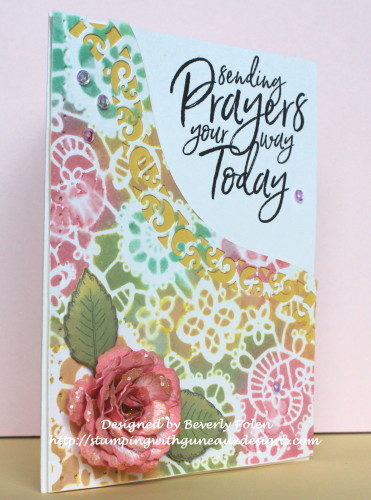
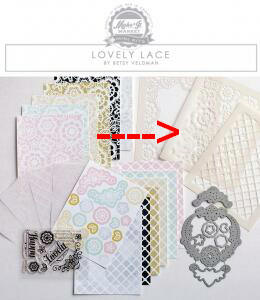
Hello, crafters!  Thanks for stopping by Guneaux Designs.  My card share for you showcases Papertrey Ink Lovely Lace, which is a “Make it Market Mini Kit”.  The Kit includes Papertrey Ink Lovely Lace stamp set & index label, Papertrey Ink Lovely Lace die collection, Papertrey Ink Lovely Lace stencil collection (set of 3), and Papertrey Ink Lovely Lace paper collection (18 A2 sheets).  I used one of the Lovely Lace stencils in the kit to create this card.

Papertrey Ink Lovely Lace

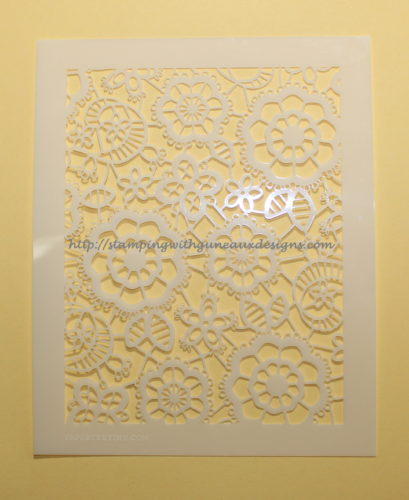
I used the following stencil from the kit, and sponged Tim Holtz’s Oxide Inks onto a piece of white card stock.

Papertrey Ink Lovely Lace

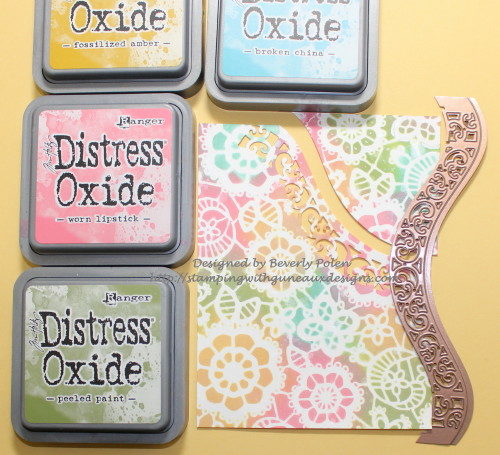
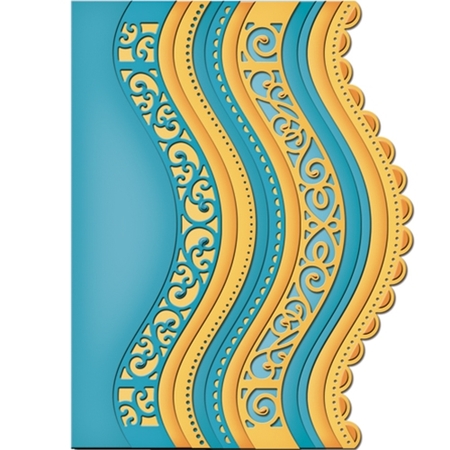
After sponging on the colors over the stencil, I used the Spellbinders Curved Borders Two dies to cut off the upper right corner.

Papertrey Ink Lovely Lace

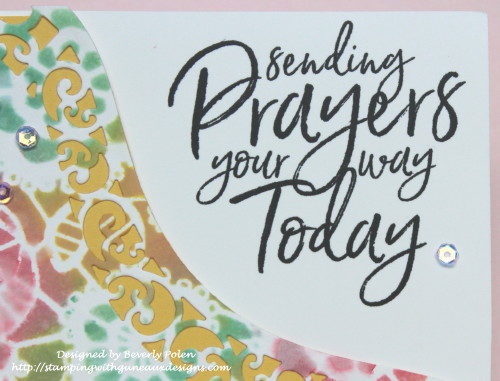
Then I stamped my sentiment at the top right corner of a white A2 card base.  The sentiment is from the Papertrey Ink Pen & Ink stamp set.

Paertrey Ink Lovely Lace

I used foam tape to attach the floral piece to the card base.

Papertrey Ink Lovely Lace

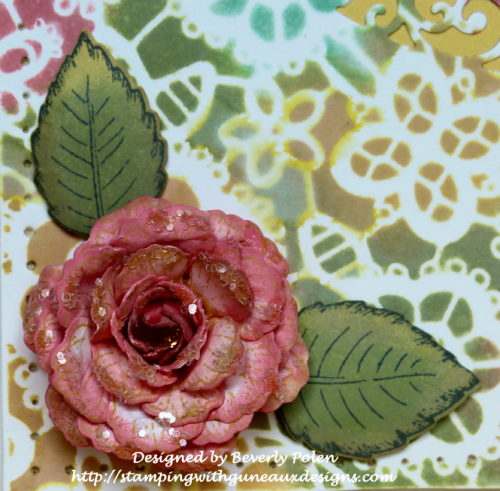
See the paper rose at the bottom left of the card?  I made it with the Heartfelt Creations Botanical Rose Stamp Set and Botanical Wings Die Set and attached it to the card.  To finish the card, I added a few sequins.

I am submitting this card for the Splitcoaststampers Color Challenge for this week.

May you find inspiration from this card!  Thanks for stopping by Guneaux Designs!


Butterfly_1_1God’s Blessings!
Stamping With Guneaux Designs By Beverly Polen
Firm Reliance on Divine Providence!


 Revelations 22:12 & 13

Christ said, “Behold, I am coming soon!  My reward is with me, and I will give to everyone according to what he has done.  I am the Alpha and the Omega, the First and the Last, the Beginning and the End.”

CottageCutz Baby Clothesline

COTTAGECUTZ  BABY  CLOTHESLINE

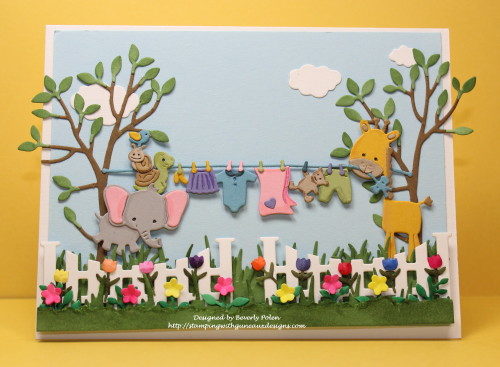
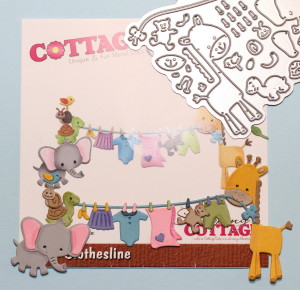
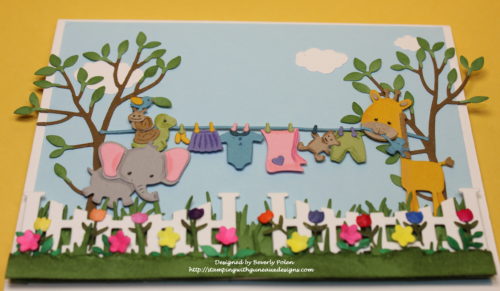
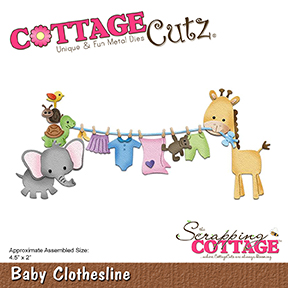
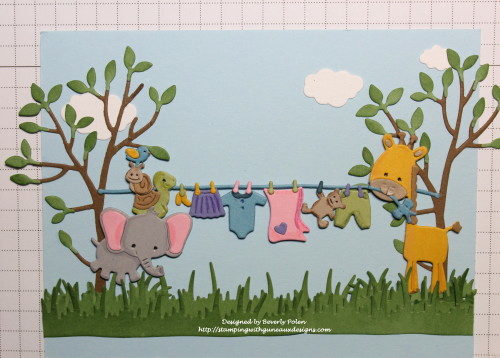
Hello, my friends!  I am so glad you could stop by to visit!  Today, I am a guest designer for the Scrapping Cottage.  In that capacity, I have for you a baby card that features one of the dies that was just released.  If you have yet to see the new baby release on Scrapping Cottage, you can find the dies here.  They are so adorable!  My card showcases the new die, CottageCutz Baby Clothesline.

To create the card, I used several other CottageCutz dies as well, as you will see below. To make the card, follow these steps:

Step 1.  Use the CottageCutz Baby Clothesline Die to cut out the clothesline pieces and attach them together.  The assembled piece measures approximately 4-3/4″.

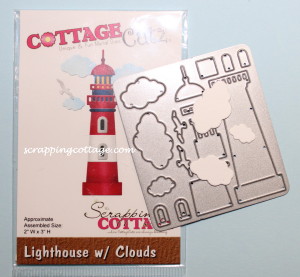
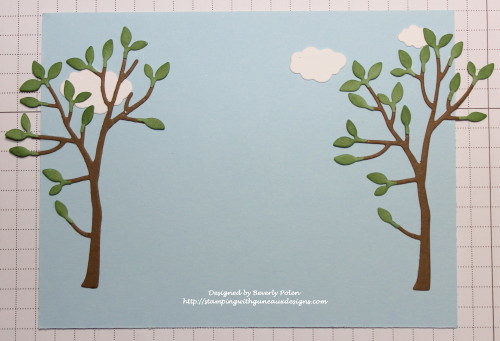
Step 2.  Use the CottageCutz Lighthouse With Clouds die to cut out some clouds.

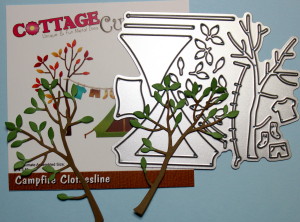
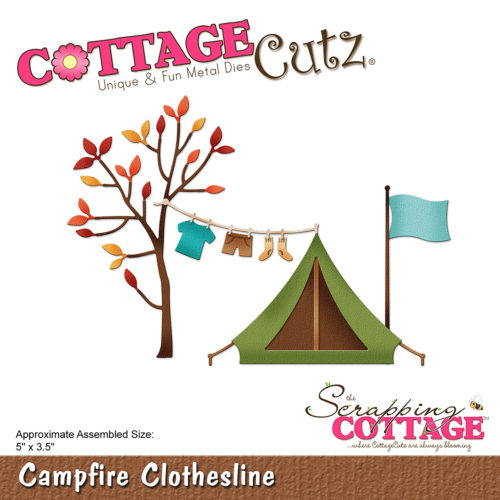
Step 3.  Use the CottageCutz Campfire Clothesline Die to cut and assemble two trees.

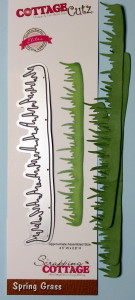
Step 4.  Use the CottageCutz Spring Grass Die to cut out three pieces of grass from green card stock.

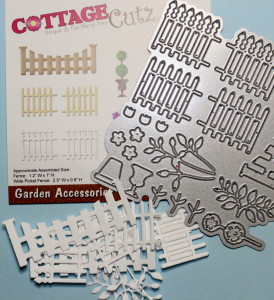
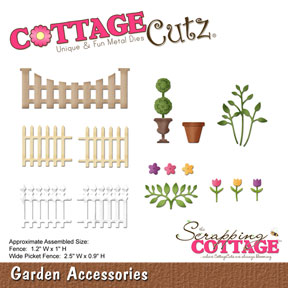
Step 5.  Use the CottageCutz Garden Accessories Die to cut out the pieces from white card stock.  Except for the fence, I colored the pieces using Copic Sketch Markers.

Step 6.  Start assembling the card by cutting a 5-1/4″ x 4″ piece of blue card stock for the first layer of the card.  Attach the clouds and trees to the blue card stock.

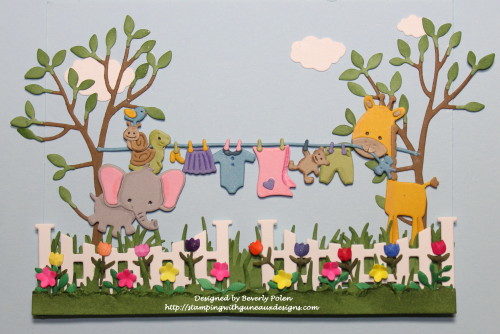
Step 7.  Attach two pieces of the grass in layers using foam tape on the second layer.  Attach the assembled clothesline with foam tape.  Ensure the giraffe and elephant’s feet are touching the grass.  I cut two small pieces from another blue clothesline to extend the first line to the trees.

Step 8.  Attach the fence to the left and right sides of the piece using foam tape.  Attach a third layer of grass with foam tape at the bottom of the fence.  Color and add the flowers and stems onto the fence.  Cut a 5-1/4″ x 3/4″ piece of green card stock, tear a small portion from the top, sponge on green ink, and place it at the bottom of the fence and floral stems.

Step 9.  Cut a 8-1/2″ x 5-1/2″ piece of white card stock, fold in half for the card base, and attach the above piece to the card base front.

I hope you try creating a card with the CottageCutz Baby Clothesline Die.  It will be fun!


These are the CottageCutz dies used on the card:


Butterfly_1_1God’s Blessings!
Stamping With Guneaux Designs By Beverly Polen
Firm Reliance on Divine Providence!


 1 CORINTHIANS 15:3-8

Apostle Paul said, “For what I received I passed on to you as of the first importance: that Christ died for our sins according to the Scriptures, that he was buried, that he was raised on the third day according to the Scriptures, and that he appeared to Peter, and then to the Twelve.  After that he appeared to more than five hundred of the brothers at the same time, most of whom are still living, though some have fallen asleep.  Then he appeared to James, then to all the apostles, and last of all he appeared to me also, as to one abnormally born.”

Guneaux Designs First Blooms

Guneaux Designs First Blooms

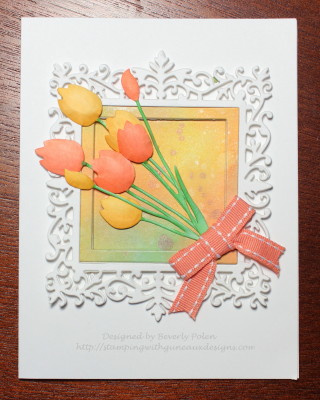
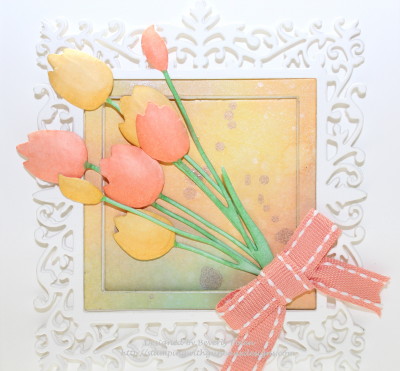
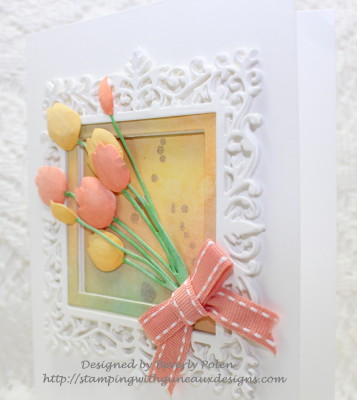
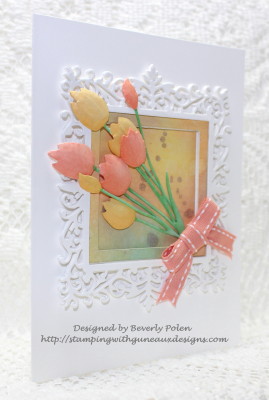
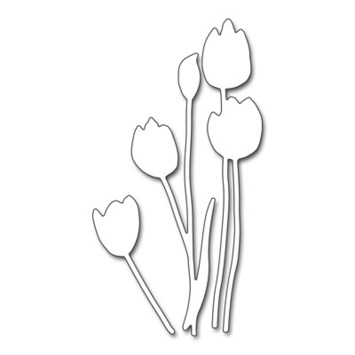
Do you have a favorite spring flower?  Mine is a tulip, and when I lived in Northern Virginia, I had a beautiful tulip garden with many varieties and colors.  I miss my garden as living in southwest Florida, tulips are shipped in and will not grow in a garden!  Thus, I get satisfaction by making cards with tulips.  This card is a Guneaux Designs First Blooms card.  It features Penny Black’s First Blooms dies.

I die cut the tulips from white card stock and colored them peach and yellow with green stems using Copics Sketch Markers.  I used a stylus and foam pad to shape the flowers.

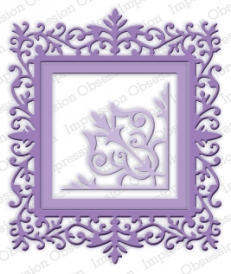
The other feature on the card is the gorgeous frame.  I cut the frame from white card stock using the Impression Obsession Ornate Square Frame Dies.  The frame cuts out two square frames and one square.  I wanted to try the new Tim Holtz Distress Oxide Inks which I purchased recently.  I used them to color the square and square frame, leaving the ornate frame white.

When assembling the card, I glued four of the ornate frames together and cut another one and added two rows of foam tape to get dimension.  I added this frame on top of the others.

Enjoy Guneaux Designs First Blooms card, and have a wonderful day!


Butterfly_1_1God’s Blessings!
Stamping With Guneaux Designs By Beverly Polen
Firm Reliance on Divine Providence!


JAMES 1:12

“Blessed is the man who perseveres under trial, because when he has stood the test, he will receive the crown of life that God has promised to those who love him.”

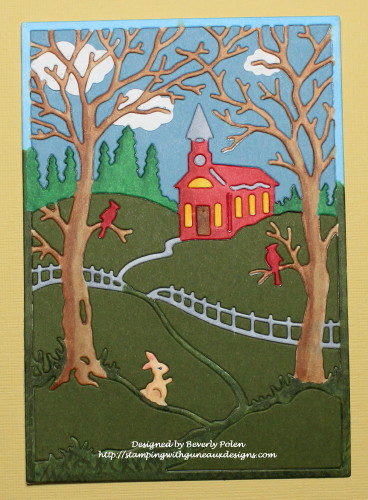
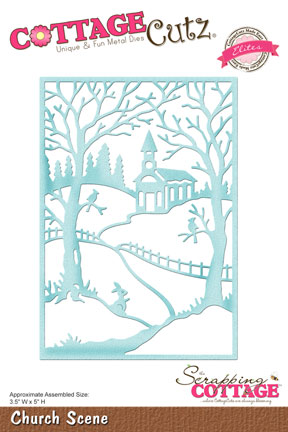
CottageCutz Church Scene

CottageCutz Church Scene

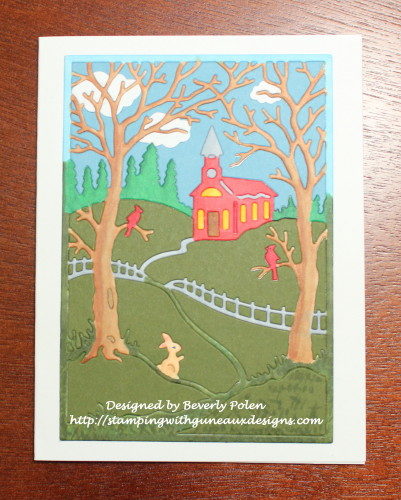
Hello, friends, and welcome to Guneaux Designs!  I am pleased to bring you a card featuring the CottageCutz Church Scene Die.  This Church Scene die is versatile as it can be adapted to create a card for each season of the year (i.e., spring, summer, fall, and winter).  For Christians, Easter is today.  When I think of Easter, I recall memories of my childhood of going to church on Easter morning and getting Easter-related goodies (no, that was not the only reason for going – LOL).  My childhood memories of Easter are the driving force behind my Easter card. This card also features the Stamping Inlay Technique.

CottageCutz Church Scene

To create the card, follow these steps:

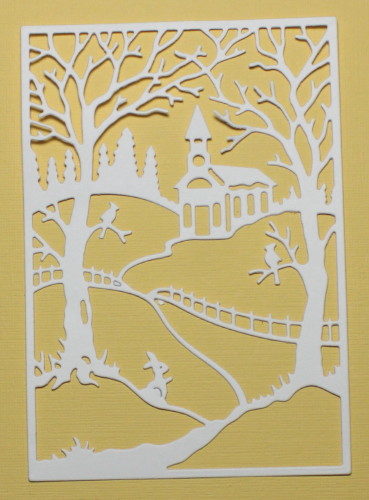
Step 1.  Cut out the CottageCutz Church Scene frame from white card stock.

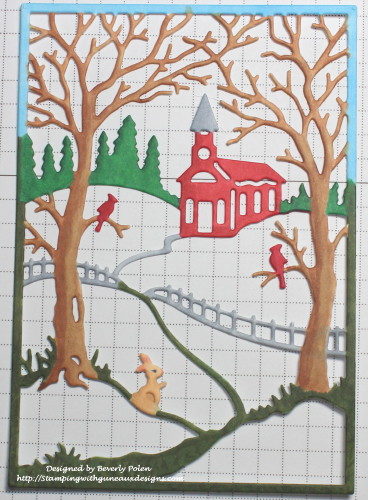
Step 2:  Color the white cut out frame as desired along with the tiny pieces for the church’s door, windows, etc.  I used Copic Sketch Markers to color the cut out.

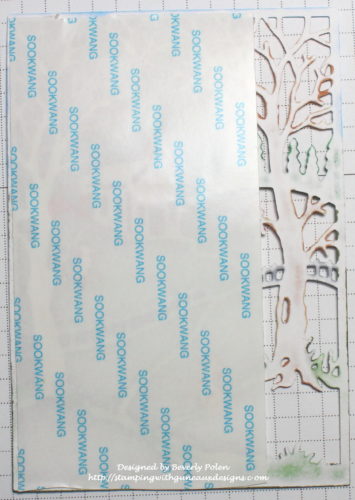
Step 3.  After coloring the scene and tiny church pieces, turn the frame over and add strips of a strong adhesive.

Step 4.  Turn the church scene frame back over and add the church’s windows, door, etc. that you colored in Step 3.  Ensure these pieces attach well to the adhesive.

Step 5.  Cut a 2-1/2″ x 3-3/4″ piece of blue card stock.  This will be used for the sky.

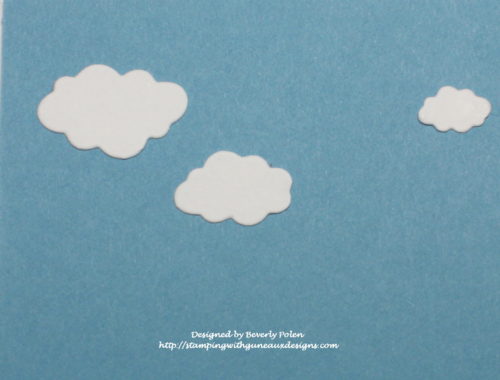
Step 6.  Cut out three white clouds using the CottageCutz Lighthouse w/ Clouds Die.

Step 7.  Position the clouds where you want them to show in the sky and attach them to the small piece of blue card stock.

Step 8.   Place the CottageCutz Church Scene Die face down on the blue piece of card stock, ensuring the sky portion of the die is fully covered by the die.

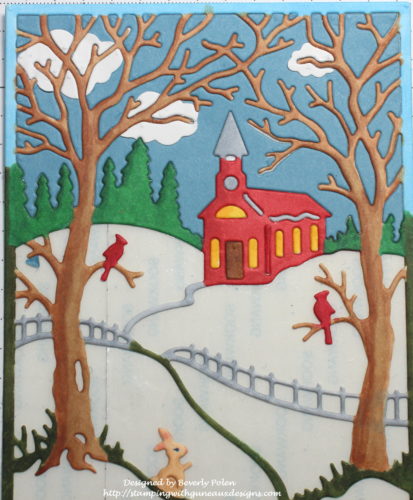
Step 9.  Run this through a die cutting machine and add the blue pieces to the sky section of the church scene frame.  Ensure the pieces adhere well.  I love the clouds behind the tree branches.  (Note the church door, windows, etc.)

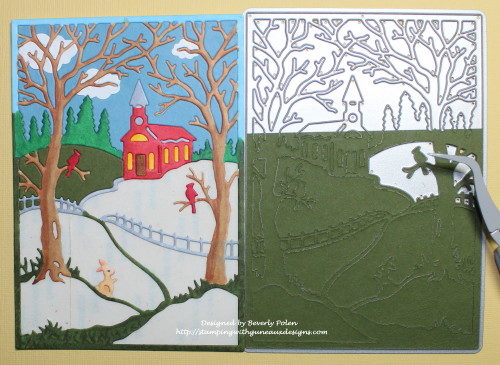
Step 10.  Cut a 4″ square of dark green card stock.  Lay the CottageCutz Church Scene Die face down onto the card stock, ensuring the grassy areas of the scene are covered by the die.

Step 11.  Run this through a die cutting machine.  Because this section has tiny pieces along the fence, try to keep the pieces within the die so it will be easier to determine their appropriate location.  To accomplish this, after running the die and card stock through the die cutting machine, lift the bottom cutting board with the die still on it. Take it to your work station, turn it over so the die cuts are facing upward, and use tweezers to carefully remove the pieces and adhere them well to the church scene frame.

Step 12.  After adding all the pieces, the church scene will look similar to the following photo.  At this point, I think the scene comes alive!  The little bunny is now very visible.

Step 13.  Add the scene to a card base and add a sentiment.

(Option:  cut small leaves and attach to the two trees in the scene.)


Butterfly_1_1God’s Blessings!
Stamping With Guneaux Designs By Beverly Polen
Firm Reliance on Divine Providence!

MARK 16:6-7

“Don’t be alarmed,” he said.  “You are looking for Jesus the Nazarene, who was crucified.  He has risen!  He is not here.  See the place where they laid him!