Lattice Ornaments Christmas Bells

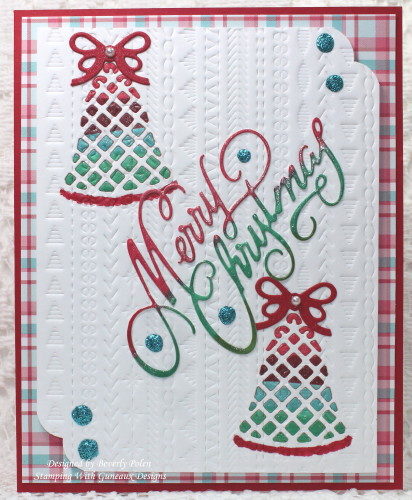
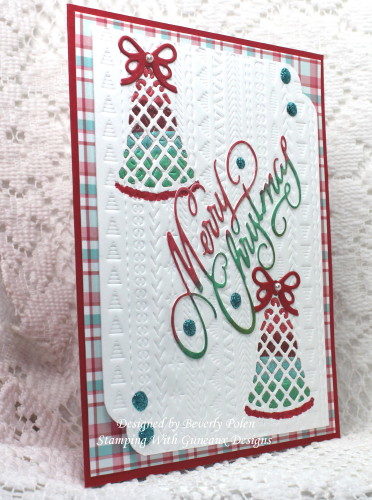
Hello, my friends!!  My card share today features the Spellbinders Lattice Ornaments Christmas Bells dies.  I made this card to honor this week’s Featured Stamper on Splitcoaststampers, the lovely Jan (i.e., Precious Kitty).  It is a pleasure to be inspired by and case one of Jan’s cards!   She is a wonderful person who creates beautiful artwork and leaves the nicest comments on my work posted on Splitcoaststampers. Jan’s “Ornament and Plaid” card is the card I selected to case.  This is my card:
christmas-bells_1

I love the Christmas ornament and plaid paper on Jan’s card.  Therefore, I created a card with two ornaments and a plaid panel.  However, my ornaments are bells and except for the white and red, the colors I used are different.  Also my card features the “Inked Inlay” technique.
christmas-bells-2_1

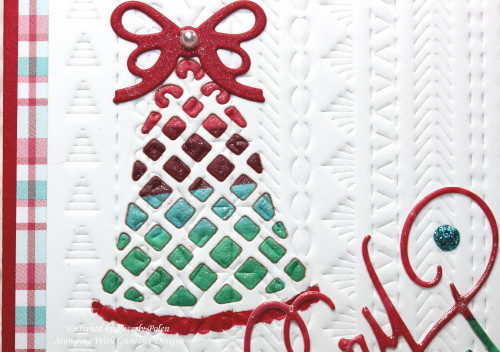
The following provides a closeup of the inked inlay technique used.  I first colored with Copics a piece of card stock in various colors.  I simply colored with back and forth strokes of each color.  Then I die cut the bell from this paper and a piece of white card stock.  I added a strong adhesive behind the die cut on the white card stock, and laid the colored die cut bell over the white, matching the exact image.  Then I pushed the colored pieces through the white card stock to create the inlay.
christmas-bells-3_1

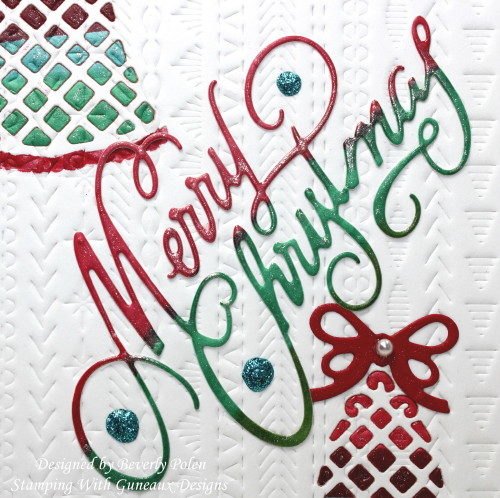
I used the same colored piece of card stock to die cut the Merry Christmas sentiment to place at an angle on the embossed, white card stock.
christmas-bells-4_1

I hope you enjoy the look of the card featuring the inlay technique.


Paper: Neenah Solar White, Lawn Fawn Perfectly Plaid, SU Real Red

Ink: Various Copic Markers

Accessories:  Spellbinders Lattice Ornaments Dies, Impression Obsession Merry Christmas Die, Essentials by Ellen Stitches Plate, Shimmer Mist, Martha Stewart Glitter Acrylic Craft Paint, SU Curvy Corner Punch

Techniques: Inked Inlay


Butterfly_1_1

God’s Blessings!

Stamping With Guneaux Designs By Beverly Polen

Firm Reliance on Divine Providence! 

“May the God of hope fill you with all joy and peace as you trust in him, so that you may overflow with hope by the power of the Holy Spirit.”  Romans 15:13

Diamond Fold Card

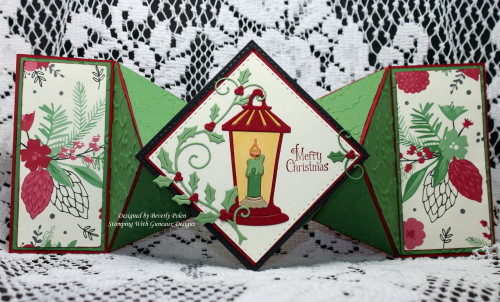
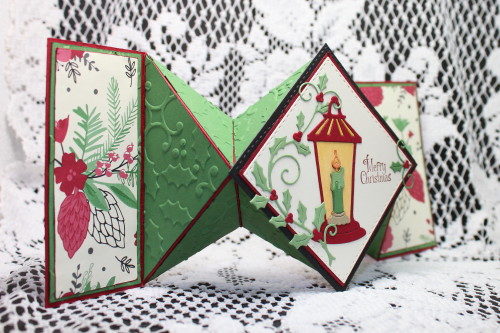
Hello, my friends, and thanks for stopping by.  I am posting a Diamond Fold Card that I created a few weeks ago.  I made this card for a “Ways To Use It Challenge” on Splitcoaststampers.  The hostess of the challenge asked to see some “fancy fold” cards, which was a great challenge as we tend to get in a rut and regularly use the same folds.  This diamond fold card is a Christmas card and it measures 4″ x 11″ and has 12 folds.

diamond-fold-card_1

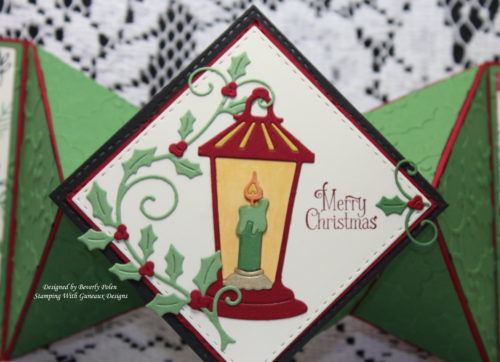
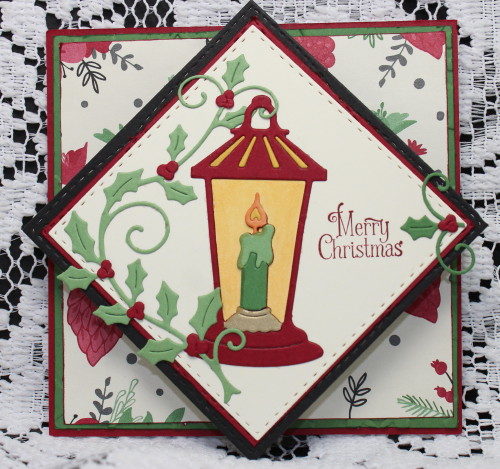
I used Stampin’ Up!’s “This Christmas Specialty DSP” on the far left and right of the card.  For the middle folds, I used the Stampin’ Up! Holly Embossing Folder to emboss Garden Green Card Stock.  I cut the necessary sections and adhered them to 10 sections of the card.  The main element of the card is the lantern and holly that I made with the CottageCutz Lantern w/ Holly Vine Die.  The card was time consuming but fun!

diamond-fold-card2

diamond-fold-card3_1 diamond-fold-card4_1

Stamps: ODBD Home For The Holidays
Paper: SU Very Vanilla, Basic Black, Cherry Cobbler, Garden Green, Wild Wasibi, Brushed Gold, and This Christmas Specialty DSP
Ink: SU Cherry Cobbler and Yellow Copics
Accessories: CottageCutz Lantern w/ Holly Vine Die (currently on sale), SU Holly Embossing Folder, My Favorite Things Die-namics Dies, ODBD Double Stitched Squares Dies, Tombow Glue, and Mounting Tape

Thanks for viewing and leaving comments!!


Butterfly_1_1

God’s Blessings!

Stamping With Guneaux Designs By Beverly Polen

Firm Reliance on Divine Providence! 

“Be joyful always; pray continually; give thanks in all circumstances, for this is God’s will for you in Christ Jesus.”  1 Thessalonians 5:16-18

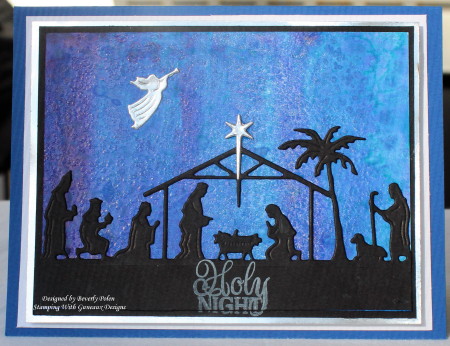
ODBD Holly Night Nativity Scene

Hello, my friends!  Thank you for stopping in to see my latest card featuring the ODBD Holly Night Nativity Scene.  I made this card for the Splitcoaststampers Falliday Fest Challenge, FF16UnderstandBlueB, to use the salted watercolor technique on a card (link to a tutorial is below).

nativity-scene_1

I am sccod-buttono blessed by Our Daily Bread Designs, Angie Crockett, as she selected this card for the ODBD Customer Card of the Day!  I am so grateful to ODBD for such an honor!!


Stamps: ODBD Delightful Decoration (sentiment)

Paper: Solar White, SU Glossy White, Basic Black, Silver Foil, and Brilliant Blue Card Stock

Ink:   SU Brilliant Blue, Ballet Blue, and Whisper White (sentiment)

Accessories: ODBD Holy Night Dies, Water, Silver Watercolor Brushes, Salt, and Foam Tape

Techniques: Salted Watercolor  (Click HERE for a tutorial)


Butterfly_1_1

God’s Blessings!

Stamping With Guneaux Designs By Beverly Polen


Paul’s Charge to Timothy:  “Command those who are rich in this present world not to be arrogant nor to put their hope in wealth, which is so uncertain, but to put their hope in God, who richly provides us with everything for our enjoyment.  Command them to do good, to be rich in good deeds, and to be generous and willing to share.”  1 Timothy 6:17-18

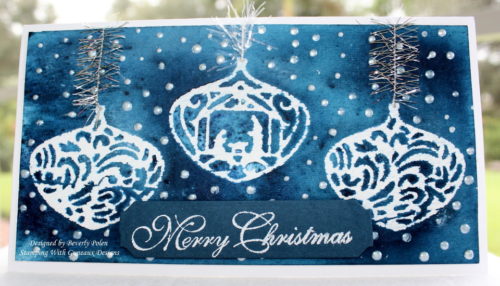
FF16diniA, Delightful Decorations

This post is a continuation of projects I did for the Splitcoaststampers Falliday Fest. This card features the ODBD Delightful Decorations Stamp Set and was my submission to Dina K’s (Dini) Falliday Fest Challenge (FF16diniA).  Dina asked for cards made from die cutting a shape(s) from painter’s or masking tape, laying the die cut tape on watercolor paper, and creating a background around the masks using watercolors or sponged/stamped inks.  I used the ODBD Delightful Decorations Stamp Set to create my masks and watercolor around.

odbd-delightful-decorations_1

Stamps: SU Greetings of the Season (for sentiment)
Paper: Tim Holtz Watercolor Paper, Solar White
Accessories: ODBD Delightful Decorations, Spellbinders Astoria Labels Dies, Foam Tape, Crystal Drops, and SU Clear and Silver Tinsel Trim
Techniques: Water Coloring

Butterfly_1_1

God’s Blessings!

Stamping With Guneaux Designs By Beverly Polen


“In Him we have redemption through His blood, the forgiveness of our trespasses, according to the riches of His grace.”  Ephesians 1:7

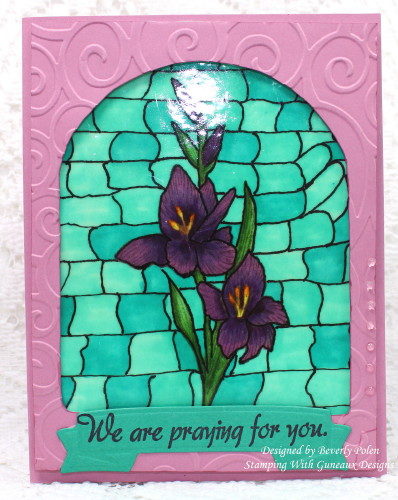
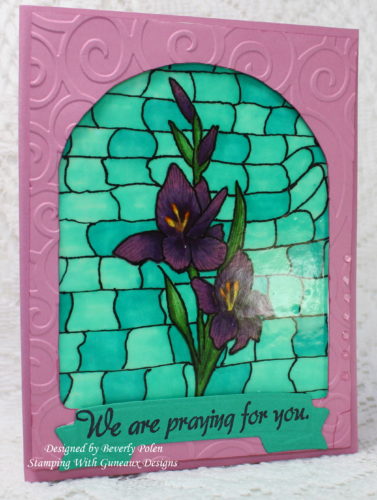
Scented Stain Glass Window

Hello, friends!!  The card I am sharing today is a Scented Stained Glass Window card. I started developing the card in response to a faux stained glass challenge on Splitcoaststampers.  As I created the card, it evolved into more than a faux stained glass challenge response.

Scented Stained Glass Window

As I started thinking of other Splitcoaststampers challenges for the week, I decided to incorporate all of these challenges, but the faux stained glass would be the primary focus for the card.

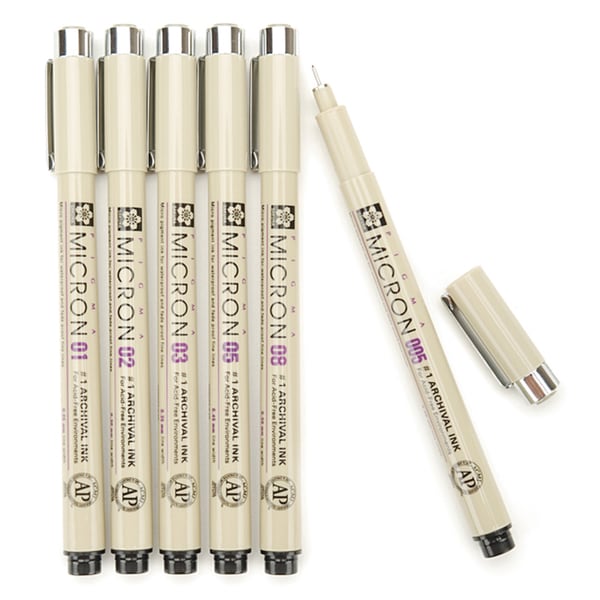
MIX190 – Ky (Scrapacat) is the hostess of the challenge to create a card with faux stained glass. I began my window by stamping and coloring (with copics) a purple Gladiolus flower, which is from Our Daily Bread Designs. Upon completion, I used a MICRON pen to draw my wonky pieces of “glass”.  I used two greenish Copic markers to color the glass.

TLC630 – Judy (StampingQueenJAR) hosted a challenge to add texture to a card by using a technique and not an embellishment. The technique I used is the stain-glass window technique. The texture I added was a flavorful embossing powder. It smells like Vanilla and it is a retired Stampin’ Up! powder!

WT601 – Carla (Covington Crafter) hosted a challenge to create a card that “Mmmmm, Smells Good!” by adding or creating a scented embossing powder.  I used three layers of SU Vanilla Scented Embossing Power, and I was surprised that it had not lost its scent as it is old. I was wrong, mmmmmm, my card smells GOOD!

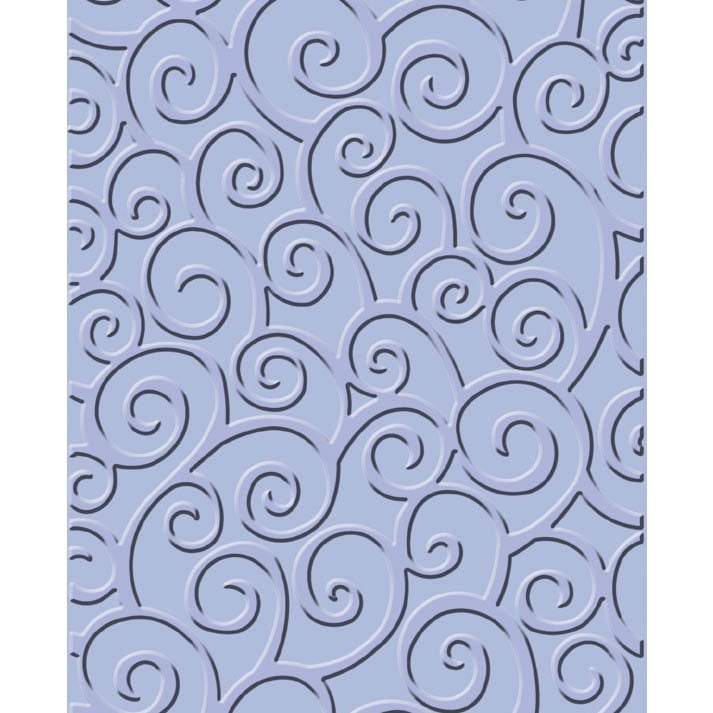
F4A343 – Shirley (wannabcre8tive) hosted a challenge to get “Swirly” by creating a card with swirls. The front panel, my hand-made cathedral window, is covered with swirls made from a Cuttlebug Swirls Embossing Folder.

Scented Stained Glass Window

Whee, that was a lot of work, but does my card ever smell good!  If interested in seeing all the wonderful comments made about this card, you can see them HERE!


SUPPLIES

GLADIOLUS  DOGWOOD MINI

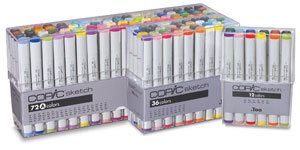
  susweetsugarplum  gardengreen  Copic Sketch Markers  eleganteggplantink

Spellbinders Shapeabilities 'Ribbon Banners' Dies    Sakura Pigma Micron Pens (Set of 6)

suembossing-buddy  versamark   scotch-double-sided-foam-mounting-tape


Butterfly_1_1

God’s Blessings!

Stamping With Guneaux Designs By Beverly Polen


“See to it, brothers, that none of you has a sinful, unbelieving heart that turns away from the living God.  But encourage one another daily, as long as it is called Today, so that none of you may be hardened by sin’s deceitfulness.”  Hebrews 3:12-13

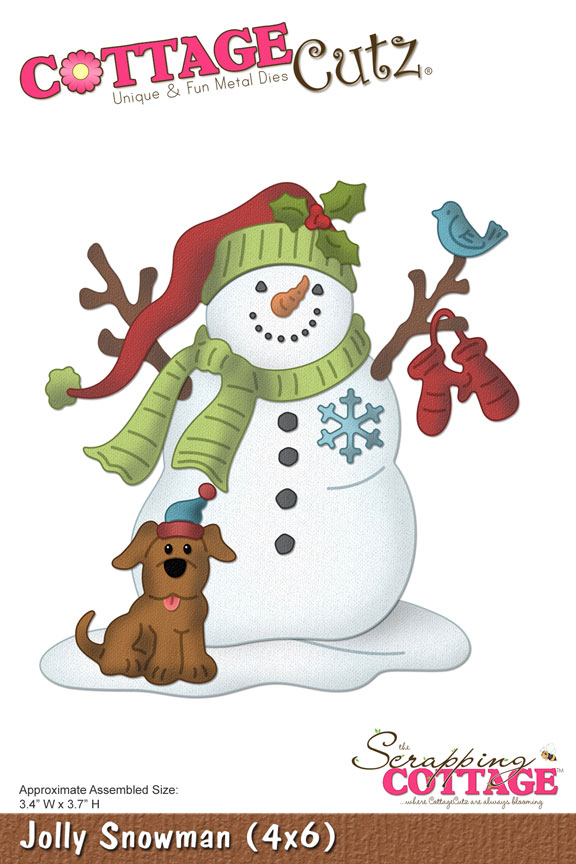
Cottage Cutz Jolly Snowman

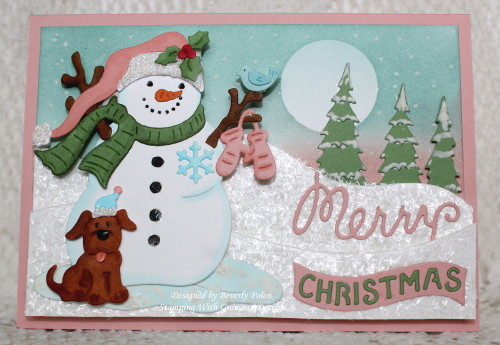
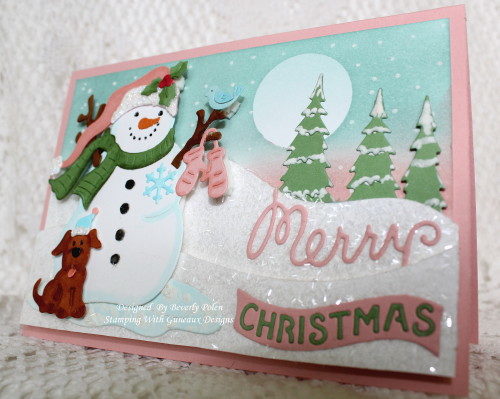
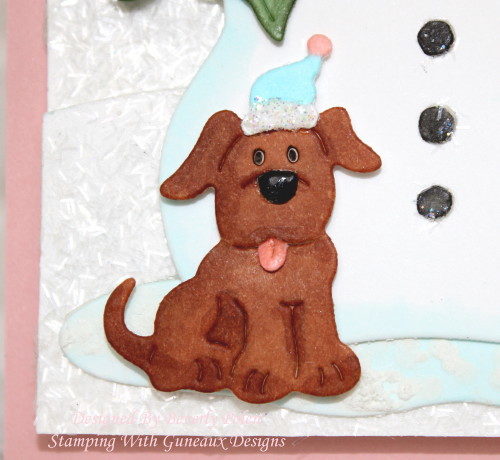
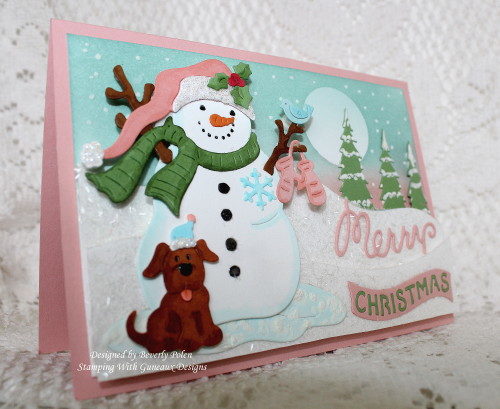
cottage-cutz-jolly-snowman_1Hello, my special friends!  I have for you today a card I made featuring the Cottage Cutz Jolly Snowman.

This card is for the Splitcoaststampers Color Challenge for this week.  The colors chosen for the challenge are Blushing Bride, Soft Sky, and Wild Wasabi, which are Stampin’ Up! colors.Cottage Cutz Jolly Snowman  These colors are gorgeous together, and most would not think of using them for a Christmas scene.  I thought they would be great as a non-traditional Christmas card, and after creating the card, I believe that even more.


cottage cutz jolly snowman


To create this card, I:

  • Cut a 5″ x 3-3/4″ piece of white card stock,
  • On this piece of card stock, sponged the sky with Soft Sky and Blushing Bride ink (placed a circle of labeling tape on the card stock for a moon),
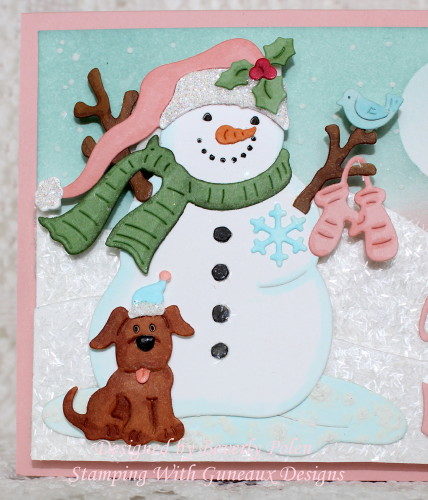
  • Cut out all the pieces from the Cottage Cutz Jolly Snowman Die using the three selected colors of card stock, as well as Neenah Solar White and SU Baked Brown Sugar Card Stock,
  • Used Copic Sketch Markers that are colors close to the selected colors to add shading to the die cuts,
  • Added SU Dazzling Details (i.e., glitter glue – retired) and Dazzling Diamonds Glitter to the snowman and puppy’s hats,
  • Assembled the snowman and puppy die cuts and set it aside,
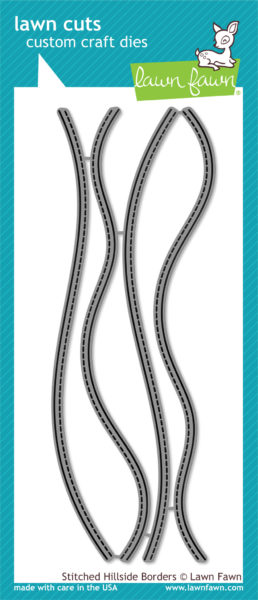
  • Cut out twocottage-cutz-jolly-snowman-d_1 “hillsides” with Lawn Fawn Stitched Hillside Border Dies from white card stock,
  • Added adhesive to the two hillsides and covered with Martha Stewart Crystal Tinsel Glitter (retired),
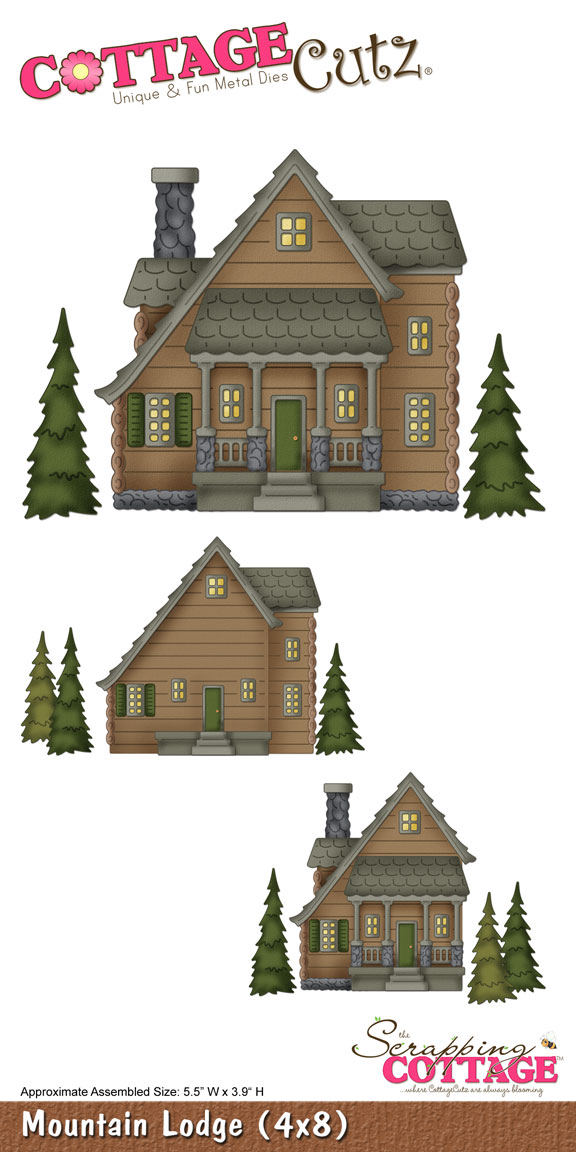
  • Cut out three trees with the Cottage Cutz Mountain Lodge Die, added snow onto them with a Marvy Uchida Snow Maker applicator, and adhered them to the top right of the sponged card stock,
  • Used the snow maker onto the sky area for snow flakes,
  • cottage-cutz-jolly-snowman-c_1
  • Added one layer of foam mounting tape to the taller hillside and adhered to the card stock,
  • Added two layers of foam tape to the shortest hillside and adhered to the card stock,
  • Die cut the Merry Christmas sentiment from the Cottage Cutz Merry Christmas die,
  • Cut the sentiment die cut apart and added selected pieces to the first and second hillsides,
  • Added foam tape to the snowman and puppy piece, and
  • Attached the completed piece to a Blushing Bride card base.

cottage-cutz-jolly-snowman-a_1

Hopefully you found inspiration from this card!  I had lots of fun making it!


SUPPLIES

  su-blushing-bride  su-soft-sky

su-wild-wasabi        su-dazzling-diamonds  SNOW MARKER      


SU Fifth Avenue Floral

God’s Blessings!

Stamping With Guneaux Designs By Beverly Polen


When Jesus sent out his twelve disciples to drive out evil spirits and heal every disease and sickness, He said to them, “Whoever acknowledges me before men, I will also acknowledge him before my Father in heaven.  But whoever disowns me before men, I will disown him before my Father in heaven.”  Matthew 10:32-33