Spellbinders Astoria Decorative Accents and Labels

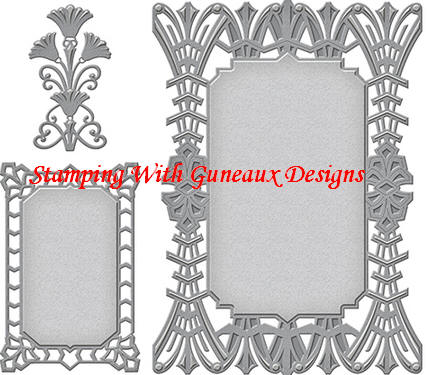
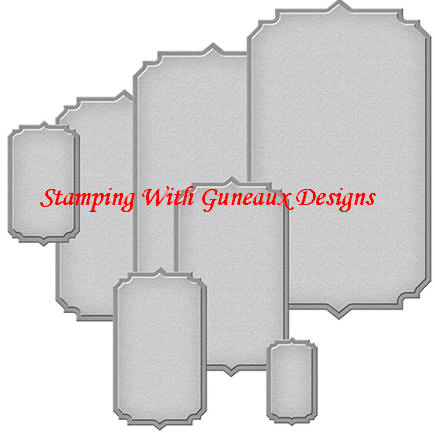
I have a card share today that is not my normal type of card.  It is an Art Deco card featuring the Spellbinders Astoria Decorative Accents and Labels Dies.
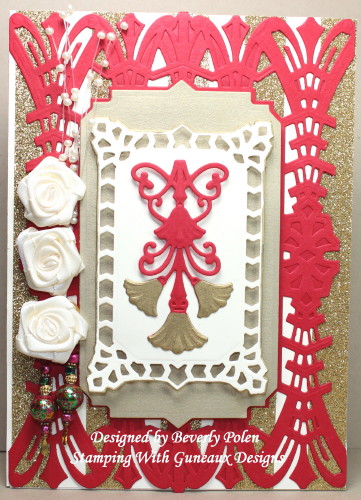
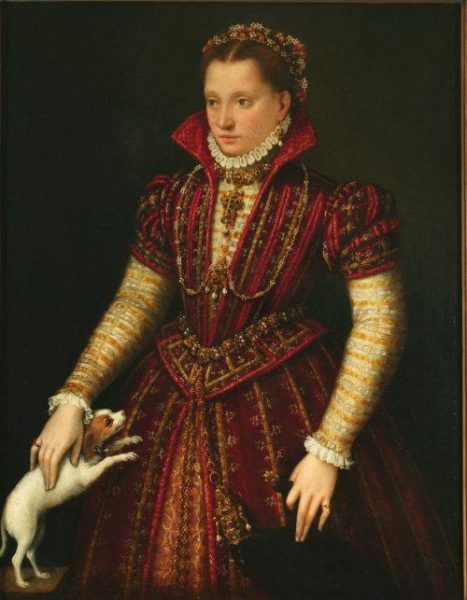
I created the card for Splitcoaststampers’ Inspiration Challenge hosted by Steph (SmilynStef).  She picked this great site, “I don’t wear dresses”, from which to draw inspiration when creating. This photo on the site was my inspiration for the card.  It is a portrait of a noblewoman, ca. 1580.  You can read about the portrait HERE and see a larger picture of her HERE.

I love the red and gold in the woman’s dress and its high collar. I thought the red die cut panel would be a good representation of the high collar as well as reflecting the color of her dress. I used SU Brush Gold Card Stock to reflect the gold in the dress. I also used SU Gold Metallic Tape behind the red panel. To the left of the card, I added ribbon flowers and some beads above and below the flowers.
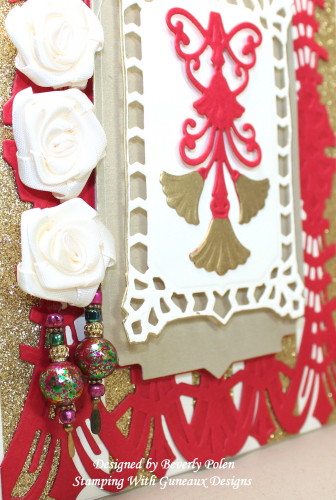
  

I enjoyed making the card, and I hope you enjoy viewing it.


THE PRIMARY PRODUCTS USED FOR THIS PROJECT


Butterfly_1_1God’s Blessings!
Stamping With Guneaux Designs By Beverly Polen
Firm Reliance on Divine Providence!


ISAIAH 45:22-25

“Turn to me and be saved, all you ends of the earth; for I am God and there is no other. By myself I have sworn, my mouth has uttered in all integrity a word that will not be revoked; Before me every knee will bow; by me every tongue will swear.  They will say of me, ‘In the Lord alone are righteousness and strength.’  All who have raged against him will come to him and be put to shame.  But in the Lord all the descendants of Israel will be found righteous and will exult.”

Happy New Year 2017

HAPPY NEW YEAR 2017, everyone!!

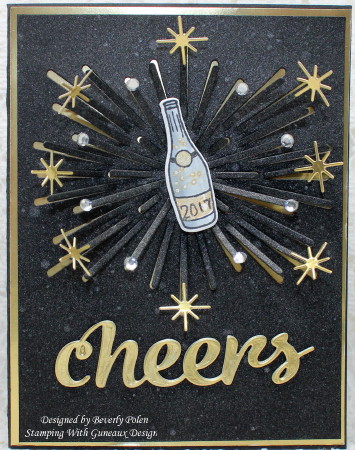
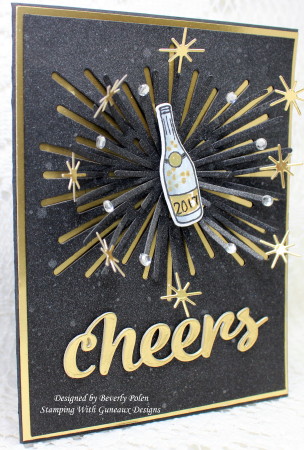
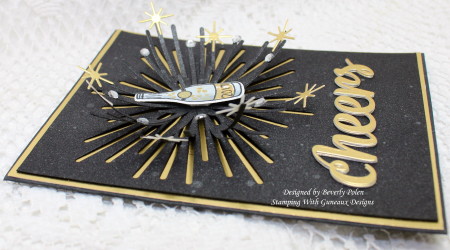
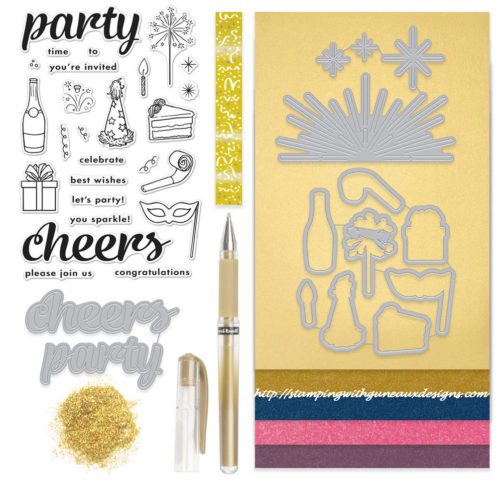
I hope your New Year’s Eve will be a healthy and safe one!!  My card share for you this evening is a Happy New Year 2017 card that features Hero Arts’ “My Monthly Hero December 2016” Kit.

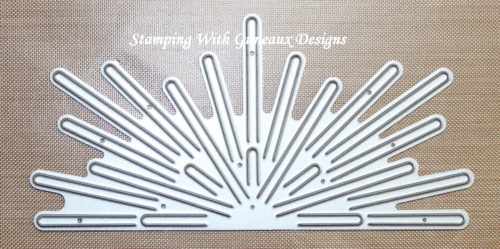
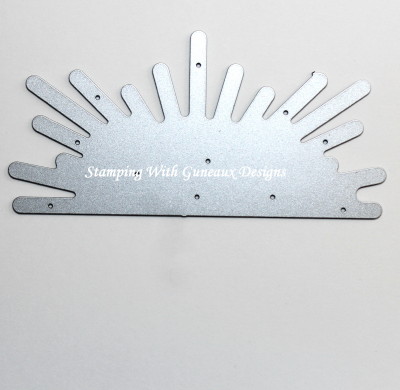
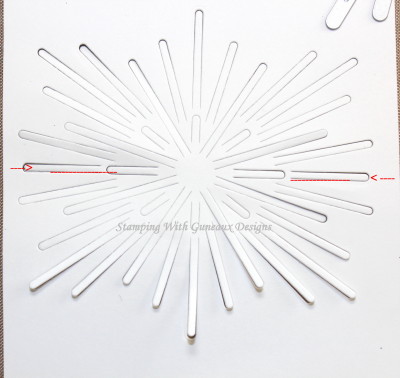
The photo to the left is of a die from the Hero Arts’ My Monthly Hero December 2016″ Kit.  It is the main tool that I used for the card.  In this post I’ll call it an explosion die.  I used the explosion die to create the “explosion” on the center of the card, and here is how I accomplished this.

  1.  I placed the die near the top of the card stock as shown in the photo to the left.
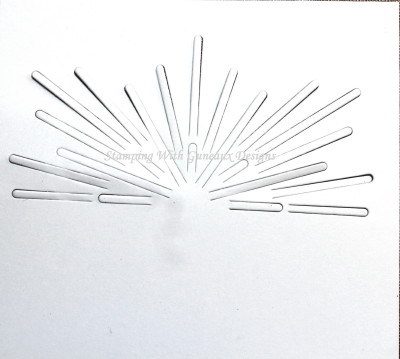
  2. After running the card stock and die through my die cutting machine, the die cut looked like the following.

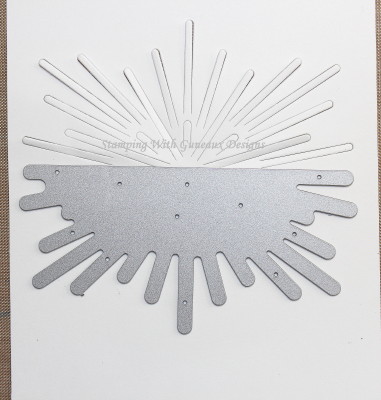
3. Then I laid the die upside down onto the card stock, ensuring I aligned the bottom cut of the die with the bottom cut of the first cut out (see left photo).  I ran that through my die cutting machine to achieve the following results.  The red lines in the following photo shows where I cut with the die the second time.  


The champagne bottle, stars, and “cheers” sentiment are also from the Hero Arts’ kit.  As is obvious, I used black card stock to create the “explosion” and adhered that to gold card stock that is also from the kit.  I lifted each spike on the explosion so the gold would show through, and attached either a star or rhinestone.
I hope your New Year 2017 is a blessed one!


Paper:   Hero Arts December 2016 Kit
Ink:  Copics
Accessories:  Hero Arts December 2016 Kit


Butterfly_1_1God’s Blessings!
Stamping With Guneaux Designs By Beverly Polen
Firm Reliance on Divine Providence!


 Jesus said to the disciples:  “If anyone loves me, he will obey my teaching.  My Father will love him, and we will come to him and make our home with him.  He who does not love me will not obey my teaching.  These words you hear are not my own; they belong to the Father who sent me.”  John 14:23 & 24

Outlines Rubber Stamp Holly Background

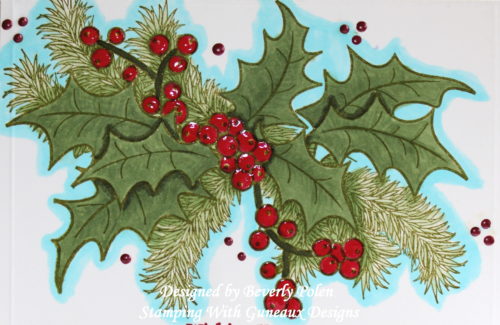
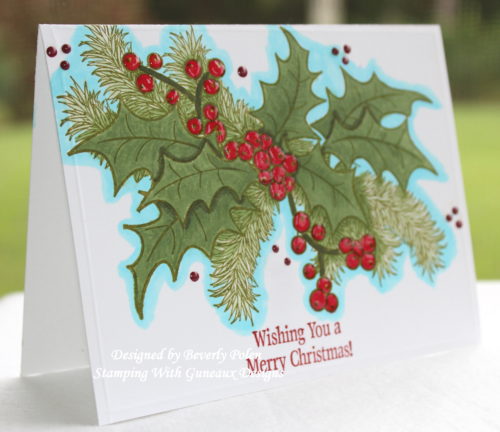
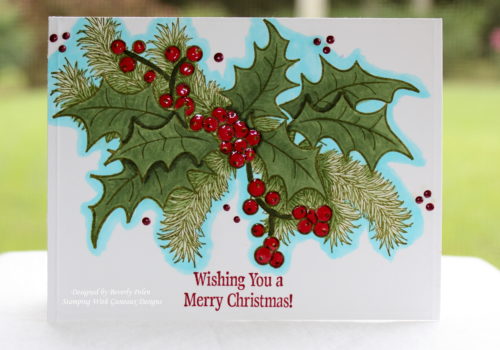
Before the New Year arrives, I wanted to share with you one more Christmas card that features the Outlines Rubber Stamp Holly Background.  This stamp is from the Outlines Rubber Stamps Company that went out of business a few years ago.  I love the company’s stamps, and was disappointed about it closing.  I am grateful that I got several of the company’s stamps before it closed.

Outlines Rubber Stamp Holly Background

I made this card for a Clean and Simply Challenge, CAS398, on Splitcoaststampers. The hostess of the challenge asked for a one layer card made with one stamp and one sentiment, and my card is just that.  Additionally, I used a score board to add score lines on all sides of the card.  I love how the card turned out, and so did several others.  The card was a favorite card of several Splitcoaststampers artists.

I used several Copic Sketch Markers to color the holly and berries, adding glossy accents onto the berries.  I added red dots around the card using Nuvo Crystal Drops.  I used a blue Copic Sketch Marker to color around the image, and stamped the sentiment using Stampin’ Up! (SU) Real Red Ink.  The sentiment is from an old SU stamp set, Jolly Old Saint Nick.

Show some love by leaving comments.  I love reading them!


Stamps:  Outlines Rubber Stamp Holly Background and SU Jolly Old Saint Nick (for sentiment)
Paper:  Neenah Solar White Card Stock
Ink:  SU Real Red and Copic Sketch Markers
Accessories:   Nuvo Crystal Drops, Score Board, Glossy Accents


Butterfly_1_1God’s Blessings!
Stamping With Guneaux Designs By Beverly Polen
Firm Reliance on Divine Providence!


 “A wicked man accepts a bribe in secret to pervert the course of justice.  A discerning man keeps wisdom in view, but a fool’s eyes wander to the ends of the earth.”  Proverbs 17:23 & 24  NIV

CottageCutz Party Puppy

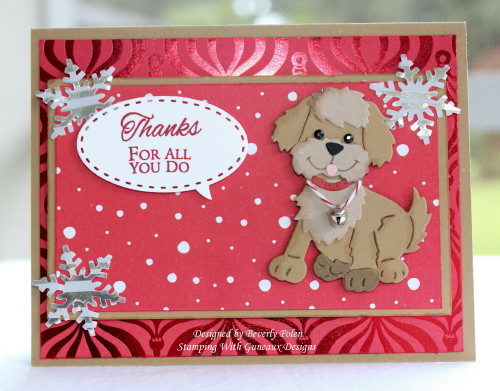
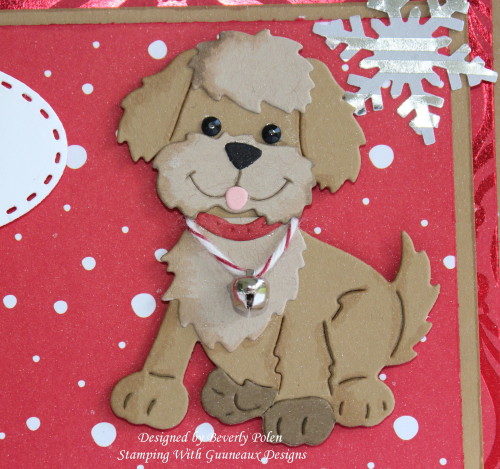
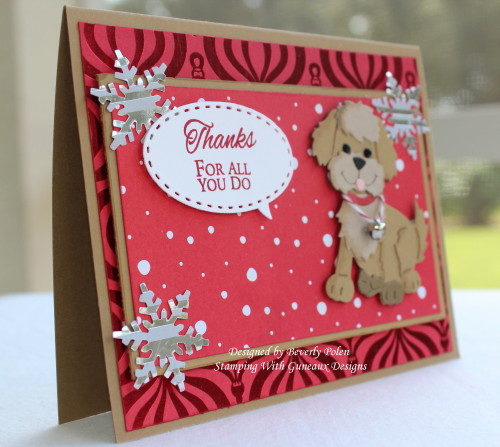
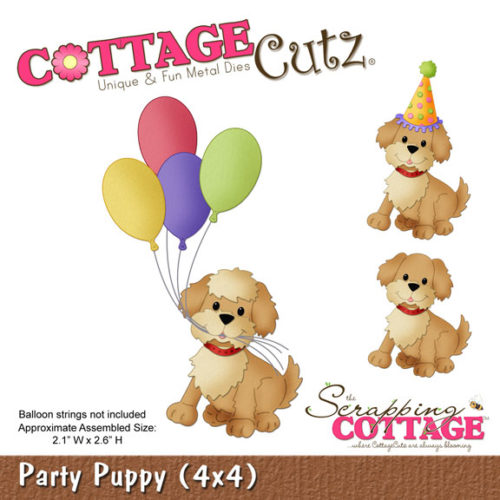
Welcome to Guneaux Designs!!  Today I have a quick post regarding a cute card I made several weeks ago and sent to the Tri-County Humane Society in Minnesota.  The card features the CottageCutz Party Puppy die, and it is a “Thank You” card for those who care for homeless animals and provide other great services for the area.

CottageCutz Puppy Party

I also submitted the card for a Splitcoaststampers challenge to make this type of card with a holiday theme.  I actually do not own a pet, but I sure get a lot of love from my daughters’ pets. They are very special to our family.

This photo is a closeup of the cute little puppy!  I added a bell on a piece of bakers twine around his neck.

CottageCutz Party Puppy

CottageCutz Party PuppyEnjoy, and I hope you are having a wonderful week!

PRODUCTS USED:

Stamps:  CP Butterfly Notes (sentiment)
Paper:  SU Baked Brown Sugar, Crumb Cake, Whisper White, and Pink Pirouette Card Stock; Reflections Card Stock
Ink:  SU Read Red
Accessories:  CottageCutz Party Puppy Die, Martha Stewart Punch, Spellbinders Conversation Bubble Three Dies, SU Jingle Bell, SU Cherry Cobbler Baker’s Twine, Black Gems, Foam Tape

Cottage Cutz Party Puppy


Butterfly_1_1

God’s Blessings!

Stamping With Guneaux Designs By Beverly Polen

Firm Reliance on Divine Providence!

The birth of Jesus (cont’d):  “When he [King Herod] had called together all the people’s chief priests and teachers of the law, he asked them where the Christ was to be born.  “In Bethlehem in Judea,” they replied, “for this is what the prophet has written:  ” ‘But you, Bethlehem, in the land of Judah, are by no means least among the rulers of Judah; for our of you will come a ruler who will be the shepherd of my people Israel.’ ”  Matthew 2:3-6

Sizzix Fold-A-Long Christmas Owl

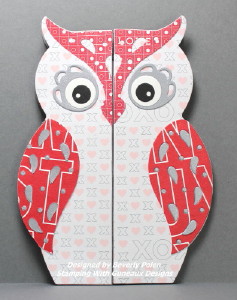
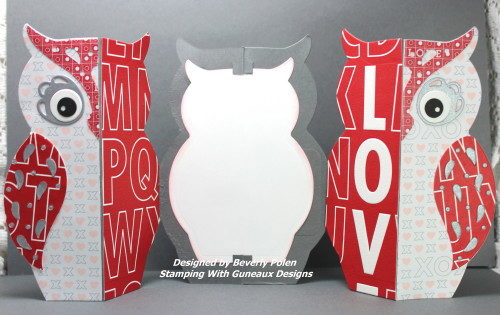
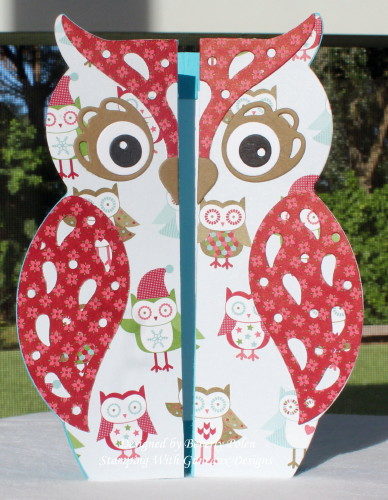
Owls!!  I love owls!!  My card share today is a Sizzix Fold-A-Long Christmas Owl! I made the card with the Sizzix Owl Label Fold-A-Long Thinlits Dies.  These dies are large and produce an owl card that is approximately 4″ x 5-1/2″.

Here are photos of another card I made using the same dies.


To make the Sizzix Fold-A-Long Christmas Owl,  I used a retired Stampin’ Up! designer series paper.  Actually, that is true for the second one as well.  The Sizzix Owl Label Fold-A-Long Thinlits Dies can be difficult to work with if you use a designer series paper with a pattern.  It is similar to sewing and having to match patterns on a fabric.  I was not very successful with the paper used for the Christmas Owl; however, my 2-year old granddaughter, the recipient, will never notice!

I hope you are having a wonderful Christmas week!!  Thanks for stopping by!

Sizzix Label Owl Fold-a-Long Thinlits DiesPaper:  SU Card Stock and Designer Series Paper
Accessories:    Sizzix Owl Label Fold-A-Long Thinlits Dies


Butterfly_1_1

God’s Blessings!

Stamping With Guneaux Designs By Beverly Polen

Firm Reliance on Divine Providence!

The birth of Jesus Christ (cont’d):  “After Jesus was born in Bethlehem in Judea, during the time of King Herod, Magi from the east came to Jerusalem and asked, “Where is the one who has been born king of the Jews?  We saw his star in the east and have come to worship him.”  When King Herod heard this he was disturbed, and all Jerusalem with him.”  Matthew 2:1-3

Taylored Expressions Floating Hearts Cutting Plate

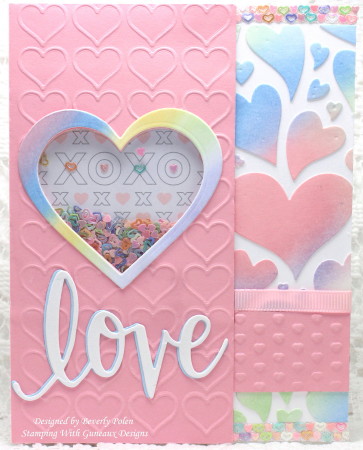
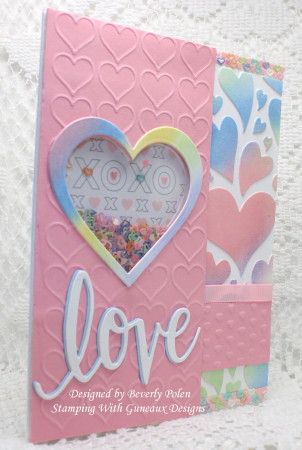
Six more sleeps until it is Christmas Day!!!  Hello, everyone!  I decided that I am not making any more Christmas cards for this year.  So, I have moved on to a Valentine’s Day card featuring the Taylored Expressions Floating Hearts Cutting Plate.  I love the results of this cutting plate, which shows on the RIGHT side of my card.

To create the card, I sponged SU Classic Inks onto a piece of white card stock using a sponge dauber.  I used Bashful Blue, Pink Pirouette, Pistachio Pudding, So Saffron, and Lovely Lilac ink.  Using the sponged and colored piece of card stock and the Taylored Expressions Floating Hearts Cutting PlateI die cut the hearts.  Leaving the hearts within the cutting plate, I laid it over a piece of white card stock and pushed each heart out of the plate, ensuring the positioning was the same as the plate.  I added an adhesive to attached them permanently to the card stock.

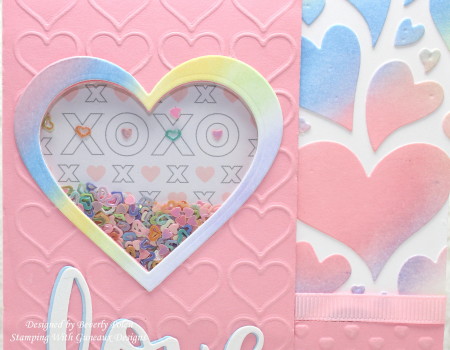
I used the SU Happy Hearts Embossing Folder to emboss a piece of Pink Pirouette card stock and then cut out a heart in the center using a die from the Hero Arts’ Nesting Hearts Infinity Dies I used the same piece of sponged, colored card stock to cut out a heart frame with the same heart dies.  (NOTE: If you are looking for some wonderful heart dies, these will make you happy.  There are 10 dies in the set and they truly nest perfectly within each other.)  As you can see below, I used the heart cutouts to create a heart shaker box.  I inserted some miniature hearts sequins inside the heart, which is covered with a piece of transparency.

I made the “love” sentiment with a die from Hero Arts’ Love Stamp & Cut.  Lastly, I submitted this card for a Splitcoaststampers Sketch Challenge.

Thank you for stopping by!  Hopefully my card brings you inspiration!


Paper:  Neenah Solar White Card StockSU Pink Pirouette Card Stock, Retired SU DSP

Ink:  SU Bashful Blue, Pink Pirouette, Pistachio Pudding, So Saffron, and Lovely Lilac

Accessories:  Taylored Expressions Floating Hearts Cutting Plate, SU Happy Hearts Embossing Folder, Hero Arts’ Love Stamp & Cut, Hero Arts’ Nesting Hearts Infinity Dies, and Sponge Dauber


   DC175 Love Stamp & Cut   


Butterfly_1_1

God’s Blessings!

Stamping With Guneaux Designs By Beverly Polen

Firm Reliance on Divine Providence!

The birth of Jesus Christ (cont’d):  “All this took place to fulfill what the Lord had said through the prophet:  “The virgin will be with child and will give birth to a son, and they will call him Immanuel” — which means, “God with us.”  When Joseph woke up, he did what the angel of the Lord had commanded him and took Mary home as his wife.  But he had no union with her until she gave birth to a son.  And he gave him the name Jesus.”  Matthew 1:22-25  (Also see Isaiah 7:14 for the reference prophet.)