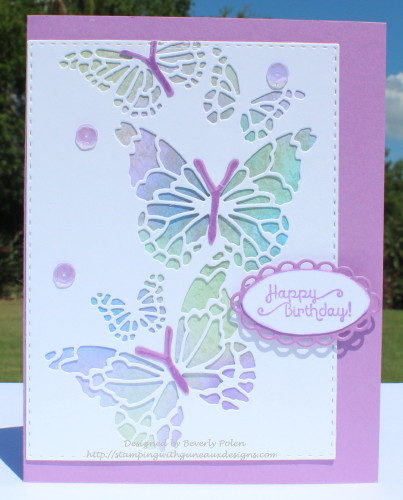
Hello, my friends, and welcome to Guneaux Designs. I am happy that you stopped by today to see my MB Reverse Butterfly Collage Happy Birthday card. Memory Box (MB) has wonderful dies, and this is one of my favorites. I love butterflies, and seeing them on greeting cards always draws my attention. I have used the MB Reverse Butterfly Collage Die before, but as a stencil. You can see that HERE. For this card, I used the die to cut out a butterfly panel to attach over another panel that is sponged with various colors.
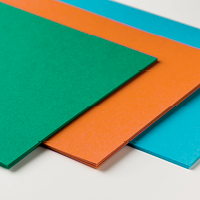
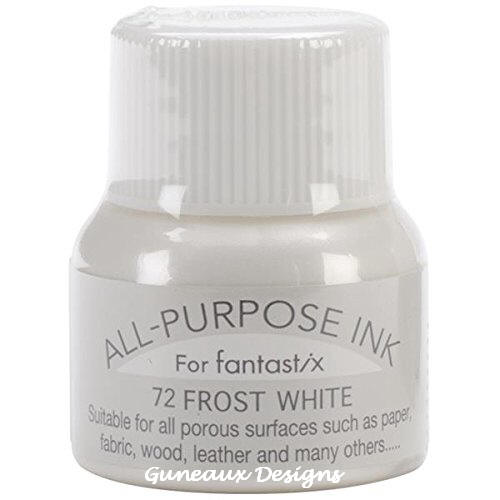
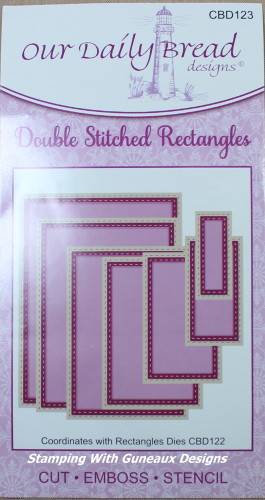
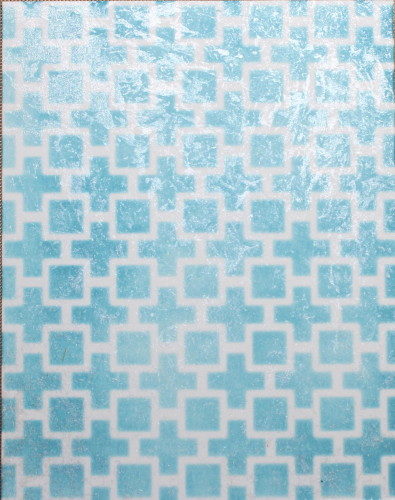
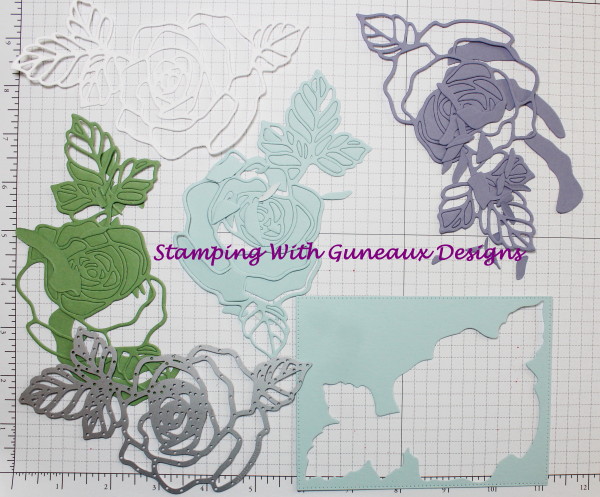
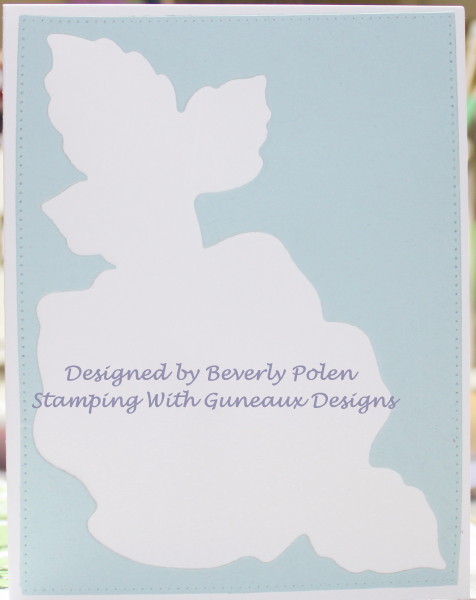
I used a piece of white card stock and an ODBD Double Stitched Rectangles die to cut out a frame. Using the frame and Memory Box Reverse Butterfly Collage die, I cut out the butterflies. I used the same ODBD die to cut out another piece of white card stock on which I sponged various Stampin’ Up! inks. Subsequently, I dabbed All Purpose Ink (Frost White) over the panel with a piece of plastic wrap. This photo shows the result.
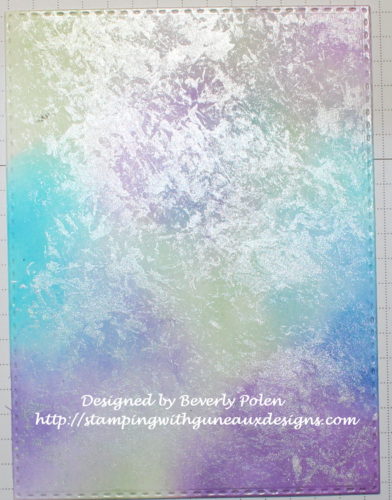
I love the effect of using the All Purpose Frost White Ink! I think it adds so much to a piece of sponged card stock.
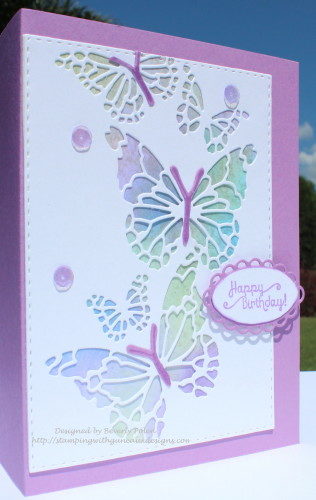
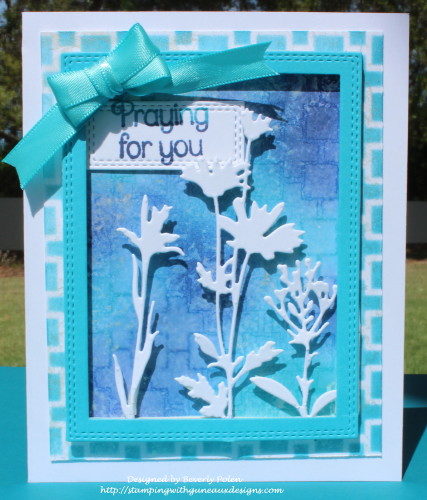
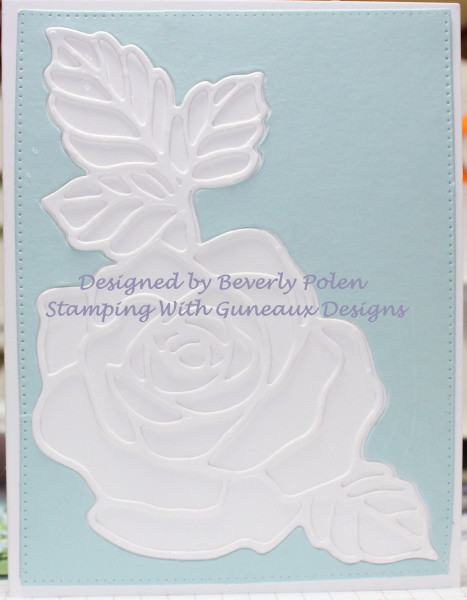
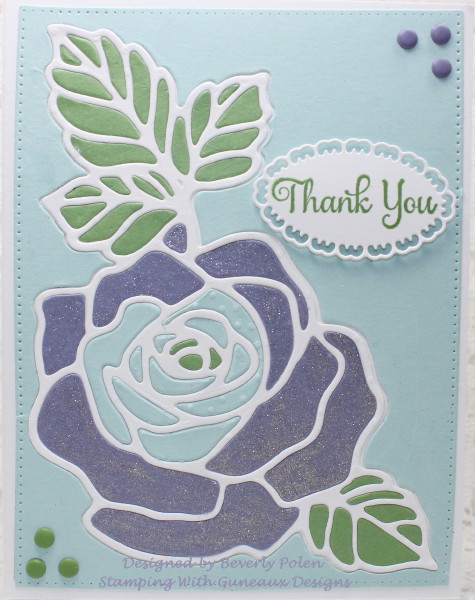
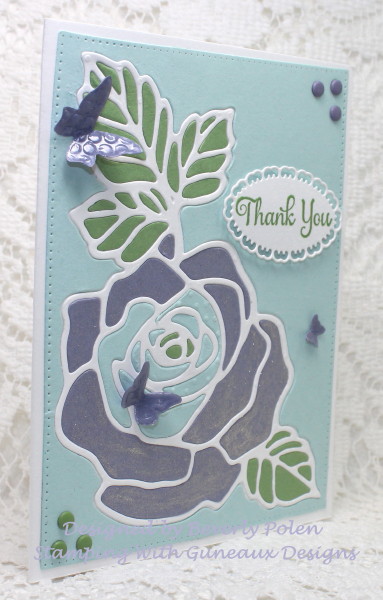
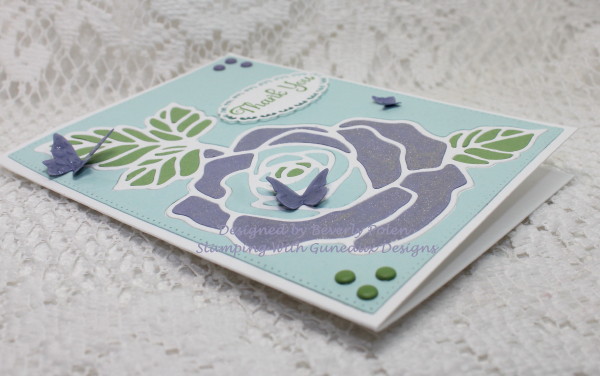
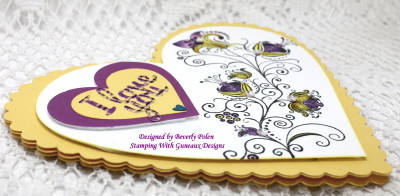
I attached the sponged panel beneath the butterfly panel, and then attached both to the card base. I think this qualifies as a Clean and Simple card. I hope it does as I am submitting it to a Splitcoaststampers Clean and Simple Challenge. Kathy Curry is the hostess of the challenge, and she asked for participants to “show me your favorite winged things this week”. Butterflies are one of my favorite “winged things”.
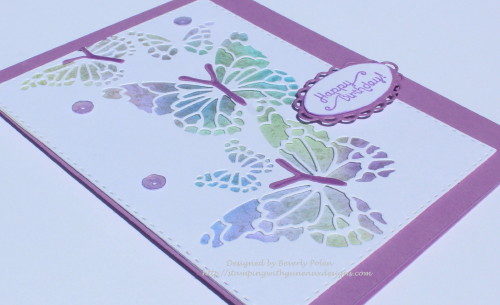
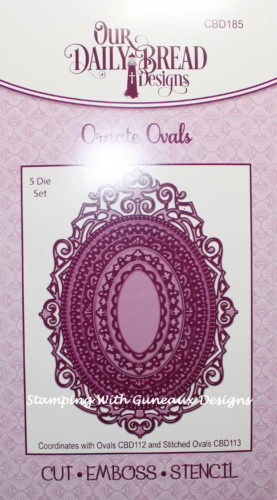
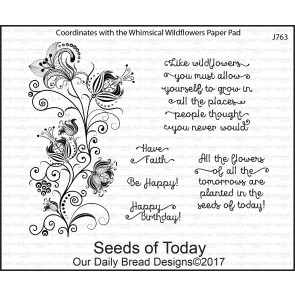
To finish the card, I added a “Happy Birthday” sentiment from the ODBD Seeds of Today stamp set. I used the smallest of the ODBD Ornate Ovals die to create a frame for the sentiment, and added it to the card using double-sided foam tape.
SUPPLIES USED


God’s Blessings!
Stamping With Guneaux Designs By Beverly Polen
Firm Reliance on Divine Providence!

 Step 2. Cut the largest rectangle from a piece of white card stock using the
 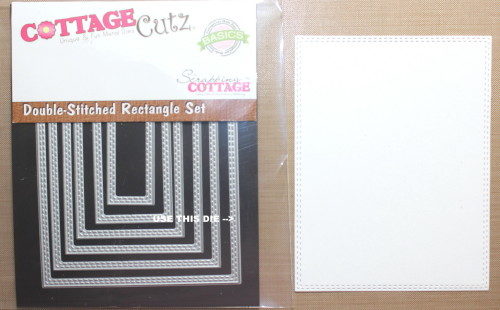 Step 3. Scrunch up a piece of saran wrap.
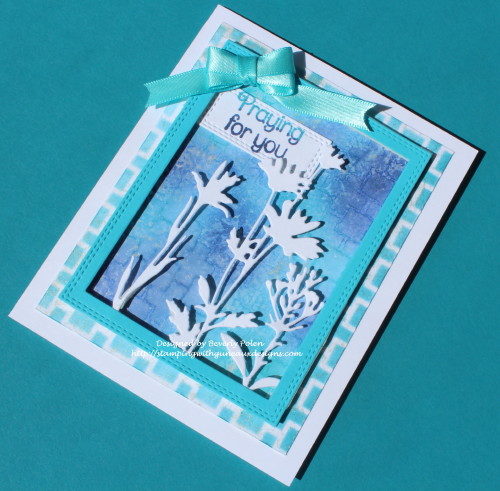
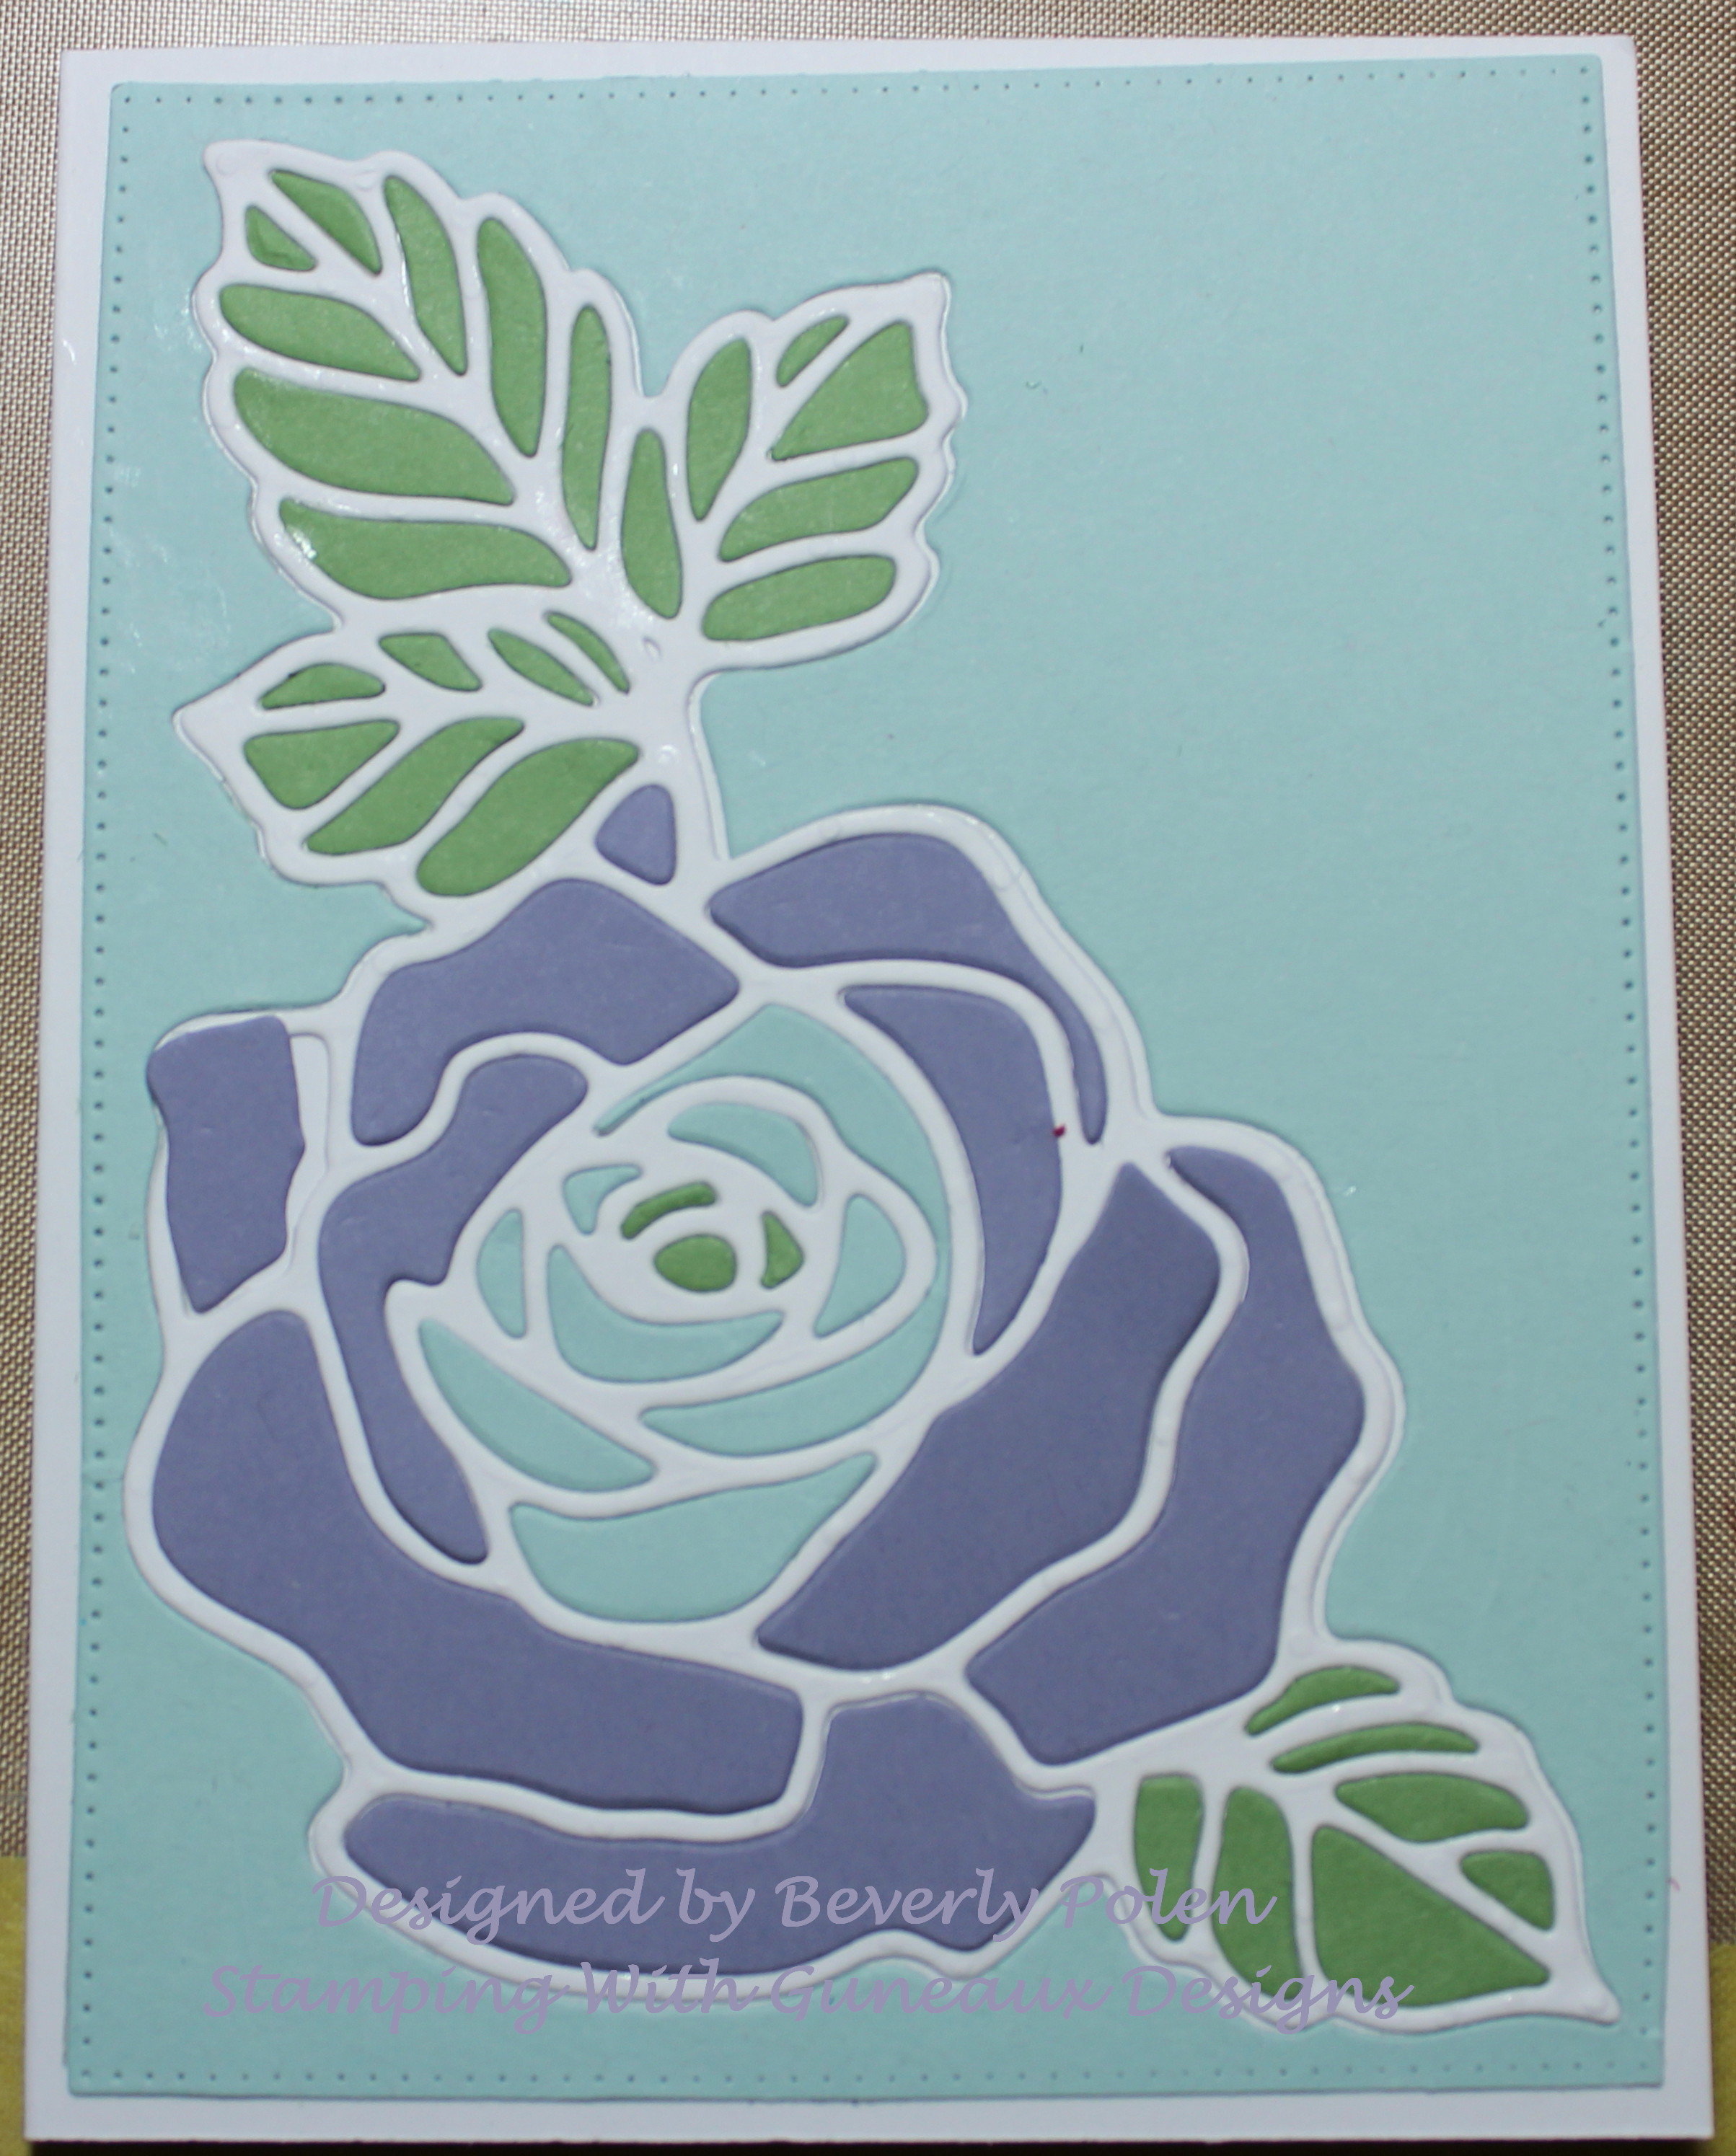
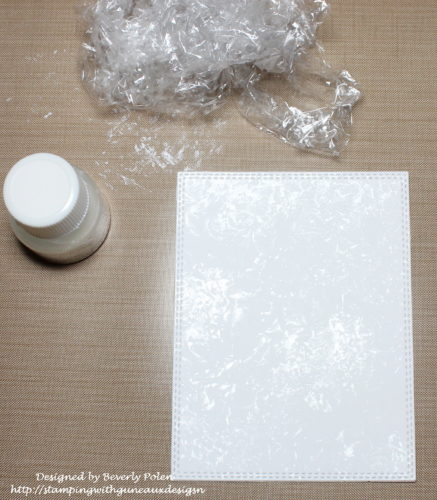 Step 7. After that dries, sponge on two or three different colors of distress ink (aqua and purple used for this card).
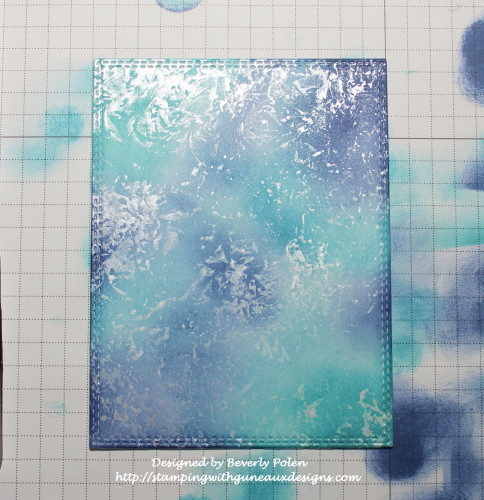 Step 8. Choose a stencil of your liking (I used a Catherine Pooler stencil), and place it over the colored panel.
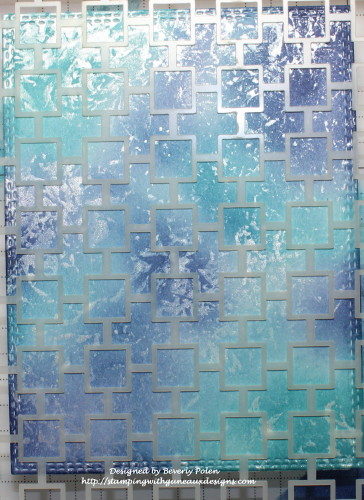 Step 10. Remove the stencil right away and lay a dry piece of paper towel across the panel to remove excess water (no rubbing).
 Step 12. While that is drying, cut a 3-3/4″ x 4-3/4″ piece of white card stock.
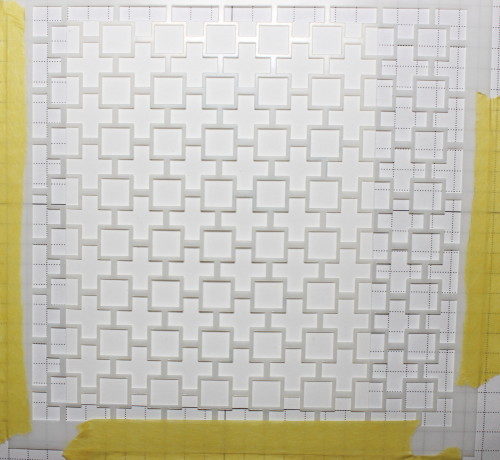
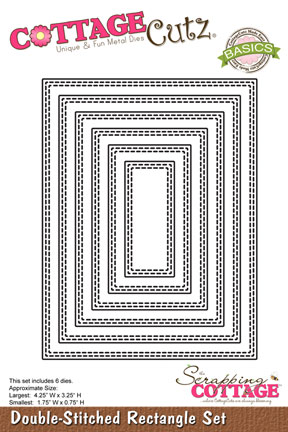
 Step 18. Select a piece of card stock that closely matches the lightest ink color used and cut out a rectangle frame using the two largest dies from the CottageCutz Double-Stitched Rectangle Set. This creates the following frame.
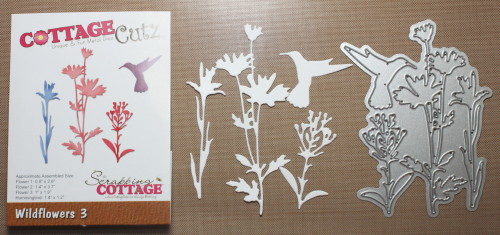
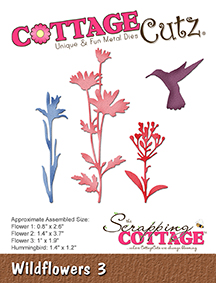
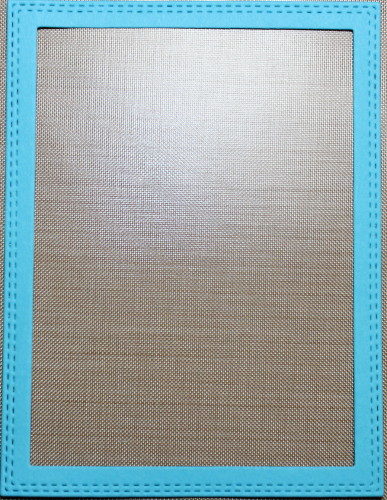 Step 19. Turn over the frame and with an adhesive, attach the white wildflowers to the bottom of the frame.
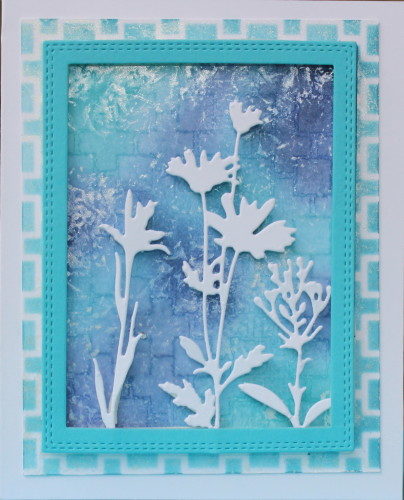
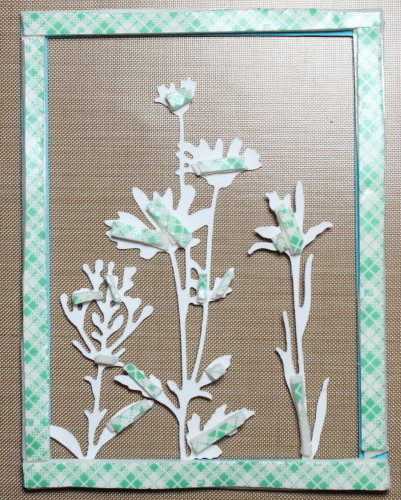 Step 21. Remove the paper from the tape and attach the frame to the rectangle completed in Step 11.


 erful weekend!!


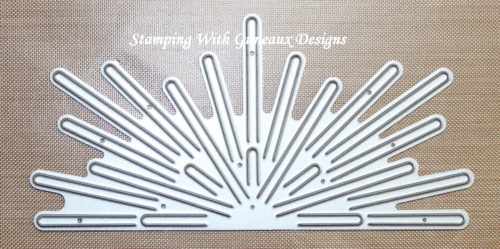
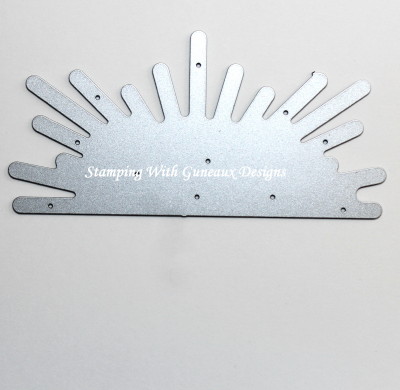

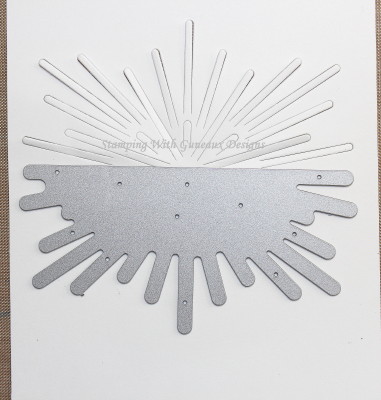 3. Then I laid the die upside down onto the card stock, ensuring I aligned the bottom cut of the die with the bottom cut of the first cut out (see left photo). I ran that through my die cutting machine to achieve the following results. The red lines in the following photo shows where I cut with the die the second time.
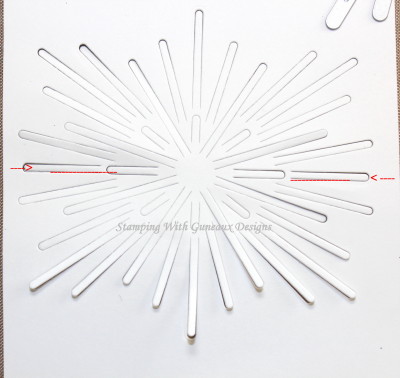
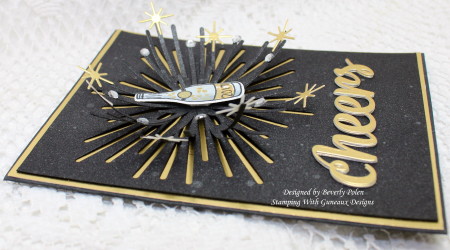
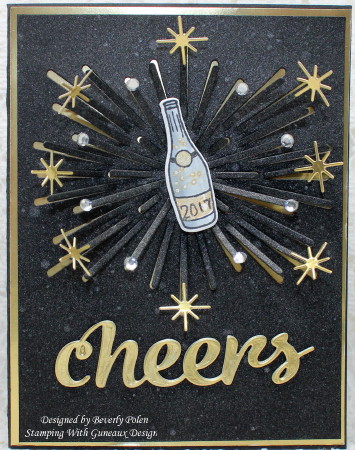
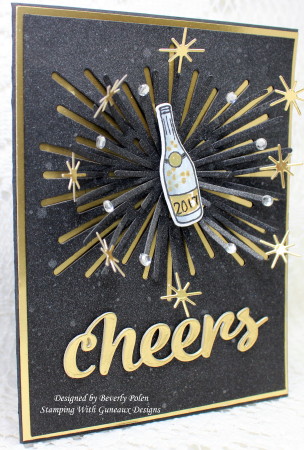 The champagne bottle, stars, and “cheers” sentiment are also from the Hero Arts’ kit. As is obvious, I used black card stock to create the “explosion” and adhered that to gold card stock that is also from the kit. I lifted each spike on the explosion so the gold would show through, and attached either a star or rhinestone.