Stampin’ Up! Birthday Blooms & Birthday Bouquet DSP

Hello and thanks for stopping in to browse.  Have you seen in person the new Stampin’ Up! Birthday Blooms Stamp Set and Birthday Bouquet Designer Series Paper (DSP)?  If not, the stamp set is gorgeous and the DSP contains some beautiful designs.  Before I show you my greeting card that I made with these two products, let me show you the products first.

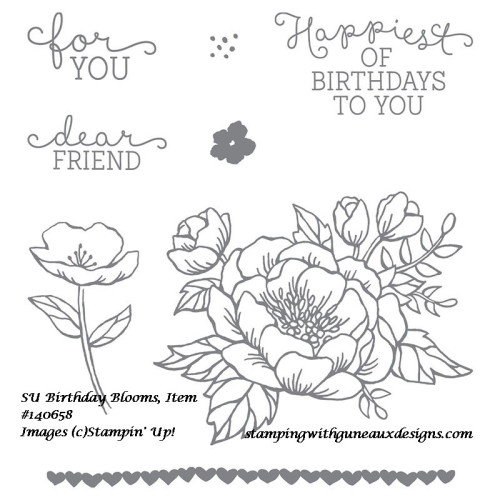
This is the gorgeous stamp set:

Stampin Up Birthday Blooms Stamp Set

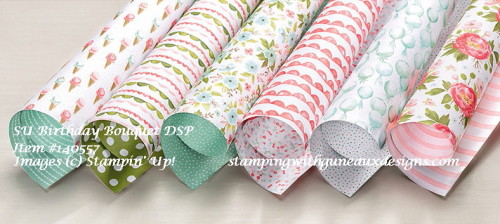
I am anxious to create a card using the gorgeous large flower stamp!  Here is a photo of the Birthday Bouquet DSP:

Birthday Bouquet DSP

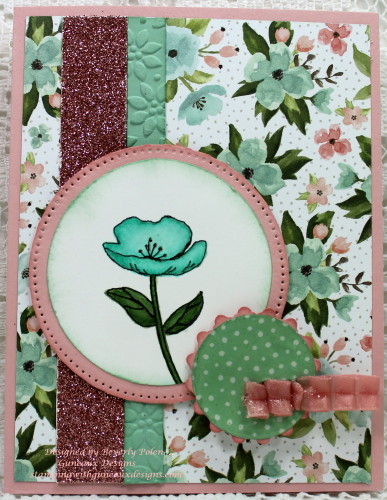
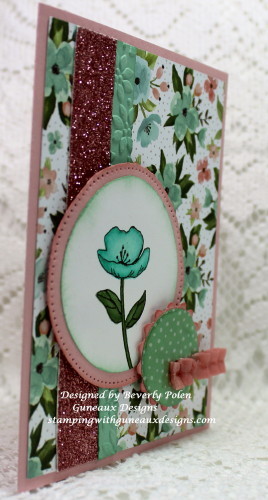
Here is my card, which I made for a Splitcoaststampers Sketch Challenge:

Stampin' Up! Birthday Blooms & Birthday Bouquet DSP

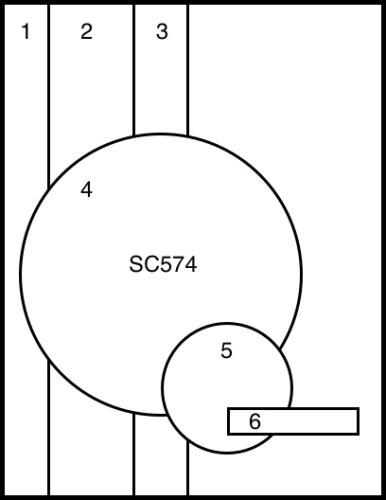
This is the Splitcoaststampers sketch for SC574 that I followed.

Splitcoastampers Sketch 574

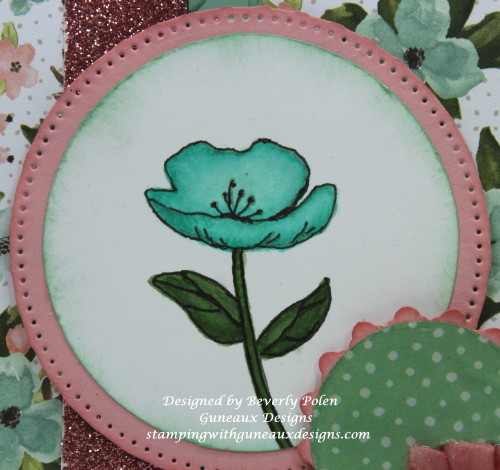
To make the card, I used the SU 2-1/2″ circle punch to cut out a Whisper White circle on which I stamped the small flower from the Stampin’ Up! Birthday Blooms Stamp Set.  I used copic markers to color the flower as close to Mint Macaron as possible.  I attached the colored flower to a circular mat made with Blushing Bride Card Stock.  I cut out the mat with a Spellbinders Splendid Circles Die, and then modified it to remove the outer layer.

Here’s a closeup of the flower:

Stampin' Up! Birthday Blooms and Birthday Bouquet DSP

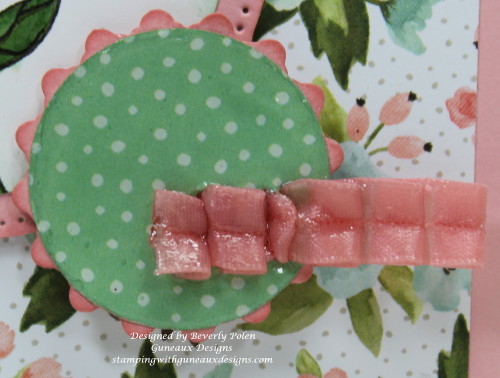
Next I used I cut the Stampin’ Up! 1-3/8″ Circle Punch to cut a Mint Macaron circle from a design of the Birthday Bouquet DSP.  Using a smaller die from the Spellbinders Splendid Circles Dies, I cut a Blushing Bride Card Stock mat upon which the Mint Macaron circle rests.  Finally, I added a piece of Blushing Bride Ribbon covered with Crystal Effects.

Stampin' Up! Birthday Blooms and Birthday Bouquet DSP

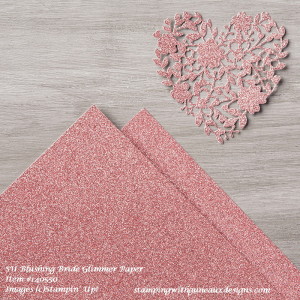
To assemble the card, I attached a piece of the DSP to an A-2 Blushing Bride card base. To adhere to the Splitcoaststampers sketch, I added a strip of the Stampin’ Up! Blushing Bride Glimmer Paper and an embossed strip of Mint Macaron Card Stock.  Finally, the two circle elements were attached in place.

Blushing Bride Glimmer Paper

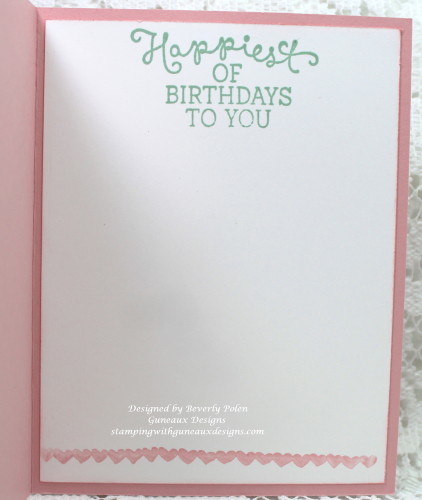
I did not add a sentiment to the card’s front; however, I know it will be a Happy Birthday Greeting Card as you can see from the card’s inside:

Stampin' Up! Birthday Blooms and Birthday Bouquet DSP

Enjoy the card and feel free to leave comments or questions.  You never know when I’ll select  your comment and ask for your address to send you the card!


Swallowtail Butterfly

God’s Blessings!

Stamping With Guneaux Designs

Stampin' Up! Birthday Blooms and Birthday Bouquet DSP

STAMPIN’ UP! BIRTHDAY BLOOMS AND BIRTHDAY BOUQUET DSP

ODBD Christmas Candles

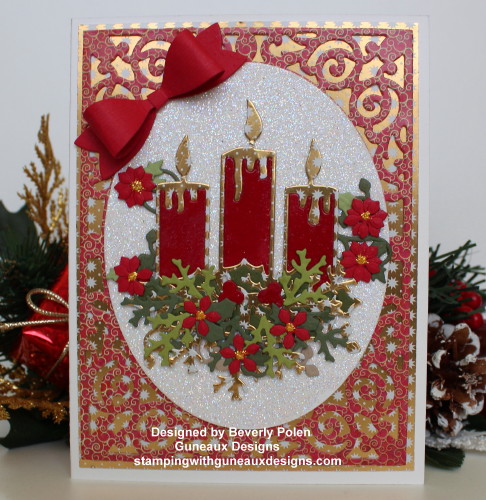
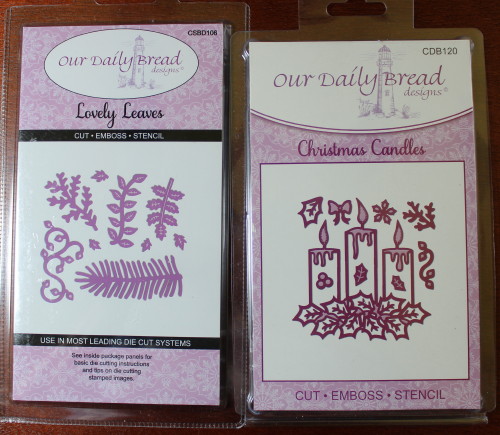
Our Daily Bread Designs (ODBD) has several beautiful Christmas dies this year.  The ODBD Christmas Candles (CDB120) is one set of beautiful dies.  Another set is the ODBD Lovely Leaves die set (CSBD106).  Both die set were used to create this Christmas card.

ODBD Christmas Candles

(Update:  This card was picked by ODBD as Customer Card of the Day)

CCOD Button (1)

This is a photo of the ODBD Christmas Candles and Lovely Leaves Die Sets.

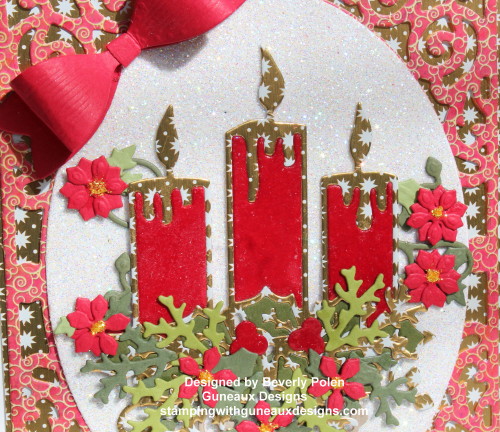
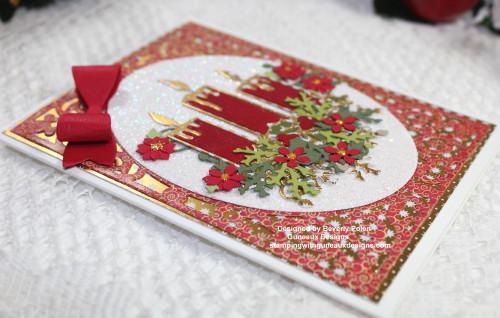
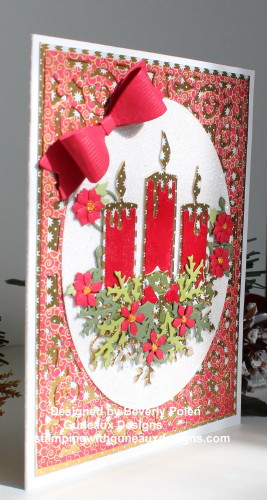
ODBD Christmas CandlesI placed the ODBD Christmas Candles, foliage, and flowers onto an oval piece of white card stock that I embossed with Stampin’ Up!’s Iridescent Ice Embossing Powder.  I topped that off with a red bow made with the ODBD Small Bow Dies.

ODBD Christmas Candles

The layer behind the candles is a red piece of ODBD Christmas Collection 2015 Card Stock that I cut with the Spellbinders A2 Filigree Delight Die (S5-177).  The shiny gold, snowflake piece of designer paper behind the red card stock is from the Craft Smith Gold Gift Pad. Notice that the gold snowflake paper is also featured around the candles.

ODBD Christmas Candles

Share your thoughts about the card in the comment section and have a wonderful week.


Swallowtail Butterfly

God’s Blessings!

Stamping With Guneaux Designs by Beverly Polen

ODBD Christmas Candles

ODBD CHRISTMAS CANDLES

ODBD Delightful Decorations Dies Christmas Card

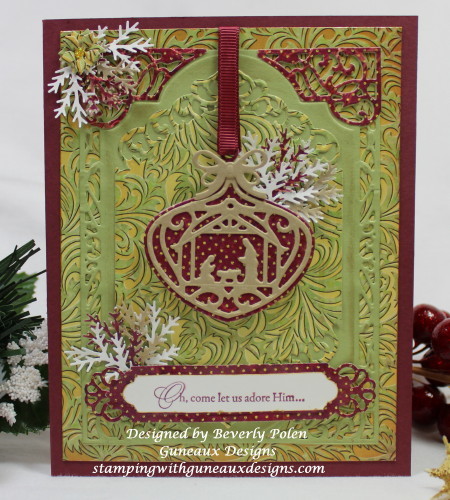
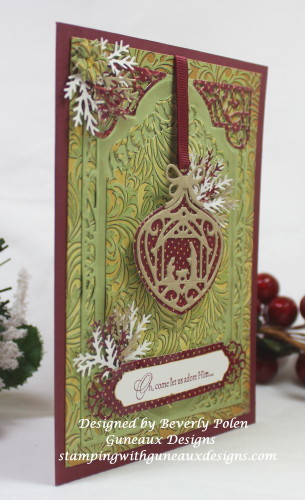
I am in love! 🙂  I love the ODBD Delightful Decorations dies, especially the one that is a nativity scene.  I have never seen a die like this, and I’m so glad I found it on Our Daily Bread Designs.  Here is my card that features the die.

ODBD Delightful Decorations Dies

This is my first card using Our Daily Bread Designs (ODBD) products.  I am so impressed with this business’ focus, which is a religious and spiritual focus for the crafting world.  I am a child of God’s and ODBD’s products certainly will enhance my crafting. Thank you ODBD!

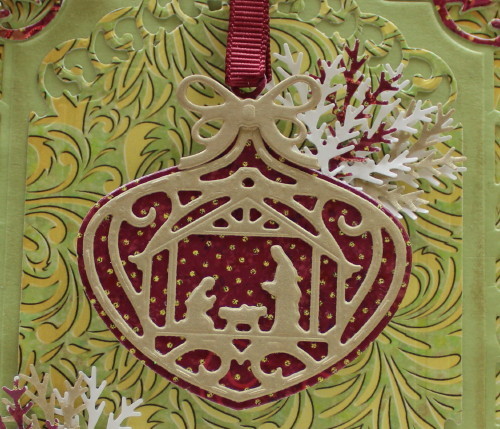
The following is a better picture of the ornament die cut featuring the nativity scene.

ODBD Delightful Decorations Dies Christmas Card

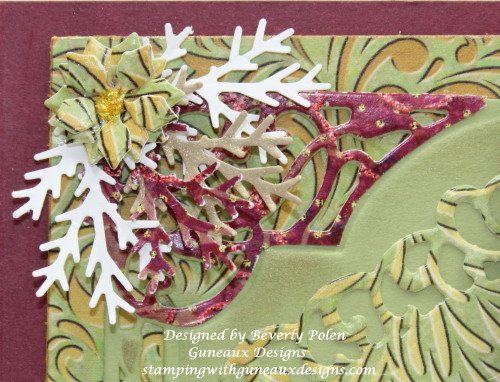
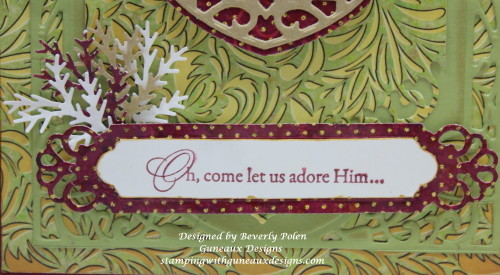
These pictures are closeups of the upper-left corner and sentiment on the card. The sentiment is from the retired Stampin’ Up! Come to Bethlehem stamp set.  I embellished these with “branches” created with the Martha Stewart Medium Branch Punch.

ODBD Delightful Decorations Dies
ODBD Delightful Decorations Dies Christmas Card

Martha Stewart Medium Punch, Branch

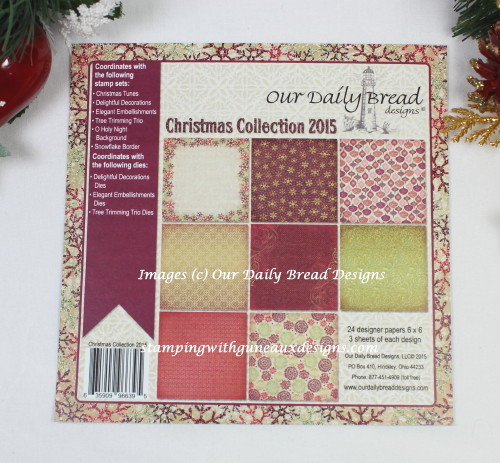
I made this card using ODBD Christmas Collection 2015 paper.  The paper has a shine to it and I really like it with its beautiful designs.  It’s slightly heavier than the Stampin’ Up! Designer Series Papers.  Here’s a picture of the designs.

ODBD Christmas Colection 2015 Paper Pad

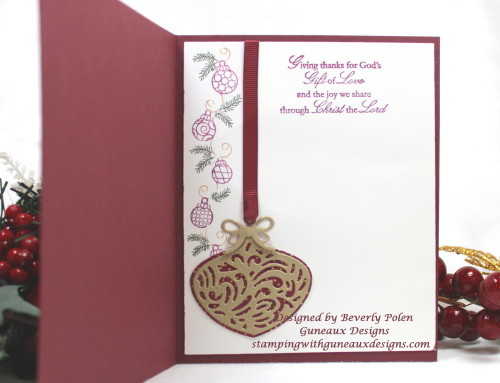
The inside of my card features another ornament die cut from the ODBD Delightful Decorations Dies.

ODBD Delightful Decorations Dies Christmas Card

Thank you for stopping by.  Don’t forget to leave a comment or a question.  Click on the conversation bubble to the right of this post’s title.


ButterflyGod’s Blessings!

Stamping With Guneaux Designs by Beverly Polen

ODBD Delightful Decorations Dies Christmas Card

ODBD DELIGHTFUL DECORATIONS DIES

Polished Stone Technique

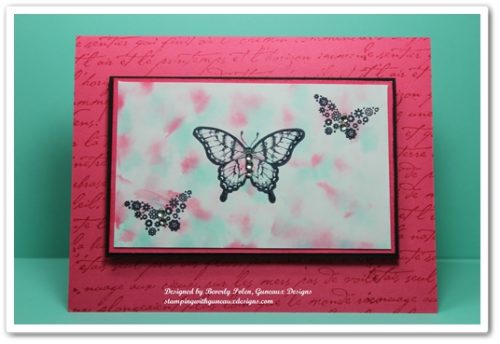
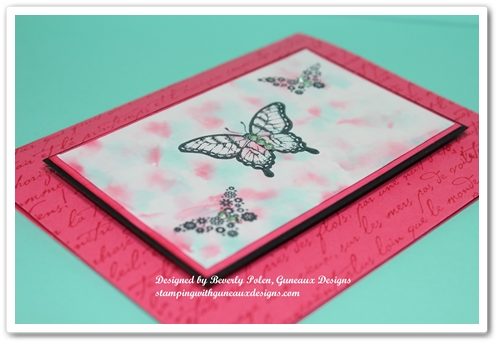
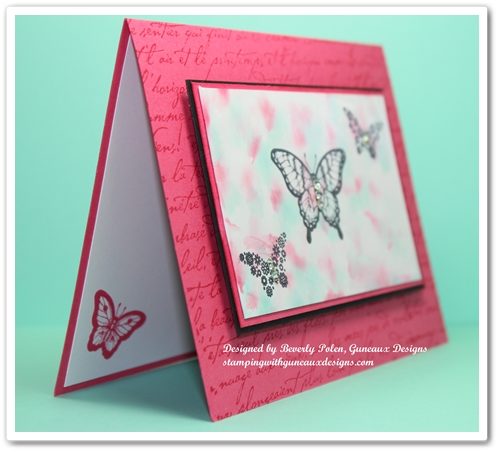
I suspect most crafters have tried the Polished Stone Technique.  However, this is my first time although the technique has been around for some time.  Polished Stone is a rich background technique that looks like rich marble.  It is an excellent background for both feminine and masculine cards.

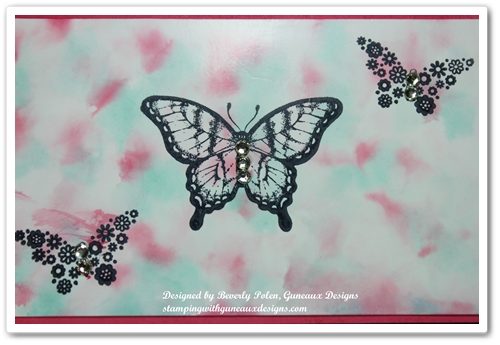
After looking closely at the above picture, can you tell that I left out one key product that most, but not all, crafters use for the Polished Stone Technique?   It is the metallic ink.  I have seen examples of this technique where the metallic ink was used and examples where it was not used.  Well, I left it out because I did not have any metallic ink.  However, I’ll provide you with the instructions that include the ink.


SUPPLIES USED FOR THE POLISHED STONE TECHNIQUE:

Paper:  Glossy White Card Stock (I used Stampin’ Up!’s), Strawberry Slush Card Stock (131295), and Basic Black Card Stock (121045)

Stamps:  Papillon Potpourri Stamp Set (123759) and Stampin’ Up!’s old French Script Background Stamp

Ink:  Coastal Cabana Classic Ink Re-Inker (131164), Strawberry Slush Classic Ink Re-Inker (131167), and Stazon Ink

Accessories:  Cotton Ball, Rubbing Alcohol, and Basic Rhinestones (119246)


INSTRUCTIONS FOR THE POLISHED STONE TECHNIQUE:

  • Add a few drops of metallic re-inker randomly onto glossy card stock.
  • Add rubbing alcohol onto a cotton ball.
  • Add two or three drops of each classic re-inker color onto the cotton ball.
  • Dab the cotton ball over the glossy card stock, continuing until you achieve the desired look.  The rubbing alcohol will cause the re-inker colors to blend together, and the metallic re-inker will sit on top of the re-inker colors to give a marble look.
  • Allow the card stock to dry, and if desired, seal it with an acrylic sealer.
  • Stamp the desired image onto the “marbled” card stock with Stazon Ink.
  • Create your card!

This card can be a Happy Birthday, Happy Anniversary, Thinking of You, Thank You, or any type of card.


 God’s Blessings!
Stamping With Guneaux Designs
by
Beverly Polen

POLISHED STONE TECHNIQUE

Happy 4th of July – Zentangle

HAPPY 4TH OF JULY – ZENTANGLE

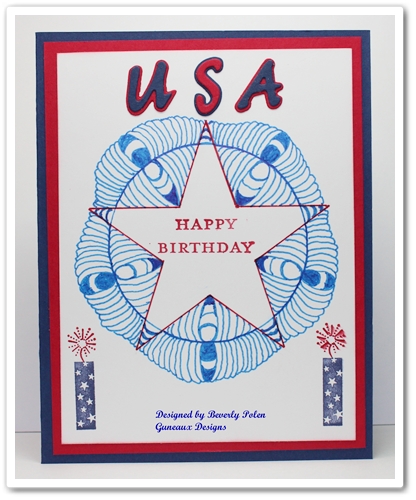
Happy 4th of July, everyone!!  I hope your day is filled with blessings!  May those of us who live in the wonderful USA be grateful as we celebrate our country’s birthday.  God bless the USA!

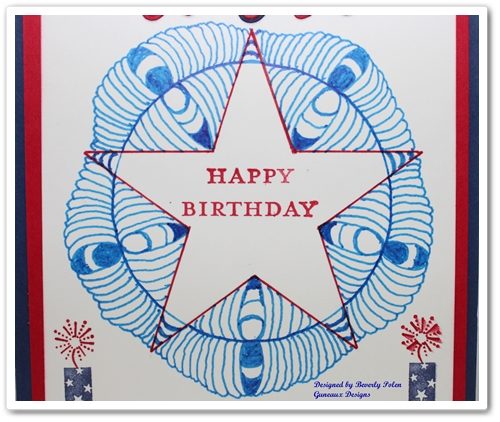
My Happy 4th of July card features tangling.  I created the design, therefore, there is no official name for the tangle.

The Happy Birthday sentiment is from the current Stampin’ Up! Hostess stamp set, the Morning Meadow.  The sparkles are from the Stampin’ Up! retired July Fourth stamp set. The “USA” is from an old Sizzix alphabet set that I have.  I have had this set of dies for years, and I foresee keeping and using it for many more.
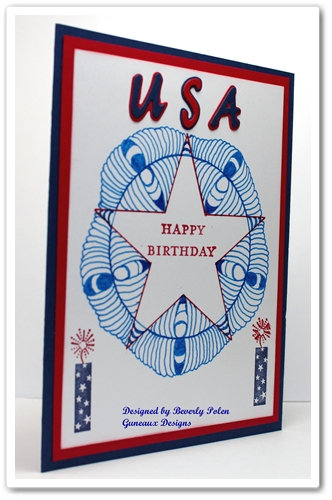
The picture to the right shows more clearly the tangling I designed.  It is very simple and easily duplicable.


 ENJOY YOUR DAY!

God’s Blessings!
Stamping With Guneaux Designs
by
Beverly Polen

HAPPY 4TH OF JULY – ZENTANGLE

Stampin Up Courage Stamp Set – 4th of July 3-D Card

As I shared in my last post, I love the Stampin Up Courage stamp set that retired recently.  Having family members who were in the military and a Dad who loved the American Flag, I especially like this stamp set.  Personally, I think it was a mistake to retire the Stampin Up Courage stamp set.  Regardless, it’s retired, but I am featuring it on my card share for today.  This is my Stampin Up Courage Stamp Set – 4th of July 3-D Card.

Actually, I CASEd (i.e., copy and share everything) myself when making this card.  I made a similar card in 2010 for a special son-in-law who at the time was on active duty with the Army.  God took him home a year ago last month and I really miss him.

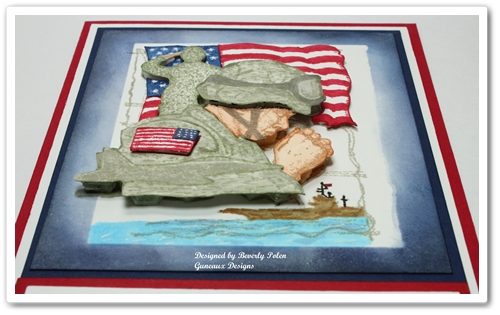
As for the card, it is a three-dimensional card.  It may not appear to be based on the photo, so let me share why it is.

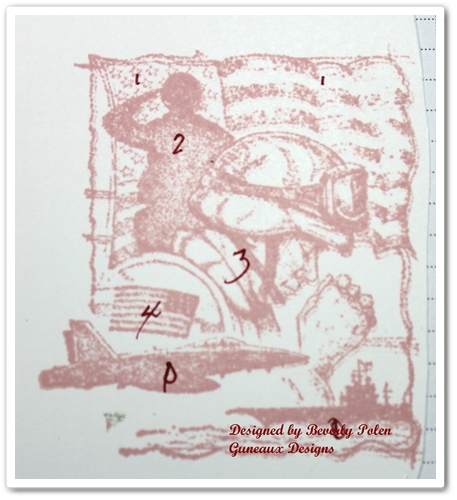
I decided that I wanted each piece on the military-related image to be raised at varying levels.  So I stamped the image onto scrap paper and numbered what part of the image that I wanted at what level.

The picture to the right explains.  I numbered as “1” the item I wanted raised with one layer of Stampin Up Dimensionals (i.e., adhesive foam), “2” for those with two layers of dimensionals, and so on.  I re-stamped the image, applied various ink colors, and cut out the pieces.  I then attached the pieces according to the “map” in the photo.
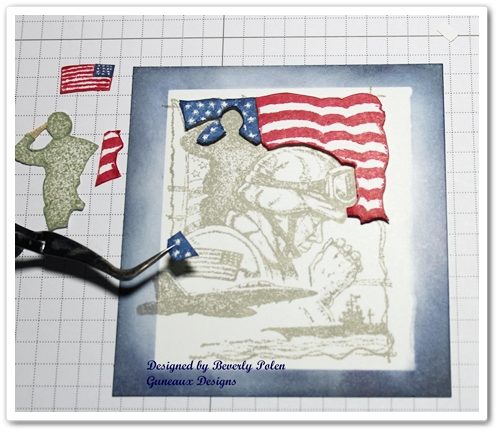
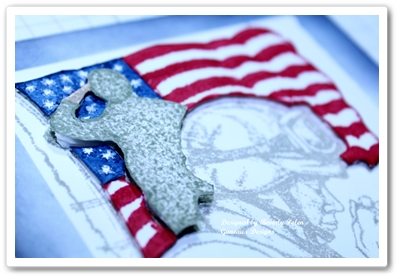
The following picture shows the process of attaching the pieces for the first level, which is the American Flag in the background.

Moving to the 2nd level, I attached the saluting soldier using two layers of dimensionals.  That is shown in the picture to the right.
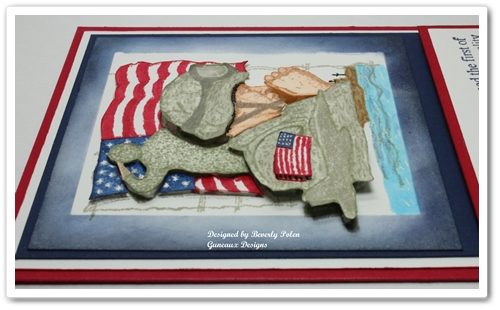
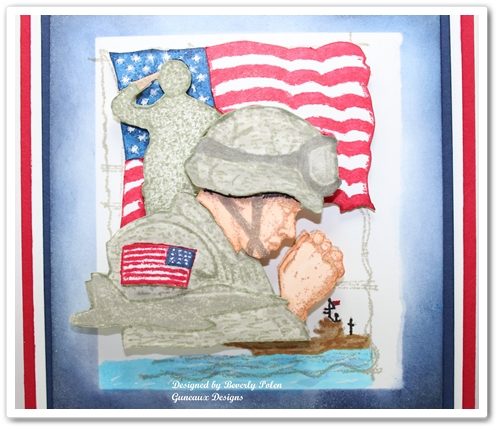
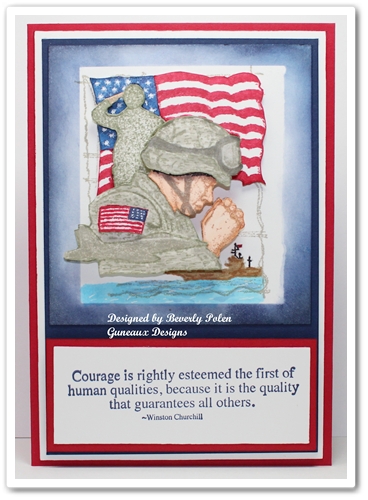
Moving to the 3rd level, I attached the praying soldier with three layers of dimensionals.  However, I did make one change.  I wanted the helmet and the American Flag on the soldier’s uniform to be raised a level above the soldier.  Therefore, I added four layers of dimensionals to the helmet and one to the flag. The following picture reflects this and the completed image.

 The following pictures provide a better view of the dimensional elements.

The final product of the Stampin Up Courage card includes Real Red Card Stock as the base, Whisper White Card Stock for the 1st layer, and Night of Navy Card Stock as the 2nd layer.  Included is the sentiment from the Stampin Up Courage stamp set.

If you enjoyed the card and tutorial, please let me know by leaving a comment.


God’s Blessings!
Stamping With Guneaux Designs
by
Beverly Polen

STAMPIN UP COURAGE STAMP SET – 4TH OF JULY CARD