Pleated Skirt Fold Technique Tutorial

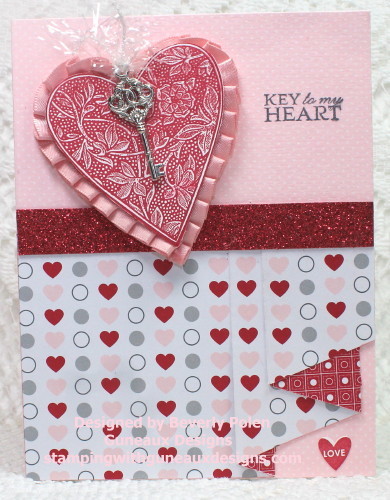
Hello, and thanks for stopping by!  I hope you had a great weekend!  It’s Monday, and I have for you a tutorial for the Pleated Skirt Fold Technique.  The card I prepared for this tutorial is a response to the two challenges on Splitcoaststamper.com (SCS) as described below.

  1. Technique Lovers Challenge (TLC572) – create a card using the Pleated Skirt Fold Technique, and
  2. Clean and Simple Challenge (CAS362 – Won’t You Call Me Sweetheart) – create a card that includes a heart.

I combined the two challenges and this is the result:

Pleated Skirt Fold Technique

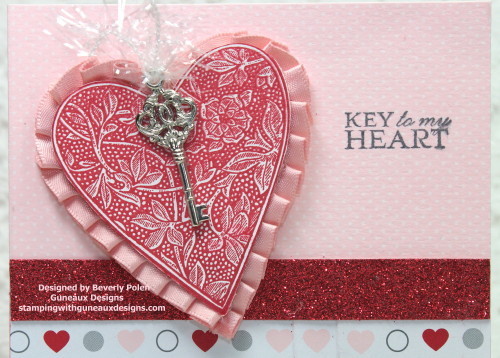
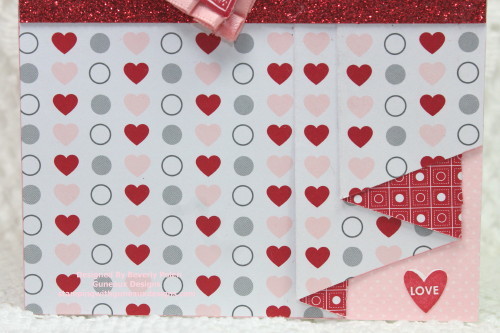
The following two photos provide a closeup of the upper and bottom portions of the card.

Pleated Skirt Fold Technique Tutorial

Pleated Skirt Fold Technique Tutorial

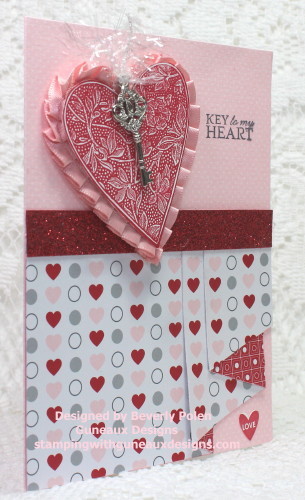
This photo is a side view of the card.

Pleated Skirt Fold Technique Tutorial

Becky Roberts, a long-time Stampin’ Up! Demonstrator, provided a tutorial for the first challenge, Pleated Skirt Fold Technique, on SCS.  However, I am not sure if there is access to the tutorial if you are not a member of the Splitcoaststampers.com site.  I just don’t know.  Therefore, I decided to include a tutorial for you today.

BlogDivider_zpsed339ea1

PLEATED SKIRT FOLD TECHNIQUE TUTORIAL

General Supplies Needed:

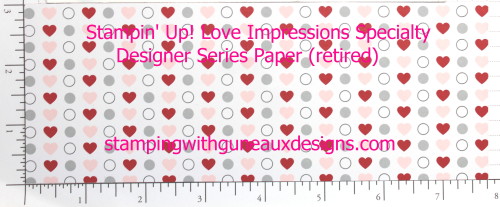
  • Two-sided paper (I used Stampin’ Up! Love Impressions Specialty Designer Series Paper);
  • Stamp(s) ( I used Stampin’ Up! Gentler Times, I {Heart} Hearts, and You’re A Gem Stamp Sets);
  • Paper Trimmer;
  • Scissors;
  • Adhesive; and
  • Additional supplies needed to decorate a card.  I used:
    • Red Glimmer Paper;
    • Stampin’ Up! Real Red and Basic Gray Classic Ink;
    • Stampin’ Up! Blushing Bride Satin Pleated Ribbon and Clear Trim Tinsel; and
    • Stampin’ Up! Key Trinket.

INSTRUCTIONS:

1.  Cut a 7-3/4″ x 3″ piece of two-sided designer paper.

Pleated Skirt Fold Technique Tutorial

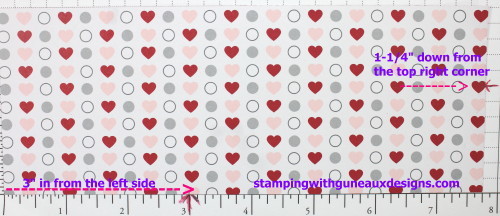
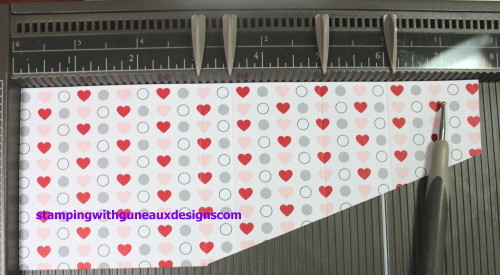
2.  Measure at the top of the upper-right corner of the paper down to the 1-1/4″ point and make a mark.

3.  Measure from the bottom-left side of the paper over to the 3″ point and make a mark.

Pleated Skirt Fold Technique Tutorial

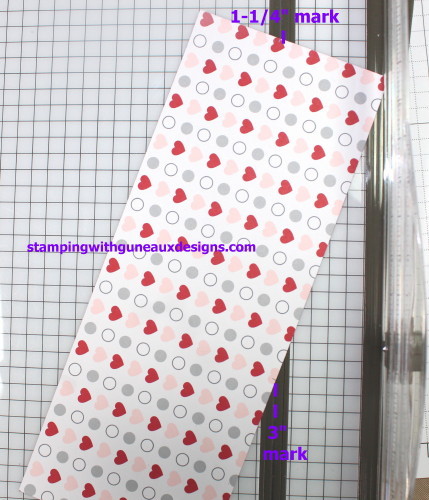
4.  Align these marks in the cutting channel of your paper trimmer

Pleated Skirt Fold Technique Tutorial

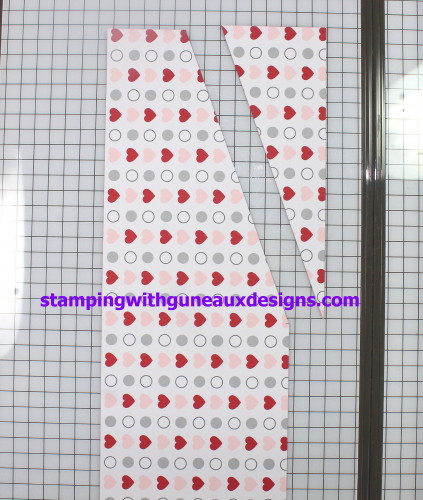
5.  Trim this piece off and put to the side.

Pleated Skirt Fold Technique Tutorial

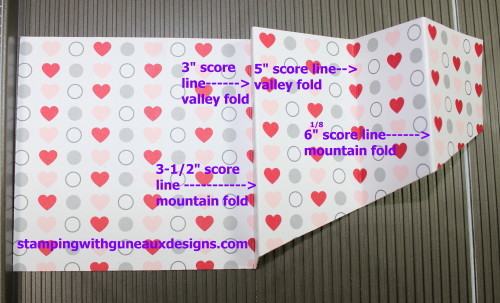
6.  Place the other piece onto your scoring tool, and score at the 3″, 3-1/2″, 5″, and 6-1/8″ marks.

Pleated Skirt Fold Technique Tutorial

7.  Fold a valley fold at the 3″ score line, mountain fold at the 3-1/2″ score line, valley fold at the 5″, and mountain at 6-1/8″.

Pleated Skirt Fold Technique

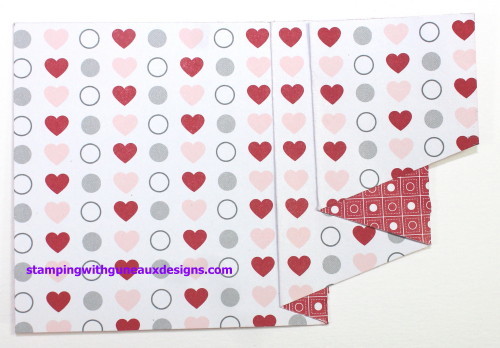
8.  Crease the fold lines with a bone folder.  Add adhesive to the back of the pleats so they will remain flat.  The piece of paper will look like this after folding and adhering it together.
Pleated Skirt Fold Technique Tutorial

9.  Adhere this to the bottom portion of a 5-1/2″ x 4-1/4″ card base.  You’ll need to use scissors to trim off a small piece of the pleated skirt that will overhang on the right side of the card base.

10.  Decorate the remaining portion of your card as desired.

ENJOY!

BlogDivider_zpsed339ea1

Swallowtail Butterfly

God’s Blessings!

Stamping With Guneaux Designs By Beverly Polen

Nail Art Inspiration – SU Botanical Builder Framelits

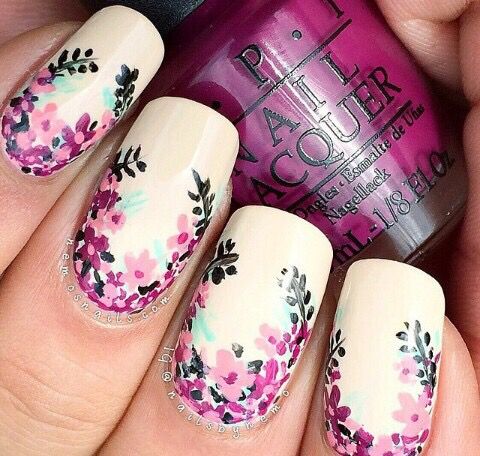
Have you ever been inspired by NAIL ART in your paper crafting creations?  I would have never thought of that until today.  On Splitcoaststamper.com today, the Inspiration Challenge, IC531, is to view this NAIL ART Pinterest board, select a photo that inspires you, and create paper art.

There are so many photos of beautiful nail art that inspired me, and it was difficult to pick just one.  However, I chose this one as my focal point for my card share today.

Nail Art Inspiration SU Botanical Builder Framelits

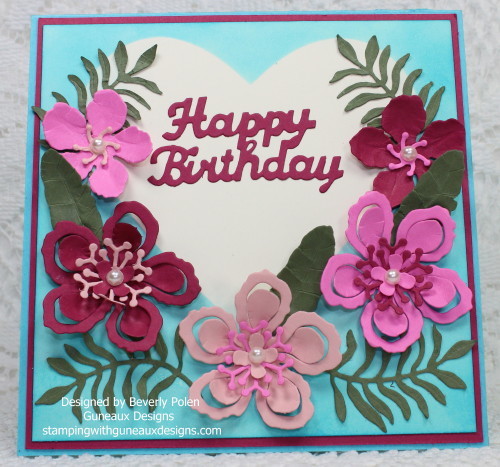
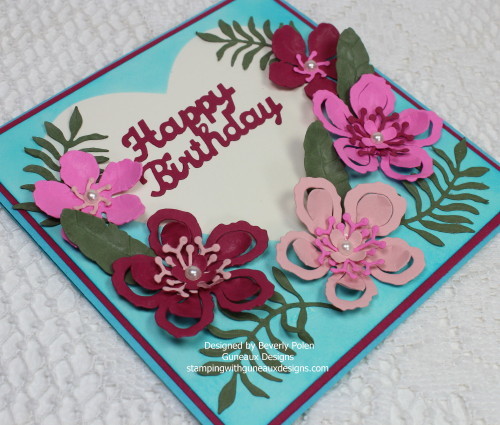
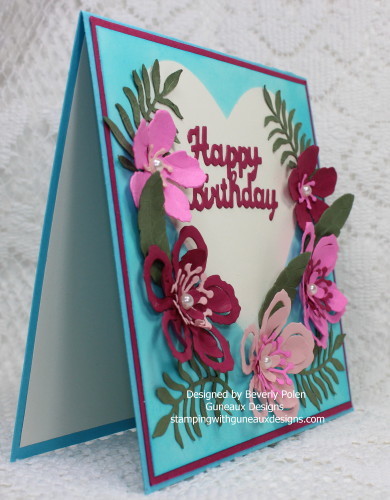
The nail art inspired me to create this Happy Birthday Card.  Please share with me how you think I did with the inspiration!

http://stampingwithguneauxdesigns.com/nail-art-inspiration-su-botanical-builder-framelits/

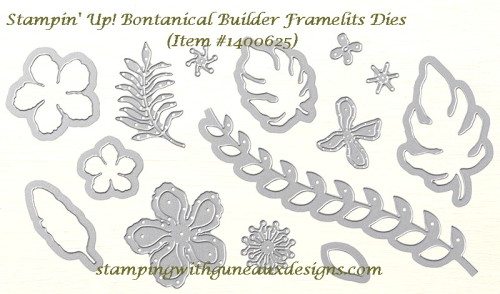
When I saw the photo of the nail art above, I knew right away how I would create my card.  The Stampin’ Up! (SU) Botanical Builder Framelits immediately came to mind. Therefore, the floral elements you see on the card were created with the Framelits. To create more realistic 3D floral elements, I used the Sizzix Susan’s Garden Tool Kit.  (If interested in learning about this kit, here is a YouTube video about the kit, and here is a YouTube video that shows how to use it.)

Nail Art Inspiration - SU Botanical Builder Framelits

Did you notice the specks of turquoise on the nails in the above nail-art photo?  To incorporate that color on my first card layer, I cut a heart frame, laid it onto the SU Very Vanilla Card Stock, and sponged around it with SU Tempting Turquoise Ink. Afterwards, I adhered the floral pieces onto the card stock and added SU Basic Pearls in the center of each flower.

Nail Art Inspiration - SU Botanical Builder Framelits

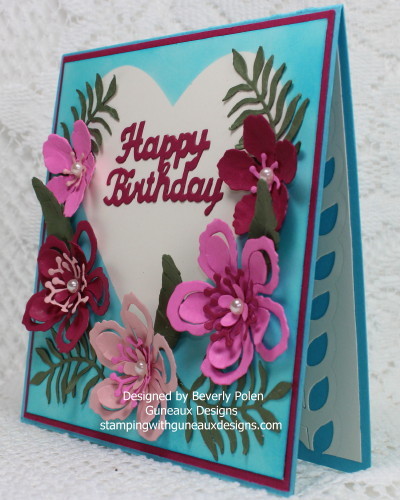
You can see that I used the largest leaf framelit on the inside of the card in the above photo.  I hope you enjoy my beautiful card as much as I did making it!

IF YOU HAVE QUESTIONS OR COMMENTS, PLEASE LEAVE THEM IN THE COMMENTS SECTION.

BlogDivider_zpsed339ea1 SUPPLIES USED

Stamps:  None

Paper:  Stampin’ Up! Very Vanilla, Purely Pomegranate (retired), and Tempting Turquoise Card Stock

Ink:  Stampin’ Up! Tempting Turquoise Classic Ink (126952)

Accessories:  Stampin’ Up! (SU) Botanical Builder Framelits (140625), SU Basic Pearls, North Coast Creations Happy Birthday DieSizzix Susan’s Garden Tool Kit (no longer available at Sizzix), and SU Stamping Sponge

Nail Art Inspiration - SU Botanical Builder Framelits nail art inspirationtbotanical Builder framelits

Sizzix Accessory - Tool Kit inspired by Susan Tierney-Cockburn

BlogDivider_zpsed339ea1

Swallowtail Butterfly

God’s Blessings!

Stamping With Guneaux Designs By Beverly Polen

Nail Art Inspiration - SU Botanical Builder Framelits

Stampin’ Up! Birthday Blooms

Hello my friends!  Are you anxious for spring?  I certainly am!  Actually, the weather in my part of Florida has been totally abnormal for some time now, and I have azalea bushes blooming already. I love when my hibiscus bushes start blooming as some of them have 6″ – 8″ flowers!  They are beautiful!

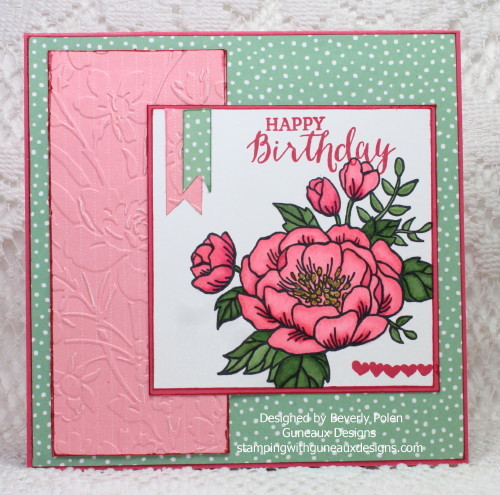
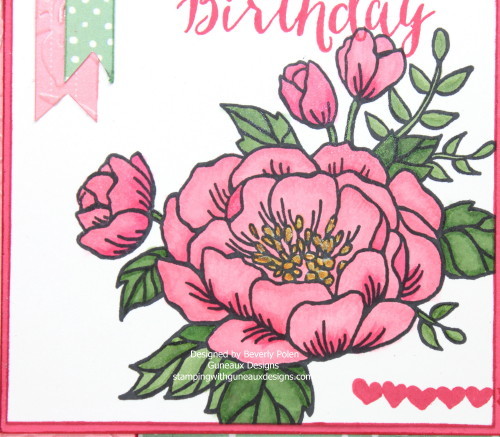
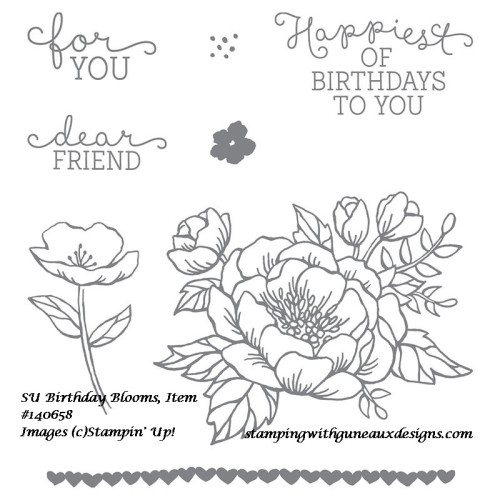
To get me in the frame of mind for spring, I’ve created a beautiful Happy Birthday card featuring the Stampin’ Up! Birthday Blooms Stamp Set and Stampin’ Up! Birthday Bouquet Designer Series Paper.  The large floral stamp in the stamp set is so gorgeous and can be colored with numerous colors.  I’m not 100% sure, but I think the image is of a peony.

Stampin' Up! Birthday Blooms

Also, I created my card in response to a “sketch challenge” at Splitcoaststampers.com. This is the sketch – ©Splitcoaststampers.com:

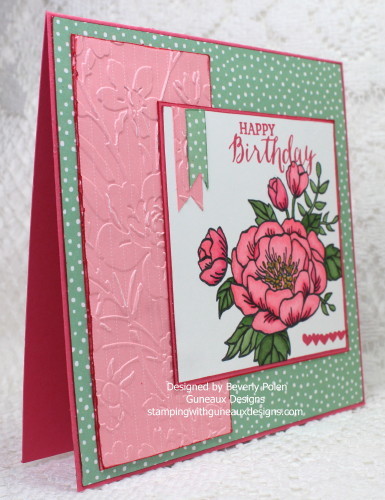
Splitcoastampers.com Sketch ChallengeHere are additional photos of my card:

Stampin' Up! Birthday Blooms Stampin' Up! Birthday Blooms-1_1


BlogDivider_zpsed339ea1

SUPPLIES USED:

Stamps:  Stampin’ Up! Birthday Blooms Stamp Set (140658), and Stampin’ Up! Rose Wonder Stamp Set  (for the sentiment) (140697)

Paper: Stampin’ Up Birthday Bouquet Designer Series Paper (DSP) (140557), Stampin’ Up! Prints Pack DSP (retired), SU Strawberry Slush Card Stock (CS), and Whisper White CS

Ink:  Various Copic Sketch Markers, SU Strawberry Slush Classic Ink, and SU Pink Pirouette Classic Ink

Card Size:  5-1/2″ Square

Accessories:  Anna Griffin Floral Embossing Folder

Stampin' Up! Birthday Bouquet DSP and Stampin' Up! Birthday BloomsStampin Up Birthday Blooms

If you have questions or comments, feel free to leave them in the comments section.

BlogDivider_zpsed339ea1

Swallowtail Butterfly

God’s Blessings!

Stamping With Guneaux Designs By Beverly Polen

Stampin’ Up! Dress Up

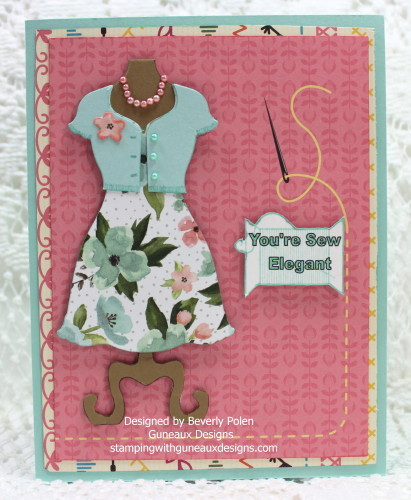
It has been so time since I used my Stampin’ Up! Dress Up Framelits (retired), and I try to not miss an opportunity to use them.  This week on Splitcoaststampers.com, the featured stamper is Kathy at MochaFrap.  As I’ve shared before, other members of the site choose a card to CASE from the featured stamper’s gallery.   Kathy’s gallery is full of whimsical artwork.  I chose this card to case as it features a similar die (Sizzix) .

Stampin' Up! Dress Up

To select a designer series paper to create my card, I researched current fashion trends and found this outfit that I like.
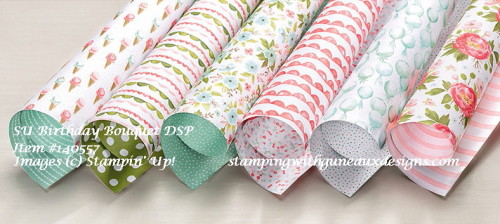
Stampin' Up! Dress UpIt was good to see floral outfits are in style!  The floral outfit was the reason I selected the Stampin’ Up! Birthday Bouquet Designer Series Paper for my design. This DSP has beautiful floral designs.  Here’s a picture of the paper.

Stampin Up Dress Up

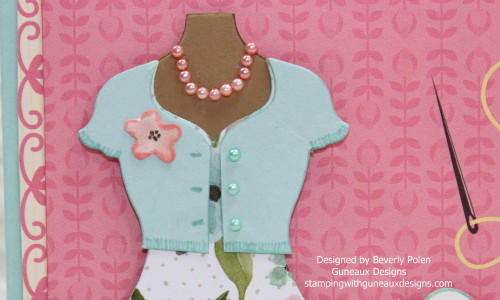
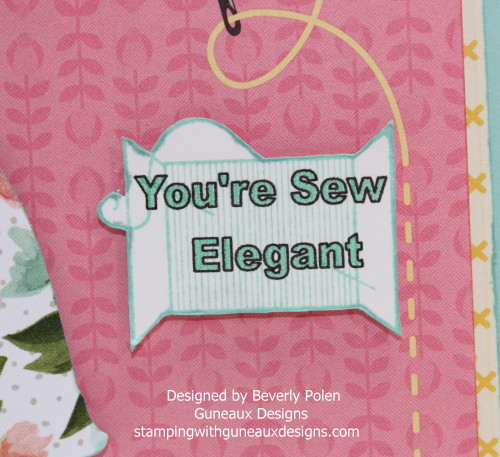
Here are closeups of the cardigan and sentiment on my card.

Stampin' Up Dress Up

Stampin' Up Dress Up

I used Stampin’ Up! Basic Pearls for the necklace and cardigan buttons, and Copic markers to achieve the color I wanted.  I created the sentiment in MSWord and stamped the spool image over the sentiment.  The spool stamp is from the retired Stampin’ Up! Sew Suite Stamp Set.

The background designer series paper is from the retired Stampin’ Up! Sweet Stitches Designer Series Paper.  I have an extra, never been open, package of this DSP if there is interest, I’ll sell it to you.

BlogDivider_zpsed339ea1

SUPPLIES USED:

Stamps: SU Sew Suite (retired)
Paper:  SU Sweet Stitches DSP (retired), SU Birthday Bouquet DSP, SU Pool Party Card Paper Size: A2
Ink: None
Accessories: SU Dress Up Framelits (retired) and SU Basic Pearls

BlogDivider_zpsed339ea1

Swallowtail Butterfly

God’s Blessings!

Stamping With Guneaux Designs By Beverly Polen

Stampin' Up! All Dressed Up

Splitcoastampers Color Challenge – Non-traditional Valentine Card

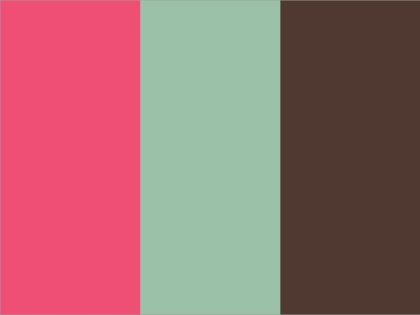
Hello, and thanks for stopping by!  This week I entered Splitcoastampers color challenge to create a card with three Stampin’ Up! colors; Strawberry Slush, Mint Macaron, and Early Espresso.

Splitcoastampers Color Challenge

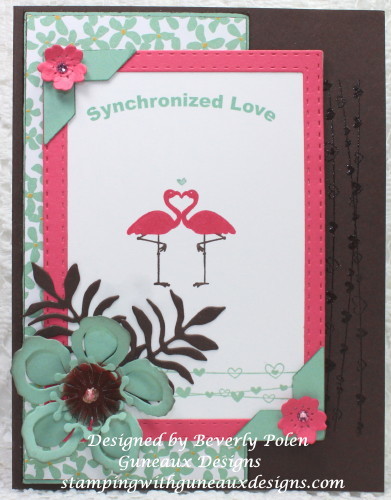
The challenge included a “dessert” to create a non-traditional valentine card using these colors. Additionally, participants could use non-traditional valentine images. This is the card I created for the challenge.

Splitcoaststampers Color Challenge

So, what are your thoughts?  Do you think it’s non-traditional for a valentine card?

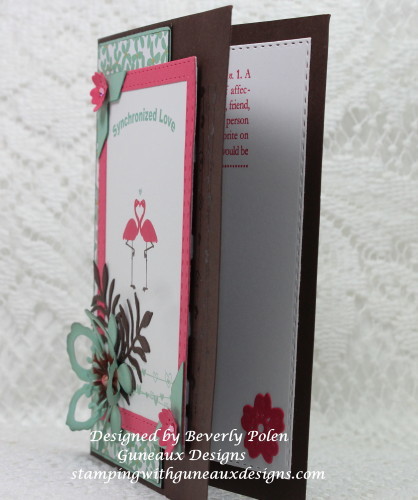
When I was in the decision-making process for the card, I thought of a flamingo stamp I have that is included in a retired Stampin’ Up! stamp set, Valentine Defined. I further thought about the flamingos and their synchronized mating dance.  Thus, I decided the sentiment had to be Synchronized Love!

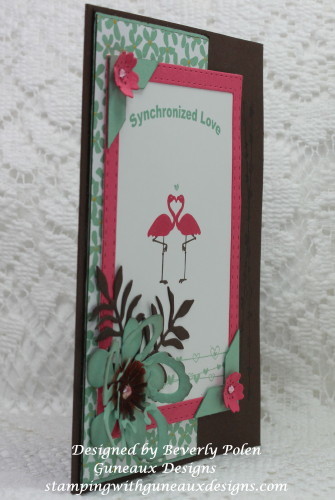
Here are additional photos of the card.

Splitcoastampers Color Challenge Non-traditional Valentine Card

Splitcoastampers Color Challenge Non-traditional Valentine Card

BlogDivider_zpsed339ea1

SUPPLIES:

Stamps: SU Valentine Defined

Paper: SU Botanical Gardens DSP, Strawberry Slush CS, Mint Macaron CS, Early Espresso CS, and Whisper White CS

Paper Size: A2

Ink: SU Strawberry Slush, Mint Macaron, and Early Espresso

Accessories: ODBD Double Stitched Rectangles, SU Botanical Builder Framelits Dies, SU Clear Embossing Powder, SU Corner Punch, and Swarovski Crystals

BlogDivider_zpsed339ea1

Swallowtail Butterfly

God’s Blessings!

Stamping With Guneaux Designs By Beverly Polen

Dry Embossing With A Stencil Technique

Yesterday’s card challenge at Splitcoaststampers was to create a card featuring the dry embossing with a stencil technique.  It has been many years since I’ve used a stencil to dry emboss card stock.  Regardless, I found the challenge to be fun.  When was the last time you dry embossed with a stencil?

Dry Embossing With A Stencil Technique

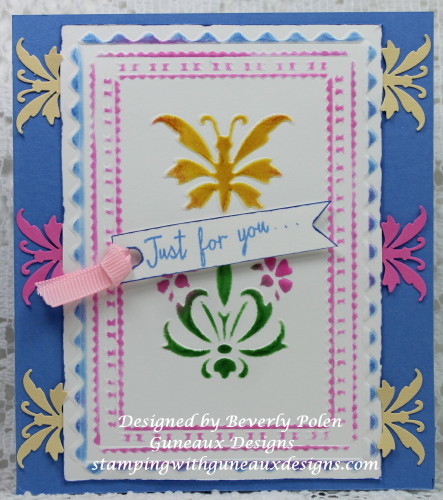
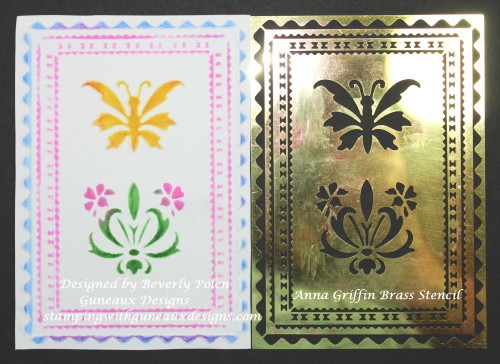
To create this card, I used an Anna Griffin Brass Stencil and Whisper White Card Stock.  With a correct die-cutting sandwich, I ran the paper and stencil through my die-cutting machine, which created an embossed piece of card stock.  Turning the embossed card stock face up, I placed the stencil over the embossed areas and used three different colors of ink to color the paper.  Because the embossed areas are raised, it was easy to color over the stencil onto the card stock.

Dry Embossing With A Stencil Technique

I have a matching butterfly punch that I used to punch out yellow and pink butterflies. These butterflies were adhered underneath and down the sides of  the embossed and colored card stock.  I adhered this piece to a Ballet Blue card base and created the sentiment with a ribbon attached.

It is just that simply!!!  If you’ve not tried this in a while, give it a try.  It’s easy and fun.

Thanks for stopping in and I hope you return soon!

BlogDivider_zpsed339ea1

SUPPLIES

Stamps:  SU Watercolor Wings (sentiment) and Rose Wonder (inside of card)

Paper: SU Whisper White, Pixie Pink, and Ballet Blue Card Stock

Paper Size: 4-1/2″ x 5-1/4″

Ink: SU Daffodil Delight, Pixie Pink, Ballet Blue, and Cucumber Crush

Accessories: Anna Griffin Brass Stencil, Anna Griffin Butterfly Punch, and Pink Ribbon

Techniques: Dry Embossing With A Stencil Technique

BlogDivider_zpsed339ea1

Swallowtail Butterfly

God’s Blessings!

Stamping With Guneaux Designs by Beverly Polen

DRY EMBOSSING WITH A STENCIL TECHNIQUE