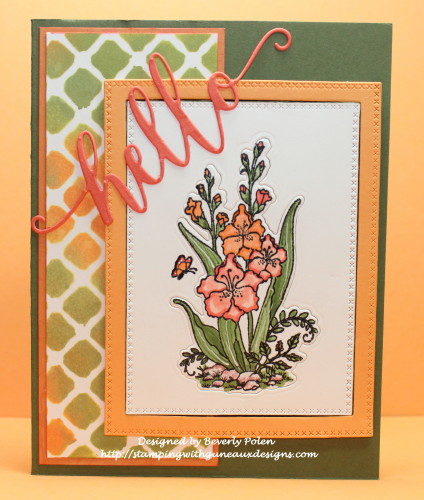
Heartfelt Creations Small Classic Petunia Card
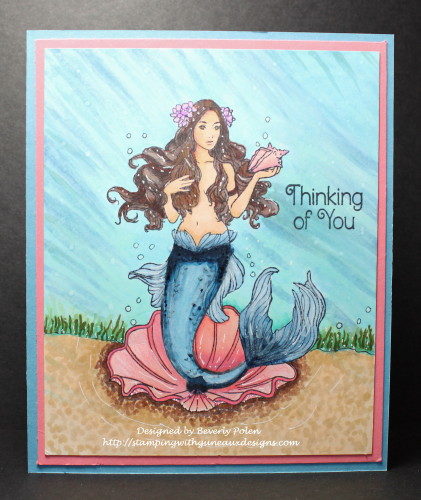
Happy Saturday, and thanks for stopping by to see my card share today that features the Heartfelt Creations Small Classic Petunia Stamp and Die!
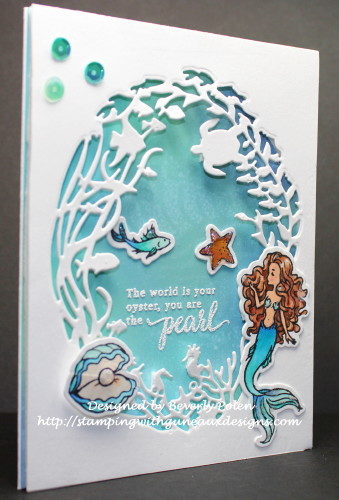
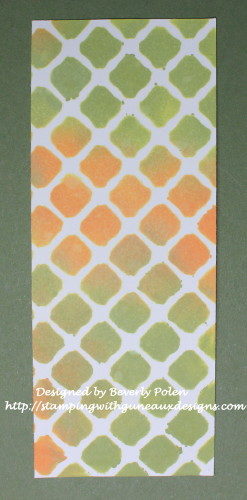
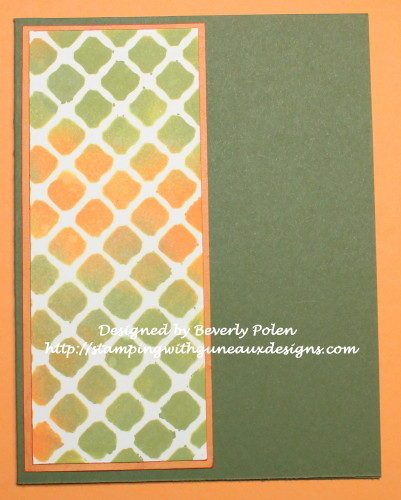
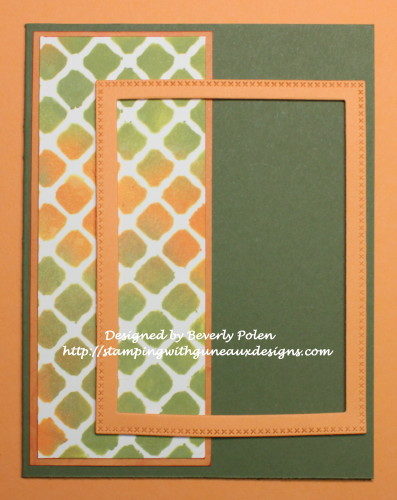
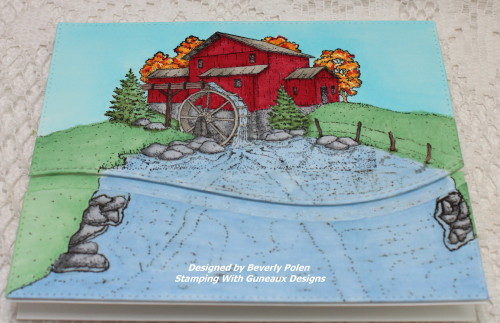
I made this card to submit to a Splitcoaststampers challenge, the Ways To Use It Challenge. The challenge was to use strips of paper on your card.
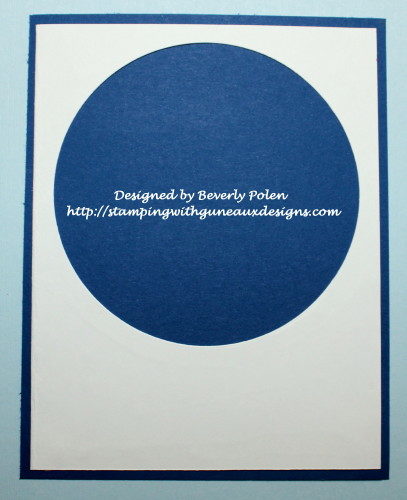
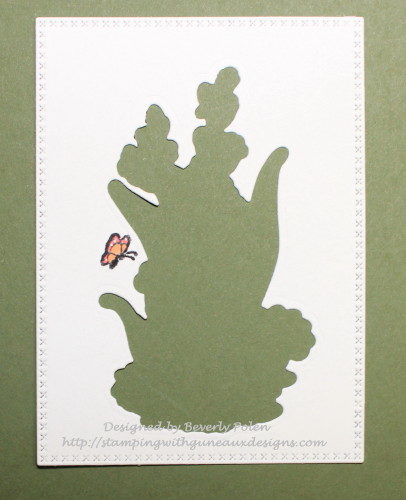
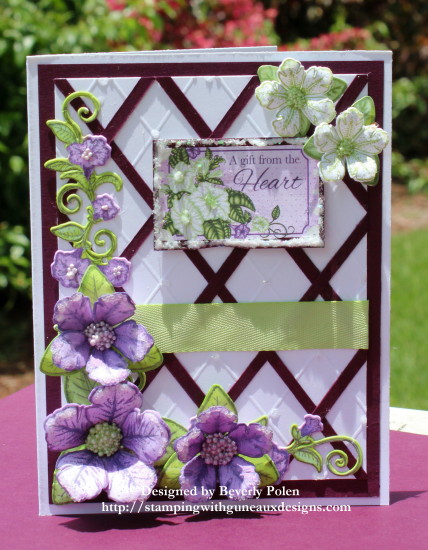
To create the card, I cut a 3-3/4″ x 5″ piece of white card stock and scored it diagonally using a scoring tool. Hopefully you can see the score lines. Then I cut 1/8″ strips of paper and attached them diagonally to the scored piece in a weaved pattern.
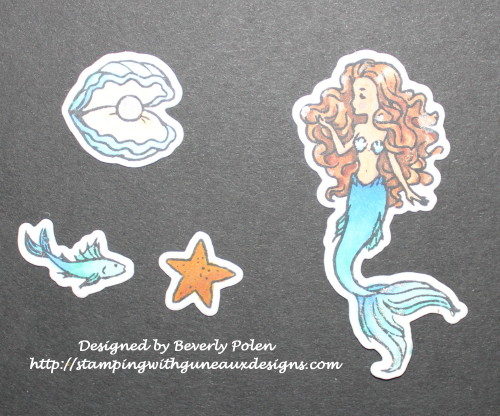
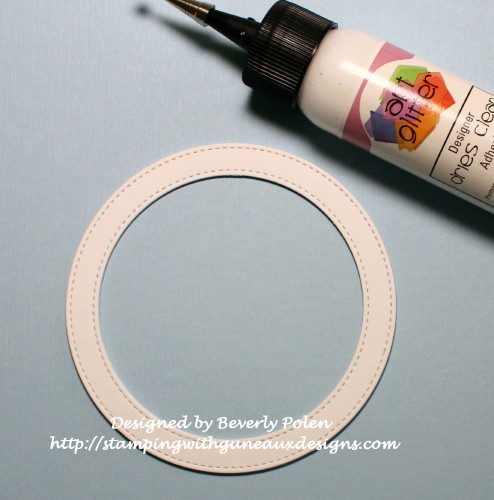
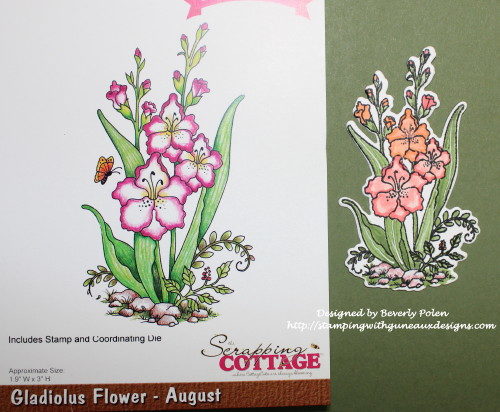
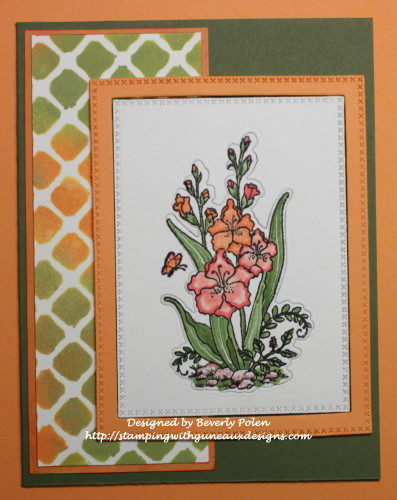
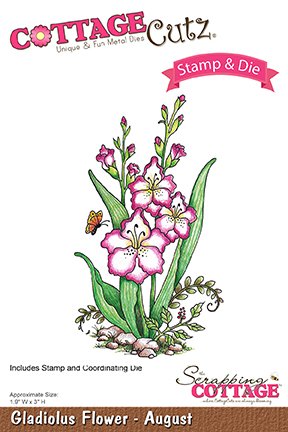
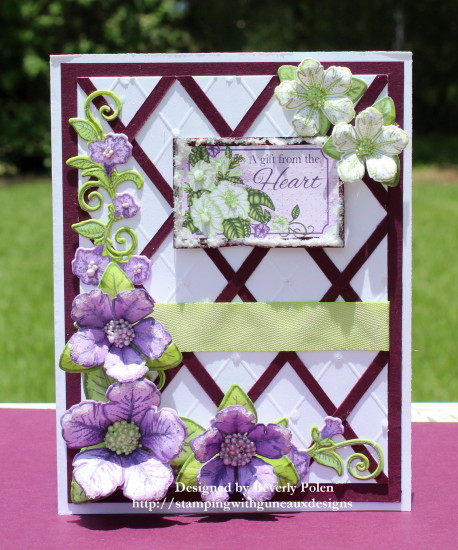
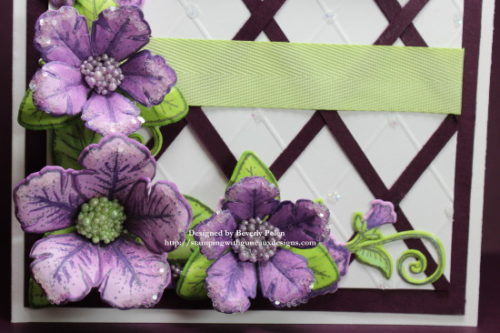
I used the Heartfelt Creations Small Classic Petunia Stamps and Dies to cut, color, and form the flowers. Except for the white flowers, I used copics to color the flowers. I formed the flowers and their leaves with a stylus and added prills in the centers. Then I added Heartfelt Creations Rajni Chawla’s Crystal Clear around the edges. The Crystal Clear is sparkles.
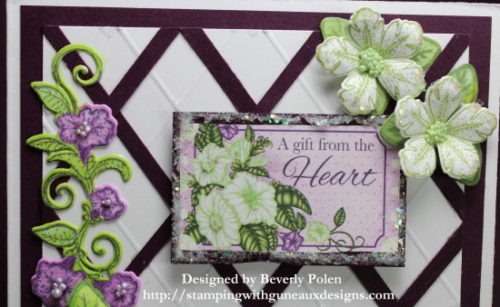
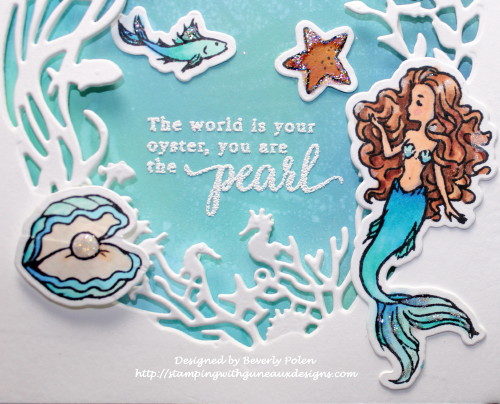
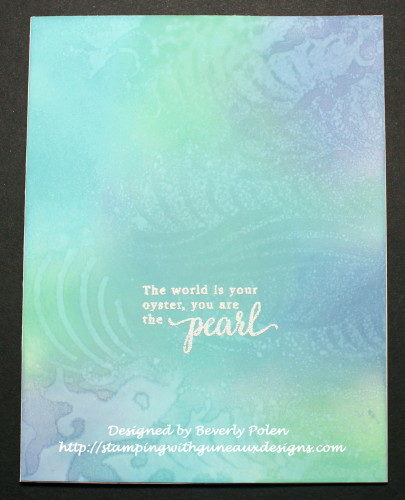
I attached the flowers to the scored and stripped piece after I added a green piece of ribbon. I added a sentiment from the Heartfelt Creations Classic Petunia Collection paper pad.
I have fallen in love with Heartfelt Creations, and I am enjoying making cards with its products. I hope you like this one! Tell me what you think of it!
Have a fantastic weekend!
Stamps: Heartfelt Creations Small Classic Petunia Stamps
Paper: Neenah Solar White and SU Blackberry Bliss Card Stock
Ink: Copics
Accessories: Scoring Tool, Heartfelt Creations Small Classic Petunia Dies, Prills, Stylus, and Crystals

God’s Blessings!
Stamping With Guneaux Designs By Beverly Polen
Firm Reliance on Divine Providence!
Proverbs 3:1-4
“My son, do not forget my teaching, but keep my commands in your heart, for they will prolong our life many years and bring you prosperity. Let love and faithfulness never leave you; bind them around your neck, write them on the tablet of your heart. Then you will win favor and a good name in the sight of God and man.”
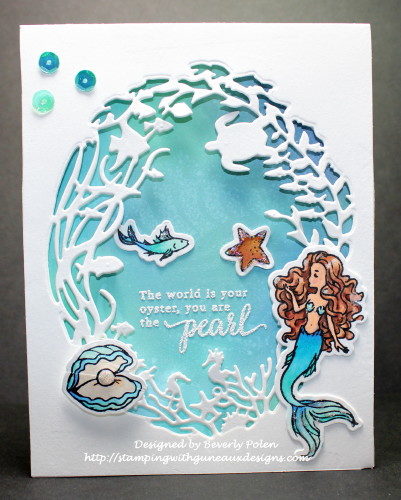
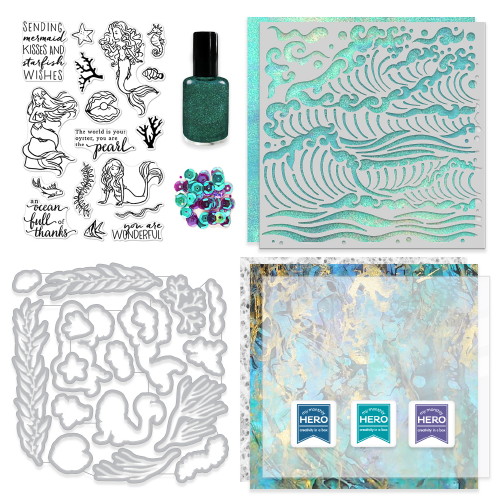
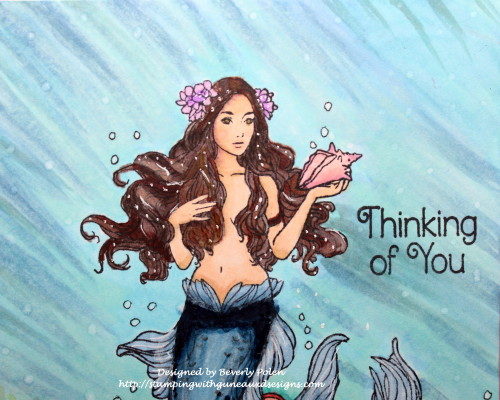
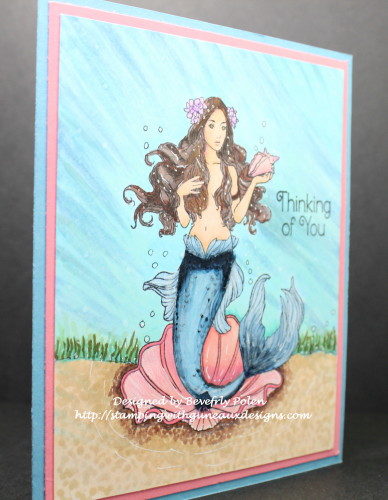
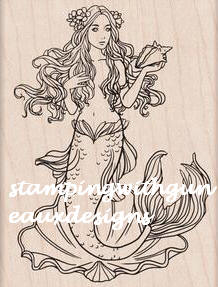
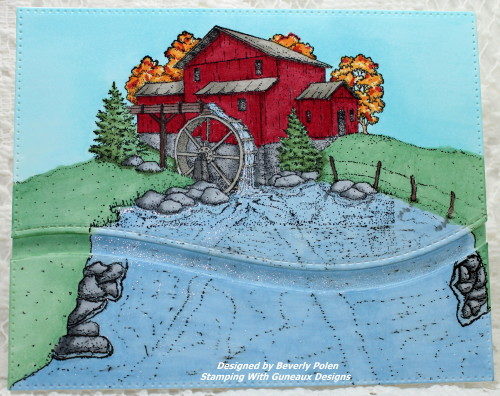
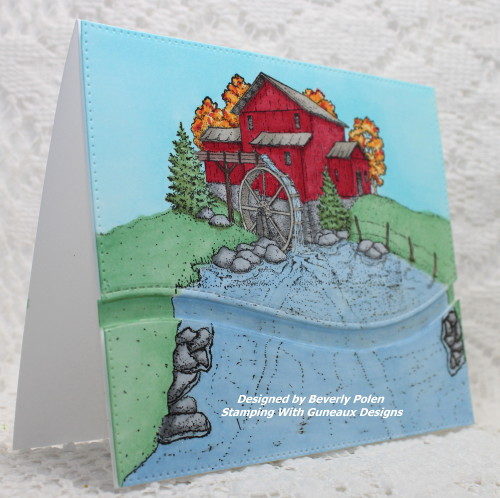
 I used three of the stamps from the kit to stamp with Black Ink and color with Copic Sketch Markers.