Stampin’ Up! Papillon Potpourri

STAMPIN’ UP! PAPILLON POTPOURRI GREETING CARD.

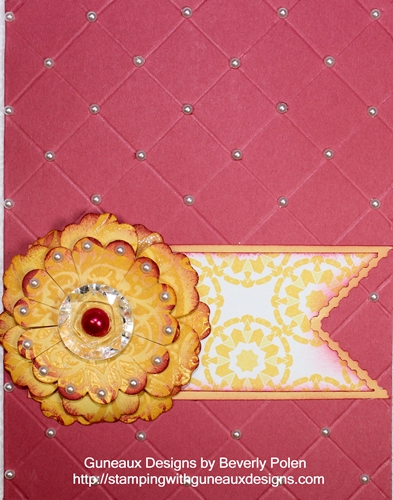
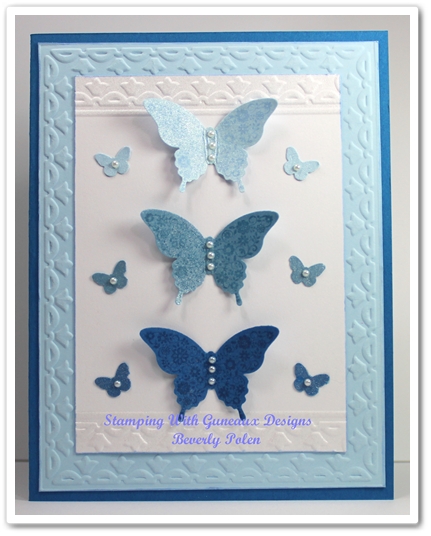
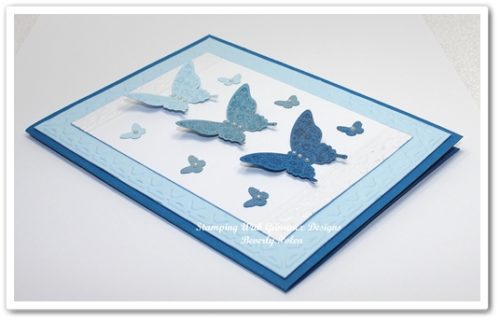
I was excited when Stampin’ Up! chose butterflies for the “Best of” stamp set for the month of April. That decision motivated me to create for you a simple card featuring butterflies from the Stampin’ Up! Papillon Potpourri Stamp Set.


SUPPLIES:

Stamps: Stampin’ Up! Papillon Potpourri Stamp Set (123759 – clear)

Paper: Pacific Point (111350), Bashful Blue (105120), Marina Mist (119682), and Whisper White Card Stock (100730)

Ink: Pacific Point (126951), Bashful Blue (126961), and Marina Mist Classic Ink (126962)

Accessories: Big Shot (113439), Framed Tulips Textured Impressions Embossing Folder (121809), Elegant Butterfly Punch (127526), Beautiful Wings Embosslit (118138) or a small butterfly punch, Vanilla Shimmer Smooch Spritz (118772), Adhesive of Your Choice, and Basic Pearls (119247)


INSTRUCTIONS FOR THIS STAMPIN’ UP! PAPILLON POTPOURRI CARD

Step 1. Cut the following pieces of card stock:

  • an 8-1/2″ x 5-12″ Pacific Point Card Stock for the card base,
  • a 4″ x 5-1/4″ piece of Bashful Blue Card Stock, and
  • a 3-1/8″ x 4-3/8″ piece of Whisper White Card Stock.

Step 2. Place the Bashful Blue Card Stock inside the Framed Tulips Embossing Folder and run through the Big Shot.

Step 3. Place one end of the Whisper White Card Stock inside the Framed Tulips Embossing Folder and run through the Big Shot.

Step 4. Place the other end of the Whisper White Card Stock into the Embossing Folder and run through the Big Shot.

Step 5. Spritz the embossed end of the Whisper White Card Stock (you’ll need to cover the remainder of the card stock so it isn’t spritzed.

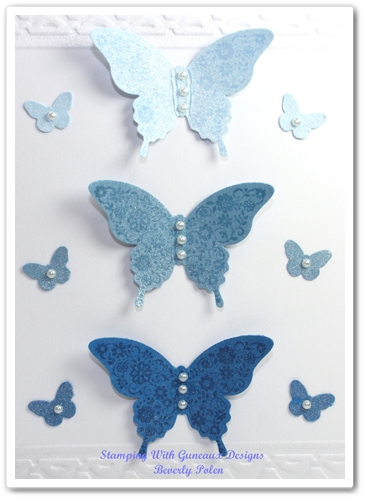
Step 6. Using the floral butterfly stamp from the Stampin Up Popillon Potpourii, do the following:

  • Cover the stamp with Bashful Blue Classic Ink and stamp onto a small piece of Bashful Blue Card Stock,
  • Cover the stamp with Marina Mist Classic Ink and stamp onto a small piece of Marina Mist Card Stock, and
  • Cover the stamp with Pacific Point Classic Ink and stamp onto a small piece of Pacific Point Card Stock.

Step 7. Using the Elegant Butterfly Punch, punch out each butterfly and spritz them.

Step 8. Using the Beautiful Wings Embosslit and the Big Shot, cut out a small butterfly from Bashful Blue, Marina Mist, and Pacific Point Card Stock. Spritz the butterflies.

Step 9. Place three small Basic Pearls onto the floral butterflies, and one on the small butterflies.

Step 10. Attached the butteflies to the piece of Whisper White Card Stock

Step 11. Attach the Whisper White Card Stock with the butterflies onto the Bashful Blue Card Stock in the center of the embossed tulips.

Step 12. Attach the above card stock to the card base.

I did not add a sentiment to the card so it can be used for the appropriate occasion when the need arises. Now it’s your turn to make the card and to leave me feedback.


God’s Blessings!
Stamping With Guneaux Designs
by
Beverly Polen

STAMPIN’ UP! PAPILLON POTPOURRI

Stampin Up All Dressed Up Bundle – Stamping With Guneaux Designs

Boy, am I having fun with the Stampin Up All Dressed Up Bundle!  I am so enjoying playing with paper dolls ….LOL….like I did as a child.  Seriously, I really enjoyed created my Stampin Up All Dressed Up card.

Let me first welcome you to the Guneaux Designs Boutique!  In my store front window are a grouping of “mix and match” outfits.  Come inside the Boutique and let me share with you information about the designs.  Or if you like, you can just window shop.  If you window shop, please don’t touch the window as you will leave fingerprints.  (Don’t you shake your head! lol.  I’m just having fun!)

I have for you several photos of the various elements of this card made with the Stampin Up All Dressed Up Framelits.  To that end, the following three pictures reflect the first mannequin’s outfit.

The outfit is made with a beautiful design from the Print Poetry Designer Series Paper Stack.  The designer of the outfit used one of the Stampin Up Dress Up Framelits to cut out the material. The blouse sports a beautiful floral broach.  Around the mannequin’s neck is a gorgeous green diamond necklace made with Stampin Up Basic Rhinestones and a permanent green marker, a state-of-the-art designer tool.  The belt that wraps around the blouse is made from Lucky Limeade Card Stock.  The skirt is made from another beautiful design of the Print Poetry Designer Series Paper Stack.

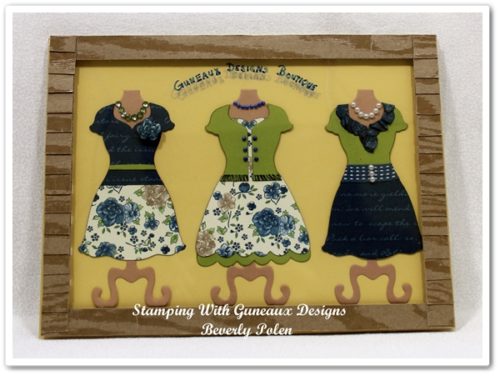
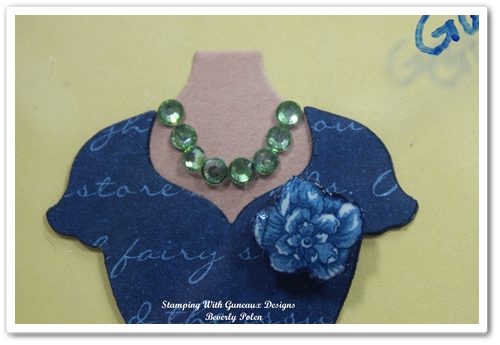
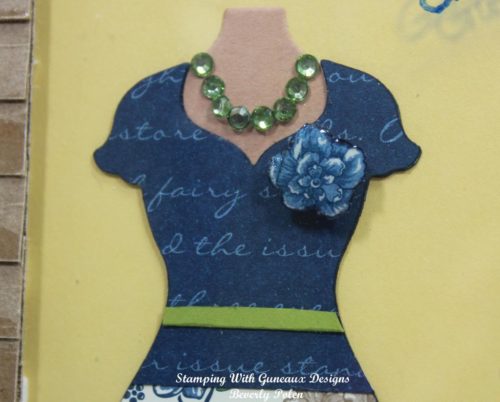
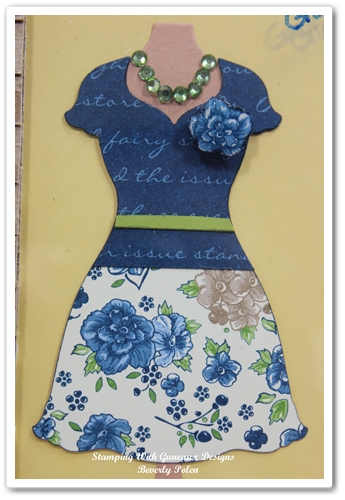
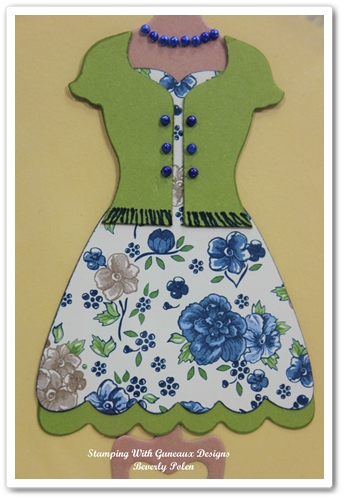
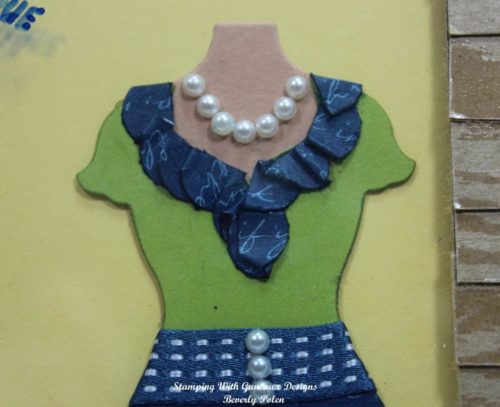
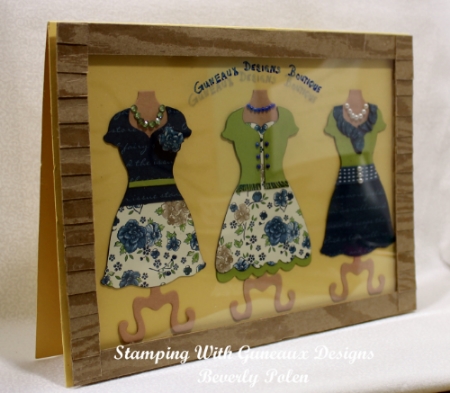
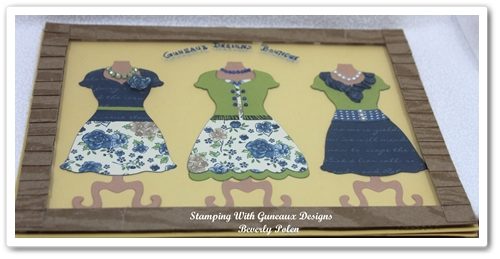
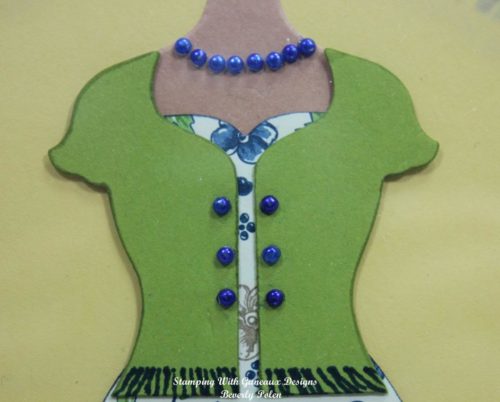
The outfit on the mannequin in the center of the Guneaux Designs Boutique window features a beautiful cardigan (photo to the left). The cardigan is wrapped around a gorgeous dress that was made with Lucky Limeade Card Stock and the same framelit used for the first outfit.  The cardigan has beautiful pearl buttons that match the pearl necklace on the mannequin.  The pearls were made with Stampin Up Basic Pearls that were colored with the state-of-the-art permanent marker.  Don’t they just made this outfit?

The picture below shows the complete outfit.  The dress was made with another Stampin Up Dressed Up Framelit and the above-mentioned Designer Series Paper.  It is enhanced with an added Lucky Limeade ruffle at the bottom made with the same Stampin Up Dressed Up Framelit.

The third mannequin in the window is wearing a more casual outfit.  It is a two-piece outfit of a blouse and skirt as is the first outfit.

The blouse includes ruffles made from the same material as the skirt, the Print Poetry Designer Series Paper Stack.  The designer used a tool to create the ruffles – the Stampin Up Scalloped Edge Border Punch.

The scallops were folded one on top of another to create the ruffles.  Aren’t they very fashionable?  The neck supports a pearl necklace made with Stampin Up Basic Pearls, which are also included on the Midnight Muse Stitched Satin Ribbon belt shown in both photos.

Let’s move on to the store front window itself.  In the following photo, you can see that the light from the sun is creating a reflection on the window.  It also shows a reflection of the Guneaux Designs Boutique lettering onto the wall behind the glass.  The glass window was made with a Stampin Up Window Sheet.

Notice the wood shingles around the window.  Aren’t they cool?  They were made with the Stampin Up Natural Composition Specialty Designer Series Paper.

Let’s give a hand to the designer of these beautiful pieces, Guneaux Designs!!!

 I hope you enjoy your Stampin Up All Dressed Up Bundle as much as I do!


 God’s Blessings!
Stamping With Guneaux Designs
by
Beverly Polen

STAMPIN UP ALL DRESSED UP BUNDLE

Greeting Card – Simply Scored Diagonal Plate

The Stampin’ Up! Simply Scored Diagonal Plate was the tool of the day for making my greeting card.  Adding the Blossom Punch makes this beautiful card.  I hope you CAS it as it’s simple, or at least to me!

 Here’s a closeup of the blossom: 

STAMPIN’ UP! PRODUCTS:

Stamp: Your Choice (see instructions below)*

Ink:  Primrose Petals Classic Ink (126858)

Paper:  Primrose Petals Card Stock (126841), Daffodil Delight Card Stock (119683), and International Bazaar Designer Series Paper (DSP – 126920)

Accessories:  Simply Scored Diagonal Plate (125586), Simply Scored Scoring Tool (122334), Basic Pearls (119247), Large Basic Pearls (125577), Blossom Punch (125603), Scallop Punch (119854), Postage Stamp Punch (122344), VersaMark Ink (102283), Crystal Effects (101055), Clear Embossing Powder (109130), Vintage Faceted Designer Buttons (127555), Stampin’ Sponges (101610), Stampin’ Dimensionals (104430)

INSTRUCTIONS:

  • Cut an 8-1/2” x 5-1/2” piece of Primrose Petals Card Stock
  • Fold in the center to create a card base
  • Place the Simply Scored Diagonal Plate into the Simply Scored Scoring Tool
  • Open the card base, place it face up onto the Simply Scored Diagonal Plate with the 5-1/2” side at the top, and score at every 1”
  • Turn the card base so that the 8-1/2” side is at the top and score at every 1”
  • Place a Basic Pearl (119247) at each point where the lines cross on the top 2” of card front
  • Punch out two flowers with the Blossom Punch from Daffodil Delight Card Stock
  • Punch out a scallop with the 1-3/4” Scallop Punch from Daffodil Delight Card Stock
  • *Stamp an image (your choice) covered with VersaMark Ink onto the two blossom flowers and the scallop, cover with Clear Embossing Powder, and heat set
  • Sponge the edges of all three cut outs with Primrose Petals Ink
  • Cut each valley of the scallop to near the center
  • Add a Basic Pearl to each petal of the scallop
  • Place a few Stampin’ Dimensionals onto the center of the back of one blossom and attach it to the other
  • Place two Stampin’ Dimensionals, one on top of the other, onto the center of the back of the scallop and attach it to the top of the blossom flowers
  • Place some Crystal Effects {love this stuff} onto the center of the scallop and attach a large button from the gorgeous Vintage Faceted Designer Buttons
  • Cover a Large Basic Pearl with a permanent marker of a pink-like color
  • Attach the pearl into the center of the large button
  • Allow the Crystal Effects to dry
  • Cut a 3-1/2” x 1-1/2” piece of the Daffodil Delight and Whisper White design from the International Bazaar DSP
  • Cut one end of the paper using the Postage Stamp Punch
  • Sponge the edges with Primrose Rose ink
  • Cut a 4” x 1-3/4” piece of Daffodil Delight Card Stock, cut one end with the Postage Stamp Punch, and sponge the edges with Primrose Rose ink
  • Attach the DSP to the Daffodil Delight Card Stock (the mat)
  • Adhere this to the card front with the “<” at the edge of the card front (there will be a space on the right side not covered (placement for the flower)
  • Attach the flower to the left side of the card
  • Add more Basic Pearls at the bottom of the card front

SHARE YOUR THOUGHTS ON THIS CARD.  COMMENTS ARE GREATLY APPRECIATED.


 God’s Blessings!

Stamping With Guneaux Designs

Beverly Polen

Purchase the Simply Scored Diagonal Plate, I strongly recommend it!