CottageCutz Cross With Vine Die

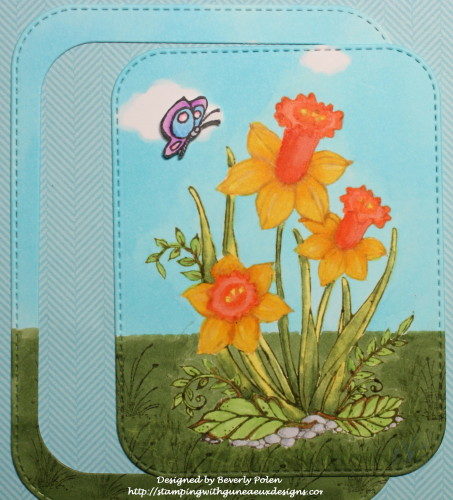
Hello, and welcome to Guneaux Designs!  Today it is my pleasure to be a guest designer again for the Scrapping Cottage Blog.  Because Sunday is the Easter holiday for Christians, I want to  share a card with you that showcases the CottageCutz Cross With Vine Die.

CottageCutz Cross With Vine

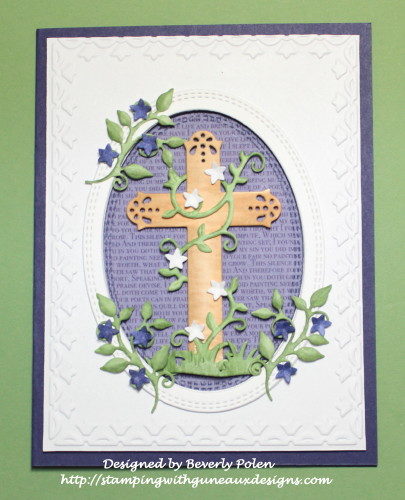
You can make this card too by following the instructions below:

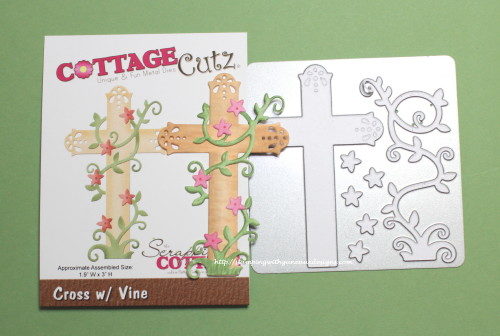
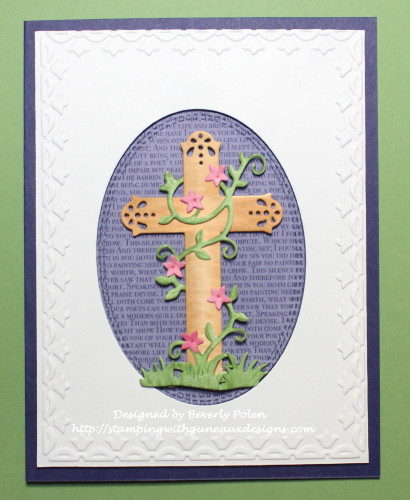
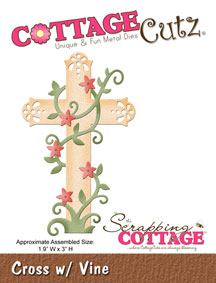
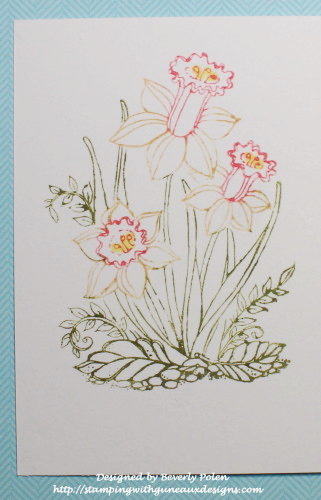
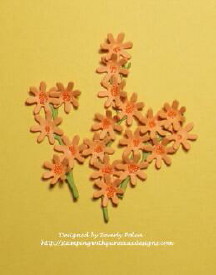
  • Cut out the cross, vine, and flowers using the Cottage Cutz Cross With Vine Die.
  • Color the cross, vine, and flowers (I used Copic Sketch Markers), and attach the vine around the cross. (I started with pink flowers following the die image but changed to white.)

CottageCutz Cross With Vine

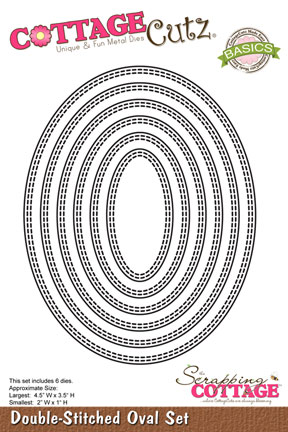
  • Cut a 4″ x 5-1/4″ piece of white card stock and use the third to the largest CottageCutz Double-Stitched Oval Die to cut out an oval in the center of the card stock.  If desired, emboss this piece.  The oval cut out will not be used.

CottageCutz Cross With Vine

  • Cut an oval from a piece of purple designer paper using the same die.

CottageCutz Cross With Vine

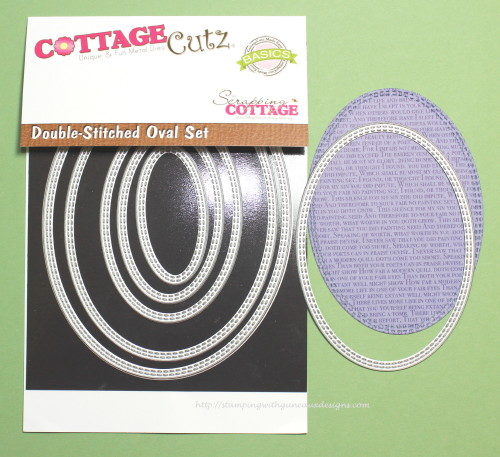
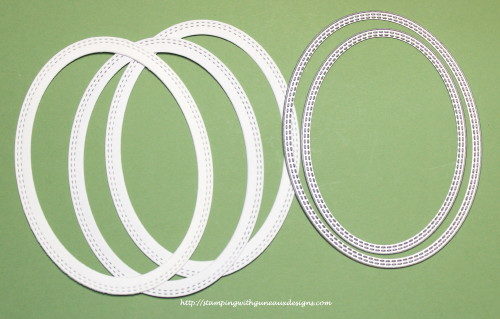
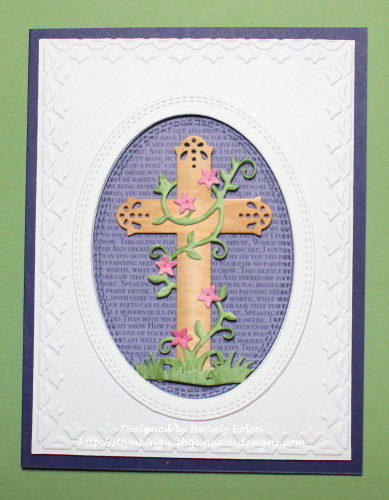
  • Cut out three ovals using the second and third largest dies from the CottageCutz Double-Stitched Oval Set.  Glue these together.

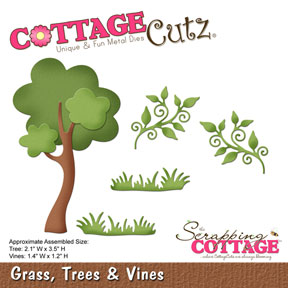
  • Cut out and color two vines and grass using the CottageCutz Grass, Trees, and Vines Die.  Cut and color purple the flowers from the CottageCutz Cross With Vine Die.  (Note:  after finishing the card, I decided to add three vines with flowers.)

CottageCutz Cross With Vine

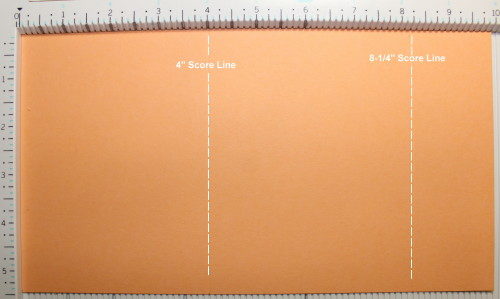
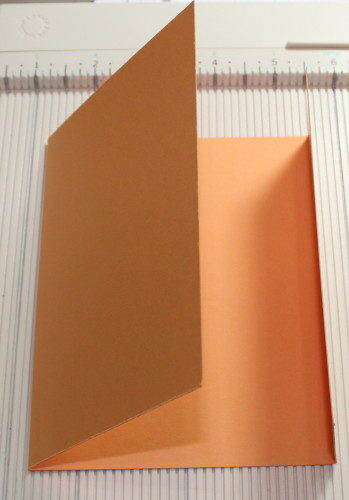
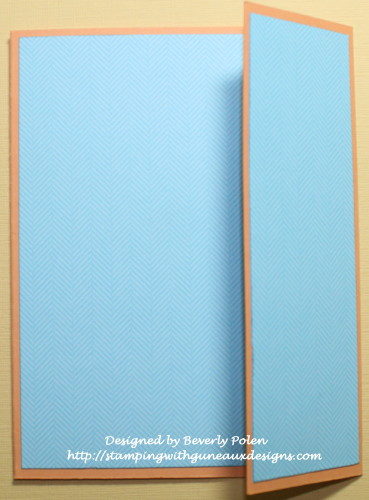
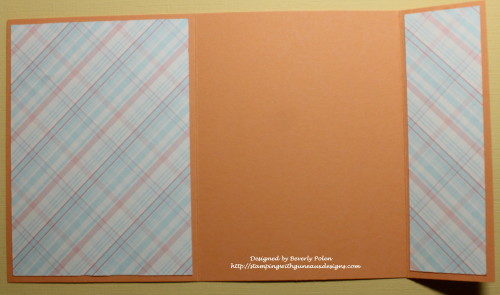
  • Cut a 8-1/2″ x 5-1/2″ piece of purple card stock, fold in the middle for the card base, and begin assembling the card.
  • Adhere foam tape to the back of the piece of white card stock with an oval cut from the center.  Attach this to the center front of the card base.

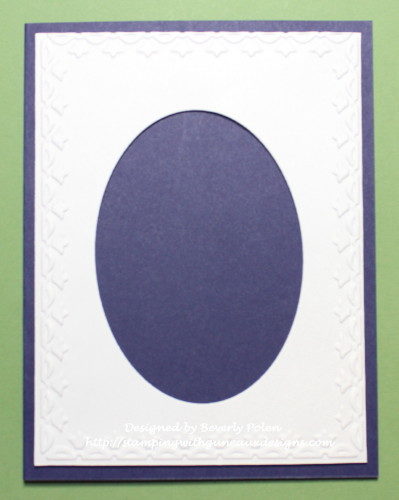
  • Attach the purple designer paper oval inside the oval on the card front.

  • Attach foam tape to the piece of grass and adhere it to the bottom of the cross.
  • Attach foam tape to the cross and adhere it to the center of the oval on the card front.

  • Attach the three glued ovals onto the card front.

  • Attach the vines with flowers around the oval.

CottageCutz Cross With Vine

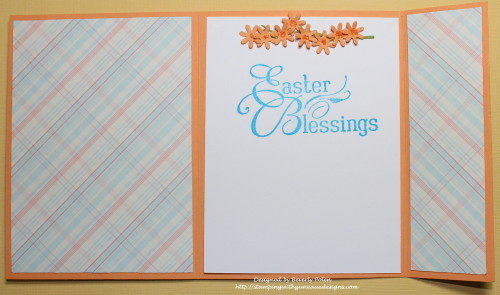
  • Add a sentiment if desired.  I added one inside the card.

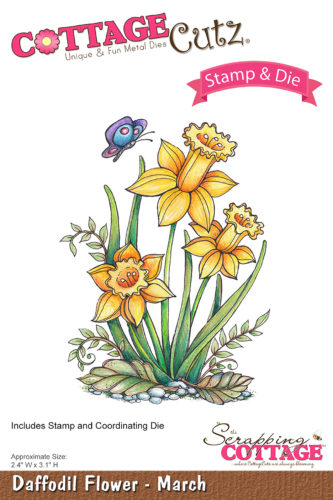
COTTAGECUTZ DIES USED:


Butterfly_1_1God’s Blessings!
Stamping With Guneaux Designs By Beverly Polen
Firm Reliance on Divine Providence!


MATTHEW 28:5-7

“The angel said to the women, “Do not be afraid, for I know that you are looking for Jesus, who was crucified.  He is not here: he has risen, just as he said.  Come and see the place where he lay.  Then go quickly and tell his disciples: ‘He has risen from the dead and is going ahead of you into Galilee.  There you will see him.’  Now I have told you.” 

CottageCutz Daffodil Flower – March

CottageCutz Daffodil Flower – March

Hello, my friends!  WeIcome to Guneaux Designs.  As a  guest designer for the Scrapping Cottage, I  have for you a project featuring the CottageCutz Daffodil Flower – March stamp and coordinating die set.

Speaking of March, did you know that the  month of March is synonymous with the onset of spring in the Northern Hemisphere. Accordingly, the flower associated with the month of March is the Daffodil.  The Scrapping Cottage has a stamp and coordinating die for the flower of each month. Check out these beautiful stamps and dies HERE.

Moving on, here is the card I made with the beautiful CottageCutz Daffodil Flower – March stamp.

My Daffodil is designed after the Fortissimo Daffodil that has yellow petals and a cup of glowing orange to red.  Here is a picture of the flower.

I made the card as a “Big Flap” card, and you can make this card too by following these instructions:

Step 1.  Stamp the CottageCutz Daffodil Flower onto a piece of white card stock.  I wanted a “no-line coloring” image; therefore, I used different colors of markers to add ink to sections of the image and stamped them separately.  I used yellow for the petals of the daffodil, peach for the cup, green for the leaves and stems, and gray for the rocks.

Step 2.  Color the image as desired.  I used various Copic Sketch Markers to color my image.  After coloring it, I used the two largest dies from the CottageCutz Stitched Rounded Rectangle Set to cut out the image.  Also, I stamped, colored, fussy cut, and attached the butterfly that is part of the CuttageCutz Daffodil Flower – March set using foam tape.

Step 3.  Set aside the image and start creating the card base.

Step 4.  Cut a 5-1/2″ x 10″ piece of card stock (your choice of color).

Step 5.  Place the card stock horizontally onto a score board and score at the 4″ and 8-1/4″  marks.

Step 6.  Fold the score lines toward each other.

Step 7.  Select a double-sided designer paper and cut two 3-3/4″ x 5-1/4″ pieces, and two 1-1/2″ x 5-1/4″ pieces.

 Step 8.  Attach one of the 3-3/4″ x 5-1/4″  pieces of designer paper to the larger flap on the front of the card base.

Step 9.  Attach one of the 1-1/2″ x 5-1/4″ pieces of designer paper to the small flap on the front of the card base.  (I selected the same side of the designer paper for the front.)

Step 10.  Attach the second 3-3/4″ x 5-1/4″ piece of designer paper onto the inside large flap.  I used the other side of the designer paper.

Step 11.  Attach the second 1-1/2″ x 5-1/4″ piece of designer paper onto the inside small flap..

Step 12.  Cut a piece of white card stock with the largest die from the CottageCutz Stitched Rounded Rectangle Set 

Step 13.  Attach the outside frame cut from the image (see Step 2.) to the piece of white card stock using a double layer of double-sided foam tape.

Step 14.  Attach the image inside of the above frame. 

Step 15.  Apply a strong adhesive to the back left side of the above image piece.  

Step 16.  Close both flaps of the card base with the right one over the left one.  Attach the framed image to the front large flap of the card base, ensuring it is centered over the front and not attached to the right small flap of the card.  The strong adhesive is necessary to ensure the image piece will not come off as the card is opened and closed.

Step 17.  Cut a 4″ x 5-1/4″ piece of card stock, add a sentiment and/or an embellishment, and attach to the center of the inside of the card.

Step 18.  Embellish the card as desired.  I cut several small flowers using the   CottageCutz Tree of Nature Die.  I cupped them with a stylus and adhered micro beads to the centers.  I used the CottageCutz Winter Branches Die to cut green stems (not branches LOL) for the tiny flowers and added them to the two corners of my card front and the center piece inside the card. 

I hope you are inspired by my CottageCutz Daffodil Flower – March card.


CottageCutz Dies Used:


Butterfly_1_1God’s Blessings!
Stamping With Guneaux Designs By Beverly Polen
Firm Reliance on Divine Providence!


II Timothy 3:16 & 17

“All scripture is given by inspiration of God, and is profitable for doctrine, for reproof, for correction, for instructions in righteousness:  That the man of God may be perfect, thoroughly furnished unto all good works.”

CottageCutz Wildflowers 3

COTTAGECUTZ WILDFLOWERS 3

Hello, friends, and welcome to Guneaux Designs!  I am so excited to be a guest designer today for Scrapping Cottage, which specializes in CottageCutz die-cutting designs. In that role, I have for you a beautiful card made with the CottageCutz Wildflowers 3 Die. The card also features a Marbled and Ghost Stamping Technique.

Directions for creating the card:

Step 1.  Cut out the flowers from white card stock using the CottageCutz Wildflowers 3 Die.Step 2.  Cut the largest rectangle from a piece of white card stock using the CottageCutz Double-Stitched Rectangle Set die.

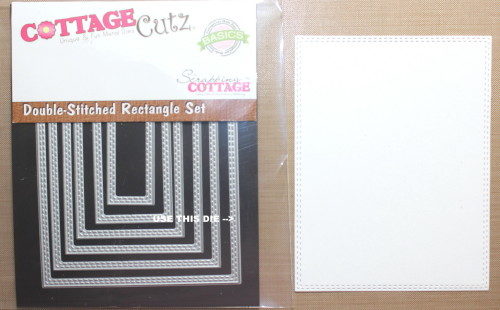
Step 3.  Scrunch up a piece of saran wrap.

Step 4.  Put a drop or two of a white (e.g., Frost White) All-Purpose Ink onto a non-stick craft sheet.

Step 5.  Dab the saran wrap repeatedly into the ink to ensure all of the saran wrap folds are covered with ink.

Step 6.  Transfer the ink by dabbing the inked saran wrap onto the CottageCutz double-stitched rectangle, leaving some white space.

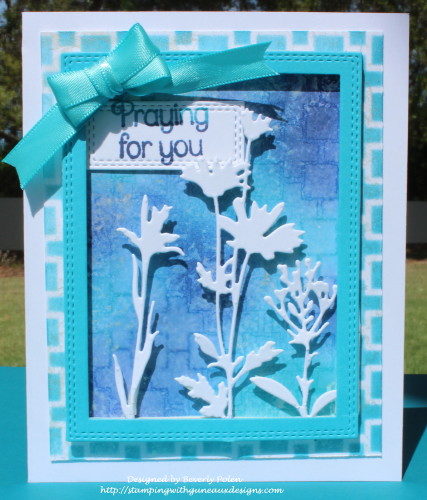
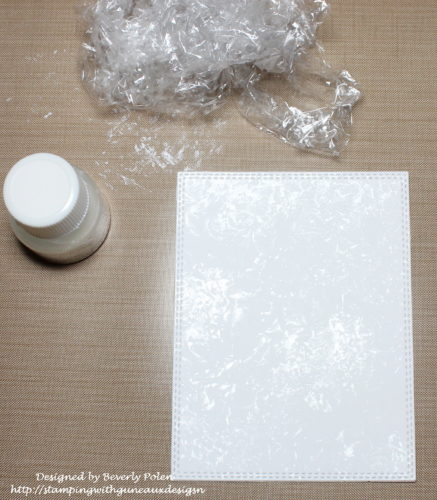
Step 7.  After that dries, sponge on two or three different colors of distress ink (aqua and purple used for this card).
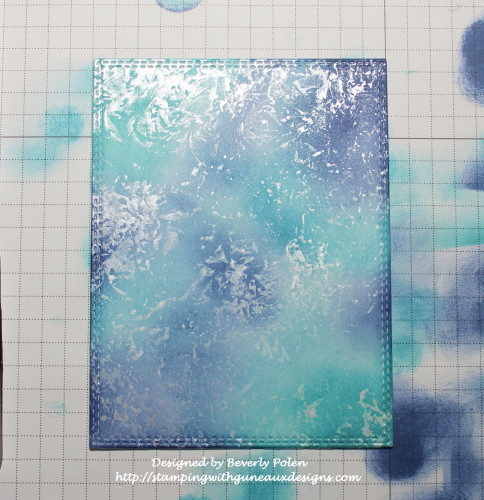
Step 8.  Choose a stencil of your liking (I used a Catherine Pooler stencil), and place it over the colored panel.

Step 9.  With a water spritzer, spritz three to four times a small amount of water onto the panel and over the stencil.

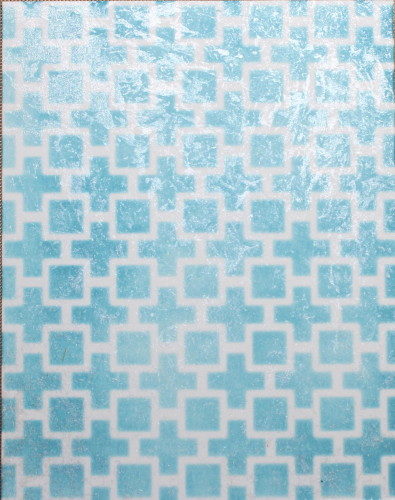
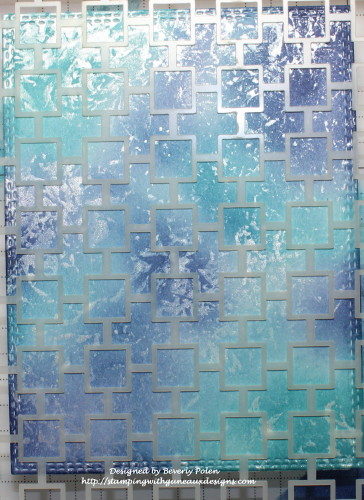
Step 10.  Remove the stencil right away and lay a dry piece of paper towel across the panel to remove excess water (no rubbing).

Step 11.  Watch a “ghost” of the stencil appear while allowing the panel to dry completely.

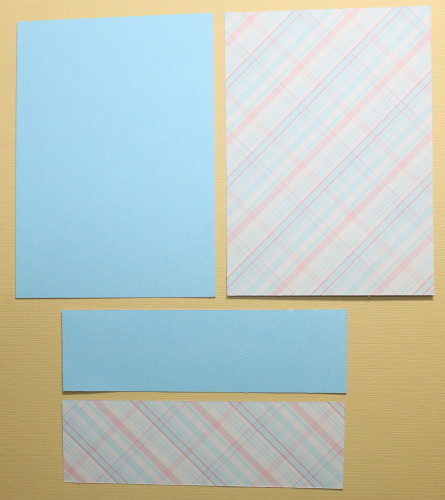
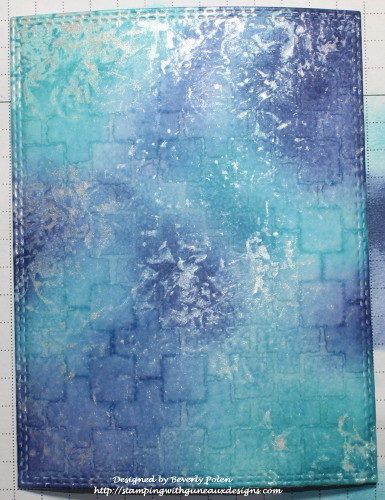
Step 12.  While that is drying, cut a 3-3/4″ x 4-3/4″ piece of white card stock.

Step 13.  Using a temporary adhesive, attach the back side of the piece of white card stock to a craft sheet or grid paper.

Step 14.  Lay the stencil (the one used in Steps 8 and 9) over this piece of white card stock and use temporary tape to attach it to your coloring surface.

Step 15.  Sponge the lightest ink used in Step 7 over the stencil and onto the paper.

Step 16. Remove the stencil and let the ink dry.

Step 17.  Using the saran wrap and ink process, dab the white All-Purpose Ink onto the sponged card stock.  Let it dry and this is the result.

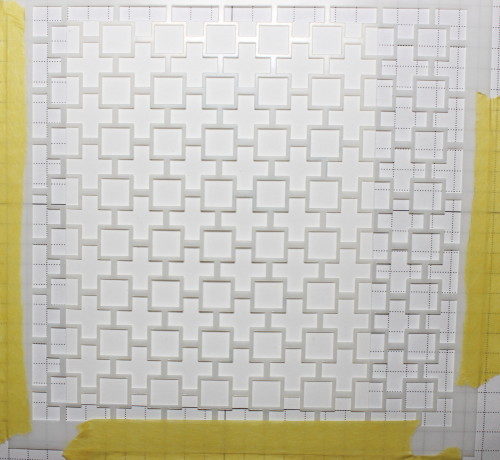
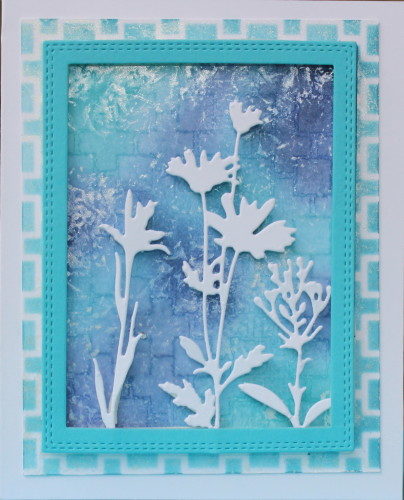
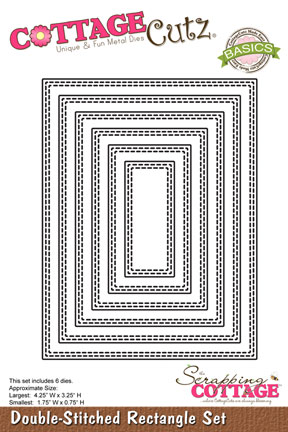
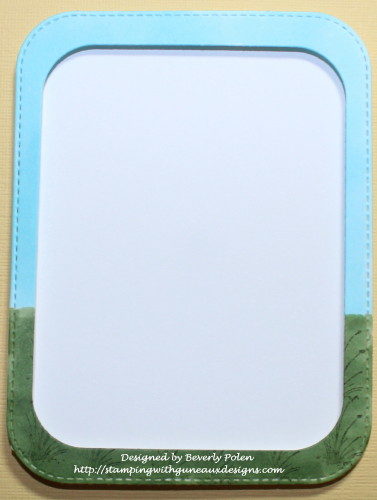
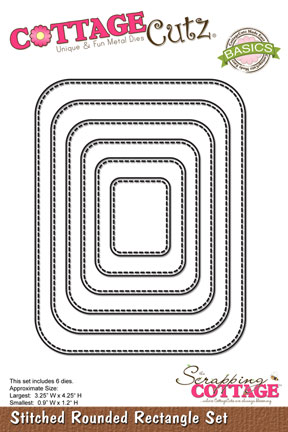
Step 18.  Select a piece of card stock that closely matches the lightest ink color used and cut out a rectangle frame using the two largest dies from the CottageCutz Double-Stitched Rectangle Set.  This creates the following frame.

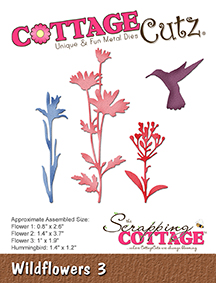
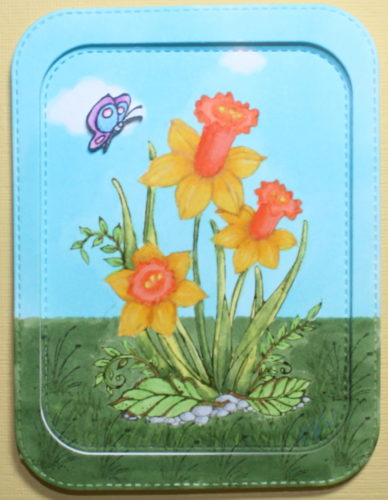
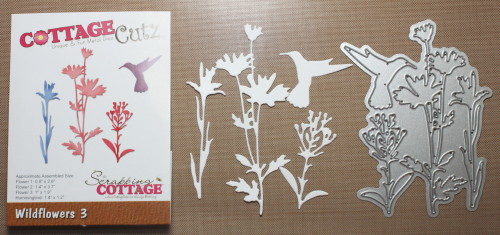
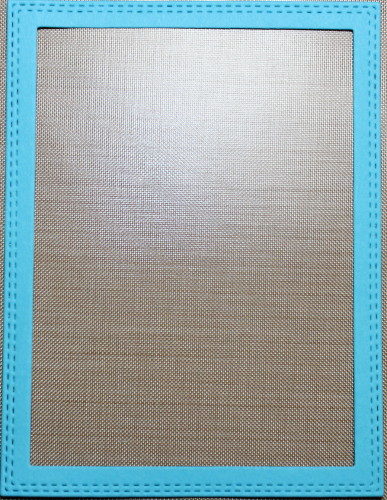
Step 19.  Turn over the frame and with an adhesive, attach the white wildflowers to the bottom of the frame.

Step 20.  Add a double layer of double-sided foam tape around the frame and where needed on the flowers.

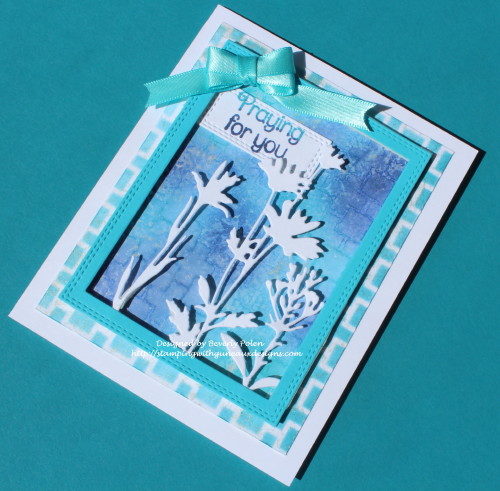
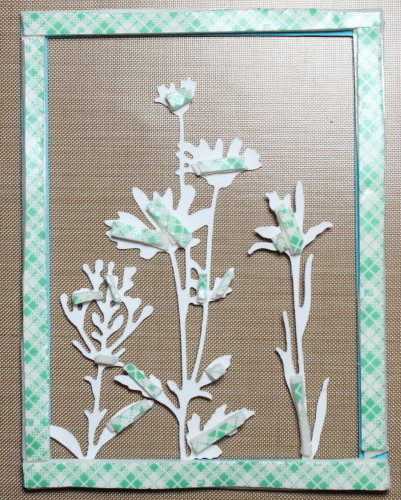
Step 21.  Remove the paper from the tape and attach the frame to the rectangle completed in Step 11.

Step 22.  Attach the above frame to the panel created in Steps 12 – 17, and adhere to the card base.

Step 23.  Add a sentiment and embellishments as desired.

Cottage Cutz Dies Used:

CottageCutz Wildflowers 3

Before you leave, check out the new CottageCutz Dies on the Scrapping Cottage.  I am sure you will find one or more dies that you must have in your crafting toolbox.  Also I love hearing from you, so leave a comment on this or other projects!


Butterfly_1_1God’s Blessings!
Stamping With Guneaux Designs By Beverly Polen
Firm Reliance on Divine Providence!


 JOHN 7:37-39

“On the last and greatest day of the Feast, Jesus stood and said in a loud voice, “If anyone is thirsty, let him come to me and drink.  Whoever believes in me, as the Scripture has said, streams of living water will flow from within him.”  By this he meant the Spirit, whom those who believed in him were later to receive.  Up to that time the Spirit had not been given, since Jesus had not yet be glorified.”