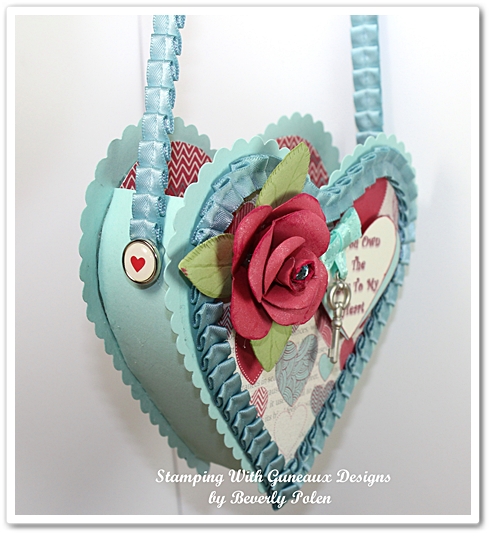
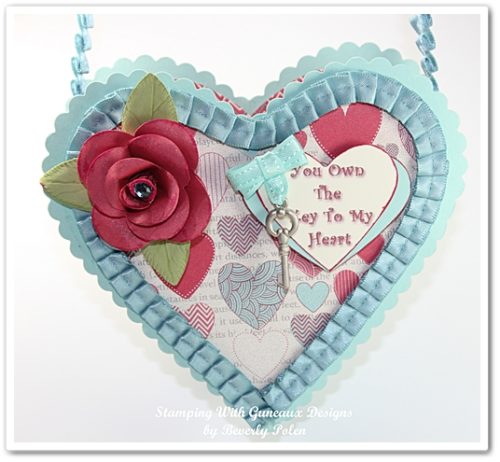
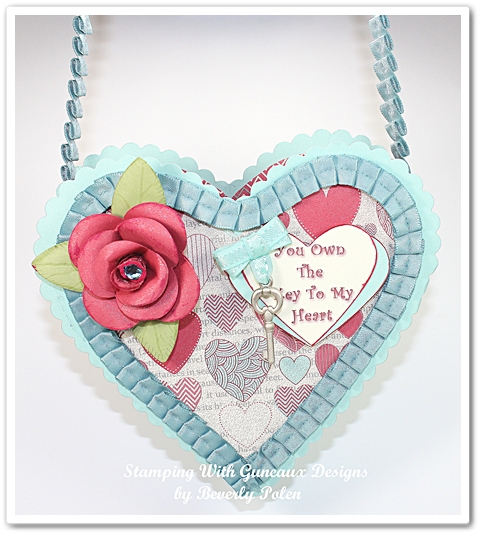
Today I am sharing how to make this beautiful Stampin Up More Amore DSP Valentine Purse! I made this for my granddaughter, and I am sure she will be delighted when she receives it on Valentine’s Day!
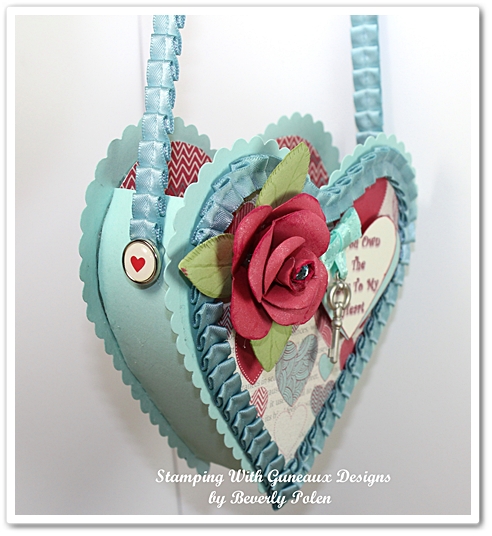
SUPPLIES USED TO MAKE THE STAMPIN UP MORE AMORE DSP VALENTINE PURSE
Paper: Stampin Up More Amore DSP (129309), Pool Party Card Stock, Primrose Petals Card Ctock, and Certainly Celery Card Stock
Ink: Primrose Petals Classic Ink
Accessories: Hearts Collection Framelits (125599); Big Shot, Platform, and Cutting Plates; Sticky Strip or Adhesive of your choice; Ribbon of your choice, and Brads of your choice
INSTRUCTIONS FOR MAKING THE STAMPIN UP MORE AMORE DSP VALENTINE PURSE
- Using the Big Shot and Hearts Collection Framelit (Scalloped), cut out two Pool Party hearts.
- Cut out two hearts from the Stampin Up More Amore DSP with the next to the largest heart framelit
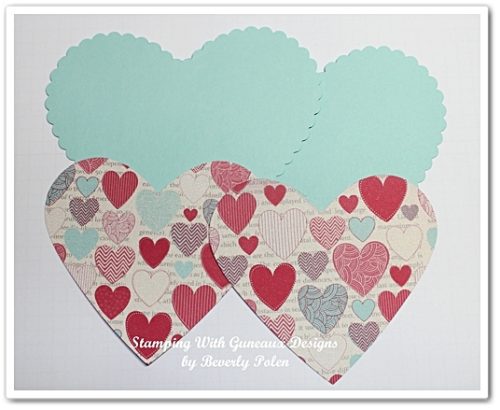
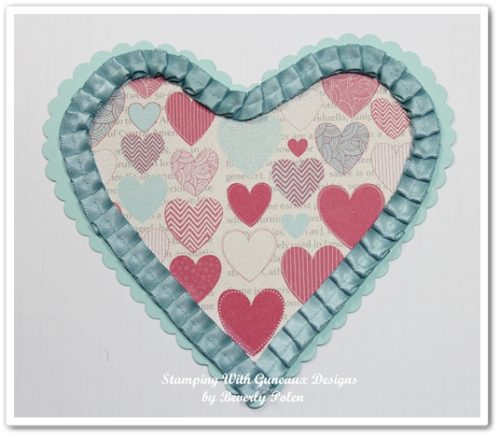
- Attach the DSP hearts to the Pool Party hearts and add ribbon around the edges of each.
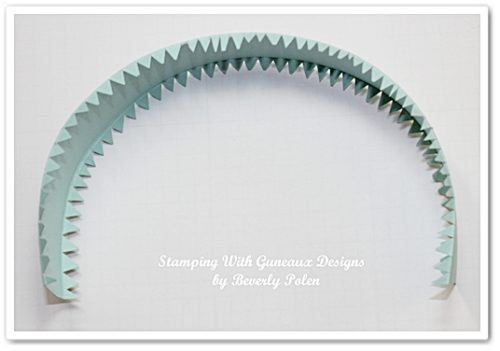
- Cut an 8-1/4″ x 2″ piece of Pool Party Card Stock and score it along the 8-1/4″ side at the 1/4″ and 1-1/2″ marks.
- Place one end of the card stock between your thumb and index finger and hold it. Now place the card stock between your opposite thumb and index finger and begin to curl the card stock by repeatedly moving your thumb and finger down the 8-1/4″ length of the card stock. This will make the card stock more pliable and it will curl up into a half-circle.
- Cut notches along the 1/4″ and 1-1/2″ scored sides of the card stock.
- Use the next to the largest heart framelit and trace around it with a pencil on the back side of both heart pieces. Make sure the heart framelit is placed on both hearts at the same spot.
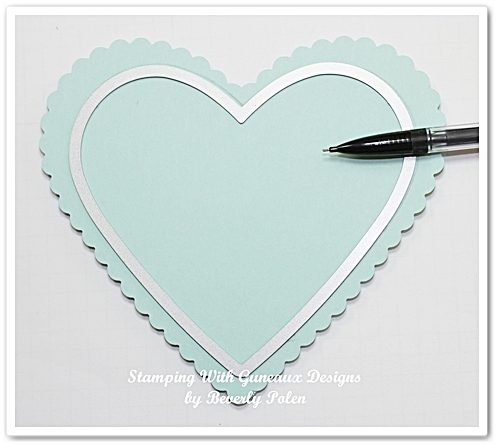
- Attach Sticky Strip to each heart along the pencil tracing.
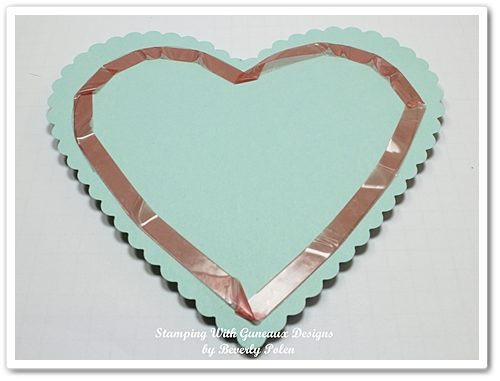
- Remove the red liner from the Sticky Strip and begin attaching one side of the 8-1/4″ notched piece of Pool Party Card Stock to one of the hearts. Assure both ends will line up evenly.
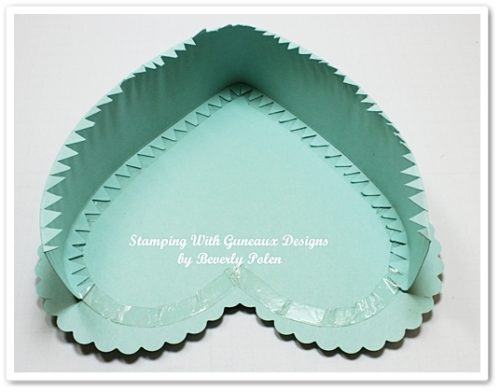
- Select a DSP design that you want to be the purse liner and trace the outer rim of the next- to-the-largest-heart framelit onto this DSP twice.
- Cut out both hearts and insert one into the purse and press it down to adhere it, as shown in the below picture. At this point you may be thinking, “Wouldn’t it have being easier to add this before the purse side piece was added?” Yes, however, the notched portion of the 8-1/4″ piece of card stock would not be covered up if the heart were added first.
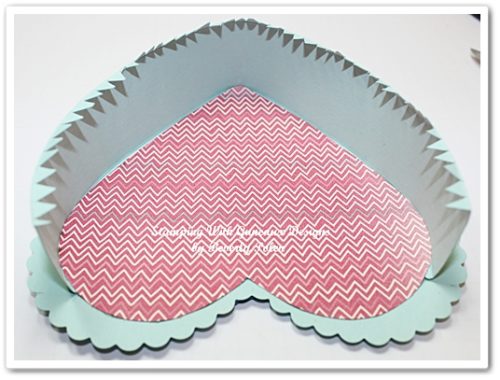
- Begin attaching the second heart to the first heart by lining it up with the edge of the other notched side of the heart and begin adhering it..
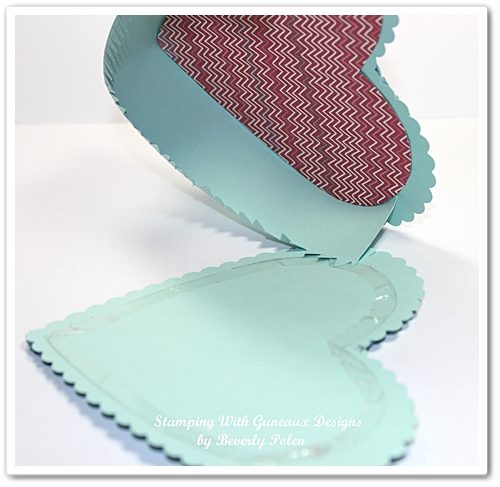
- Just as before, Insert the second DSP heart inside and press it down to adhere it. You now have the bottom of the purse made.
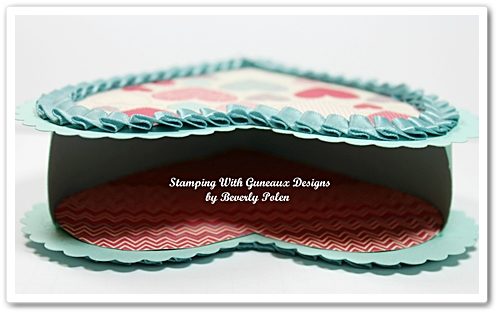
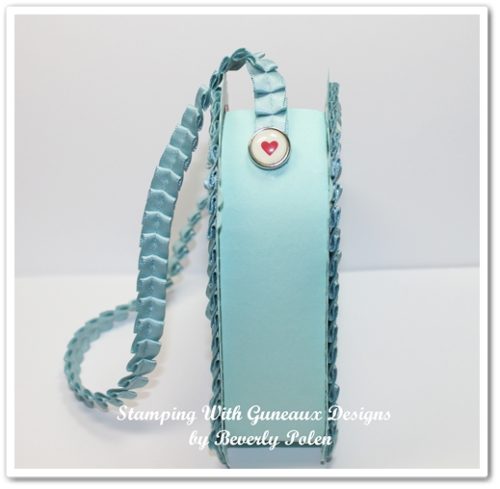
- Attach to the purse sides a handle made of the ribbon that was used around the front and back of the purse. Use hot glue to attach.
- Select two medium to large brads, remove their prongs, and attach to the ends of the ribbon with hot glue. I used two of Stampin Up epoxy brads from long ago.
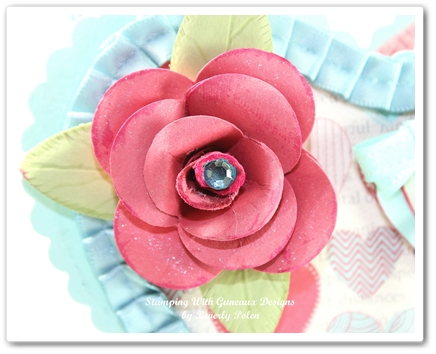
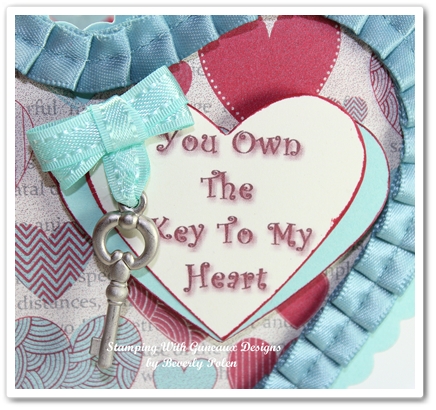
- Decorate the purse front as desired.
![]()
God’s Blessings!
Stamping With Guneaux Designs
by
Beverly Polen
