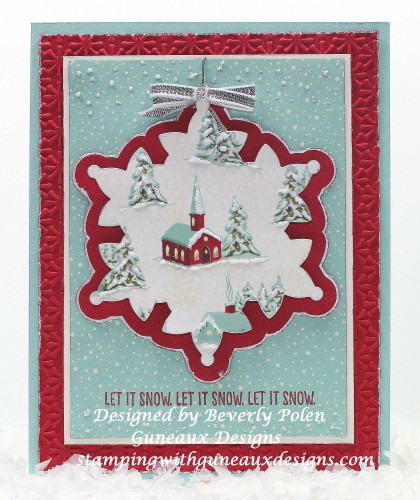
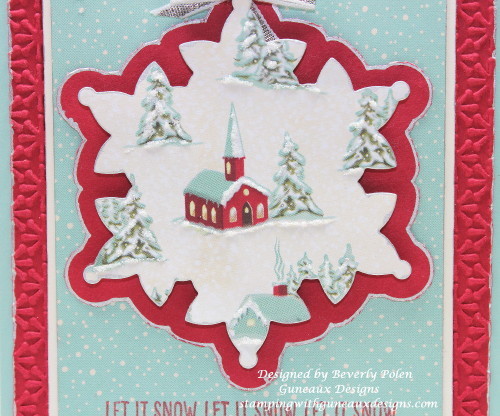
Hi, there! Thanks for stopping by. My greeting card share for you today is a simple Christmas card made with the SU Happy Scenes Stamp Set – Let it Snow, Let it Snow, Let it Snow sentiment and the SU Home for Christmas DSP .
“Oh the weather outside is frightful, but the fire is so delightful, and since we have no place to go, LET IT SNOW, LET IT SNOW, LET IT SNOW!” Can’t you hear Dean Martin singing this song from his A Winter Romance album? Oh, sorry! I’ll get back to the purpose of this post. 🙂
This Christmas card made with the SU Happy Scenes Stamp Set and Home for Christmas DSP is an easy card to make. I have to admit, it’s difficult for me to make simple cards. I have a tendency to make more complex cards and paper crafts. If you’ve scrolled through my site, you’ll understand what I mean.
HOW TO MAKE A CHRISTMAS CARD WITH THE SU HAPPY SCENES STAMP SET AND HOME FOR CHRISTMAS DSP:
- Cut an 8-1/2″ x 5-1/2″ piece of Stampin’ Up! Pool Party Card Stock (item # 122924) and fold it in the middle. This creates an A2 card.
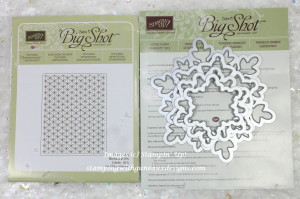
- Cut a 4″ x 5-1/4″ piece of Stampin’ Up! Real Red Card Stock (item # 102482) for your first card layer. I used my Stampin’ Up! Big Shot (item # 113439) and the retired Stampin’ Up! Snow Burst Embossing Folder to add a textured snow impression onto the card stock. Adhere to the front of the Pool Party card.
- Cut a 3-3/8″ x 4-5/8″ piece of Stampin’ Up! Very Vanilla Card Stock (item # 101650), and adhere it onto the Real Red Card Stock.
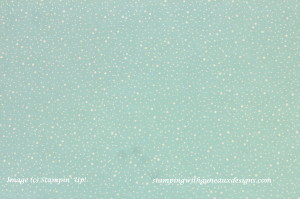
- Cut a 3-3/16″ x 4-3/8″ piece of the following design from the Stampin’ Up! Home for Christmas DSP and adhere it to the Very Vanilla Card Stock.
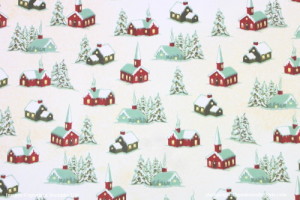
- Using the retired Stampin’ Up! Festive Flurry Framelits (i.e., the next to the largest framelit), cut out a snowflake from the following design from the Stampin’ Up! Home for Christmas DSP (139592). (I chose a church to be the center of my snowflake).
- Embellish the snow on the design scene with white glitter glue (I used Stickles – Frosted Lace).
- With a pencil, trace around the second to the largest snow flake die (the same one used above) onto Real Red Card Stock. Fussy cut it for a mat to go behind the Home for Christmas DSP snowflake cutout. If desired, run a Silver Gel Pen around the edges of these two pieces, as I did.
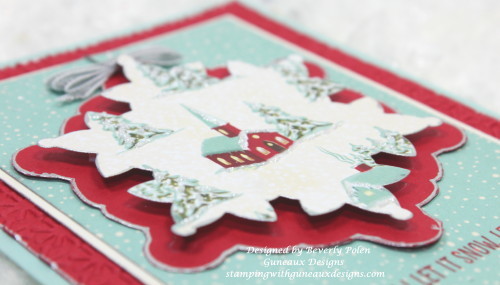
- Use foam dots to adhere the two snow flake cutouts together. If desired, add a ribbon and/or cord.
- Stamp the sentiment, “LET IT SNOW LET IT SNOW LET IT SNOW”, from the SU Happy Scenes Stamp Set in Real Red Ink below the snowflakes.
- That’s all, folks! Have a blessed day!

