Making paper flowers to enhance your paper crafts is such a hot trend, and it’s so much fun to do. There are many techniques for making paper flowers and various mediums from which to make them (i.e., card stock, crepe paper, fabric, metal, tissue paper, etc.). Have you made any paper flowers for your paper crafts? If you haven’t, this post will provide you with instructions on how to make them from card stock. I’m sure you’ll enjoy having elegant paper flowers on your greeting cards and other crafts.
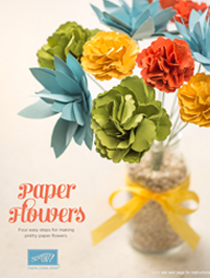
The technique that I discuss below is simple and I call it “scrunching”. Follow these steps to make “scrunched” paper flowers:
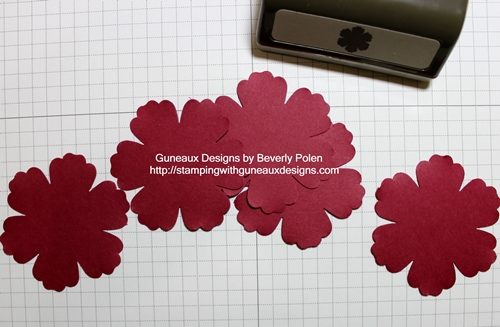
STEP 1: Punch five flowers from card stock (of any color) using the Blossom Punch (125603), or a floral punch or floral die cut of your choice.
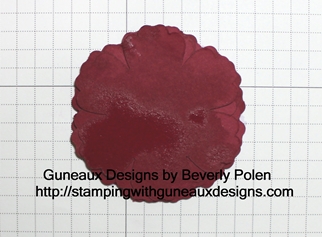
STEP 2: Spritz each flower with water, Vanilla Shimmer Smooch Spritz (118772), or other liquid of your choice. This is important for getting the right texture when you scrunch the petals.
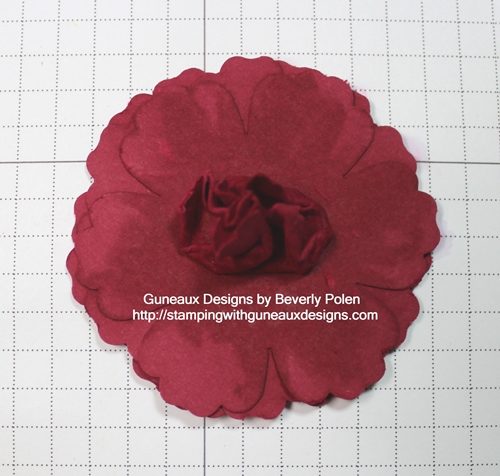
STEP 3: After spritzing them, layer the five flowers one on top of another (you can offset them as well).

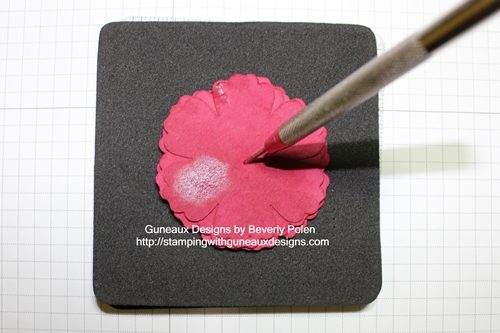
STEP 4: Using a Paper-Piercing Tool (126189) and Mat (126199), poke a hole in the center of the layered flowers.

STEP 5: Insert a brad into the hole and spread the prongs.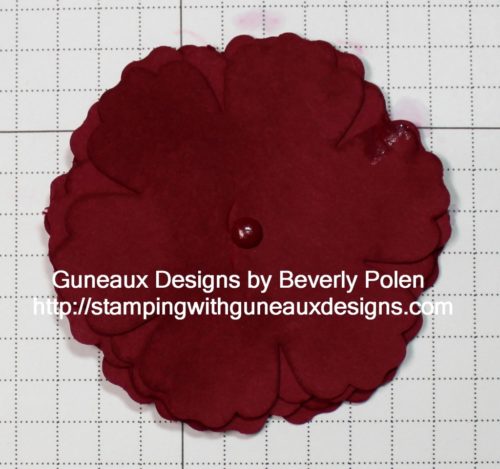
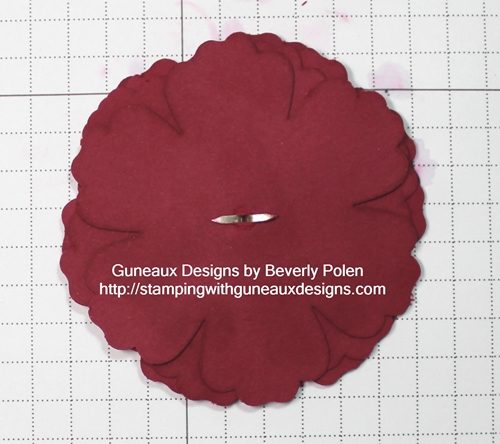


STEP 6: Beginning with the top flower, scrunch it tightly while wet.

STEP 7: Continue scrunching the remaining layers.
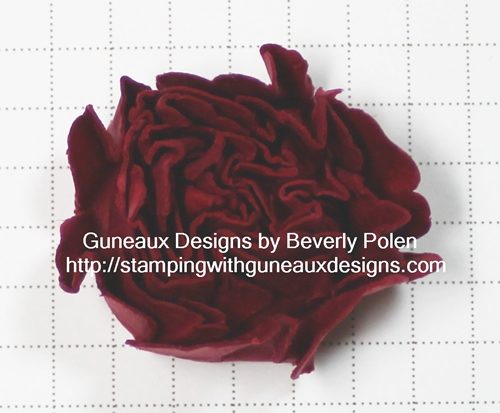
STEP 8: While the layers are wet (if not, spritz again), reshape the flower to your desire and let it completely dry.
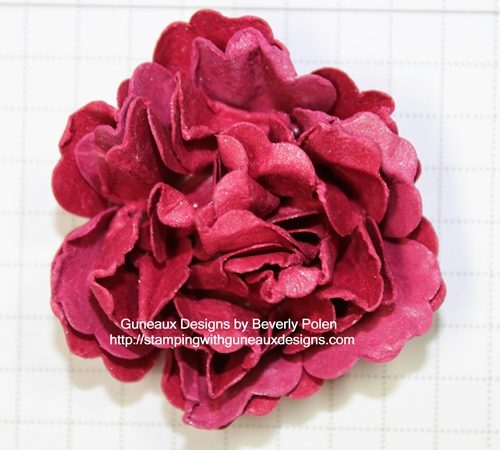
(now that the flower is dry, the color of the card stock is true.)
STEP 9: Use your beautiful flower on a card, scrapbook page, or 3-D paper craft.
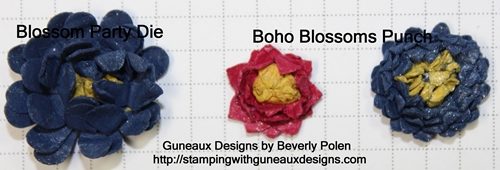
The following picture shows other flowers I made with the Blossom Party Die (115971) and Boho Blossoms Punch (119858). Add a piece of Daffodil Delight or Summer Starfruit card stock as the top flower to create the appearance of a stamen.
Enjoy making paper flowers!
![]() God’s Blessings!
God’s Blessings!
Stamping With Guneaux Designs
by
Beverly Polen
