Home for Christmas DSP – Stamping With Guneaux Designs

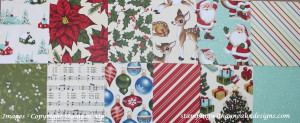
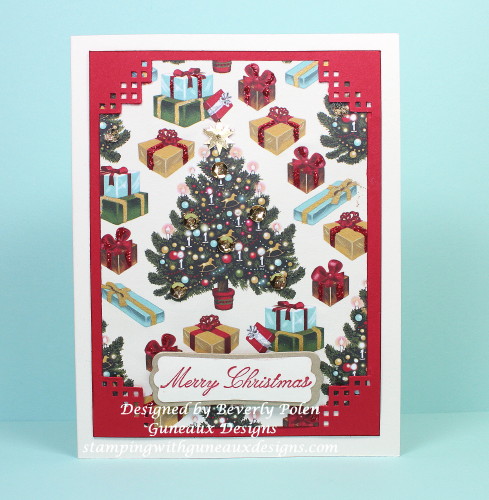
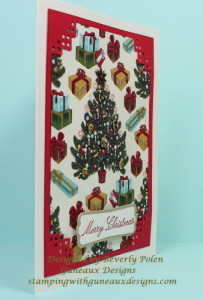
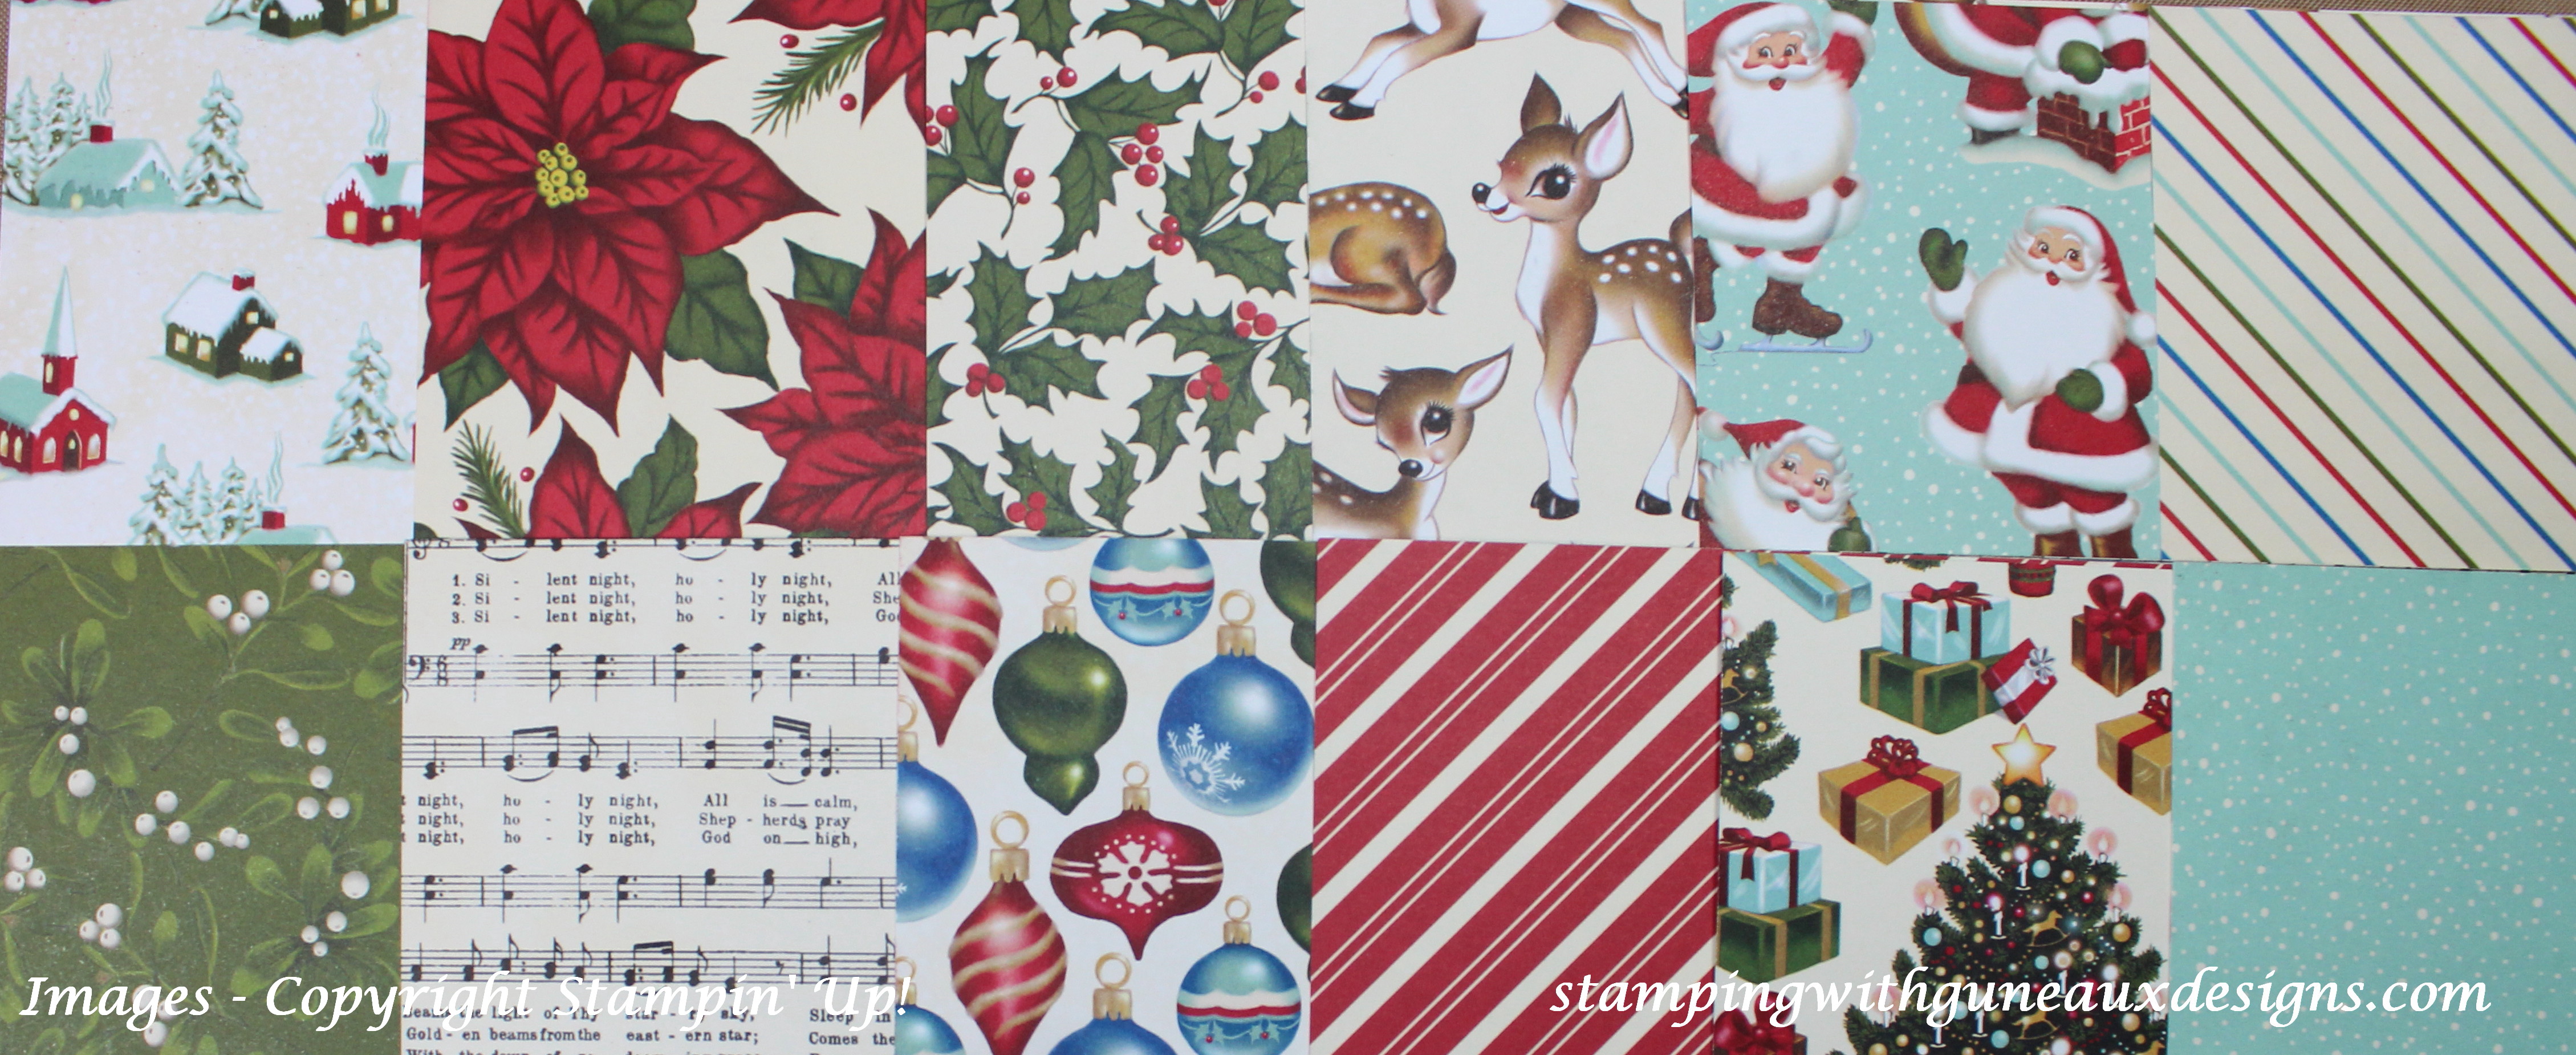
Are you searching for an easy and fast handmade card featuring the Home for Christmas DSP from Stampin’ Up!?  If you are, you have come to the right place! 🙂 But first, to make sure we are referring to the same DSP, let me show you a picture of the Home for Christmas DSP.  This Home for Christmas DSP card features the Christmas Tree design.

Home for Christmas DSP, Home for Christmas Designer Series Paper Blue Poinsettia

Home for Christmas Designer Series Paper (#139592)

Home for Christmas DSP

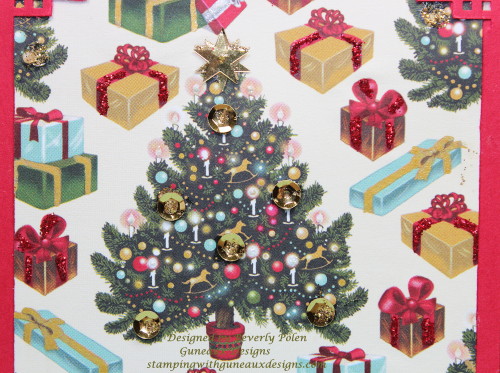
Here’s a closeup of the decorated tree and packages:

Home for Christmas DSP

Don’t you want to pick those little gold rocking horses off the tree?  They are so cute!

How to create the Home for Christmas DSP Christmas Card:

  • Cut an 8-1/2″ x 5-1/2″ piece of Stampin’ Up! Very Vanilla Card Stock (*#101650) and fold it in the middle.  This creates an A2 card.
  • Cut a 4″ x 5-1/4″ piece of Stampin’ Up! Real Red Card Stock (*#102482) for your first card layer.  I used an EK Success corner punch and punched the four corners on mine.  (This, of course, is optional.)
  • Cut a 3-1/2″ x 4-3/4″ piece of the Christmas Tree design from the Stampin’ Up! Home for Christmas DSP for your top card layer.  Try to ensure a Christmas Tree is in the center of your cut.  (Mine is off a little and I did not notice it until I had the card finished.  Oh well, that’s life!)
  • If you want to add a little dazzle to the Christmas Tree design, do as I did:  1) add glitter glue (e.g., red Stickles) on the packages with red ribbons, 2) add gold gel ink on the packages with gold ribbons, and 3) add sequins strategically on the tree.
    • TIP:  If you add sequins, please use a strong adhesive or they will fall off your paper.  I used gold sequins from Stampin’ Up! Metallic Sequin Assortment (*#138390) and Stampin’ Up! Crystal Effects (*#101055) to adhere mine to the card.  I know, Crystal Effects is a lacquer, not an adhesive!  Well, let me tell you, it is a great adhesive; it just takes some time to dry.
  • Adhere your card pieces together and add a sentiment.
  • You are finished and you have a simple and easy Home for Christmas DSP Christmas card!!

Now, wasn’t that easy?  Have a blessed and wonderful day!

CLICK HERE to see another Home for Christmas DSP Christmas Card!

*When you see this symbol “#” in my post, it means the item number of the Stampin’ Up! product that is listed before the number.


Click on the bubble to the right of this post title to leave a comment and/or ask a question.  I would love to hear from you!

Butterfly

God’s Blessings!

Stamping With Guneaux Designs

By

Beverly Polen

Home for Christmas DSP

HOME FOR CHRISTMAS DSP CHRISTMAS CARD

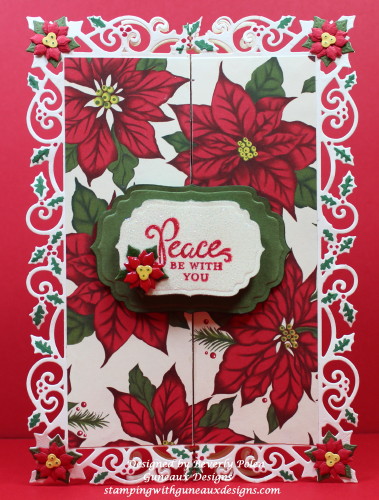
Home for Christmas DSP Gate Fold Card

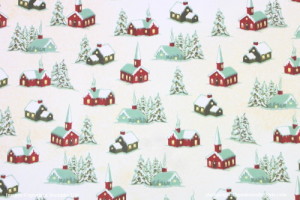
The Home for Christmas DSP from Stampin’ Up! is so nostalgic and takes me back to my childhood.  I love the designs of the paper which are shown below:Home for Christmas DSP

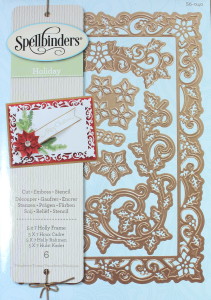
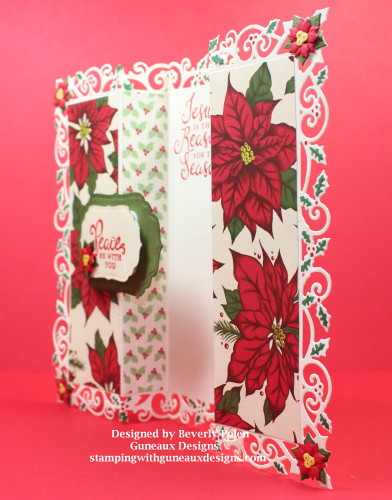
For my card, I chose the poinsettias design.  And to enhance the design from the Home for Christmas DSP, I used the Spellbinders Holiday 5 x 7 Holly Frame Template to die cut my gate fold card.

Home for Christmas DSP Gate Fold Card

Isn’t it beautiful?

Spellbinders 5x7 Holly FrameThe holly and poinsettia die cuts from the Spellbinders Holiday 5 x 7 Holly Frame match the Home for Christmas DSP perfectly. The picture to the left is of the Spellbinders dies.
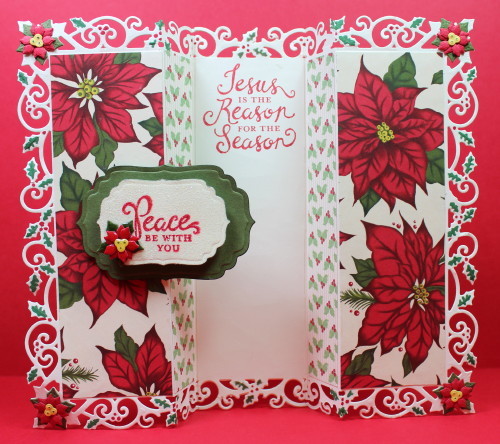
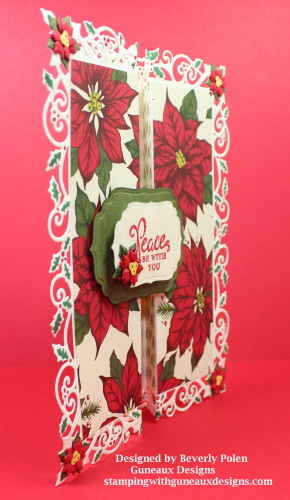
After cutting a piece of 10″ x 71/4″ Very Vanilla Card Stock (Stampin’ Up! item #101650), I scored and folded the card stock to form a gate fold card.  I  scored the piece of card stock at the 3″, 4″, 6″ and 7″ marks.

I folded the card stock in this order:  3″ score line is a mountain fold, 4″ valley fold, 6″ valley fold, and 7″ mountain fold.  Using my Big Shot and cutting plates, I laid the 5″ x 7″ holly frame onto my magnetic plate and cutting plate, folded the card stock into a gate fold, laid the card on top the holly frame, laid another cutting plate on top of the gate fold card, and run it through the big shot.  Leaving the cut gate fold card within the frame, I used green and red inks to emboss along the edges.  This picture below gives you a better idea.

Home for Christmas DSP Gate Fold Card

For the two sides of the inside of the card, I felt that the back side of the poinsettias design of the Home For Christmas DSP just would not look good.  This is the back side of the poinsettias design:

Home for Christmas DSP

The holly design within the Home for Christmas DSP is too bold to me for this purpose. Therefore, I decided to dig into my stash of retired designer series paper for something that would better fit the poinsettias.  I found the holy design of the old Stampin’ Up! Berry Bouquet Specialty Designer Series Paper that is more muted.  That was it!  It matched perfectly!  Thus, you’ll see it on the inside of the card.

Home for Christmas DSP Gate Fold Card

Home for Christmas DSP Gate Fold Card


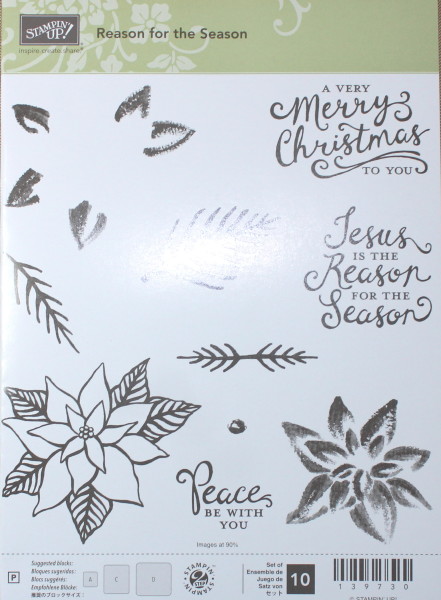
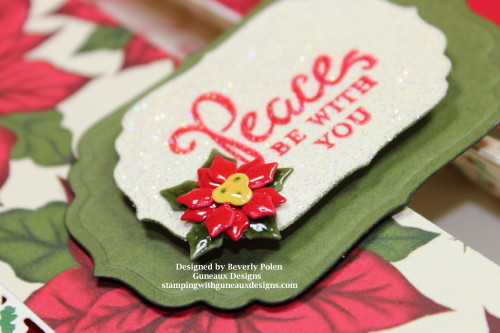
I added to my gate fold card two sentiments from the Stampin’ Up! Reason for the Season Stamp Set (Item #139730).  The picture to the right shows one and the second one can be seen on the card’s inside in the above pictures.

Reason for the Season Stamp SetHome for Christmas DSP Gate Fold Card


I embellished the outside sentiment with Stampin’ Up! Iridescent Ice Embossing Powder (Item #101930) and a poinsettia made with a couple dies from the Spellbinders Holiday 5 x 7 Holly Frame die cuts.  I used Stampin’ Up! Crystal Effects on the poinsettia.

I hope you enjoyed the card as much as I did making it!  Don’t forget to leave a comment!

Butterfly

God’s Blessings!

Stamping With Guneaux Designs

By

Beverly Polen

Home for Christmas DSP Gate Fold Card

Home for Christmas DSP Gate Fold Card