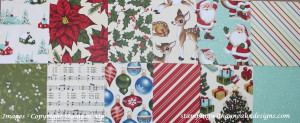
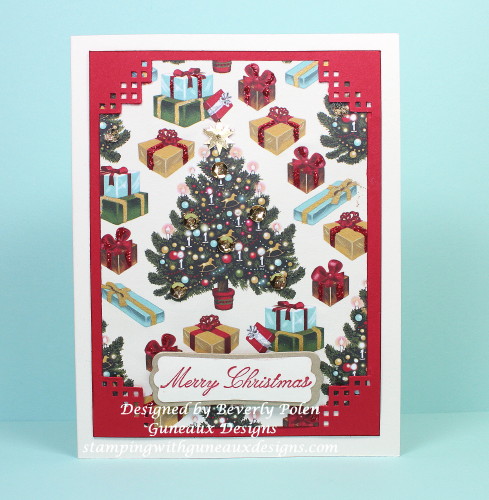
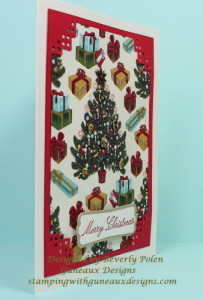
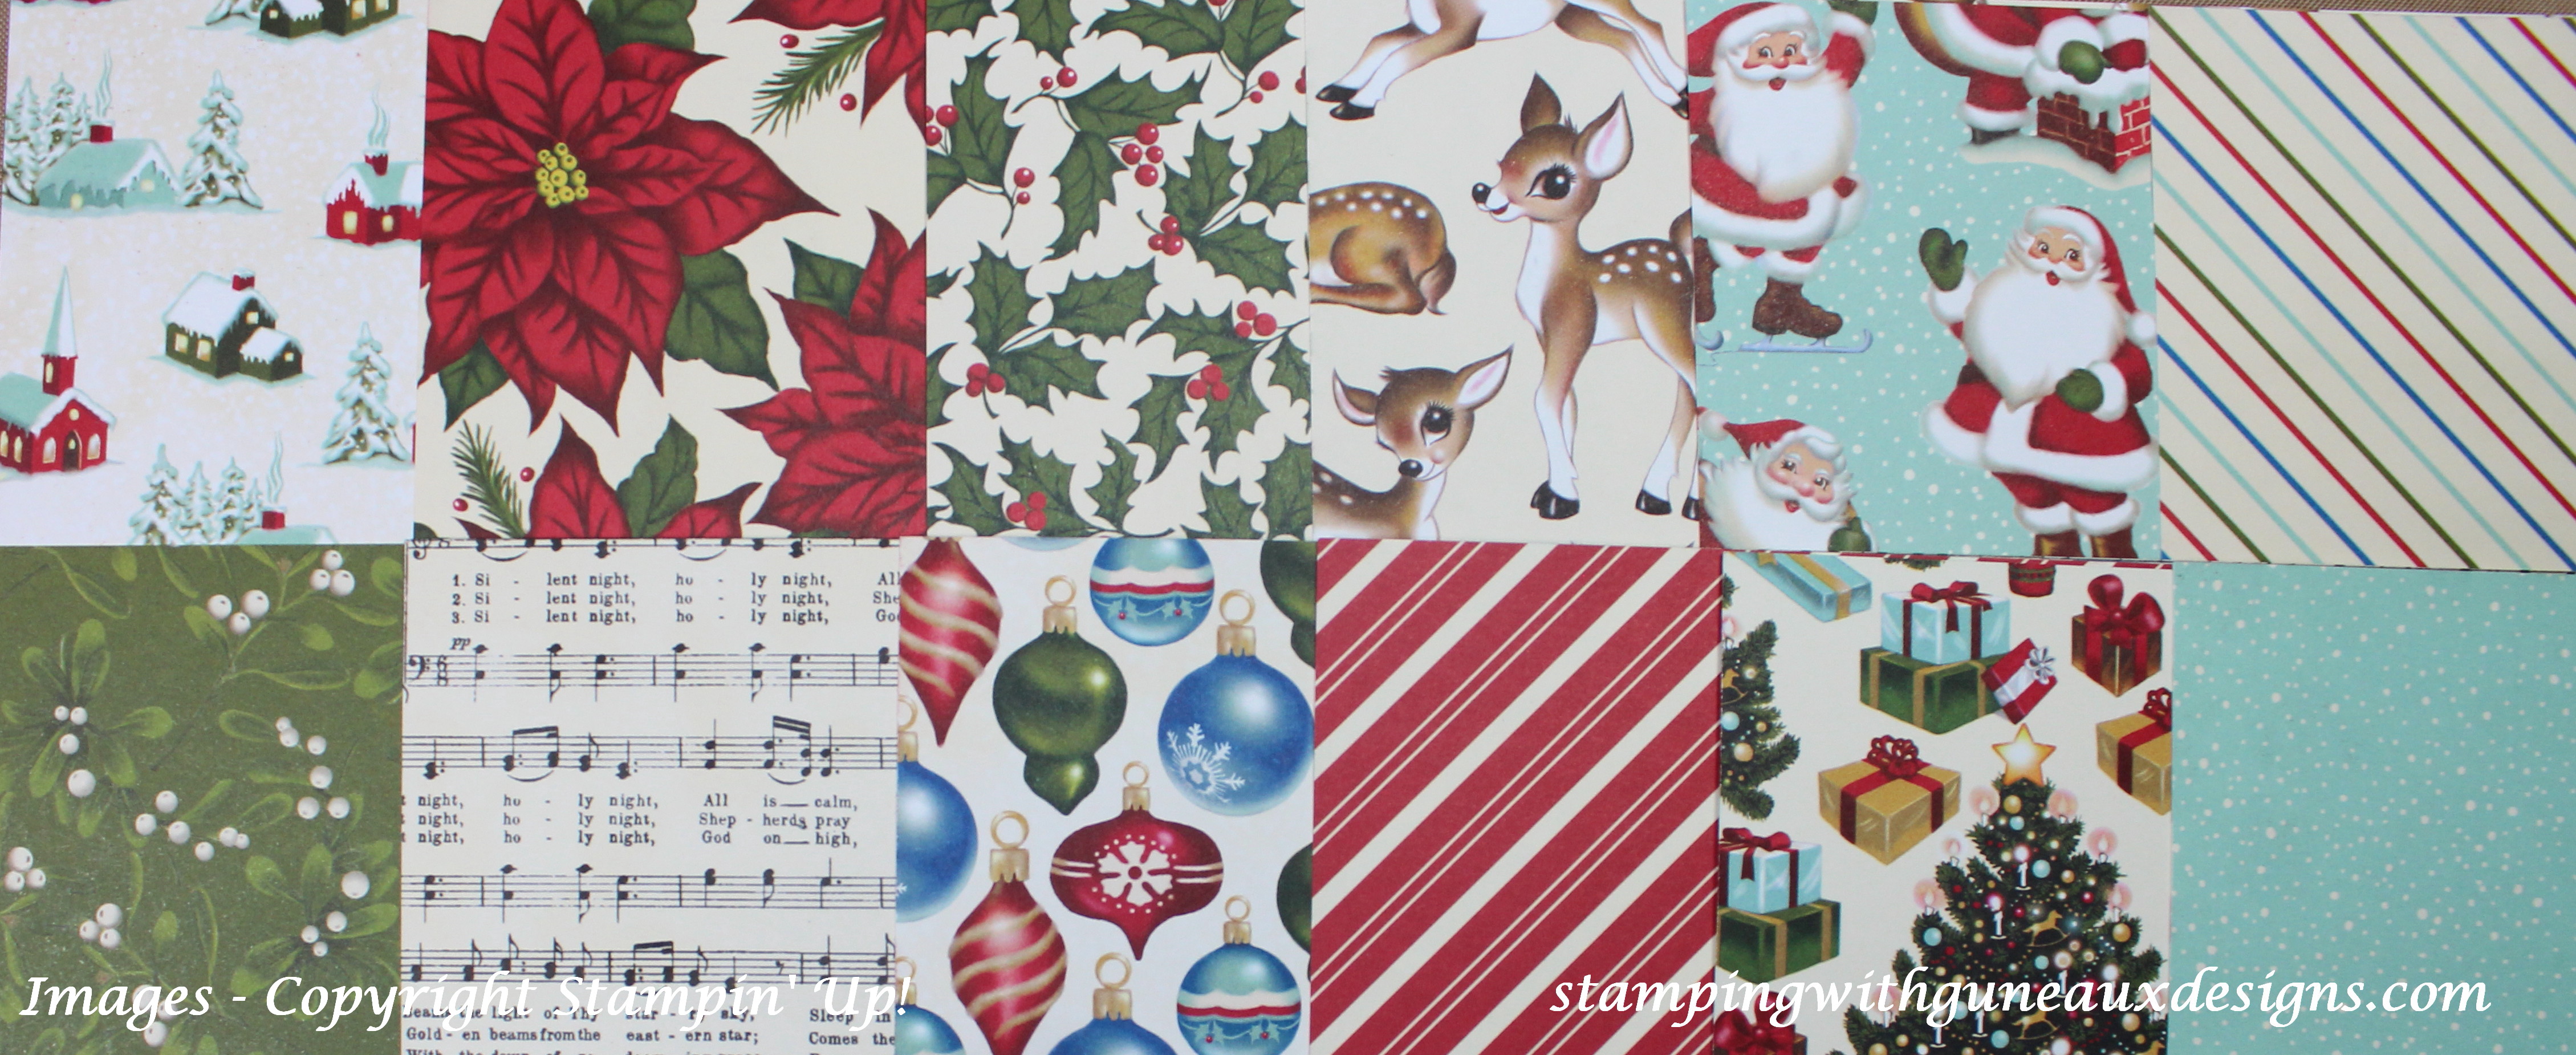
Are you searching for an easy and fast handmade card featuring the Home for Christmas DSP from Stampin’ Up!? If you are, you have come to the right place! 🙂 But first, to make sure we are referring to the same DSP, let me show you a picture of the Home for Christmas DSP. This Home for Christmas DSP card features the Christmas Tree design.
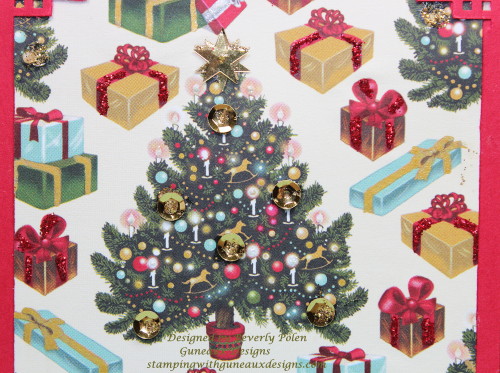
Here’s a closeup of the decorated tree and packages:
Don’t you want to pick those little gold rocking horses off the tree? They are so cute!
How to create the Home for Christmas DSP Christmas Card:
- Cut an 8-1/2″ x 5-1/2″ piece of Stampin’ Up! Very Vanilla Card Stock (*#101650) and fold it in the middle. This creates an A2 card.
- Cut a 4″ x 5-1/4″ piece of Stampin’ Up! Real Red Card Stock (*#102482) for your first card layer. I used an EK Success corner punch and punched the four corners on mine. (This, of course, is optional.)
- Cut a 3-1/2″ x 4-3/4″ piece of the Christmas Tree design from the Stampin’ Up! Home for Christmas DSP for your top card layer. Try to ensure a Christmas Tree is in the center of your cut. (Mine is off a little and I did not notice it until I had the card finished. Oh well, that’s life!)
- If you want to add a little dazzle to the Christmas Tree design, do as I did: 1) add glitter glue (e.g., red Stickles) on the packages with red ribbons, 2) add gold gel ink on the packages with gold ribbons, and 3) add sequins strategically on the tree.
- TIP: If you add sequins, please use a strong adhesive or they will fall off your paper. I used gold sequins from Stampin’ Up! Metallic Sequin Assortment (*#138390) and Stampin’ Up! Crystal Effects (*#101055) to adhere mine to the card. I know, Crystal Effects is a lacquer, not an adhesive! Well, let me tell you, it is a great adhesive; it just takes some time to dry.
- Adhere your card pieces together and add a sentiment.
- You are finished and you have a simple and easy Home for Christmas DSP Christmas card!!
Now, wasn’t that easy? Have a blessed and wonderful day!
CLICK HERE to see another Home for Christmas DSP Christmas Card!
*When you see this symbol “#” in my post, it means the item number of the Stampin’ Up! product that is listed before the number.
Click on the bubble to the right of this post title to leave a comment and/or ask a question. I would love to hear from you!


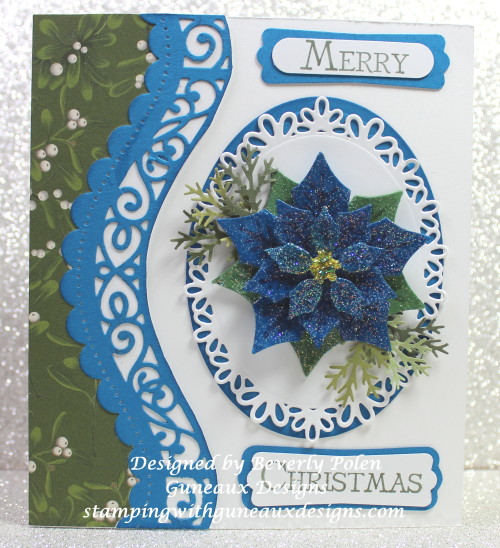
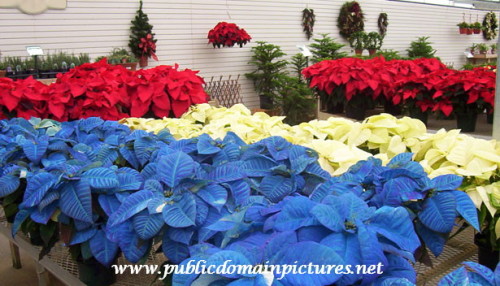
 Have you seen blue poinsettias? Here’s a picture of a group of them. Aren’t they pretty? They are beautiful to me, but maybe that is because I love the color blue. I guess there are a lot of colors of poinsettias.