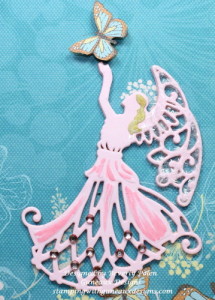
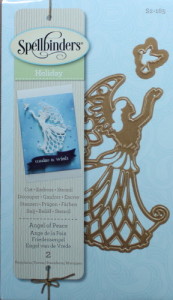
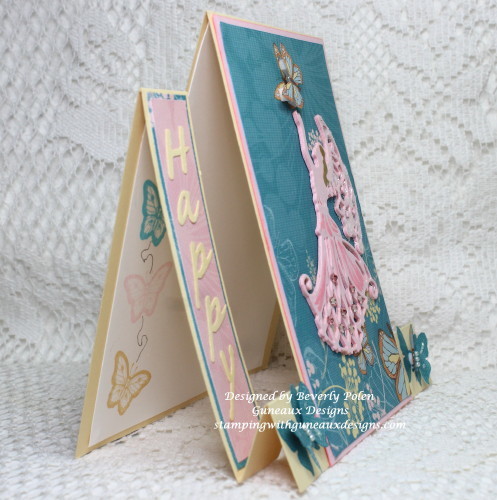
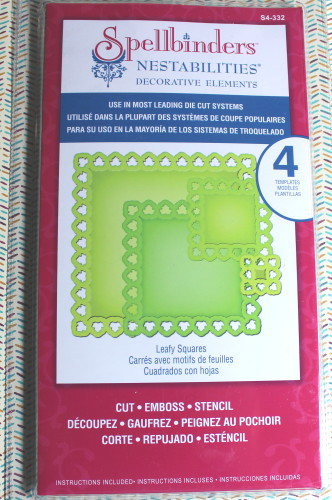
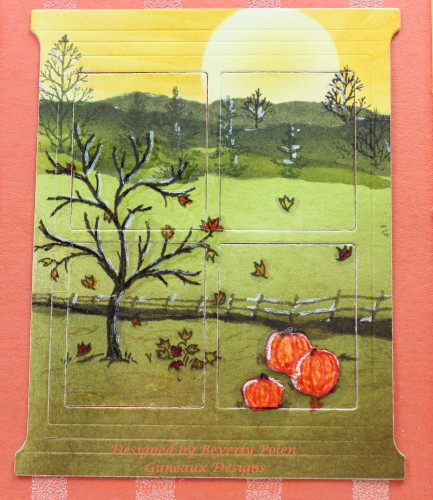
The purpose of this post is to provide a tutorial on how to make a center step card. The card shown in the post is a Happy Birthday card that I made for my little angel granddaughter. I refer to her as my angel, thus I thought the Spellbinders Holiday Angel of Peace Dies would work perfectly for my center step card.
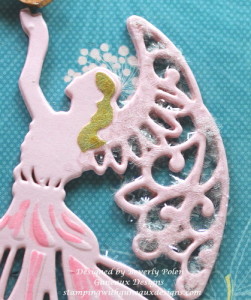
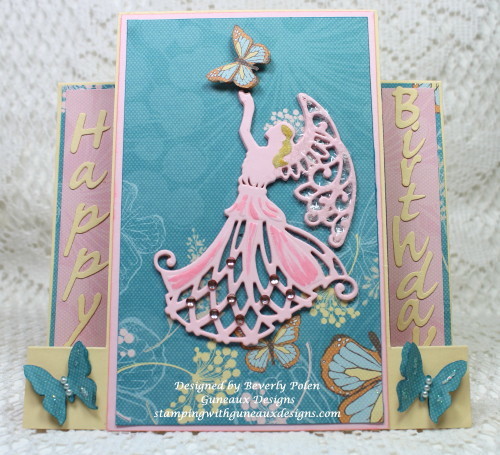 The following pictures are closeups of card sections. You will note that the angel’s wings are covered with a tinsel glitter, which is Martha Stewart’s Crystal Tinsel Glitter (discontinued).
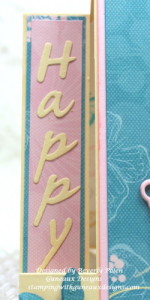
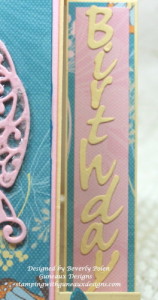
These pictures are closeups of the Happy Birthday sentiment on the left and right sides of the card and the Spellbinders Angel of Peace Dies.
TUTORIAL ON HOW TO MAKE A CENTER STEP CARD
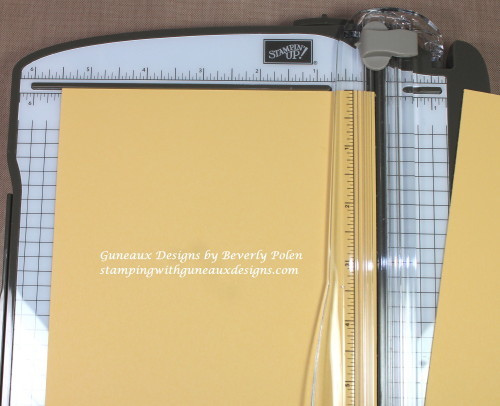
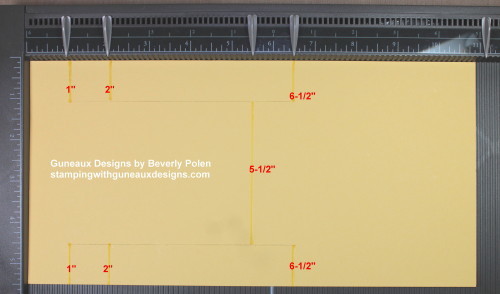
STEP 1: Using a paper trimmer/cutter, cut an 11″ x 5-1/2″ piece of card stock.
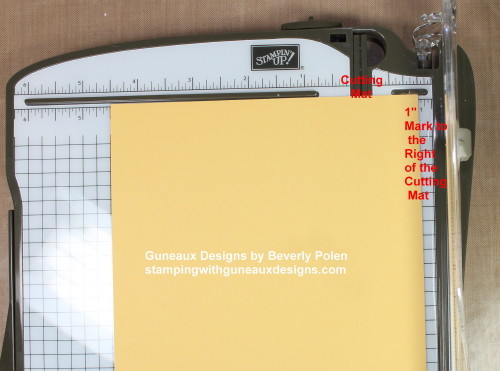
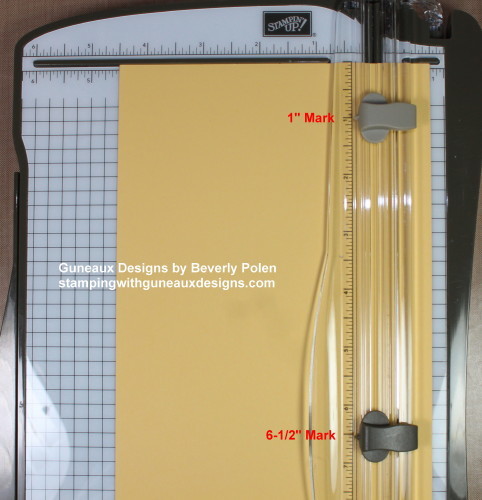
STEP 2: Leave the 11″ x 5-1/2″ cut piece of card stock on the trimmer, moving the right side to the 1″ mark on the right side of the cutting mat (i.e., the rubber channel that the blade slides through when cutting).
NOTE: The terms used for a trimmer depends on the type of trimmer used (e.g., Guillotine cutter, Bypass trimmer, etc.). Thus, in this tutorial, I have used terms that are applicable to my paper trimmer. Follow the directions for use of your type of trimmer.
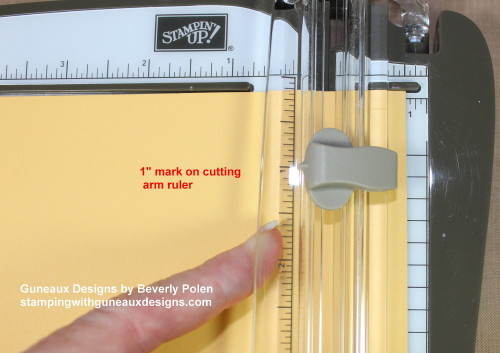
STEP 3: Using the ruler on the cutting arm, move the cutting blade down to the 1″ mark. Lay the cutting arm down on the paper.
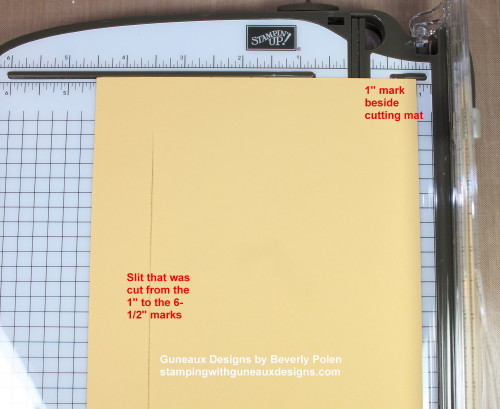
STEP 4: Cut from the 1″ mark on the cutting arm ruler down to the 6-1/2″ mark. This provides a 5-1/2″ slit on the card stock.
STEP 5: Turn the card stock over with the 5-1/2″ slit on the left side. Place the card stock at the 1″ mark that is to the right of the cutting mat.
STEP 6: Before cutting, move the cutting blade on the cutting arm down to the 1″ mark (same as STEP 3).
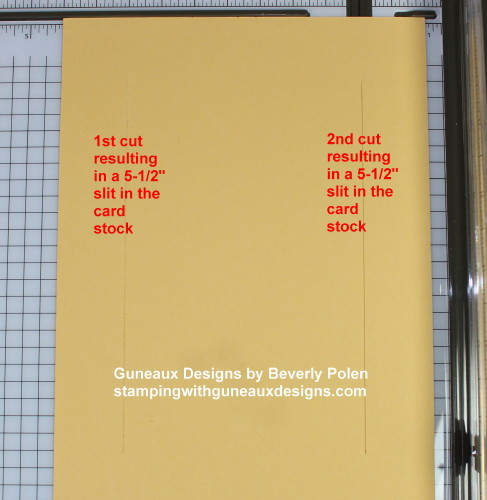
STEP 7: Cut from the 1″ mark down to the 6-1/2″ mark. This provides a second 5-1/2″ slit on the card stock.
STEP 8: Put the trimmer away and get out your paper scoring tool to score the piece of card stock.
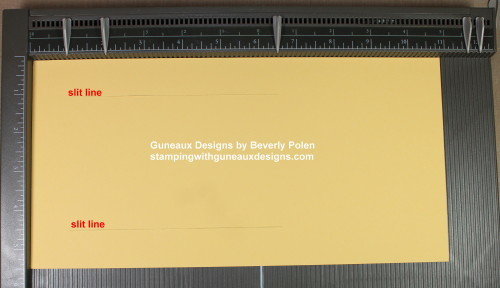
STEP 9: Place the card stock onto the scoring tool with the 5-1/2″ side and slits to the far left on the tool.
STEP 10: Score at the 1″, 2″, and 6-1/2″ marks, but ONLY from the top of the card stock down to the slit at the top, and from the slit at the bottom to the edge of the card stock. Your score lines will be 1″ long at the top and bottom, avoiding the area where the two slits are located (see picture below STEP 11).
STEP 11. Score at the 5-1/2″ mark beginning at the first slit down to the second slit.
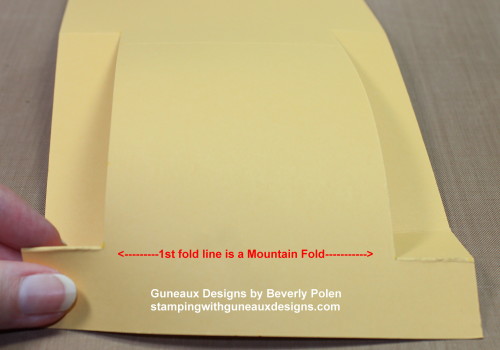
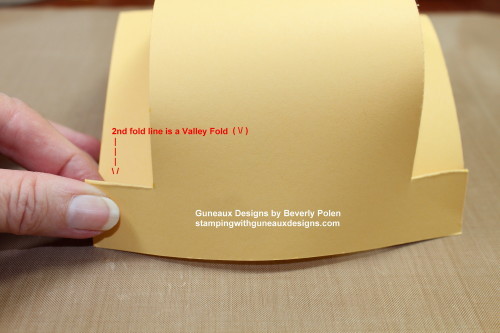
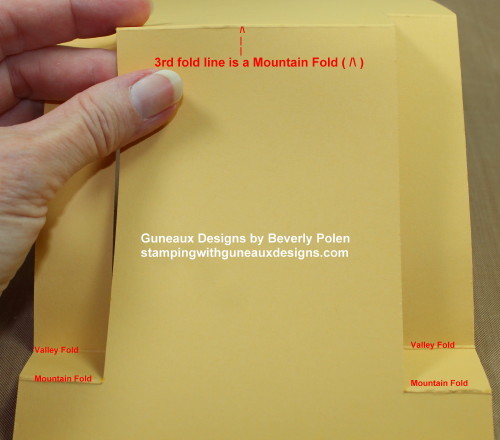
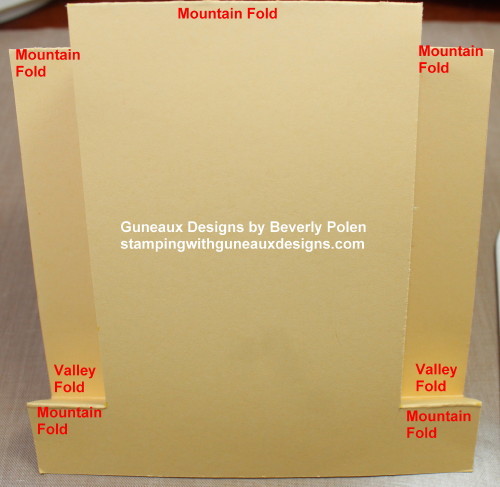
STEP 13: Remove your card stock from the scoring tool and fold it according to the following:
- Fold at the first score marks (i.e., the 1″ score line on both sides) into a mountain fold (i.e. the folded crease is facing up).
- Fold at the second score line (i.e., the 2″ score line on both sides) into a valley fold (i.e., the folded crease is facing down).
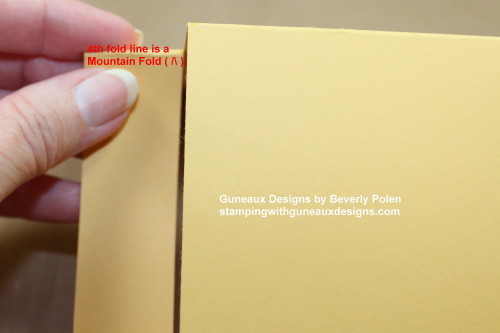
- Fold the 5-1/2″ score line into a mountain fold.
- Fold the 6″ score line into a mountain fold.
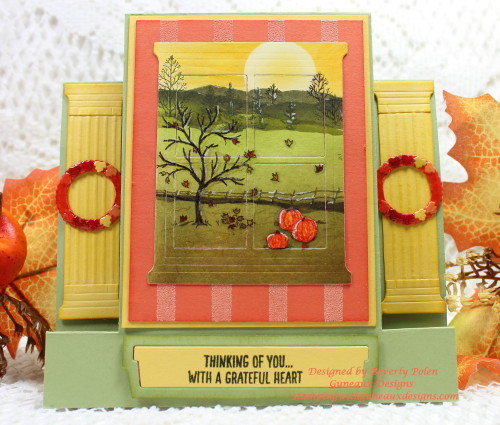
STEP 14: Now you can create a center step card base and decorate it according to your desires.
Hopefully my tutorial is easy to follow. If you have any questions or comments, please feel free to leave them in the comment area (i.e., either at the end of this post or at the conversation bubble to the right of this post title).
God’s Blessings!
Stamping With Guneaux Designs by Beverly Polen
HOW TO MAKE A CENTER STEP CARD

