
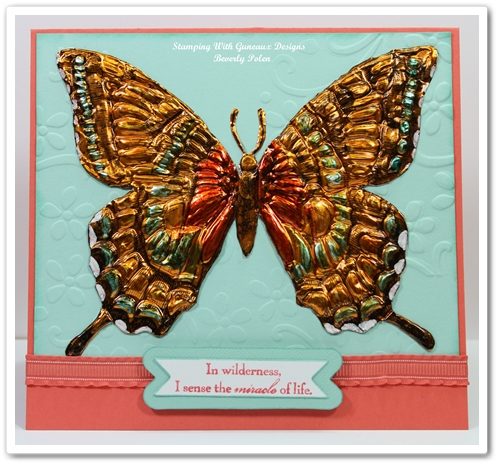
Tutorial on How to Hand Emboss a Craft Metal Sheet Featuring the Stampin’ Up! Swallowtail
PART A – INTRODUCTION
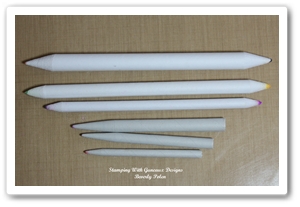
This tutorial provides instructions on embossing (or “puffing out”) a craft metal sheet featuring the Stampin Up Swallowtail stamp image. There are proper tools to use for this technique, such as a “Big Deer Foot Teflon” tool, “Double Teflon Refiner and Deer Foot” tool, “Double Teflon Round and Dear Foot” tool, etc. Because this is my first time working with craft metal sheets and I do not have the proper tools, this tutorial instructs on using a Paper Stump for the embossing. Paper Stumps of various sizes are easy to find at any craft store. The following picture of my Paper Stumps will give you an idea of what they are if you’ve not used them before.
If you have the correct tools, you’ll most likely know the proper method to follow for the technique. If you don’t have the tools or a paper stump, you can also use the Stampin’ Up! Stylus; however, the result will be different but still beautiful.
PART B – PROJECT SUPPLIES
CARD STOCK: Stampin’ Up! Pool Party Card Stock (122924 – a 5-3/4” x 4-5/8” piece”) and Calypso Carol Card Stock (122925 – a 6” x 11” piece)
STAMP: Stampin’ Up! Swallowtail Stamp (129216 – clear; 129213 – wood)
INK/MARKERS: StazOn Jet Black Ink and Markers of Your Choice
ACCESSORIES: 8-1/2” x 5-1/2” Piece of Orange Craft Metal Sheet (or other color), Stampin’ Up! Paper Snips (103579), Paper Stump (local craft store) or Stampin’ Up! Stylus (125624), Piece of Suede, Soft Mat, or Computer Mouse Pad for Embossing, Temporary Tape (e.g., painters tape), Stamp-a-ma-jig (101049), Embossing Metal Backing Paste (local craft store) or Lightweight Spackling, and a Textured Impressions Embossing Folder of Your Choice (I used the Elegant Bouquet-115964)
PART C – STEP BY STEP INSTRUCTIONS
1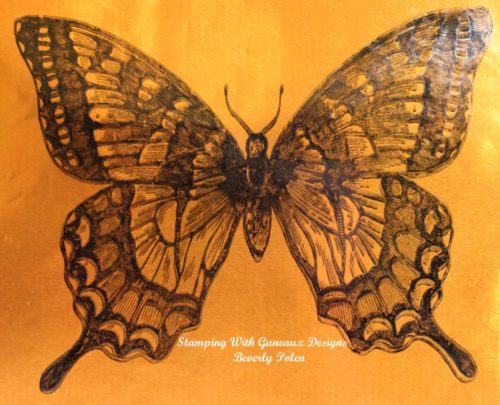 2
2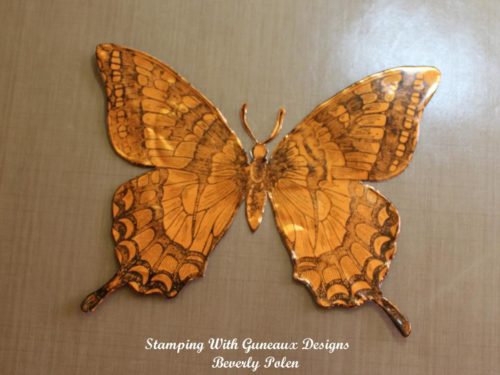
| Step 1: Cover the Swallowtail stamp with Jet Black StazOn Ink and stamp it onto the piece of Orange Craft Metal Sheet. Allow to dry. | Step 2: Cut out the butterfly with paper snips. If the cutting process wrinkles the sheet, roll a brayer over it to smooth them out. |
3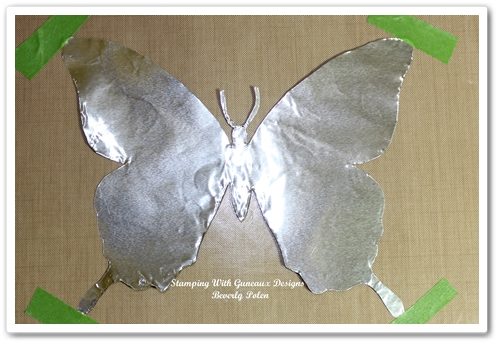 4
4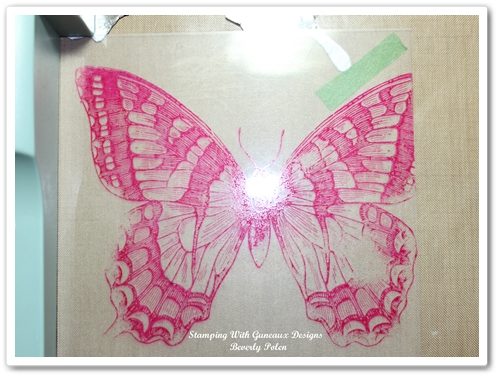
| Step 3: Turn the butterfly over and attach it to your working surface with temporary tape. Place the tape as close to the edge of the butterfly as possible. | Step 4: Cover the Swallowtail stamp with ink (I do not recommend StazOn) and stamp it onto the imaging sheet of the Stamp-a-ma-jig. |
5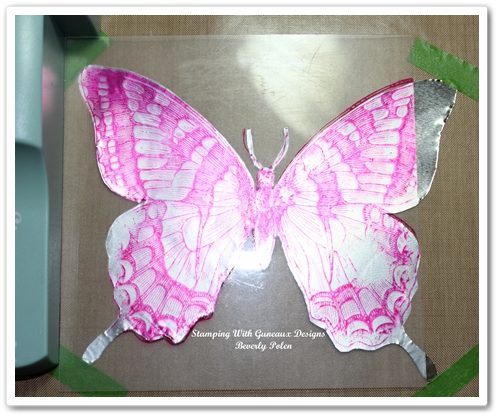 6
6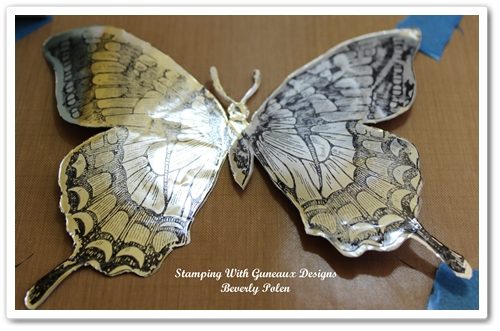
| Step 5. Using the Stamp-a-ma-jig, position the imaging sheet over the back side of the butterfly. Once in the correct position, remove the imaging sheet. | Step 6: Cover the Swallowtail stamp with Jet Black StazOn Ink and stamp it onto the metal sheet. Allow the ink to dry. |
7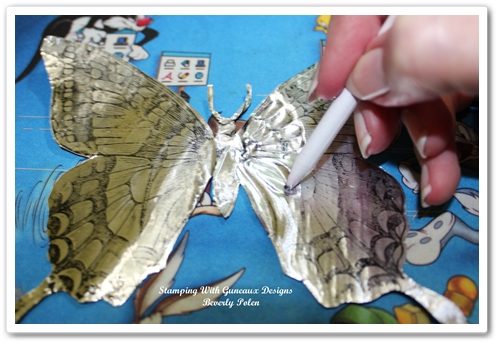 8
8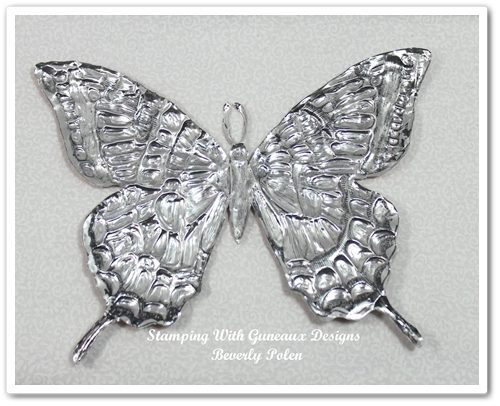
| Step 7. Insuring the back of the butterfly is face up, place it on a mouse pad, piece of suede, or other type of mat with some cushion. Using a Paper Stump, begin embossing, or “puffing” out the metal. | Step 8. Hand emboss the butterfly by following the design within the stamped image. This process will remove most of the ink from the back side of the Swallowtail. The above picture is the finished back of the Swallowtail. |
9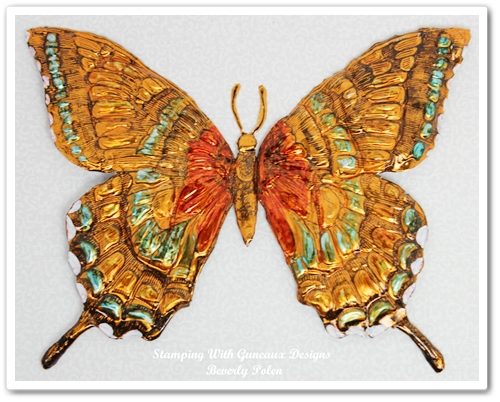
| Step 9. OPTIONAL – Using markers (I used alcohol-based markers), add color to the front side of the butterfly. |
10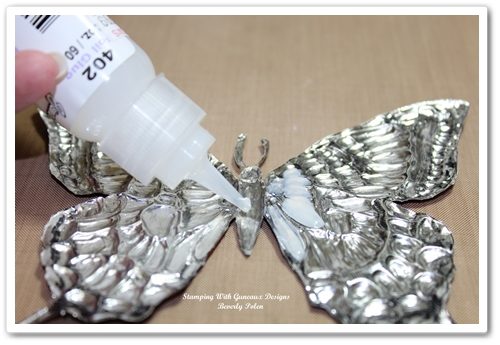 11
11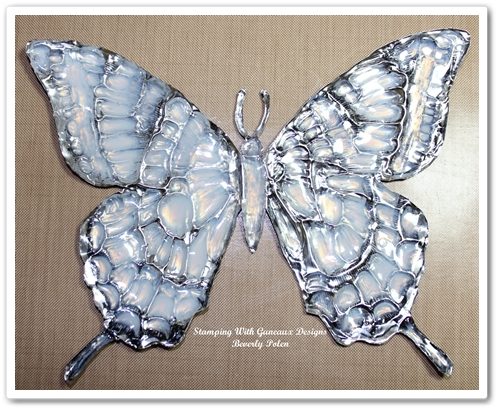
| Step 10. To ensure the embossed (or puffed out) parts of the butterfly are not flattened, fill the embossed sections with an embossing metal backing paste or lightweight spackling. | Step 11. After completion, allow the paste or spackling to dry completely. |
12 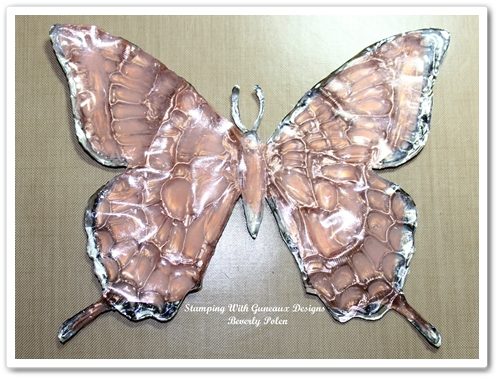 13
13
| Step 12. Add Sticky Strip red-liner tape or other strong double-sided tape to the back of the butterfly. I used an adhesive sheet and cut it into the shape of the butterfly. | Step 13. Insert the Pool Party Card Stock into your embossing folder and run it through the Big Shot. |
14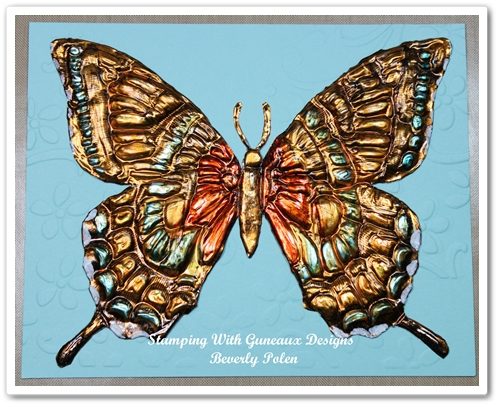 15
15
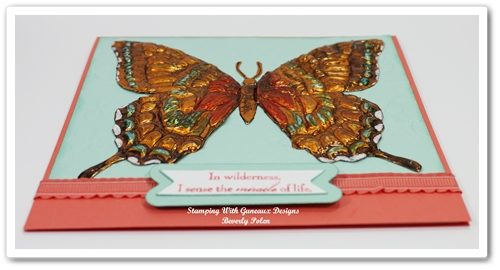
| Step 14. Remove the red liner from the adhesive on the back of the butterfly and attach the butterfly to the Pool Party Card Stock. Use a sponge to add Pool Party Classic Ink around the edges of the card stock. | Step 15. Use a strong adhesive to attach the Pool Party Card Stock to the Calypso Carol Card Stock, leaving about ¾” of the Calypso Carol showing at the bottom for a sentiment. Decorate as desired. |
![]()
God’s Blessings!
Stamping With Guneaux Designs
by
Beverly Polen

STAMPIN UP SWALLOWTAIL

Absolutely fabulous….love the colors…and your dedication to create this and to give us the wonderful step by step tutorial!
Awwww, Carol, your sweet words make me happy! I hope you give the tutorial a try. The process looks much harder than it really is.
Thanks,
Bev
What a fantastic technique. Someday I might have to try this. I love the Swallowtail stamp. This would have to be a very special card for someone very special. I could really see it framed and hung on the wall.
Marilyn, you are so kind with your words. I greatly appreciate you taking time to leave a comment, and I hope you try to technique!
Bev