Ai CRAFTY GIRLS & STEP LADDER CENTER CUT CARD
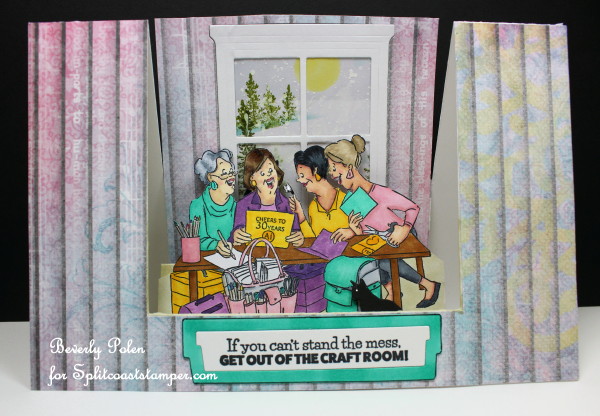
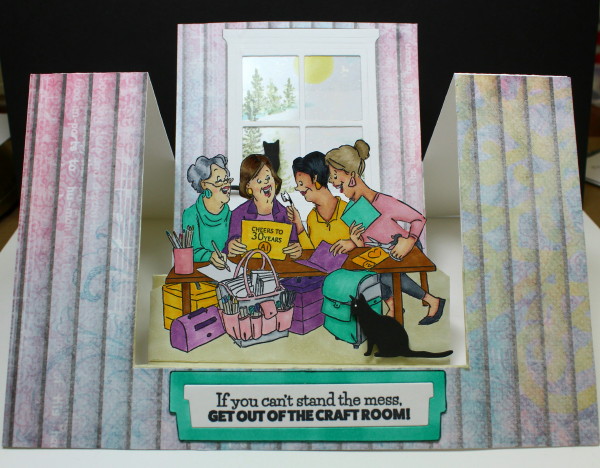
Hello, my friends! Thanks so much for stopping by. My card share for you today is an Ai Crafty Girls and a Step Ladder Center Cut Card (see tutorial at the end of this post). I used the Art Impressions Crafty Girls Stamp Set, which is a humorous one. Creating humorous cards is not a strong suit for me; however, I am stepping outside my “box”.
Colossians 2:18 (NIV)
“Therefore do not let anyone judge you by what you eat or drink, or with regard to a religious festival, a New Moon celebration or a Sabbath day. These are a shadow of things that were to come; the reality, however, is found in Christ.”
The crafty girls are sitting at the craft table in a messy craft room, enjoying each other’s company while getting inky when creating “SCS favorites” greeting cards. There is a blizzard outside, but the sun is shining through the window giving them extra light in the craft room. Each girl has a different type of crafting bag that holds her “oh-so-expensive” crafting tools. They are joined by the craft room black cats, one at the legs of one crafter and the other on the window sill watching it snow. (The cats are a memory of my black cat who always was at my feet, on my lap, or in the window when I was crafting).
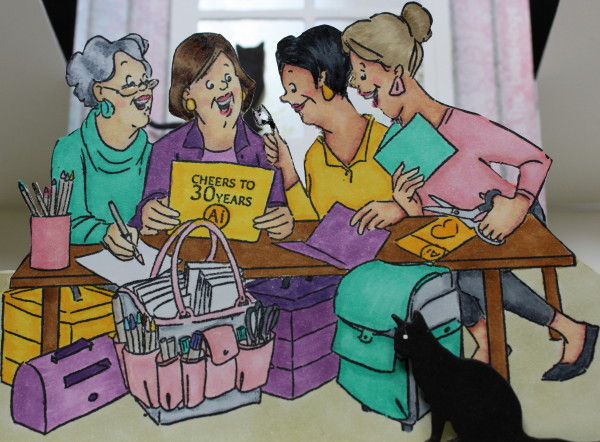
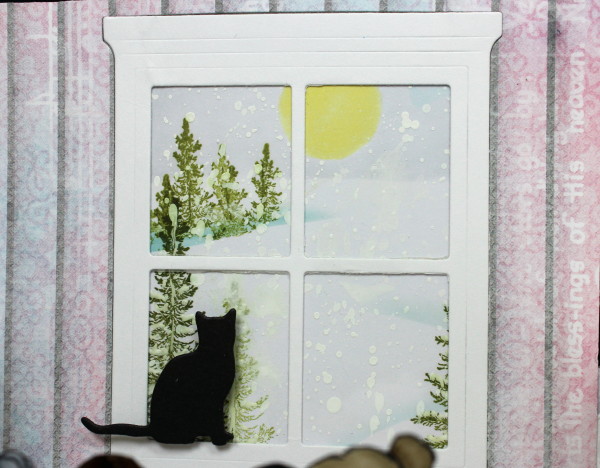
Now, to the good stuff! I created a Step Ladder Center Cut Card and attached a designer paper from Heartfelt Creations. I created an outdoor scene that shows through the die cut window frame. The back of the window is covered with acetate. This panel is attached to the last step of the card. The crafty girls were colored with copic sketch markers, then fussy cut, and attached to the first step of the card. The two black cats were die cut and attached to the scene.
As for my attempt at humor, it’s the sentiment that is stamped and die cut with window sill framelits and attached to the card front. The sentiment reflects words I often speak to non-crafting visitors who say I need to clean up my crafting room!
If you are wondering why I would create a wintry card, let me share that I made this card in December for the Splitcoaststampers Dirty Dozen theme. I could not post the card until my time as a “Dirty Girl” ended.
Enjoy and thanks in advance for viewing and leaving a comment!
SUPPLIES
Stamps: Art Impressions Crafty Girls Set, Heartfelt Creations Snow Kissed Spruce Stamp Set (for trees)
Paper: Neenah Solar White Card Stock and Heartfelt Creations Winter’s Eve Collection Designer Paper
Ink: Memento Tuxedo Black, Copic Markers
Accessories: Stampin’ Up! Hearth & Home Framelits Dies (for window), Acetate, Trimmer, Scoring Board, Scissors, Be Creative Double-Sided Tape, Masking Tape
INSTRUCTIONS FOR MAKING A STEP LADDER CARD
- Cut a 7-1/2″ x 10″ piece of cardstock.
- Place the 7-1/2″ side of the cardstock at the top of a cutting board at the 1-1/8″ mark.
- Move the cutting blade down to the 1″ mark.
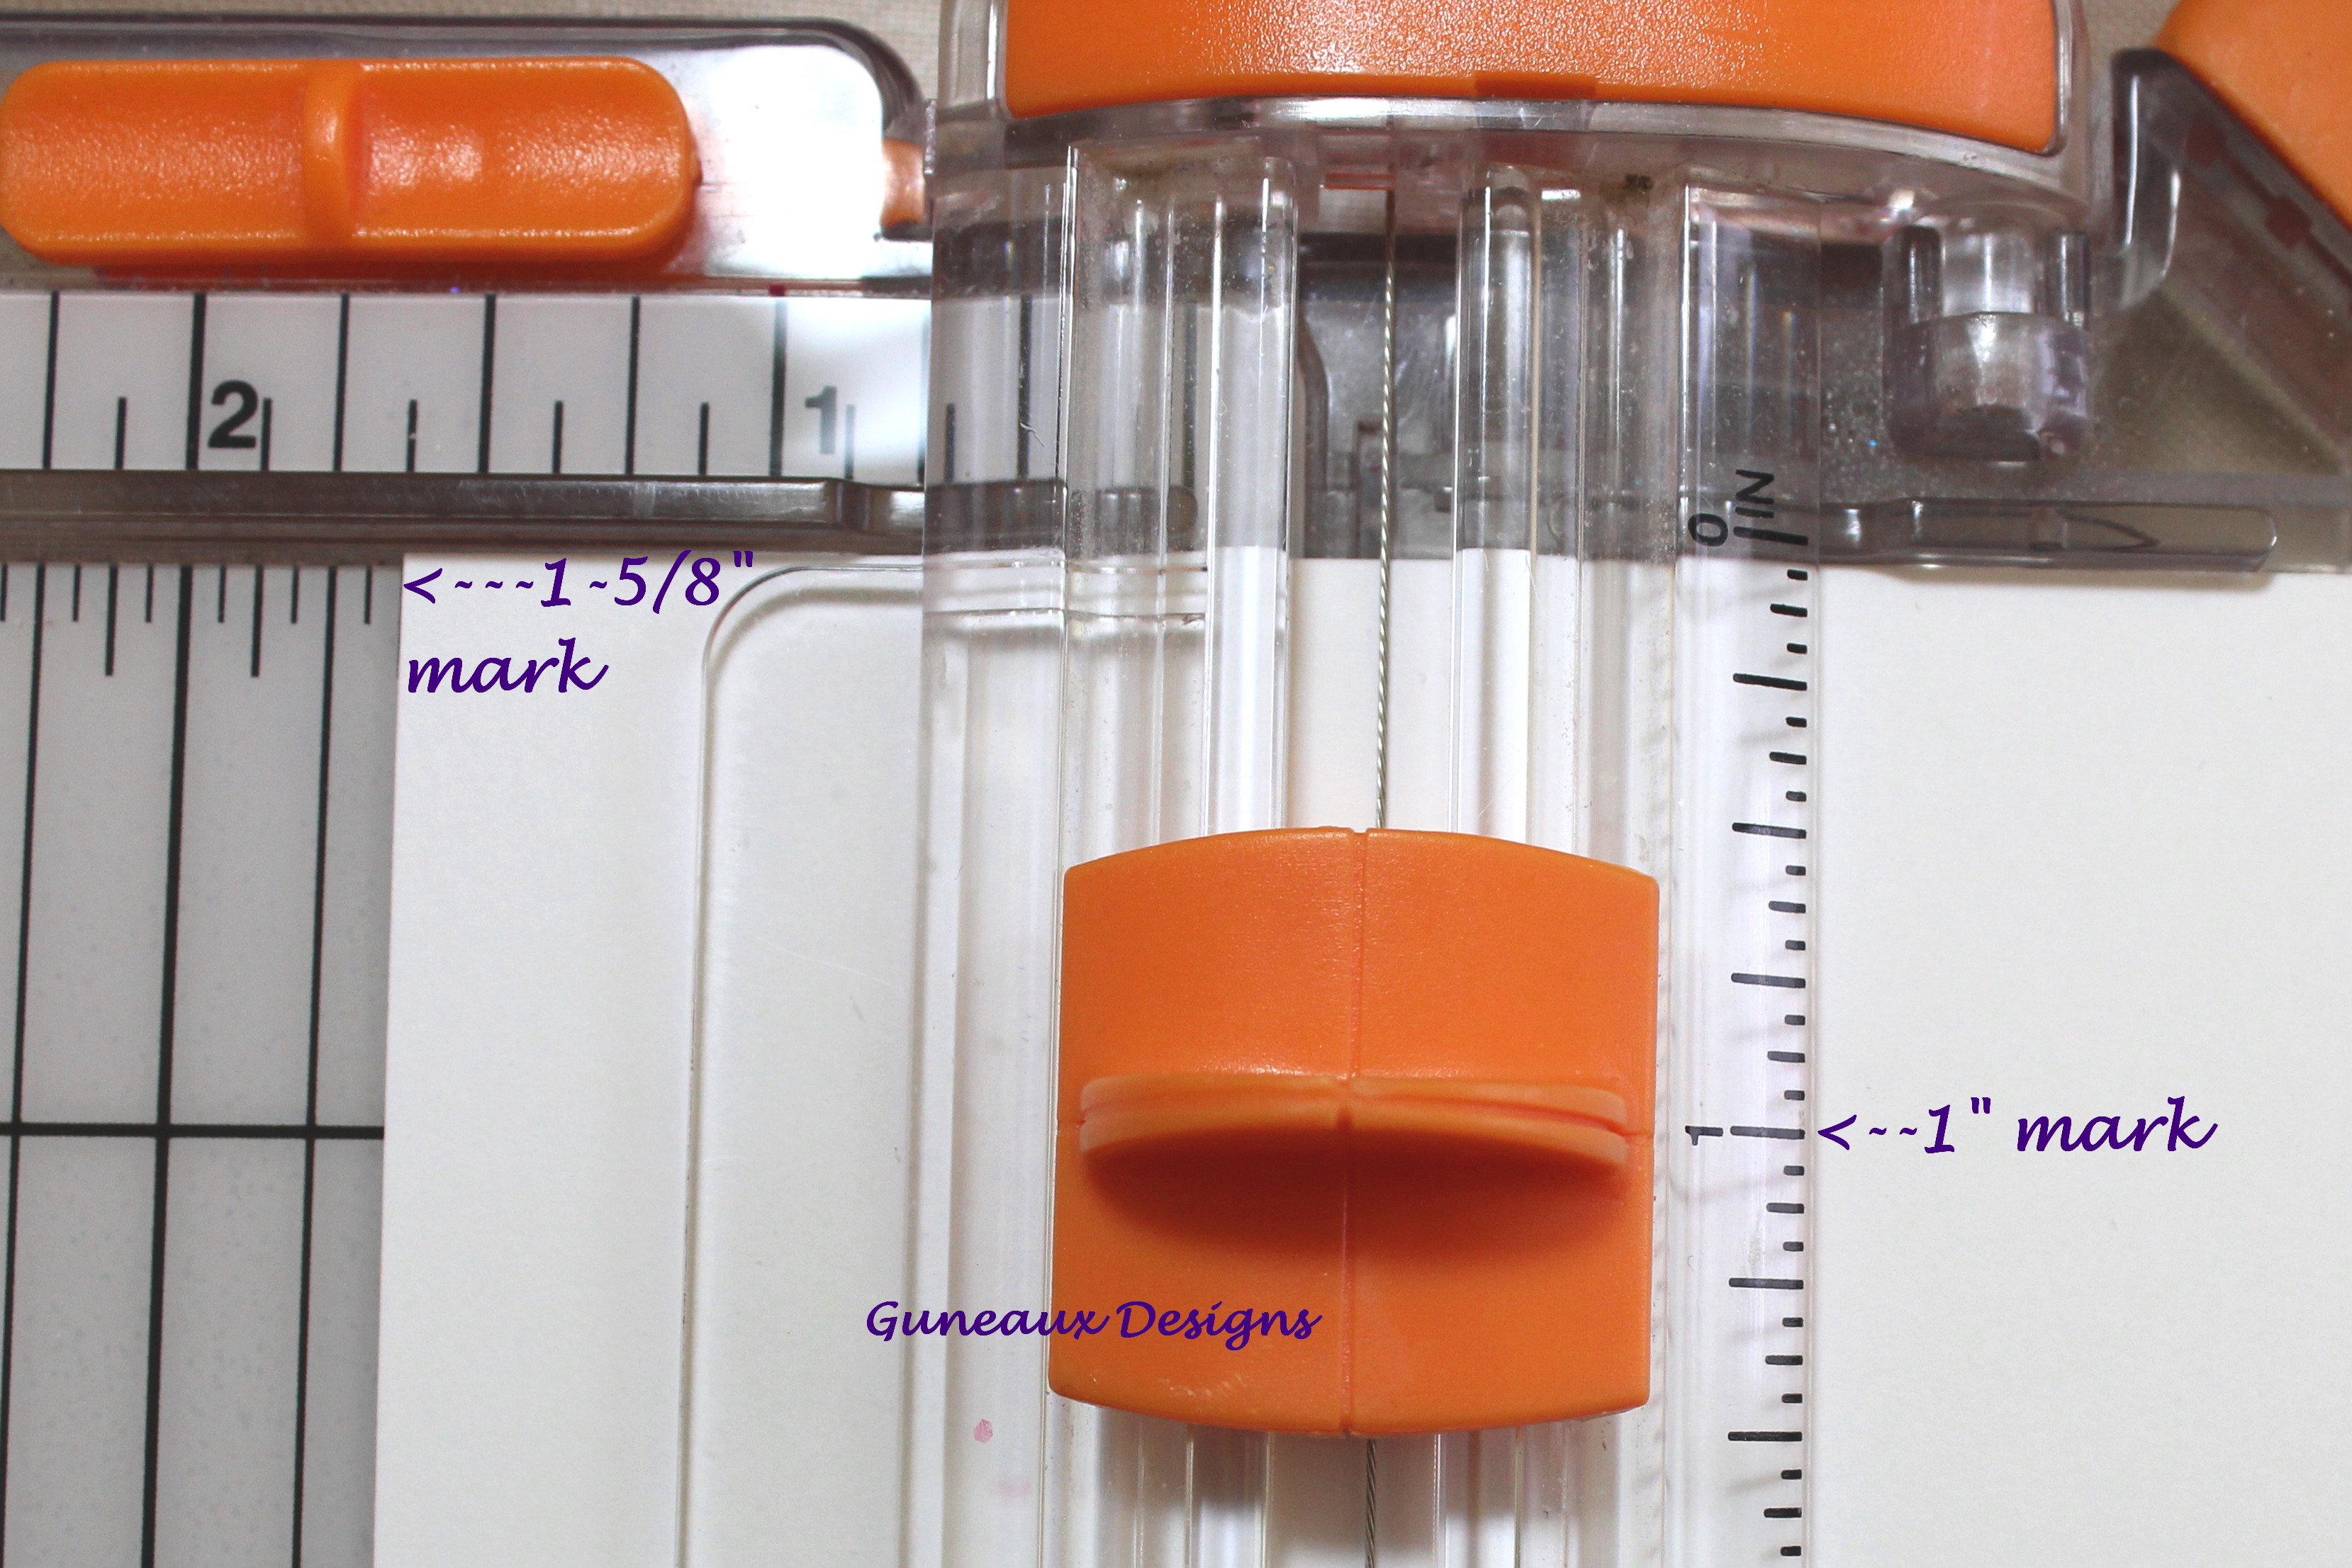
- Cut from the 1″ mark to the 8-1/2″ mark.
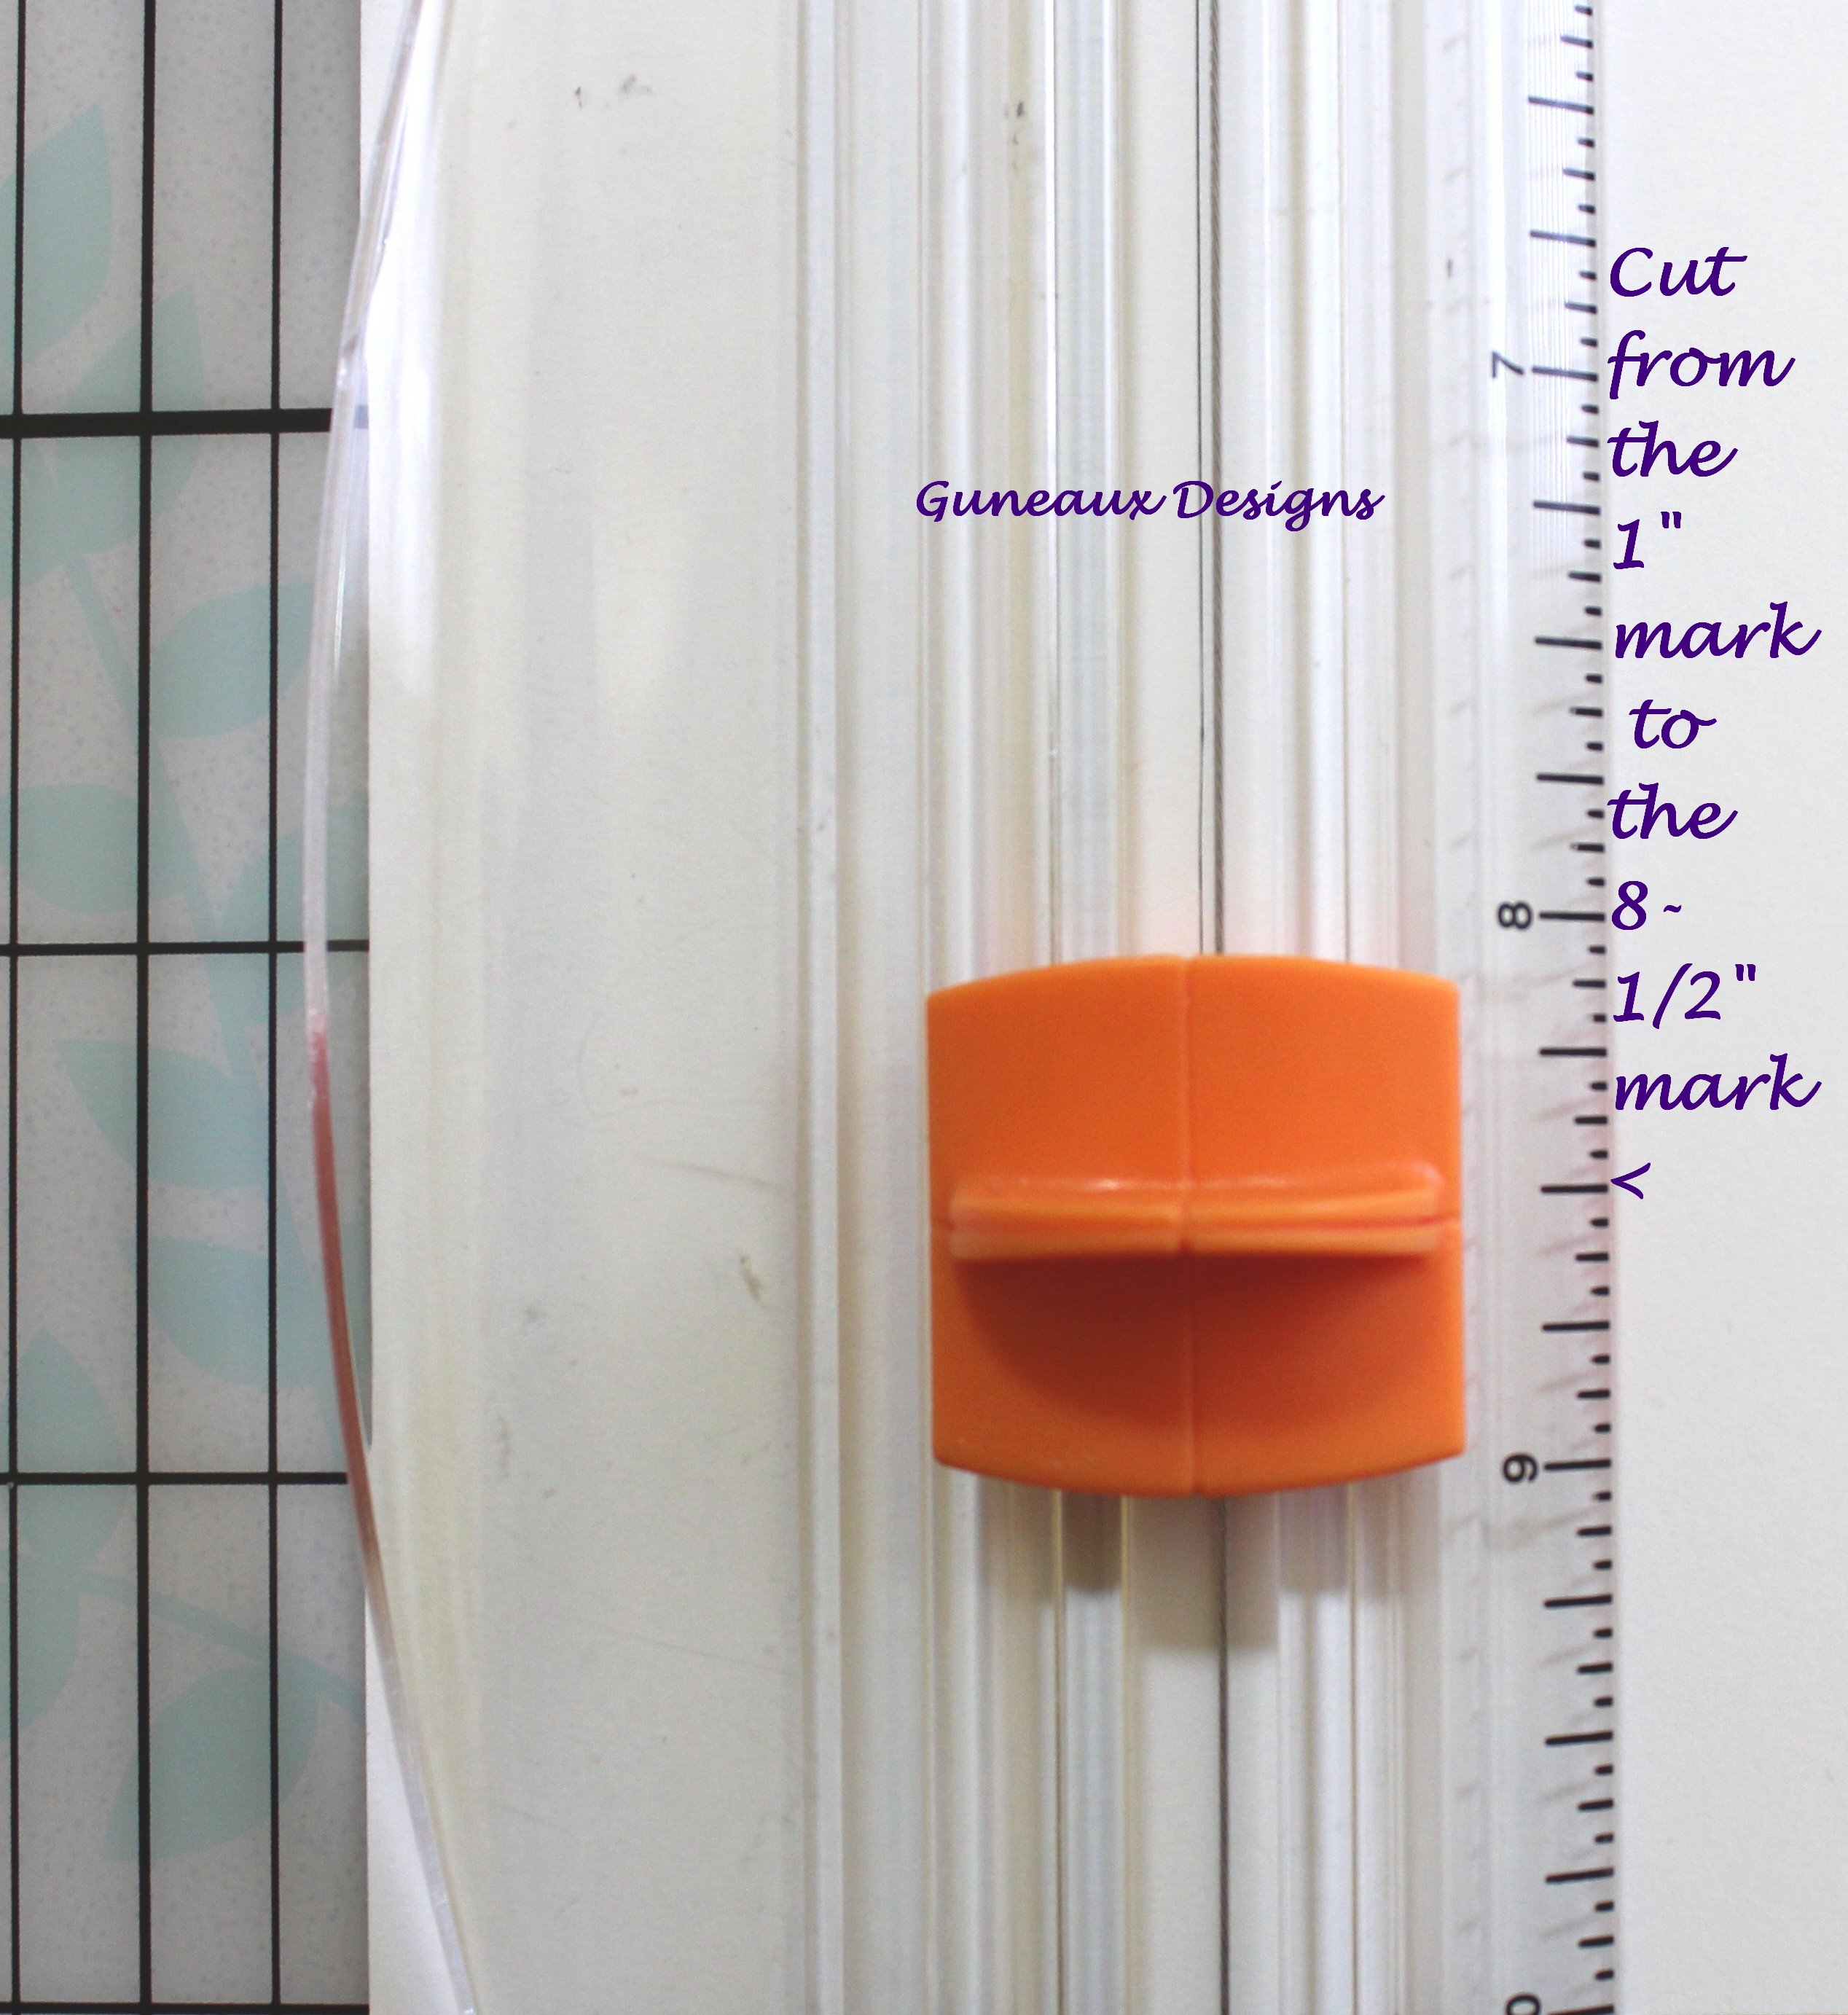
- Flip the cardstock over, not around, so that the BACK that was face down is now face up (if you turn the card stock around 90 degrees instead of flipping it over, the cuts will not line up),
- With the 7″ side at the top of the trimmer, move the card stock to the left to the 1-5/8″ mark,
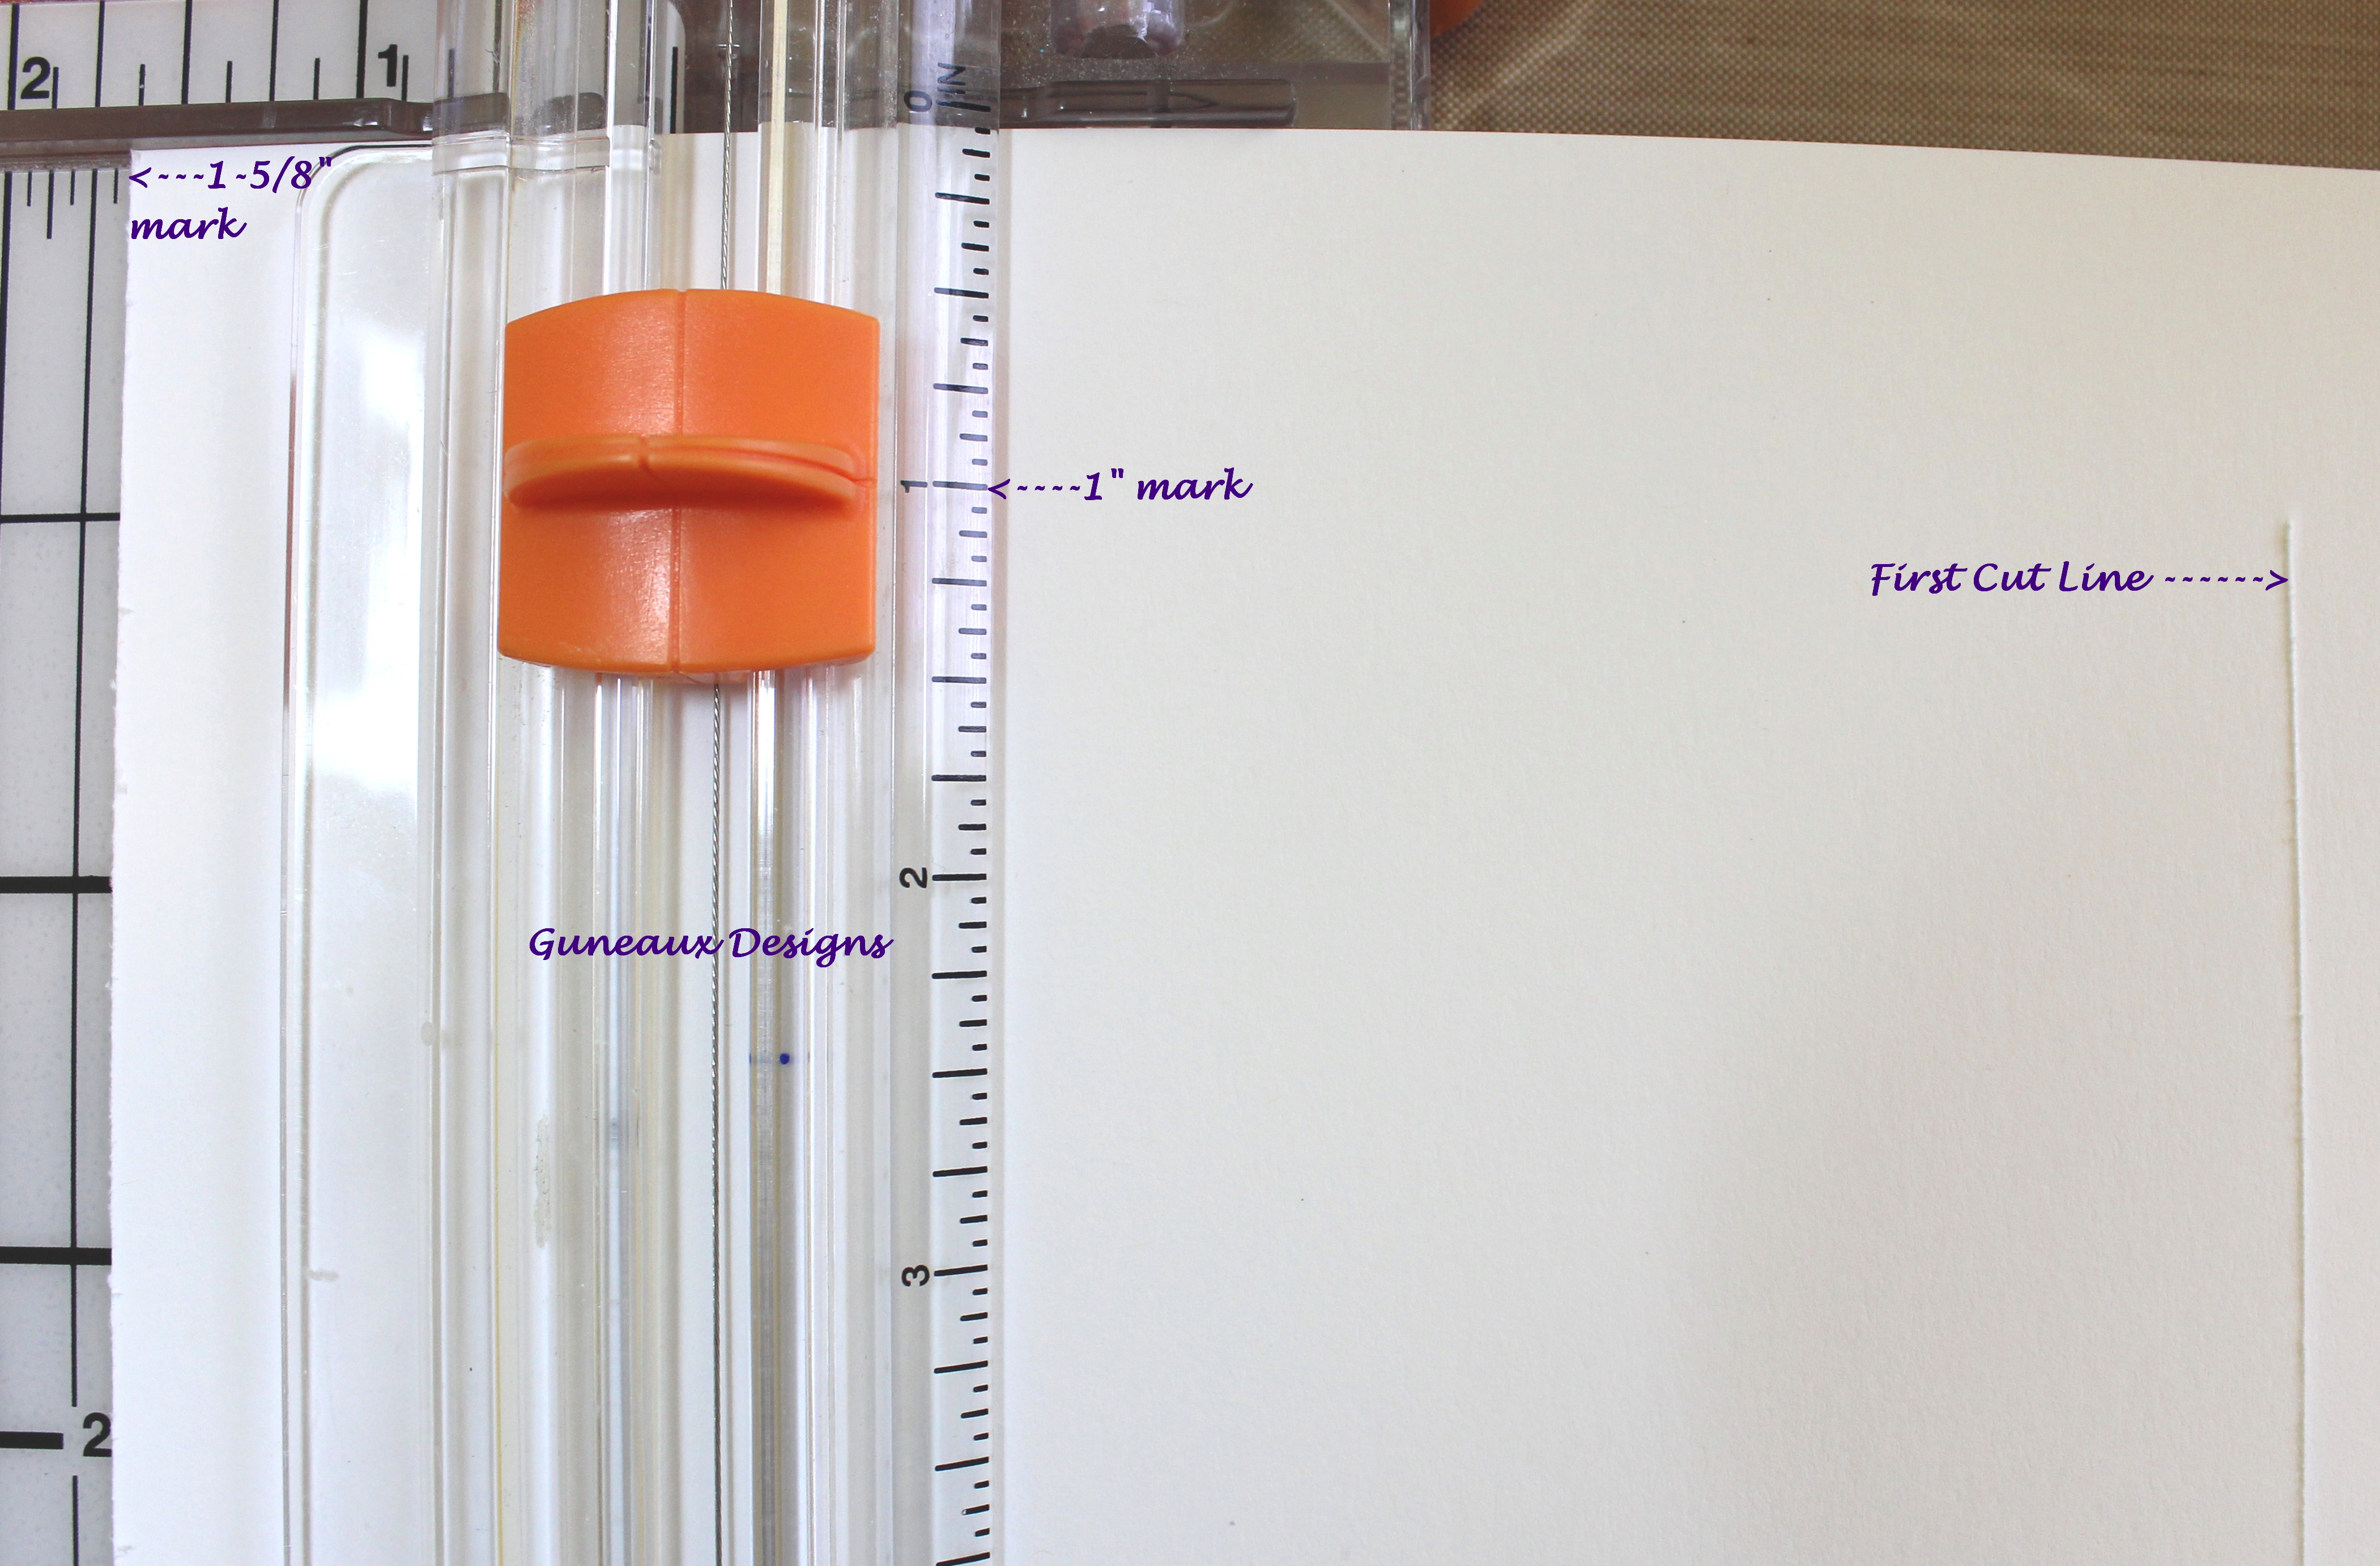
- Cut from the 1″ mark to the 8-1/2″ mark.
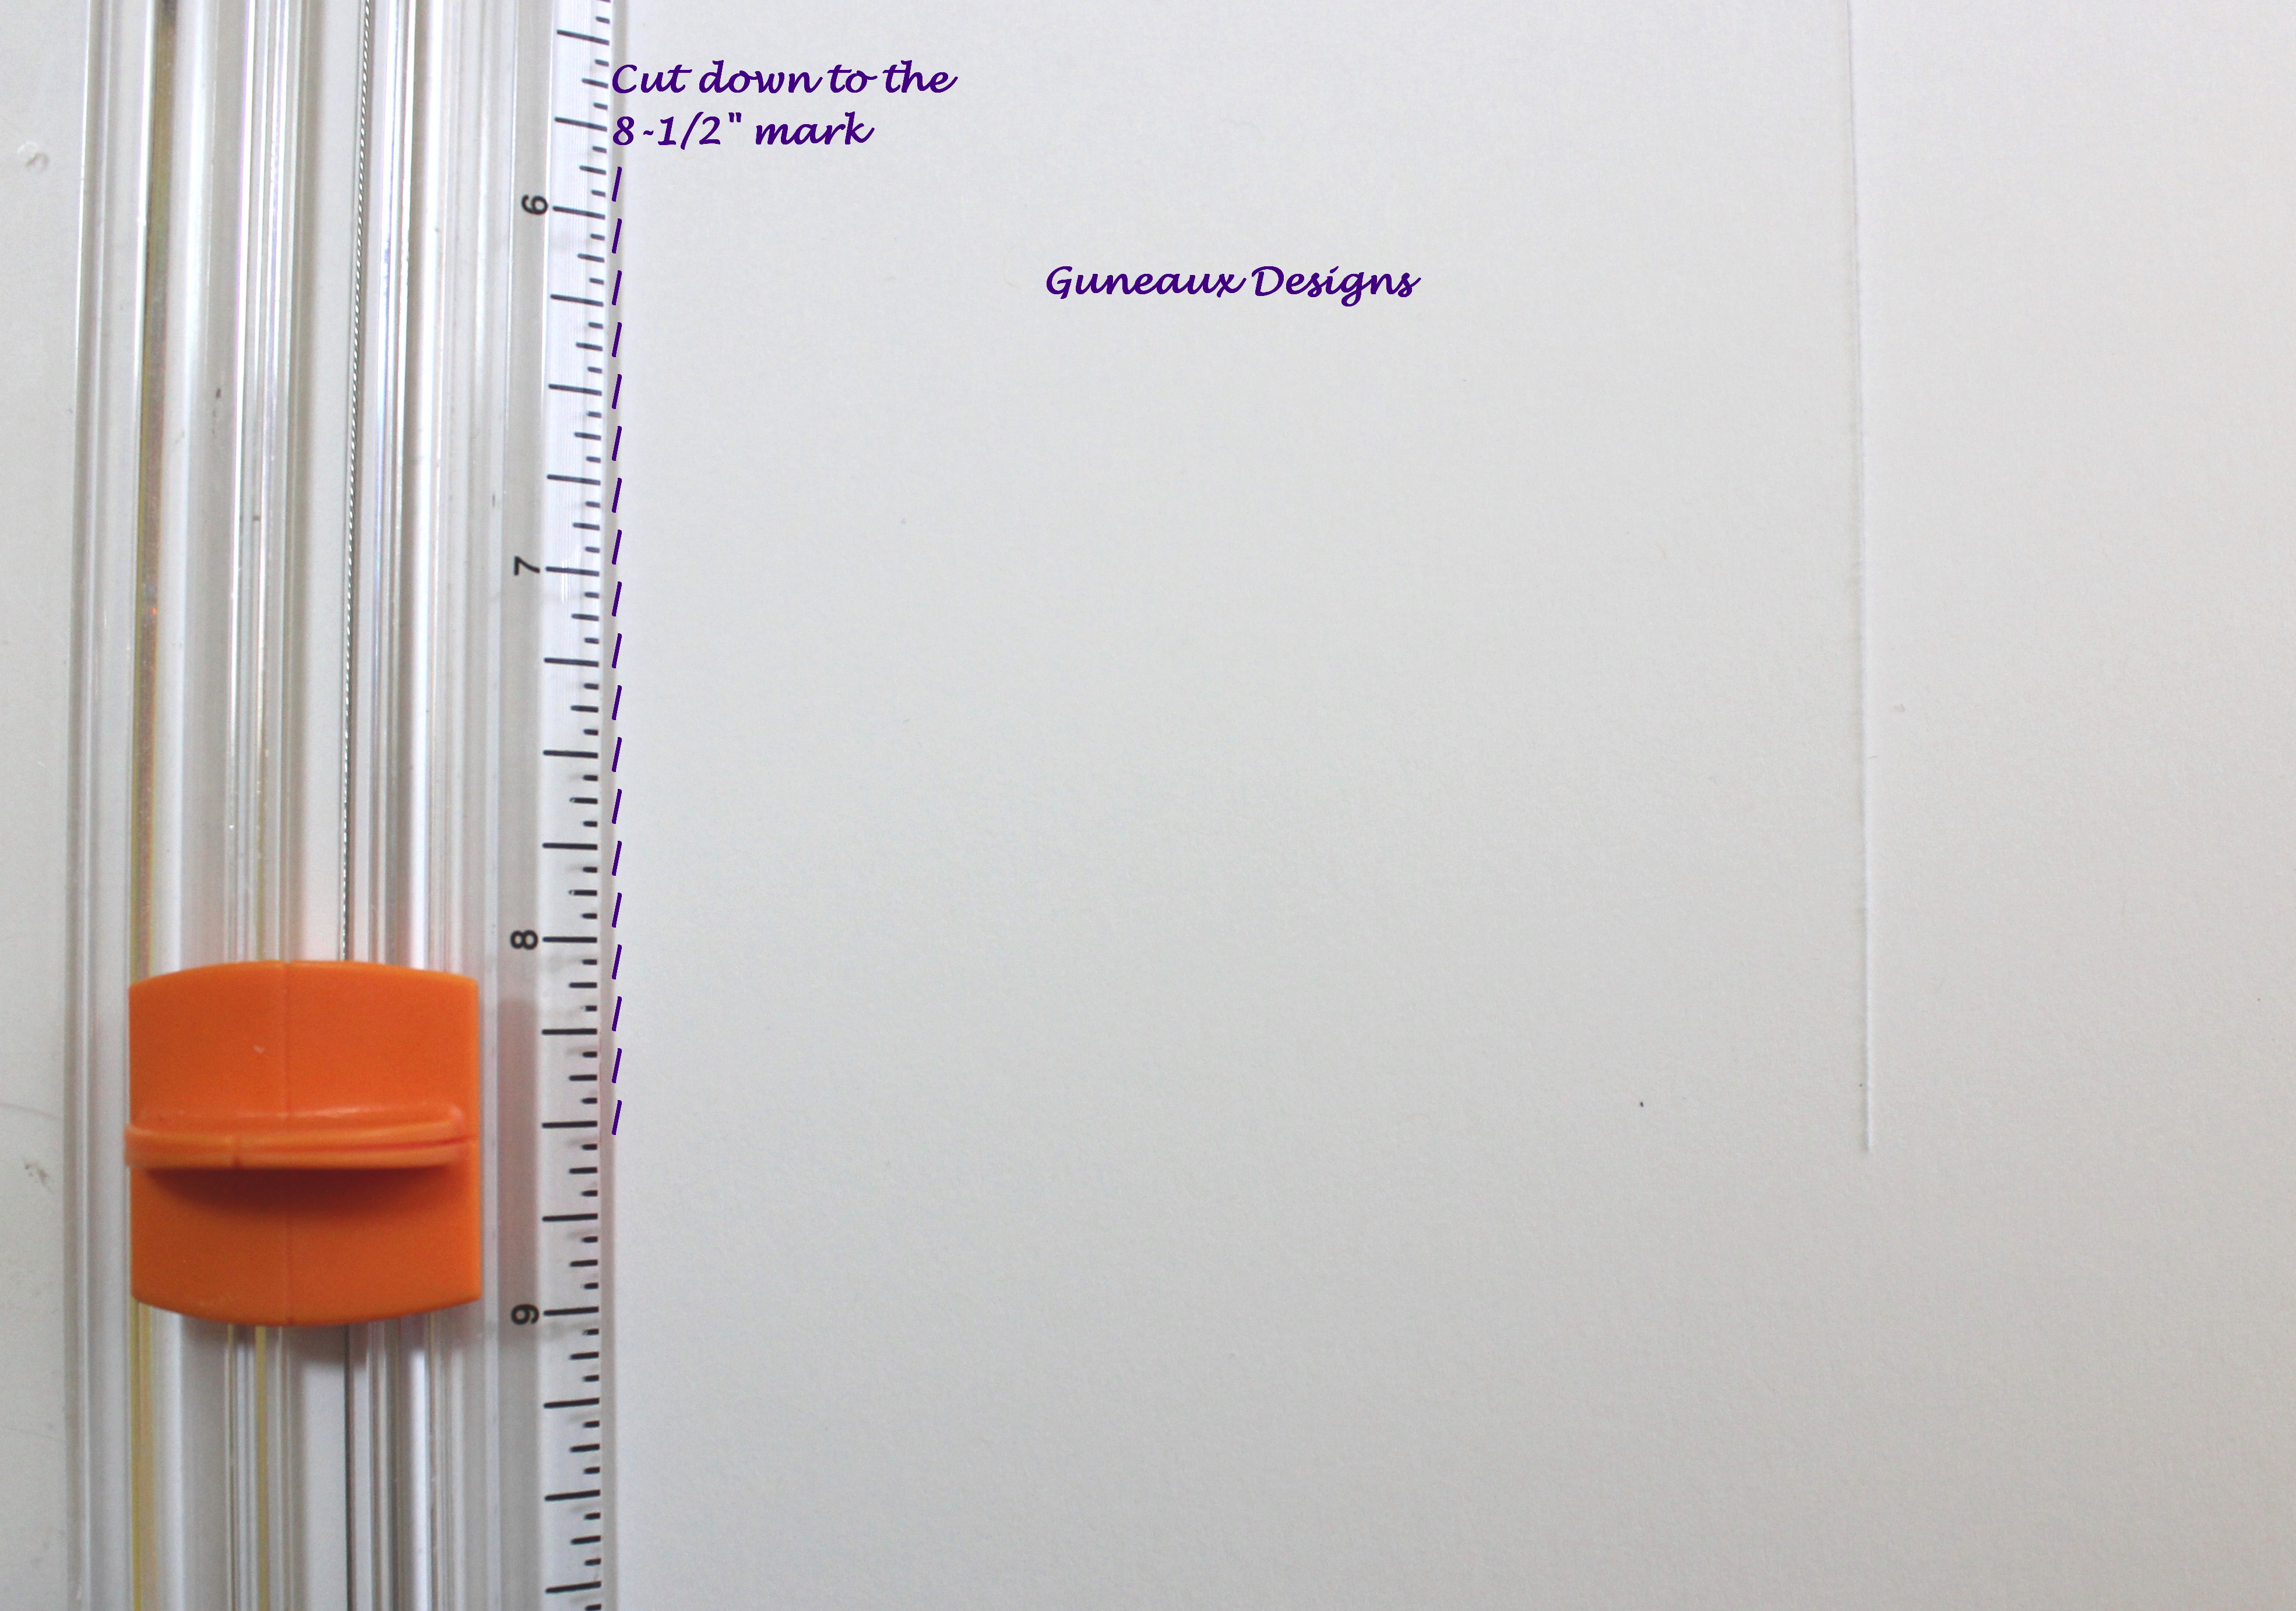
- This photo shows the measurements after cutting the card stock.
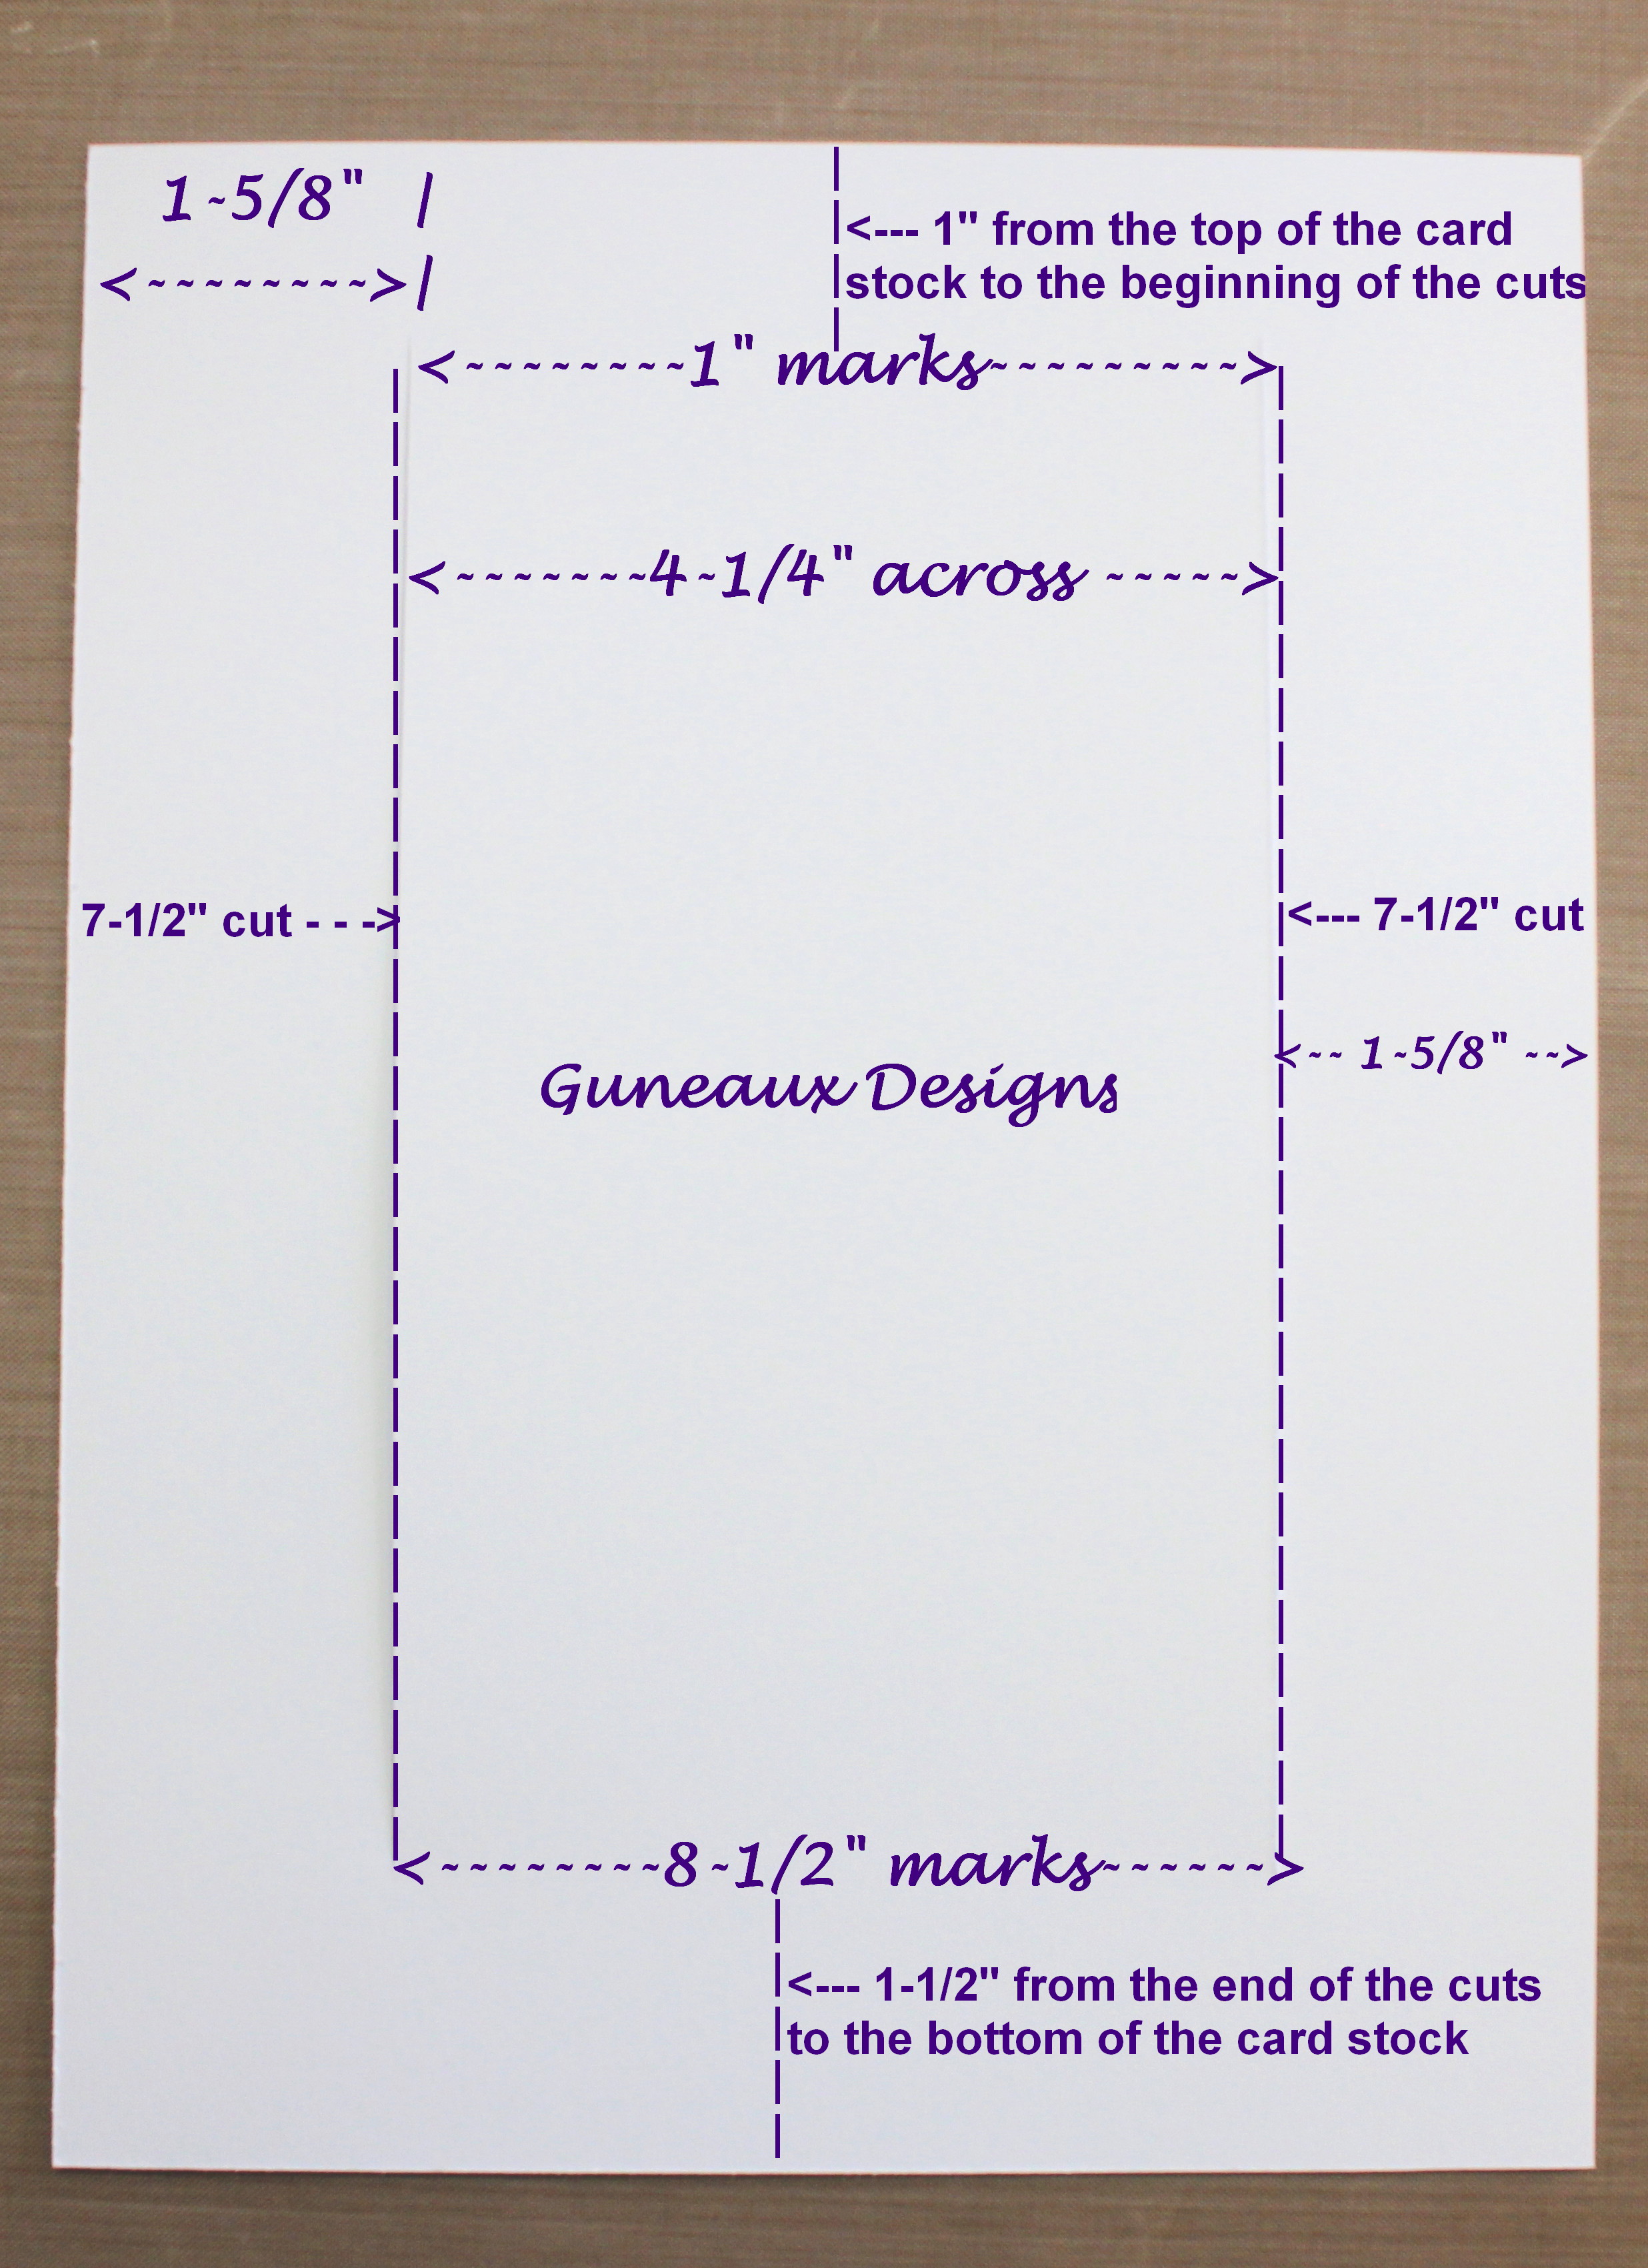
INSTRUCTIONS FOR SCORING:
- Place the 10″ side of the card stock at the top of a scoring board with the 7-1/2″ side where the cuts started at the 1″ mark against the left side of the board (reference the above and below photos).
- Score between the two 7-1/2″ cut lines at the 1″, 2″, 3-1/2″ and 7-1/2″ marks, and from the top to the bottom of the card stock at the 5″ mark.
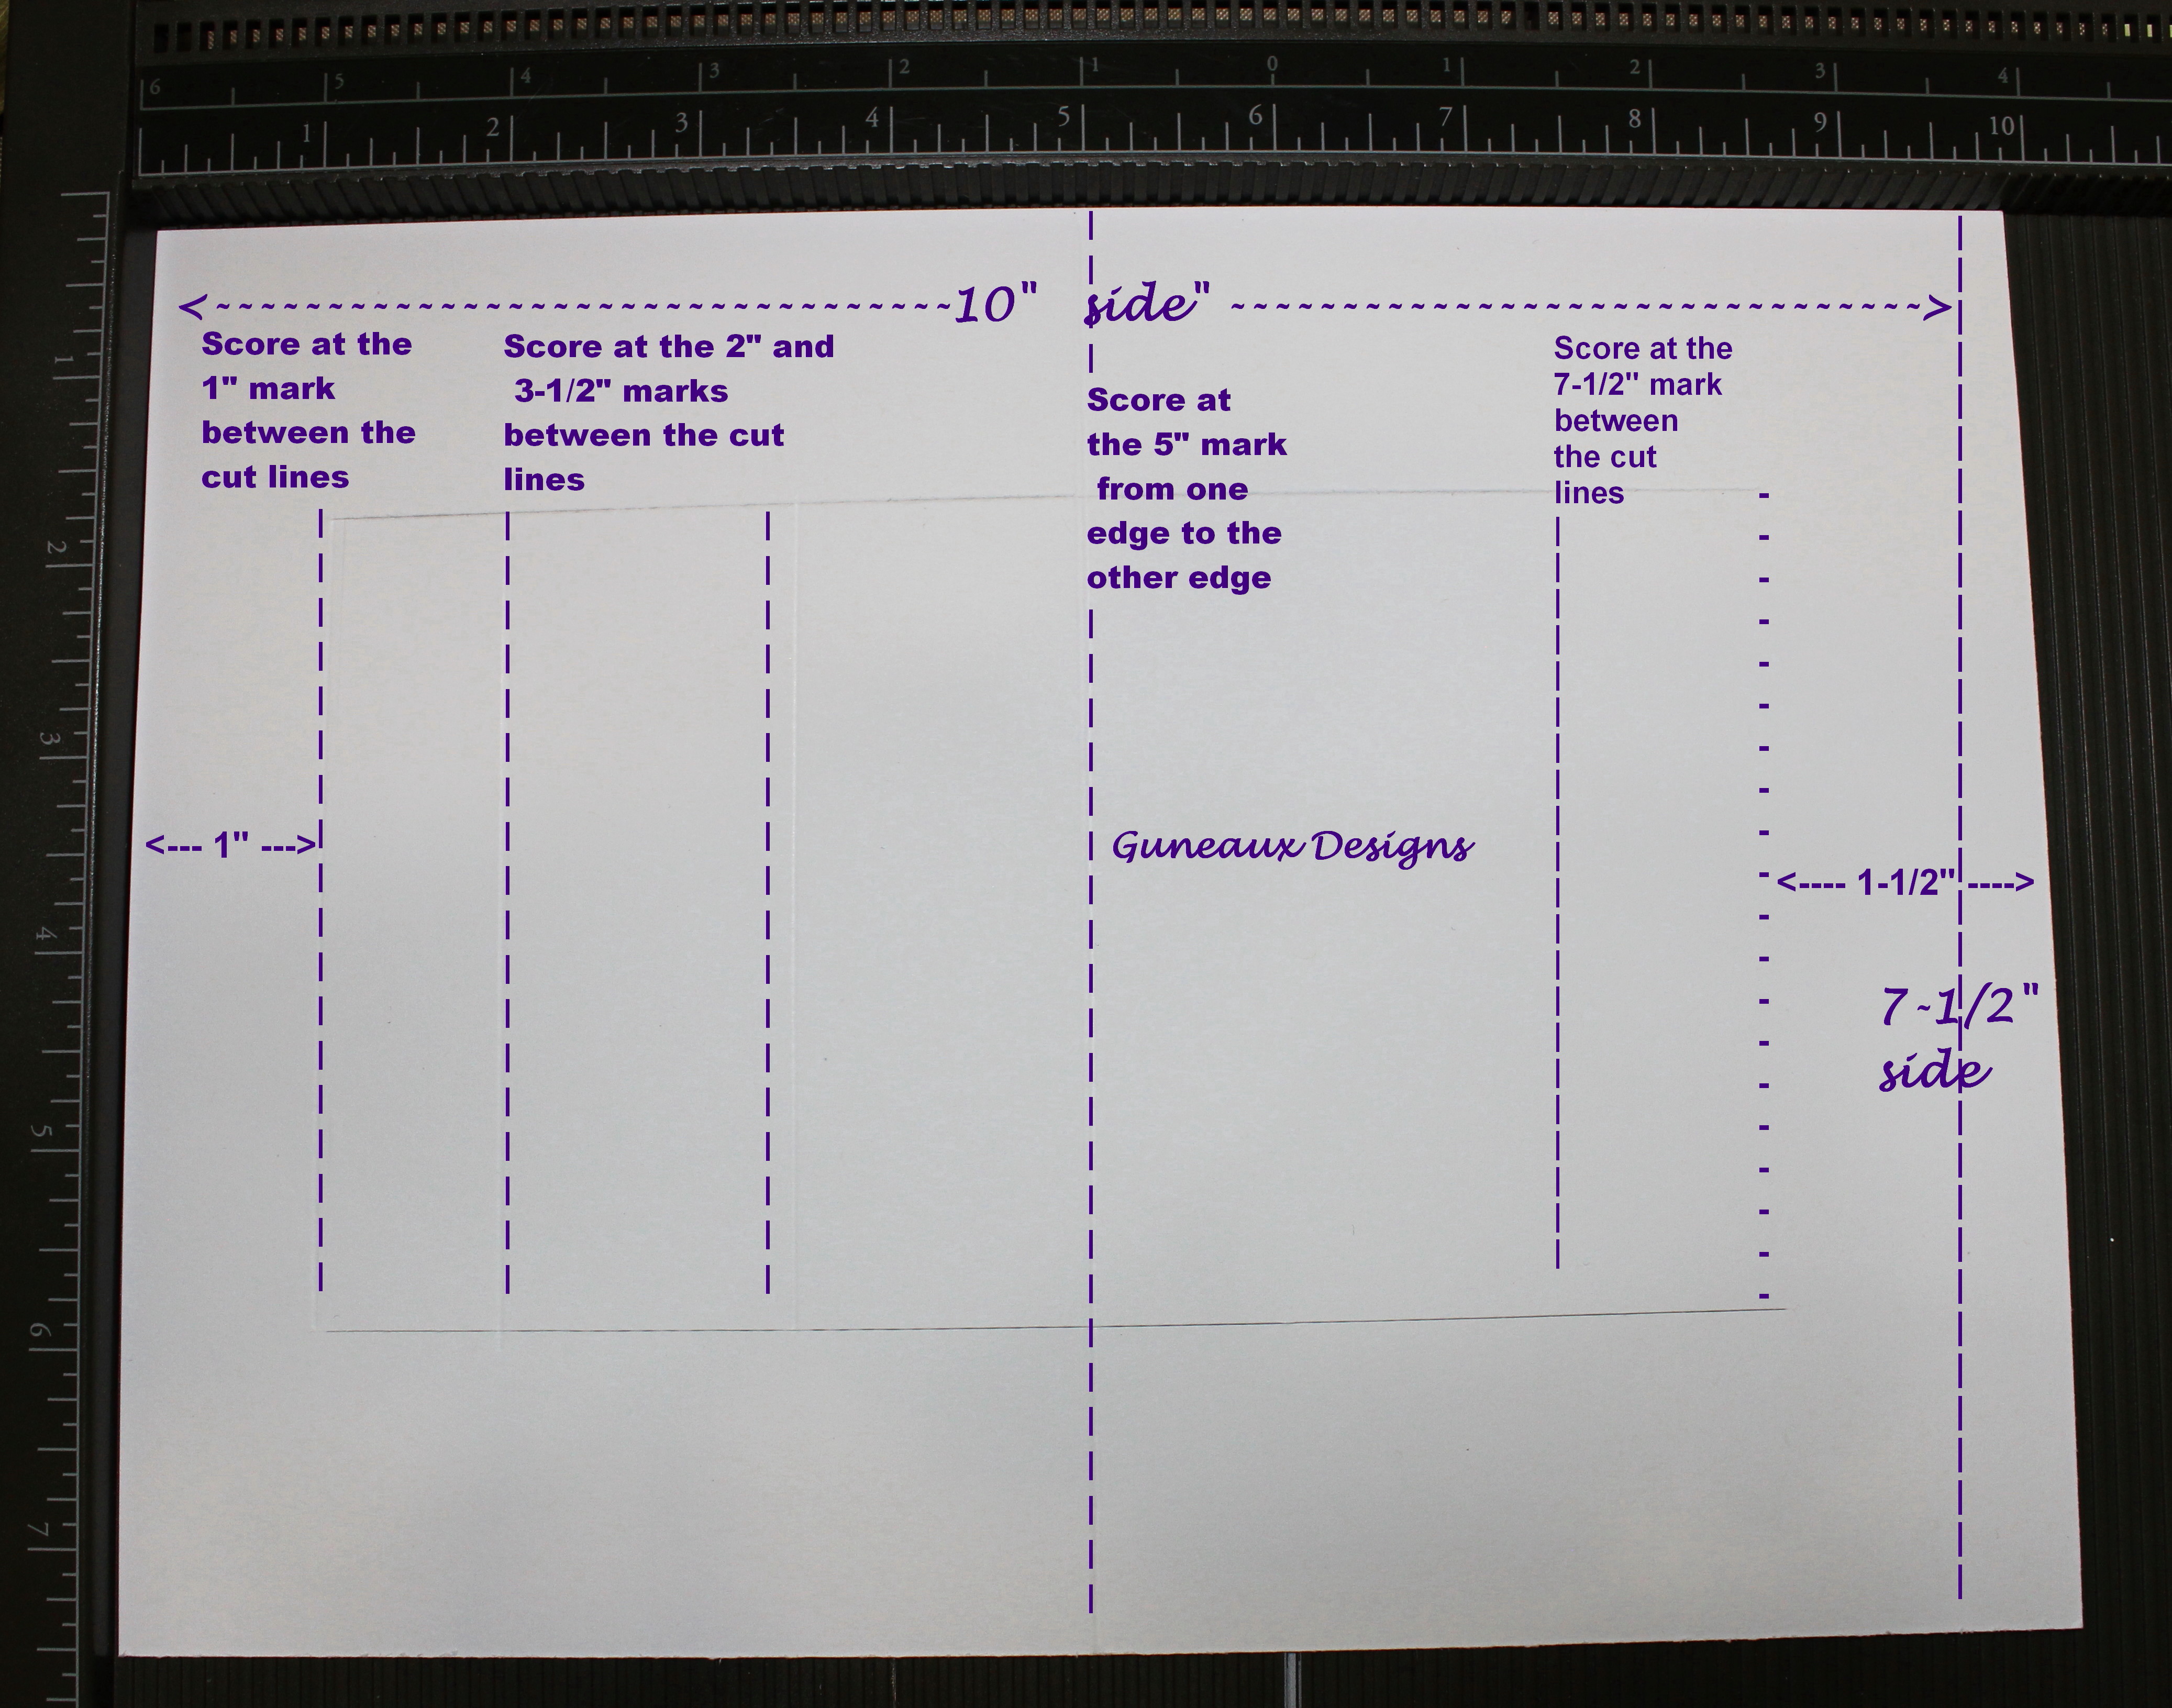
After scoring, the folds will be as follows:
- 1″ score line is a mountain fold.
- 2″ score line is a valley fold.
- 3-1/2″ score line is a mountain fold.
- 5″ score line is a mountain fold on the two sides, and a valley fold in the center.
- 7-1/2″ score line is a mountain fold.
TIP: If decorating the front of the step ladder card with designer paper, cut a 5″ x 7-1/2″ piece of designer paper. As with the card stock, place the cut paper onto a trimmer at the 1-5/8″ mark, place the cutting blade down at the 1″ mark, and cut from the top of the paper to the 4″ mark.
Flip the designer paper over and place in the trimmer at the 1-5/8″ mark, move the cutting blade down at the 1″ mark, and cut from the top of the paper to the 4″ mark. Place the paper back into the trimmer at the 4″ mark and cut between the two cut lines, removing a 4″ x 4-1/4″ piece of the designer paper.
Adhere to the front of the card.

God’s Blessings!
Stamping With Guneaux Designs By Beverly Polen
Firm Reliance on Divine Providence!
Ai Crafty Girls & Step Ladder Center Cut Card

gorgeous Bev
gr karin
I have not seen these crafty AI Girlfriends, but I know that I must now track them down and add them to my collection!! How awesome!! Love the window background for these card-making cuties!