FLAG DAY – Card

HAPPY FLAG DAY!!!  Did you know that on June 14, 1777 the Continental Congress of the Stars and Stripes adopted the Stars and Strips as the official flag of the United States (U.S.)?  That’s true!  Consequently, a law was enacted that designated today as Flag Day

 Flag Day is a day that the President of the U.S. calls on U.S. Government officials to display the flag of the U.S. on all government buildings, and urges people of the U.S. to observe June 14 as Flag Day to celebrate the anniversary of the adoption of our official flag. 

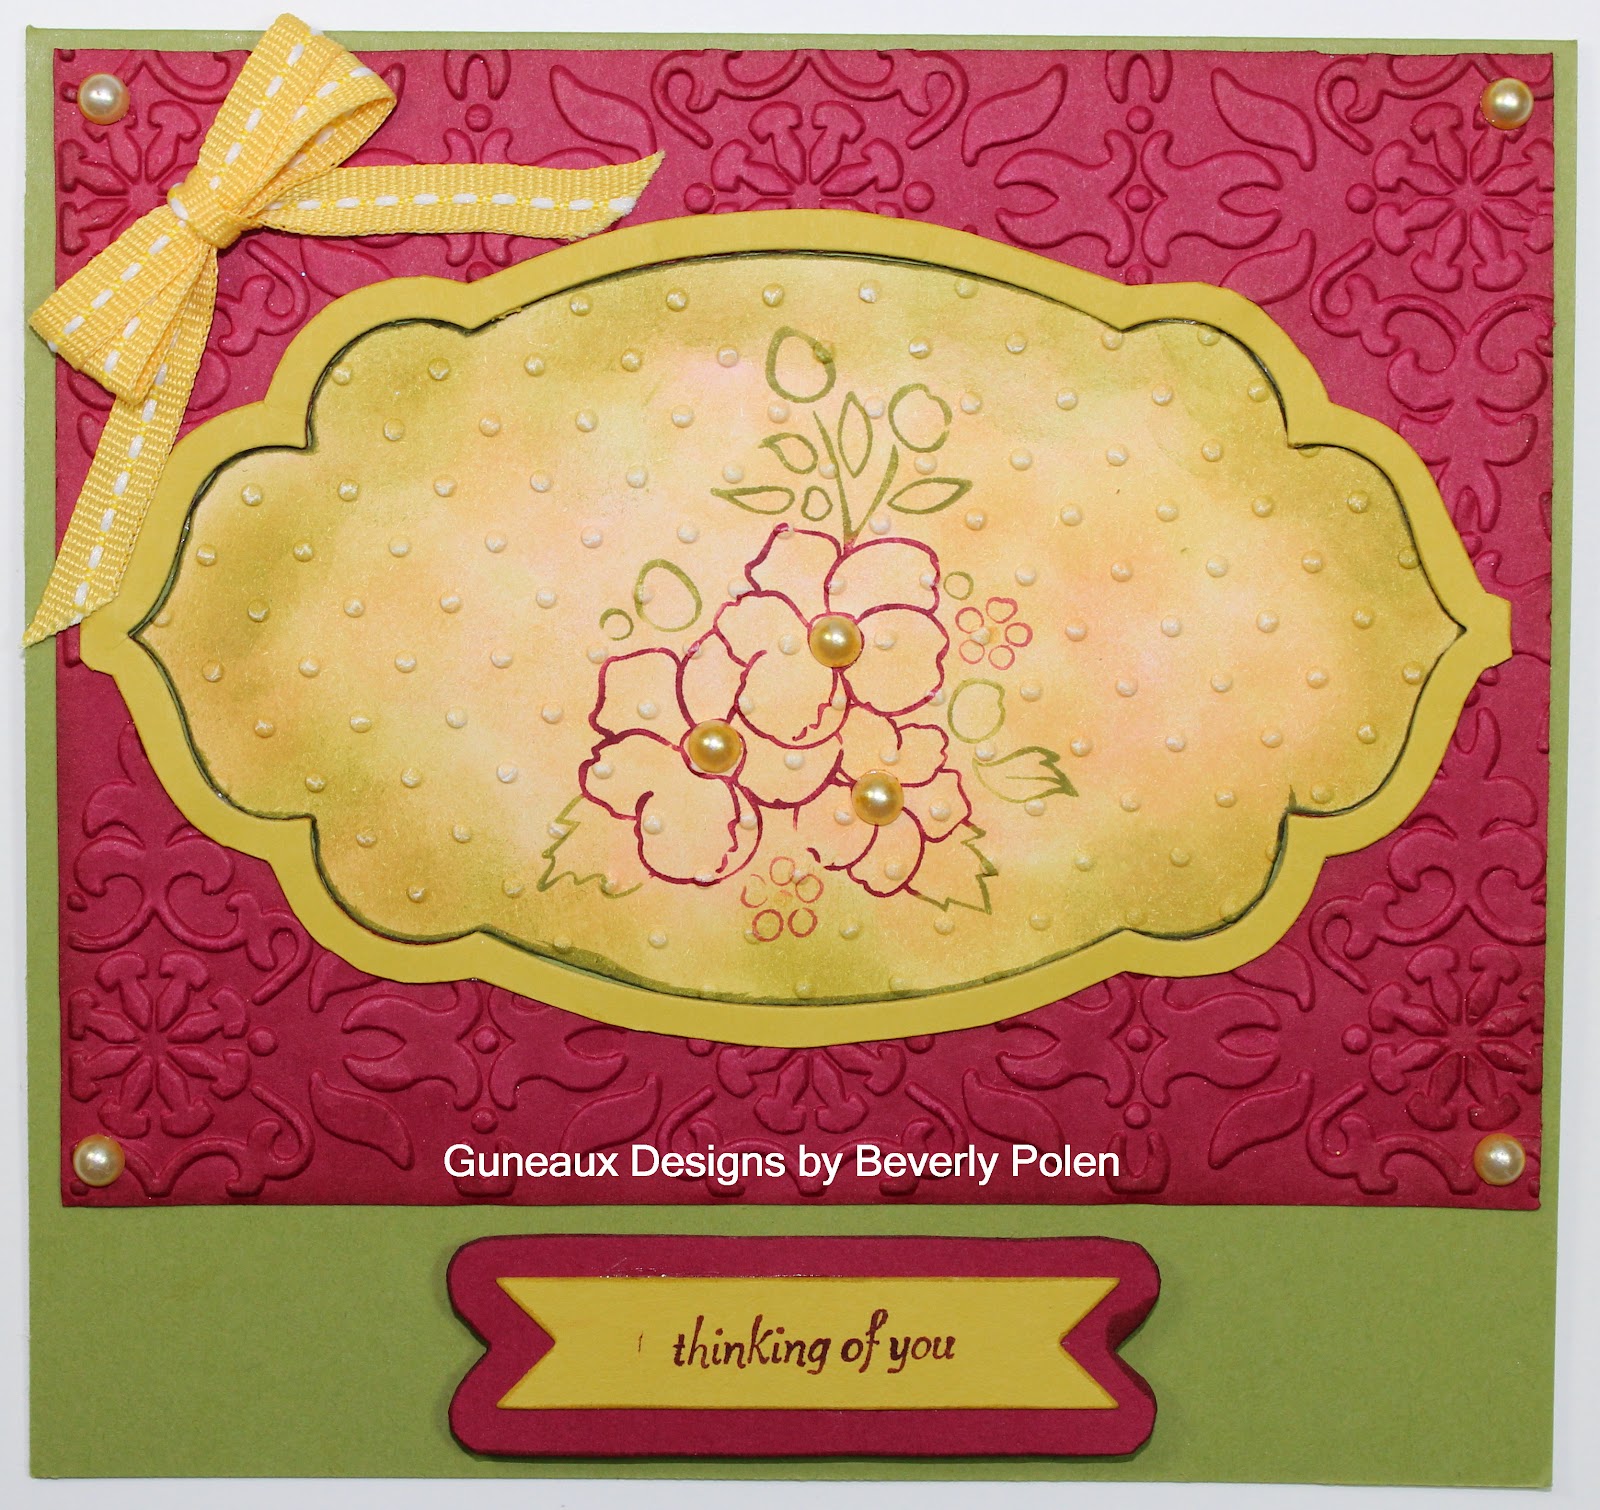
This day is important to my family as it also is my late Dad’s birthday.  He LOVED the American Flag, and displayed it everywhere he could as well as purchased anything that had the flag on it.  This card is in celebration of both special events.


Does my flag look like it’s waving in the wing like the one above?  I meant for it to.  

God bless the United States of America, and may we look upon our flag in a special way today.

 God’s Blessings!


Stamping With Guneaux Designs

Flag Day!

My Digital Studio Scrapbook Page

It has been a while since I posted a scrapbook page that I developed with My Digital Studio; therefore, I made one and am sharing it with you today.  After using the Stampin’ Up! My Digital Studio, I think I will not return to paper scrapbook pages as the software is easy to use and you can create pages a lot faster than when using paper.
The theme of this scrapbook page is my spring flowers.  I planted a Butterfly Bush this Spring, and it truly is attracting butterflies; some that I’ve not seen often.


The background paper is from the Twitterpated Kit Digital Download (129332), Twitterpated Designer Series Paper, Twitterpated – 7 design.  The Opacity of this design was set at 62, which means to degree to which the paper is opaque.
 
Can you see what the second layer is?  Look closely and you’ll see it is a picture of a Hibiscus flower.  I enlarged the picture to cover the background paper and set the Opacity at 42.  It is a picture of the same Hibiscus plant, but a different flower than that in the right photo box.
 
The other pictures are of my Peach Cobbler Butterfly Bush, which is attracting beautiful butterflies.
 
If you’ve not tried the My Digital Studio Express Trail for 30 days FREE, I strongly encourage you to do so.
 
I hope you enjoy the scrapbook page.
 
 
God’s Blessings!
 
 
Stamping With Guneaux Designs
by
Beverly Polen
 
My Digital Studio

Apothecary Accents Framelits, Bordering on Romance, and Bitty Banners Framelits

What are your thought about the new Stampin’ Up! Apothecary Accents Framelits (127003)?  I really like them.  Actually, all of Stampin’ Up! Framelits are really great.  The largest framelit from the Apothecary Accents Framelitswas used to produce the centerpiece of this card, which is explained at the end of this post.

 
This card measures 5-3/4″ by 5-1/2″, and the card base is Old Olive Cardstock (100702).  The beautiful new Raspberry Ripple Cardstock (126842) from the 2012-2014 In Color Collection is featured on the top portion of the card.  The sentiment is from a retired stamp set and it rests on another new In Color cardstock, Summer Starfruit (126839) and the Raspberry Ripple Cardstock.  Both were made with one of the Bitty Banners Framelits (129267).
 
This picture provides a different view of the card and the Apothecary Accents Framelits.
 
 
Card’s Centerpiece
 
The following steps were followed to create the centerpiece:
1.  Cut from Whisper White cardstock with the largest Apothecary Accents Framelit to create a stencil.
 
2.  Lay the stencil over a 5-1/2″ x 4-1/4″ piece of Whisper White cardstock and, using daubers, pounce Pretty in Pink, So Saffron, and Old Olive Classic Ink within the stencil.
 
 
3.  Cover the largest floral stamp from the Bordering on Romance stamp set with Raspberry Ripple (126856) and Old Olive Stampin’ Write Markers (100079).  Stamp this image onto the center of the piece below.
 
 
4.  Embellish this piece with the Perfect Polka Dots Embossing Folder (117305) and cut it out.
 
5.  Cut the same Apothecary Accents Framelit from Raspberry Ripple cardstock (5-1/2″ x 4-1/4″).   Embellish with the Vintage Wallpaper Embossing Folder (120175).   Adhere this piece on the upper part of the card base.
 
 
6.  Adhere the centerpiece (step 4) into the Raspberry Ripple cardstock.
 
7.  Cut another Apothecary Accents Framelit (same size) from Summer Starfruit cardstock (126839).  Following the impression left on the negative, cut out the frame and attach it over the centerpiece.
 
Enjoy!!
God’s Blessings!
 
Guneaux Designs

Rubber Stamping Technique – Sliced Rock – Guneaux Designs

I was playing around with my Stampin’ Up! rubber stamp supplies recently and developed a rubber stamping technique that I call the Sliced Rock Technique.  The rubber stamping technique is demonstrated in the video below.

I’m sure you’ve seen how beautiful sliced rock can be with various patterns and colors.  I think the most beautiful ones have a center pattern that is repeated in the outer layers in varying colors.  You can find images of sliced rock here, if interested.

Rubber Stamping Technique – Guneaux Designs Sliced Rock Technique

I call this rubber stamping technique , Unpolished Sliced Rock Technique.  I used one of the floral stamps from the Stampin’ Up! Fabulous Florets Stamp Set for my center image.  I covered the stamp with VersaMark and stamped it in the center of my piece of Watercolor Paper.  I then used White Embossing Powder over the image and set it with a heat gun.  Using my Aqua Painter and several blue inks, I water colored the floral pattern in layers around the center piece, the flower.  Here is the card I made with a similar image.
Rubber Stamping Technique - Guneaux Designs Sliced Rock Technique
The video (link) below demonstrates this rubber stamping technique, Guneaux Designs Unpolished Sliced Rock Technique.

COME BACK TO SEE THE SECOND VERSION OF THIS RUBBER STAMPING TECHNIQUE, THE POLISHED SLICED ROCK TECHNIQUE.
God’s Blessings!

Stamping With Guneaux Designs

by

Beverly Polen

I hope you try this rubber stamping technique!

A Cherry on Top Stamp Set, Floral District DSP, Labels Collection Framelits – Happy Birthday

Don’t you love making Stampin’ Up! greeting cards for people who are very special to you?  I sure do.  This card is just that ~ a happy birthday card for a very special friend.  It features the new Hostess Stamp Set, A Cherry On Top (125971).  Also featured are the beautiful Floral District Designer Series Paper (126919) and Labels Collection Framelits(125598).

INSTRUCTIONS:
  • Cut a 6″ x 12″ piece from a 12″ x 12″ piece of Rich Razzleberry Card Stock, folding it in a 6″ square so it opens from the bottom up.
  • Cut a 5-3/4″ square of Floral District DSP, round the edges with the  Stampin’ Up! Corner Punch(119871), and adhere to the card base.
  • Using the two largest Labels Collection Framelits, cut two frames; the largest with Rich Razzleberry Cardstock and second one with Lucky Limeade Card Stock.
  • Cover the cake dish top stamp image from the A Cherry On Top Stamp Set with VersaMark ink and stamp onto Whisper White Card Stock.
  • Emboss it with White Embossing Powder(109132).
  • Using Rich Razzleberry and Lucky Limeade inks, stamp the cake dish pedestal and cupcake bottom and top images on the Whisper White Card Stock in appropriate location (see pics).
  • Using Real Red ink, stamp the cherry on top of the cupcake.
  • Cover only the cake dish top with Crystal Effects (101055) and let dry.
  • Cut out the images as one piece and adhere it the Lucy Limeade Card Stock.
  • If desired, place a ribbon bow onto the pedestal.
  • Place foam dimensionals on the back of the Lucky Limeade frame.
  • Adhere it to the Rich Razzleberry frame.
  • Adhere that to the Floral District DSP.

The following pictures are of the recipient of this beautiful card!  Happy Birthday, Lin!

God’s Blessings!
 
Stamping With Guneaux Designs

Stampin’ Up! 2012-2013 Catalog Launches Today

You’ve waited and waited!  Now, the launch of the new Stampin Up! 2012-2013 Catalog is here!


 Things to Remember:

The Stampin’ Up! ordering system will be down today until Noon Mountain Time to transition to the new catalog.
You may begin ordering at Noon Mountain Time (2:00 p.m. Eastern, 1:00 p.m. Central, 11:00 a.m. Pacific).
Around Noon Mountain Time and maybe a few hours afterward, there most likely will be heavy traffic on the ordering system.  Don’t be surprised if there is a delay when ordering.

Happy New Year to Stampin’ Up!

 God’s Blessings!
 
 Stamping With Guneaux Designs
by
Beverly Polen
 
Stampin’ Up! 2012-2013 Catalog