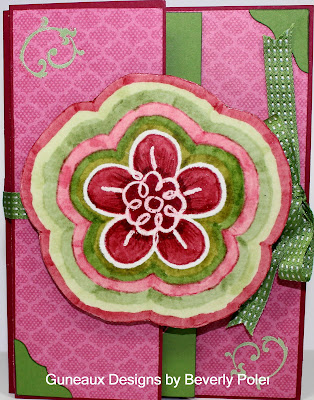
The upcoming Stampin’ Up! Holiday Catalog is chocked full of wonderful crafting supplies and ideas that I’m sure you’ll love. There are four new sets of Framelits Dies in the catalog (woohoo!). Today I’m providing a sneak peek at one set, the Window Frames Collection Framelits.
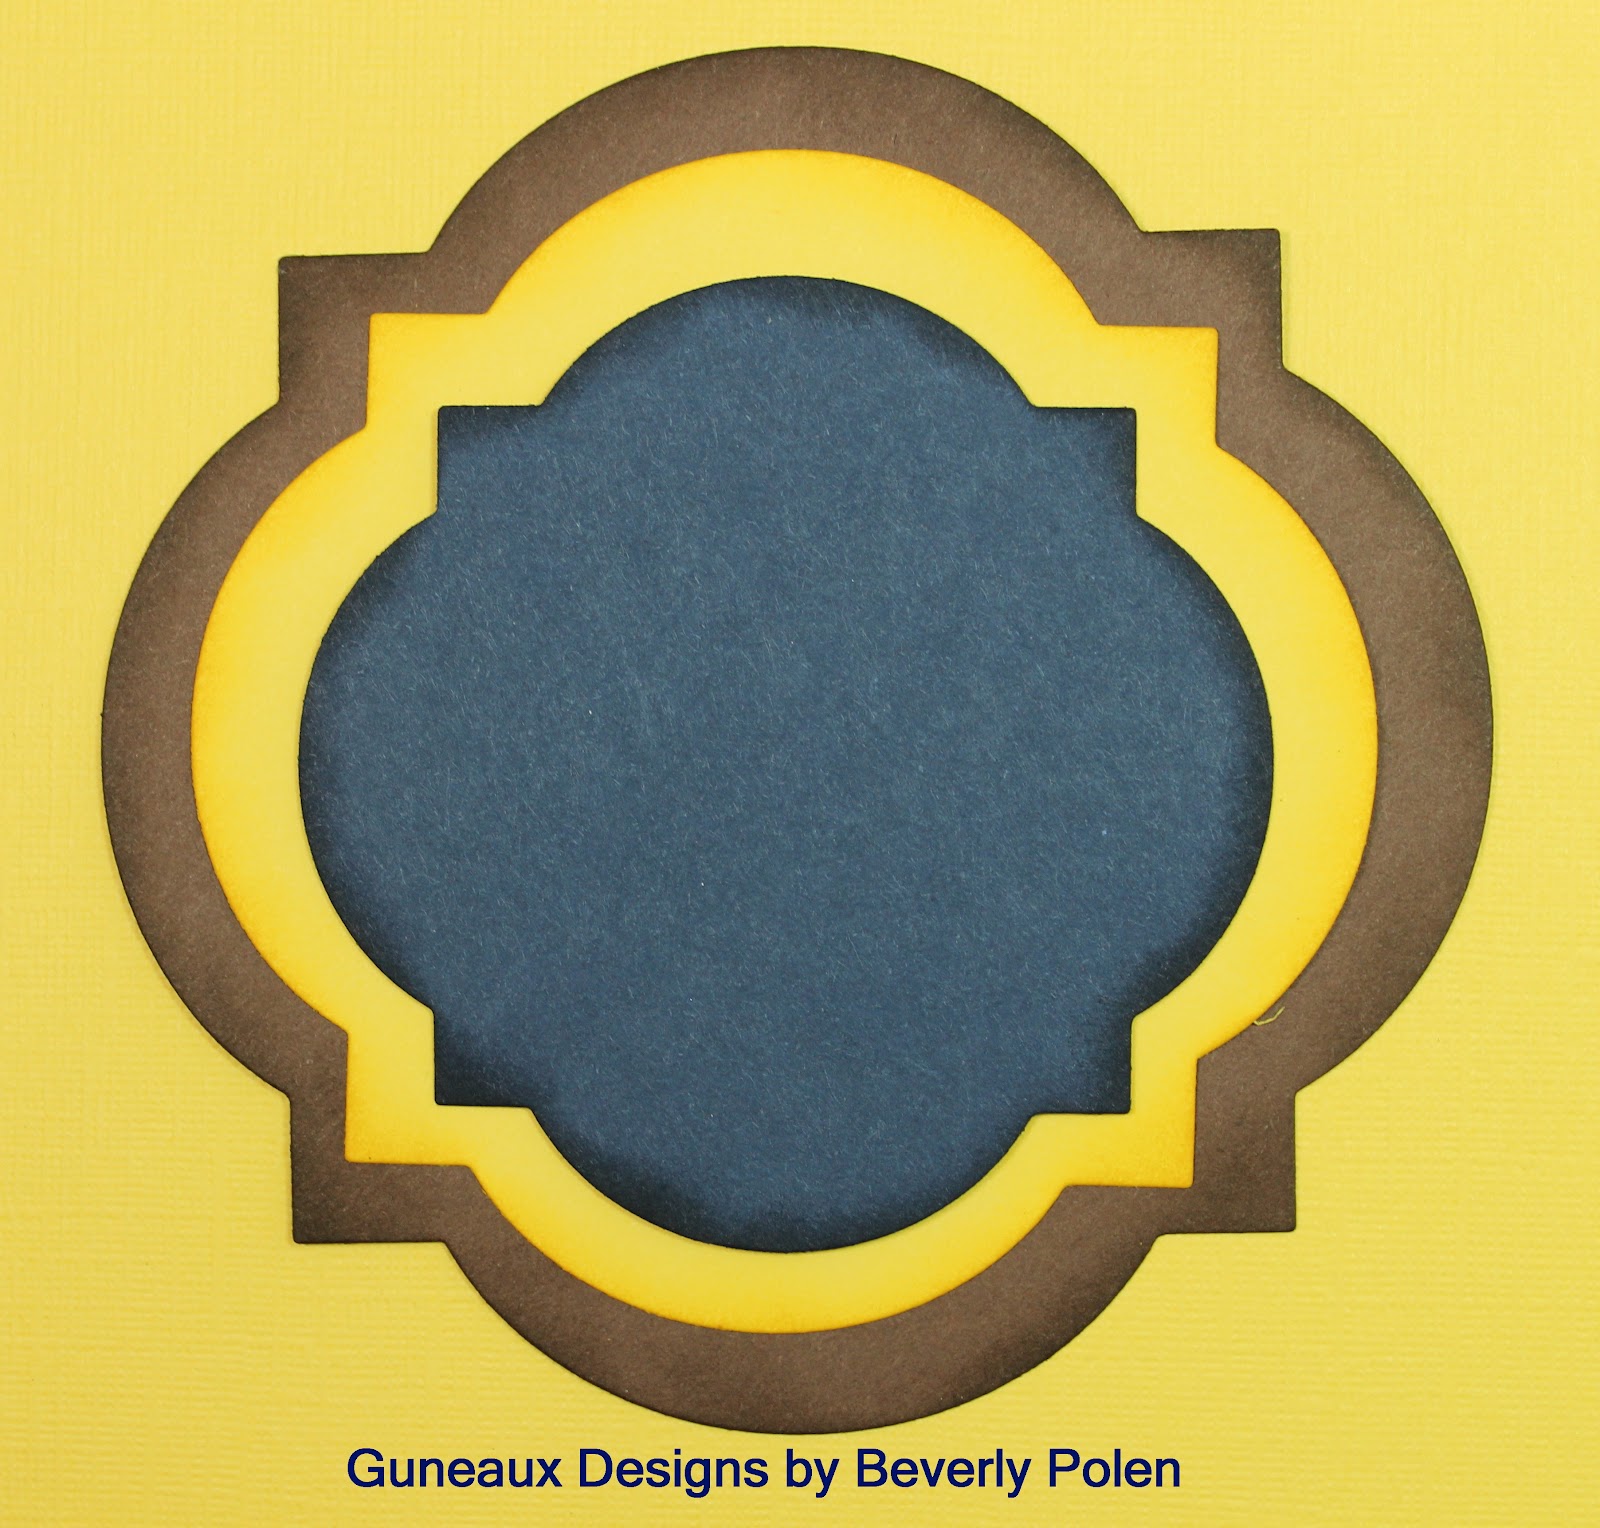
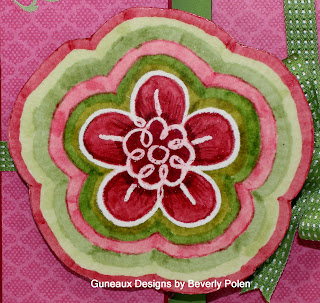
What is so great about this set of framelits is that you can get two different designs from it. It’s like getting two sets of framelits in one!! Here’s a look at another design.
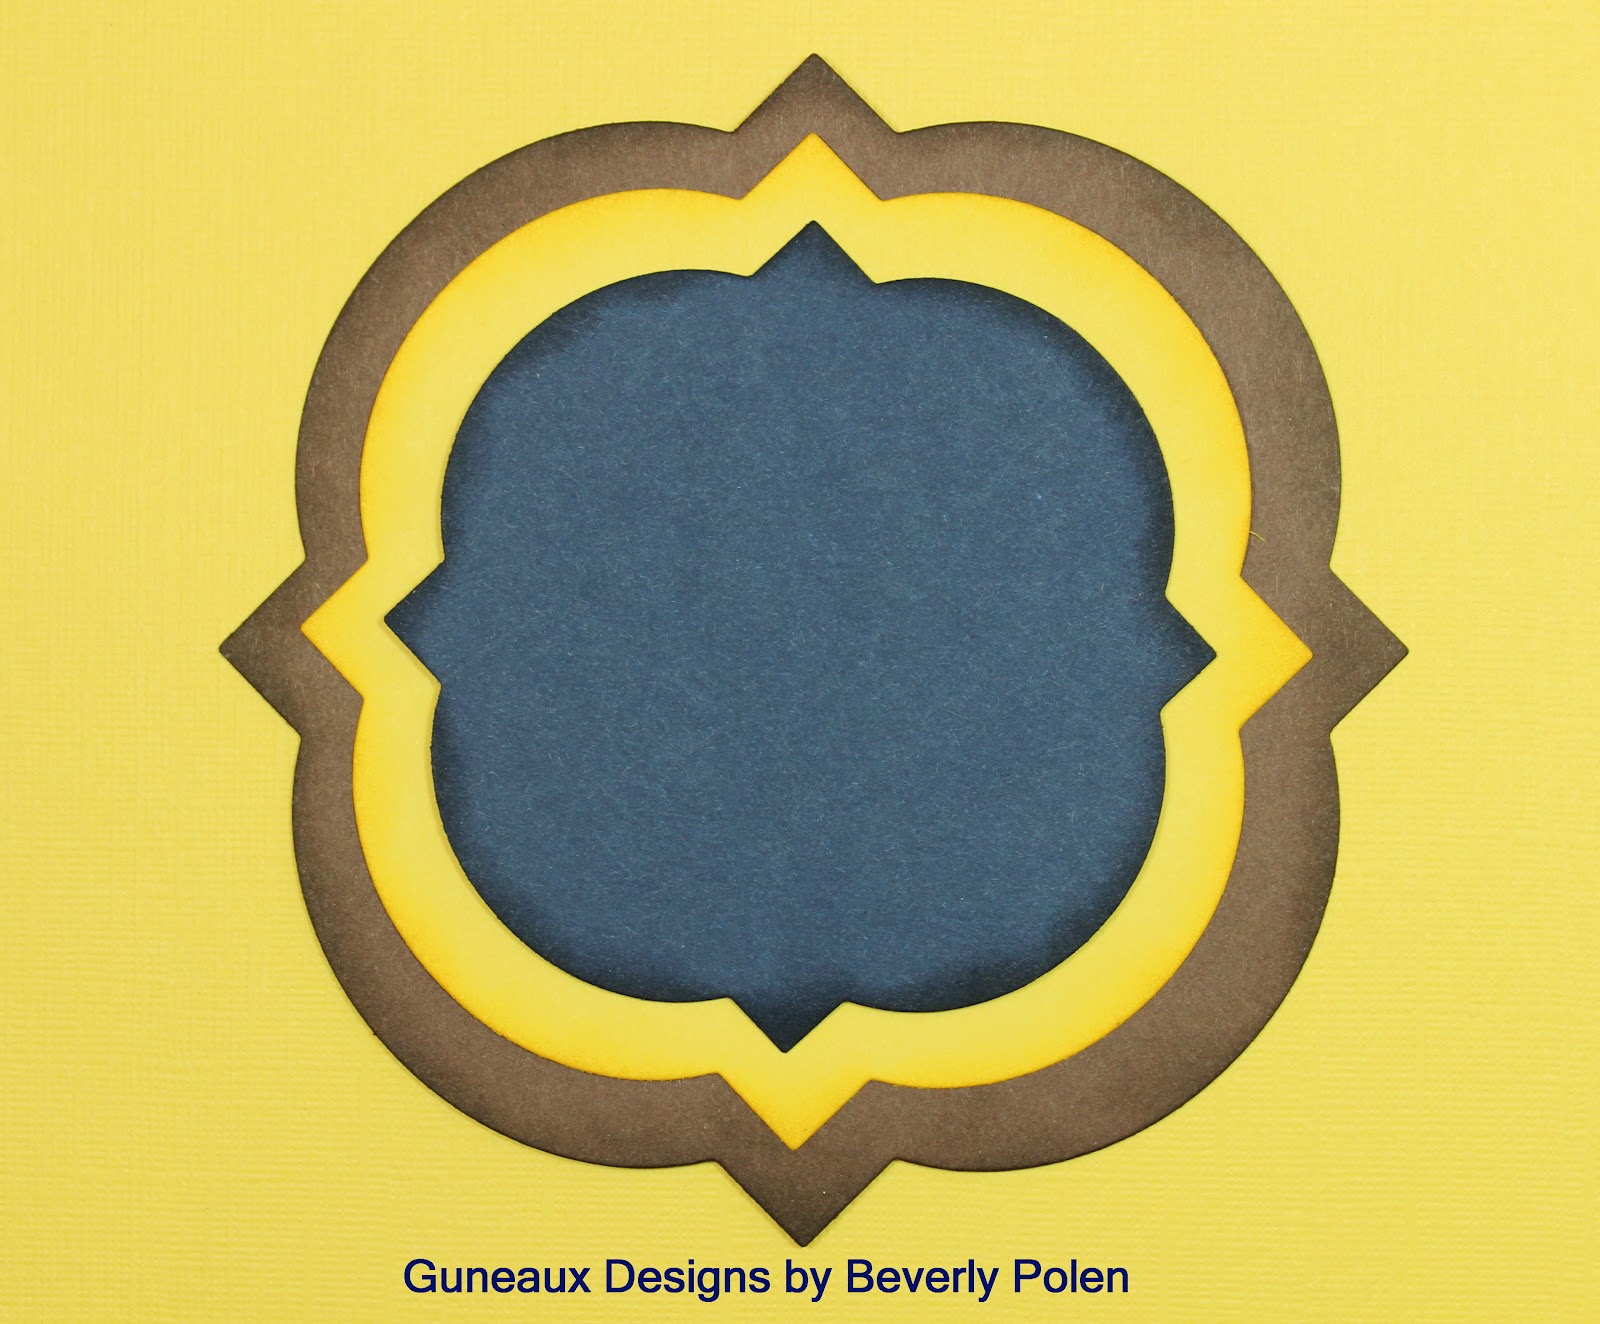
Now how cool is that???? All you have to do is turn the Window Frames Collection Framelits to the left or right 1/4 of a turn!! How simple can that be?

God’s Blessings!

Guneaux Designs by Beverly Polen