How to Assemble Art Impressions Santa Flutter Set

How to Assemble Art Impressions Santa Flutter Set

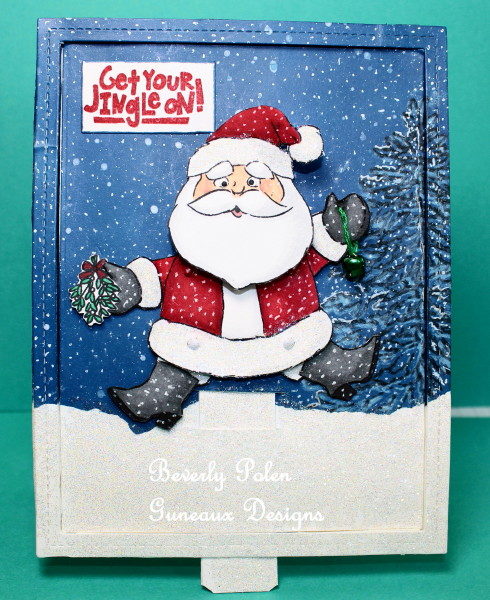
Have you purchased any of the new Art Impressions Flutter Stamp and Die sets?  They can be difficult to assemble.  I think that the Art Impressions Santa Flutter Set recently released is more difficult than the ones I used from the Art Impressions spring 2018 release.  I struggled with the Santa Flutter and decided to provide a tutorial on how to assemble the Art Impressions Santa Flutter Set.

I submitted this card today for a color challenge on Splitcoaststampers.


Matthew 7:1-5

Jesus said, “Do not judge, or you too will be judged.  For in the same way you judge others, you will be judged, and with the measure you use, it will be measured to you.  Why do you look at the speck of sawdust in your brother’s eye and pay no attention to the plank in your own eye?  How can you say to your brother, ‘Let me take the speck out of your eye,’ when all the time there is a plank in your own eye?  You hypocrite, first take the plank out of your own eye, and then you will see clearly to remove the speck from your brother’s eye.”


Continue reading

Ai Crafty Girls & Step Ladder Center Cut Card

Ai CRAFTY GIRLS & STEP LADDER CENTER CUT CARD

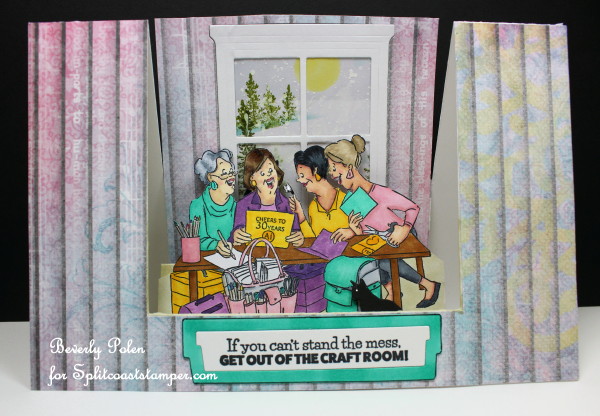
Hello, my friends!  Thanks so much for stopping by.  My card share for you today is an Ai Crafty Girls and a Step Ladder Center Cut Card (see tutorial at the end of this post).   I used the Art Impressions Crafty Girls Stamp Set, which is a humorous one.  Creating humorous cards is not a strong suit for me; however, I am stepping outside my “box”.


Colossians 2:18 (NIV)

“Therefore do not let anyone judge you by what you eat or drink, or with regard to a religious festival, a New Moon celebration or a Sabbath day.  These are a shadow of things that were to come; the reality, however, is found in Christ.”


Continue reading

Tutorial for a Pop Up Valentine

TUTORIAL FOR A POP UP VALENTINE

Hello, friends!!  Today I have for you a tutorial for a pop up valentine.  I made this valentine card in response to a Splitcoastampers’ challenge to create a pop up card.  I rarely make such a card, and I had to do a lot of experimenting to make this one as  I did not have, or could not find, a tutorial that I liked when making mine.  I knew what I wanted to create, so I set out to accomplish a pop up card using Hero Arts Nesting Hearts Infinity Dies.  Here is the front of my card.


John 17:22-23

Jesus Prays for All Believers:  “I have given them the glory that you [God] gave me, that they may be one as we are one:  I in them and you in me.  May they be brought to complete unity to let the world know that you sent me and have loved them even as you have loved me.” 


Continue reading

CottageCutz Gladiolus Flower

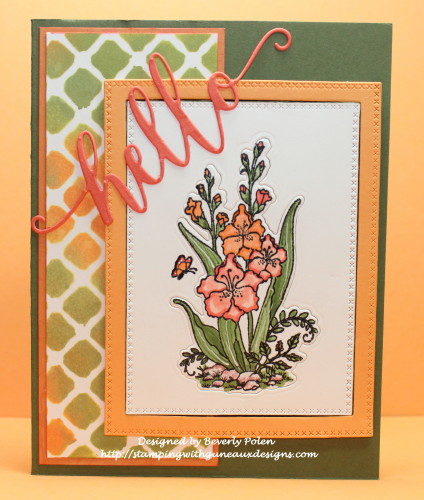
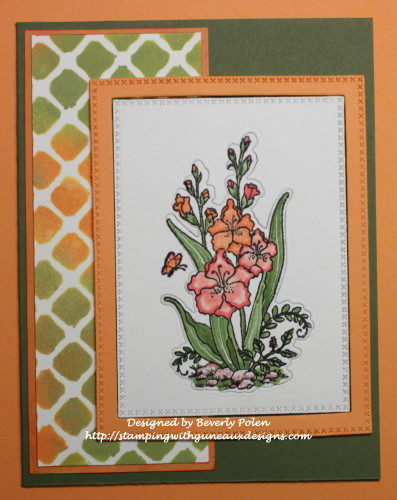
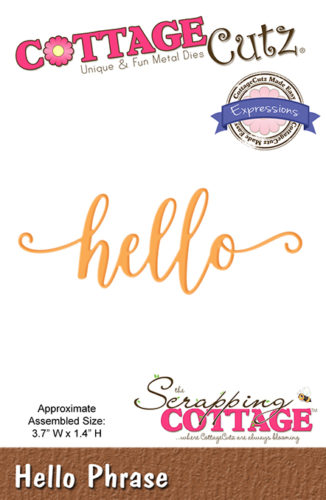
Hello, friends, and thanks for stopping by Guneaux Designs!  Today I am a guest designer for the Scrapping Cottage Blog, and I have a card for you that showcases the lovely CottageCutz Gladiolus Flower and the newly released CottageCutz Expression Plus Design die, “hello” .

The new CottageCutz Plus Designs dies (i.e., word dies) are fantastic!  I love the script design, and the die cuts are a great size.  For a limited time, these wonderful dies are 25% off!

My color selections of card stock and coloring were selected to coincide with the Splitcoaststampers Color Challenge for yesterday.  These are the colors:  Peekaboo Peach, Calypso Coral, and Always Artichoke, which are Stampin’ Up! colors.

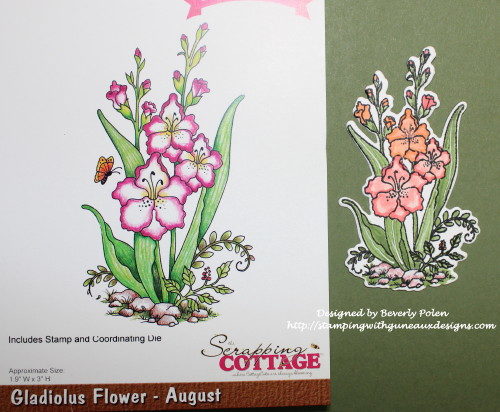
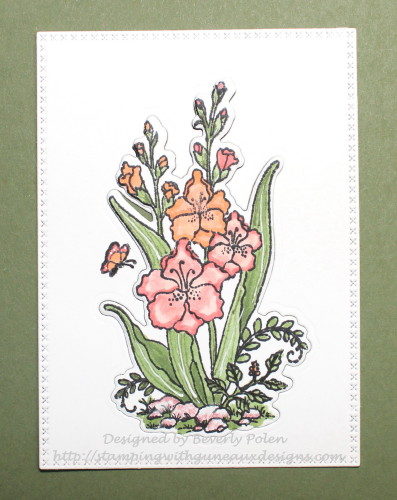
I created the card by first stamping with black ink the lovely CottageCutz Gladiolus Flower image onto white card stock and coloring it with copics that closely match the above colors.  I used the matching die to cut out the floral image.

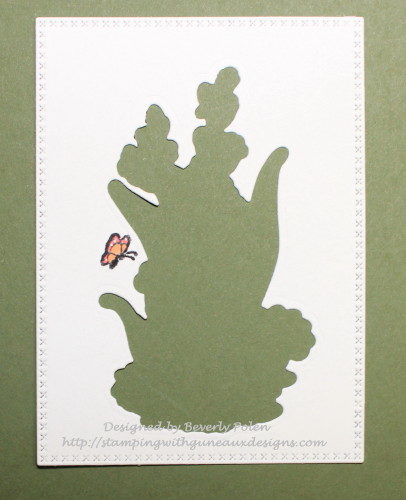
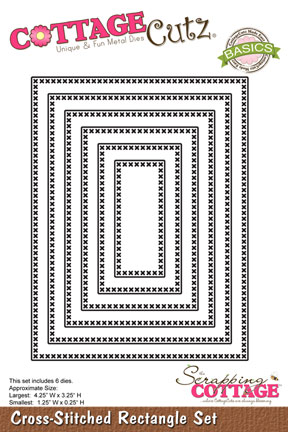
Afterwards, I decided I wanted to create an inlay with the image, so I used the negative of the floral image and a die from the CottageCutz Cross-Stitched Rectangle Set to cut a rectangle.  Additionally, my butterfly from the same floral stamp and die set was on this panel and I wanted to include it.


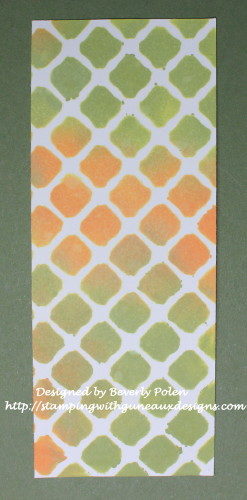
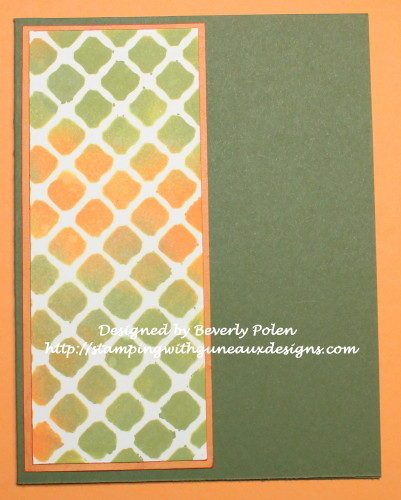
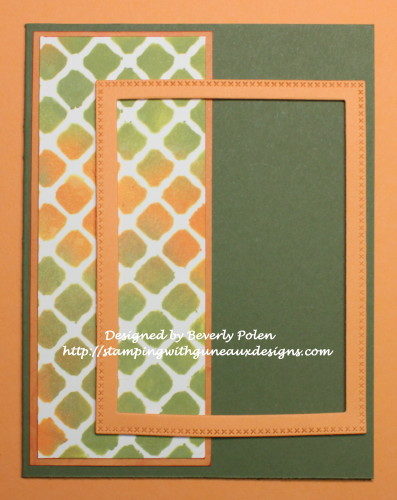
My next step was to use a stencil and oxide inks to create this panel from white card stock.  I decided I wanted a piece of designer paper as a mat for the panel.  I attached the mat to the panel and adhered it to my card base.


I created a frame to go around the floral panel with two of the CottageCutz Cross-Stitched Rectangle Set dies.  I attached foam tape to the frame and added it to the card.

Then I added foam tape to the floral image inlay panel and attached it inside the frame.

To complete the card, I added one of the Expression Plus Design scrip dies, “hello”, to the upper left of my card.

I hope you draw inspiration from my card, and leave me a comment!  I love reading comments!


These are the CottageCutz stamps and dies used on the card:


Butterfly_1_1God’s Blessings!
Stamping With Guneaux Designs By Beverly Polen
Firm Reliance on Divine Providence!


Luke 14:12-14

“Then Jesus said to his host, ‘When you give a luncheon or dinner, do not invite your friends, your brothers or relatives, or your rich neighbors; if you do, they may invite you back and so you will be repaid.  But when you give a banquet invite the poor, the crippled, the lame, the blind, and you will be blessed.  Although they cannot repay you, you will be repaid at the resurrection of the righteous.’

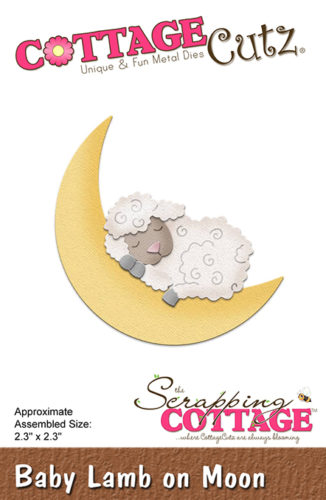
CottageCutz Baby Lamb on the Moon

Hello, friends, and thanks for stopping by Guneaux Designs!  Today I am a guest designer for the Scrapping Cottage Blog, and I have a lovely card featuring a recently released CottageCutz Baby Lamb on the Moon die.  I think the baby lamb is so cute!
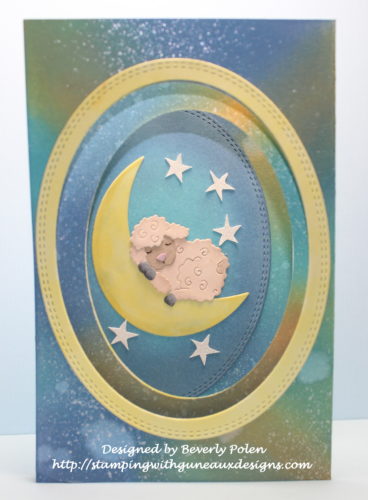
The card design is a Z-Fold with ovals cut out from the first and second sections.  You can see through the ovals to the main element on the back section of the card, which is the CottageCutz Baby Lamb on the Moon.   I have not seen before a Z-Fold card with the first two sections cut out for windows to see through to the main image on the back section.  If there is no such design in the crafting world, I guess I just created a new Z-Fold card design.  LOL!

To create my Z-Fold card, I cut from white card stock the pieces from the lovely CottageCutz Baby Lamb on the Moon Die.
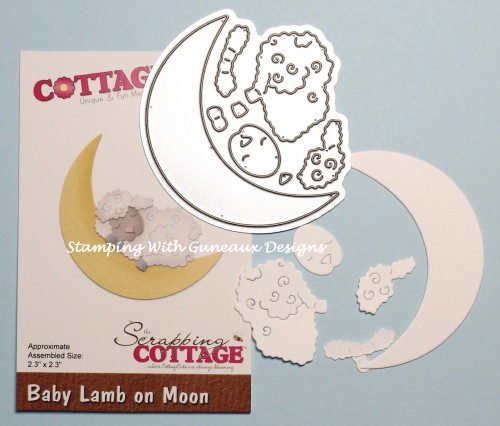
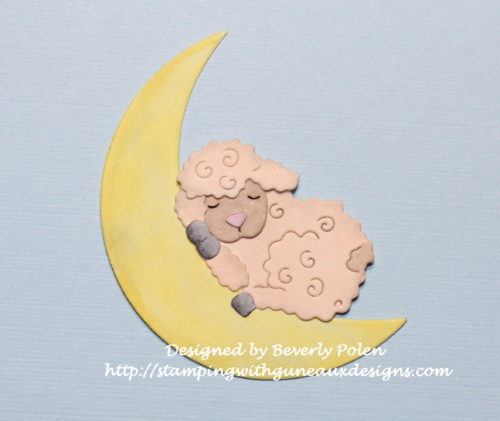
I colored the pieces with Copic Sketch Markers, adding a touch of gray to the moon.  Afterwards, I glued the pieces together.
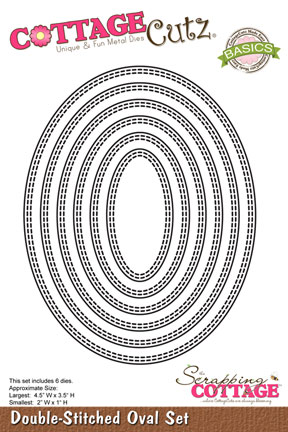
Using the second and third to the largest CottageCutz Double-Stitched Oval Dies, I cut out an oval and frame from white card stock.  I later colored the frame with a yellow copic marker.  I also cut a second frame with the largest and second to the largest dies and color it yellow.
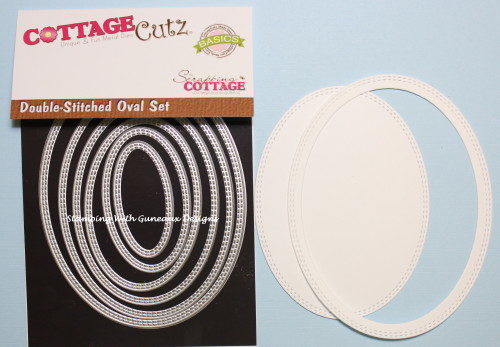
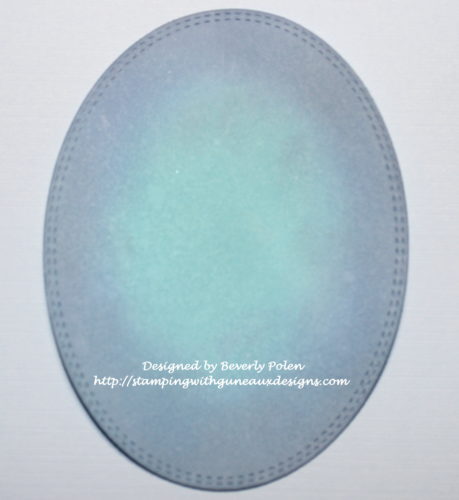
I colored the oval with two of the new Tim Holtz Oxide Ink Pads (i.e., faded jeans, and broken china).  I used the lighter blue for the center of the oval for the moon’s glow.
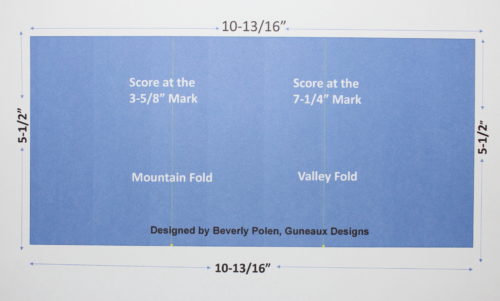
Then, I cut a 10-13/16″ x 5-1/2″ piece of white card stock and, on the 10-13/16″ side, scored at the 3-5/8″ and 7-1/4″ measurements.  The 3-5/8″ score line is a mountain fold and the 7-1/4″ score line is a valley fold.  At this point,  I did not fold the card stock on the score lines until I finished additional steps.
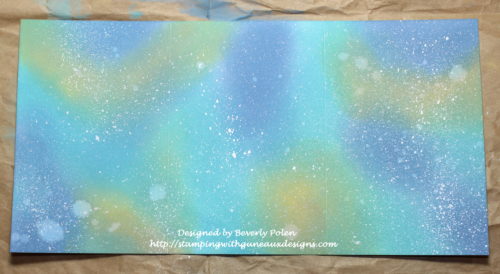
I wanted to create the appearance of a galaxy; therefore, I sponged three of the Tim Holtz Oxide Inks (i.e., fossilized amber, faded jeans, and broken china) onto the card stock and spritzed it lightly with water.  After drying, I used a toothbrush and diluted white acrylic paint to splatter paint onto the colored card stock.
After that dried, I turned the card stock over and colored the center section with the same inks, spritzed with water, and splattered with acrylic paint. When the card is finished, this section will be the inside center fold.
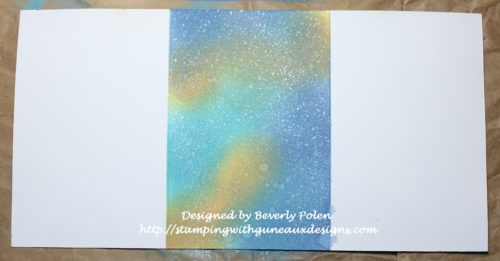
Before folding on the score lines, I placed the second largest Double-Stitched Oval Die on the first section of the card and the third largest die on the center section, centering them as much as possible.  I ran the card stock and dies through my die cutting machine.
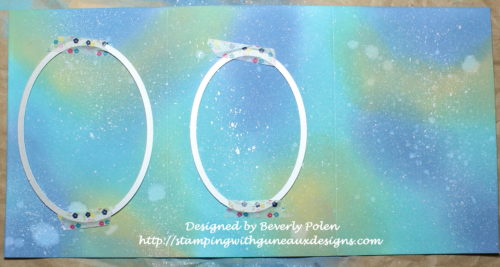
I then folded the card on the score lines, and the following photo shows result.
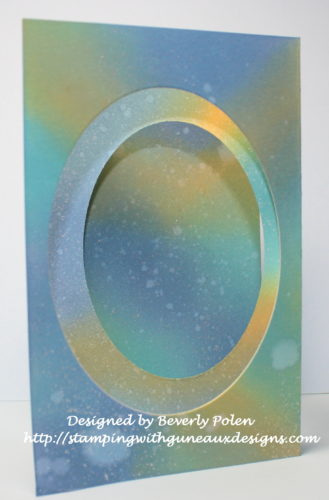
Next, I assembled the card by attaching the baby lamb and moon onto the oval previously colored and adhered it to the last section of the card.  I used an old star stamp to stamp, emboss, fussy cut, and add to this piece.
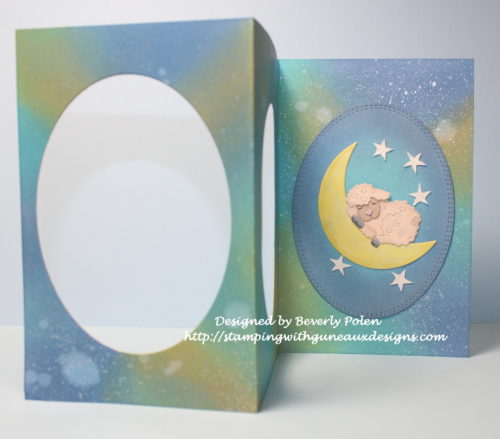
Then I added the largest yellow frame to the first section of the card and the smaller yellow frame to the inside center section.
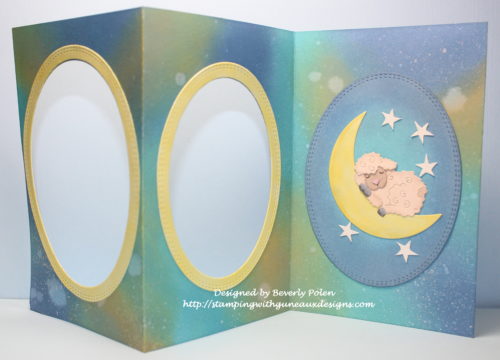
When the card is folded closed, the middle section that was inked on the back will show as the second section.  It does not have a yellow oval frame on it.

I did not add other embellishments to the card as I did not want to distract from the “galaxy” effect on the card.  A sentiment will be added when I know who is the recipient.

I hope you enjoy this card and take time to browse the recently released BABY and SCRIPT DESIGN DIES!  The script dies are 25% off for a limited time!  Have a blessed day!


Butterfly_1_1God’s Blessings!
Stamping With Guneaux Designs By Beverly Polen
Firm Reliance on Divine Providence!


JAMES 5:1-6

 “Now listen, you rich people, weep and wail because of the misery that is coming upon you.  Your wealth has rotted, and moths have eaten your clothes.  Your gold and silver are corroded.  Their corrosion will testify against you and eat your flesh like fire.  You have hoarded wealth in the last days.  Look!  The wages you failed to pay the workmen who mowed your fields are crying out against you.  The cries of the harvesters have reached the ears of the Lord Almighty.  You have lived on earth in luxury and self-indulgence.  You have fattened yourselves in the day of slaughter.  You have condemned and murdered innocent men, who were not opposing you.”
CottageCutz Baby Clothesline

COTTAGECUTZ  BABY  CLOTHESLINE

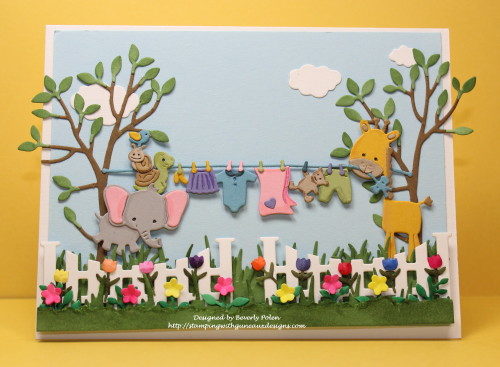
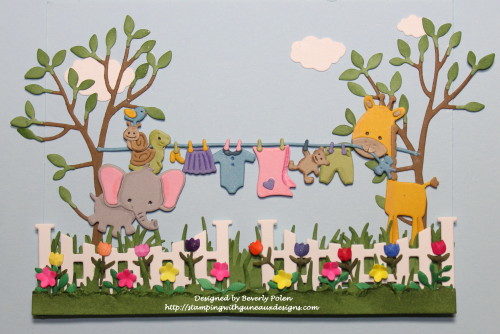
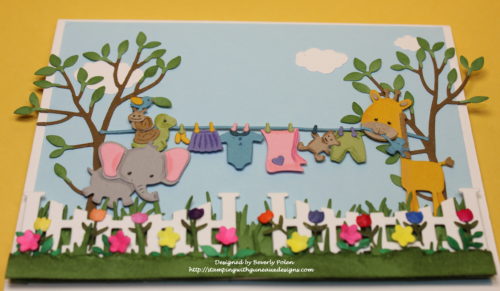
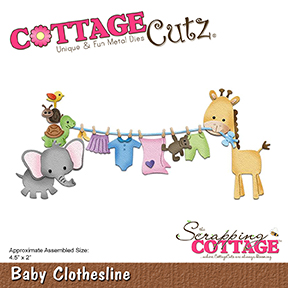
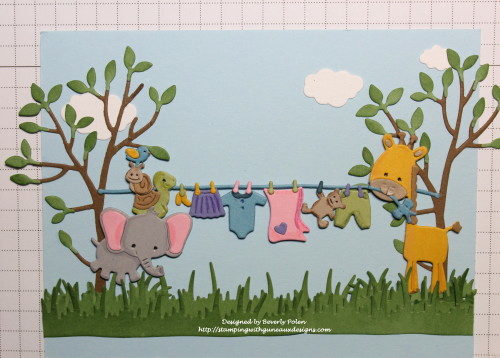
Hello, my friends!  I am so glad you could stop by to visit!  Today, I am a guest designer for the Scrapping Cottage.  In that capacity, I have for you a baby card that features one of the dies that was just released.  If you have yet to see the new baby release on Scrapping Cottage, you can find the dies here.  They are so adorable!  My card showcases the new die, CottageCutz Baby Clothesline.

To create the card, I used several other CottageCutz dies as well, as you will see below. To make the card, follow these steps:

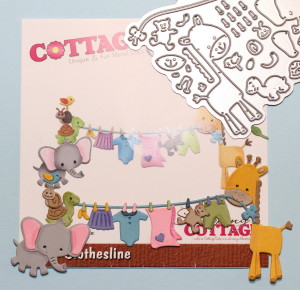
Step 1.  Use the CottageCutz Baby Clothesline Die to cut out the clothesline pieces and attach them together.  The assembled piece measures approximately 4-3/4″.

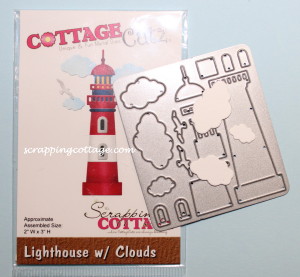
Step 2.  Use the CottageCutz Lighthouse With Clouds die to cut out some clouds.

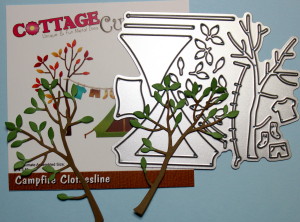
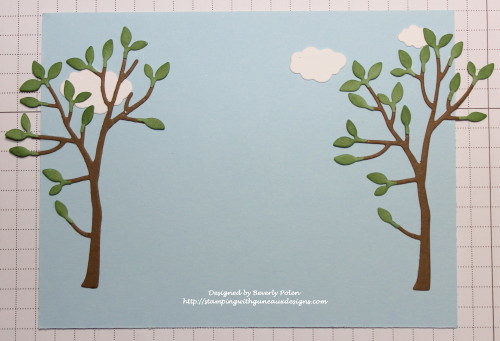
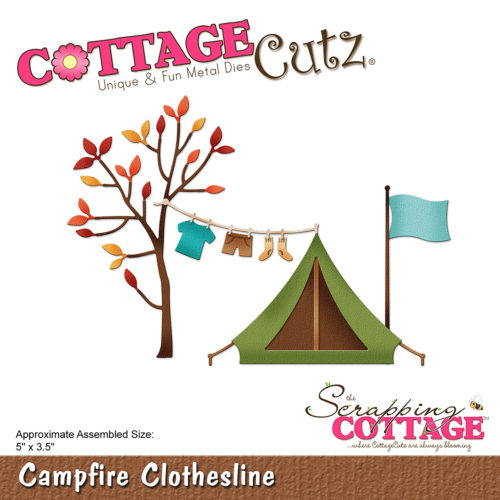
Step 3.  Use the CottageCutz Campfire Clothesline Die to cut and assemble two trees.

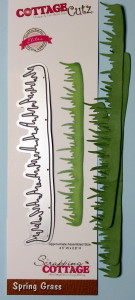
Step 4.  Use the CottageCutz Spring Grass Die to cut out three pieces of grass from green card stock.

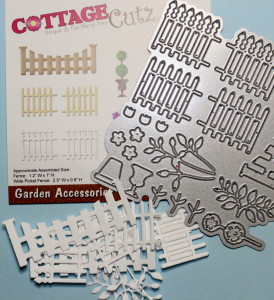
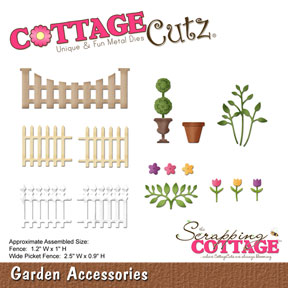
Step 5.  Use the CottageCutz Garden Accessories Die to cut out the pieces from white card stock.  Except for the fence, I colored the pieces using Copic Sketch Markers.

Step 6.  Start assembling the card by cutting a 5-1/4″ x 4″ piece of blue card stock for the first layer of the card.  Attach the clouds and trees to the blue card stock.

Step 7.  Attach two pieces of the grass in layers using foam tape on the second layer.  Attach the assembled clothesline with foam tape.  Ensure the giraffe and elephant’s feet are touching the grass.  I cut two small pieces from another blue clothesline to extend the first line to the trees.

Step 8.  Attach the fence to the left and right sides of the piece using foam tape.  Attach a third layer of grass with foam tape at the bottom of the fence.  Color and add the flowers and stems onto the fence.  Cut a 5-1/4″ x 3/4″ piece of green card stock, tear a small portion from the top, sponge on green ink, and place it at the bottom of the fence and floral stems.

Step 9.  Cut a 8-1/2″ x 5-1/2″ piece of white card stock, fold in half for the card base, and attach the above piece to the card base front.

I hope you try creating a card with the CottageCutz Baby Clothesline Die.  It will be fun!


These are the CottageCutz dies used on the card:


Butterfly_1_1God’s Blessings!
Stamping With Guneaux Designs By Beverly Polen
Firm Reliance on Divine Providence!


 1 CORINTHIANS 15:3-8

Apostle Paul said, “For what I received I passed on to you as of the first importance: that Christ died for our sins according to the Scriptures, that he was buried, that he was raised on the third day according to the Scriptures, and that he appeared to Peter, and then to the Twelve.  After that he appeared to more than five hundred of the brothers at the same time, most of whom are still living, though some have fallen asleep.  Then he appeared to James, then to all the apostles, and last of all he appeared to me also, as to one abnormally born.”