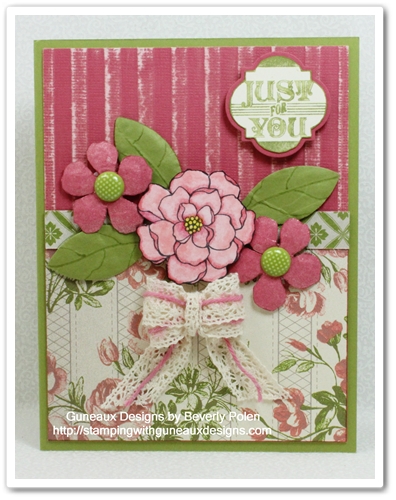
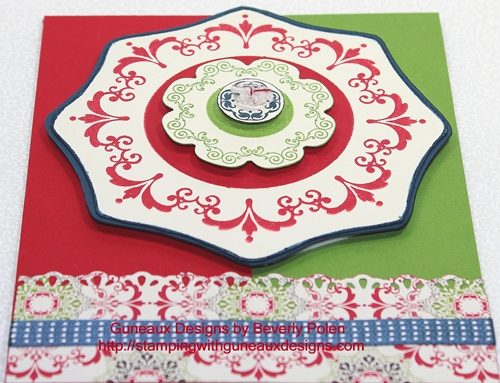
Welcome to Guneaux Designs! Today I am sharing with you a card that features a new stamp set from the 2012 Stampin’ Up! Annual Catalog, the Flowering Flourishes Stamp Set. I was so disappointed when Stampin’ Up! retired the Baroque Motifs Stamp Set; however, I am quite pleased with the Flowering Flourishes Stamp Set which is similar. The stamp set includes three “flourishes“, and the one on this card is the largest. I think it is so cute! I will also share with you a tool tip regarding “photo corners”.

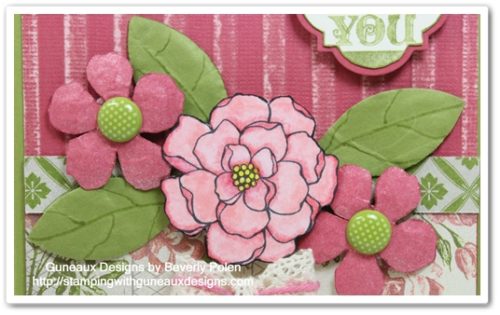
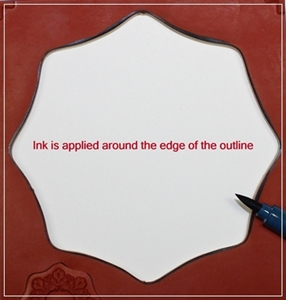
This picture gives you another view of the Flowering Flourishes stamp image: 
STAMPIN’UP! SUPPLIES:
Stamp Sets: Flowering Flourishes (126367) and Bring on the Cake (121958 – sentiment)
Paper: Gumball Green Card Stock (126840),Primrose Petals Card Stock (126841), and Whisper White Card Stock (100730)
Ink (Stampin’ Write Markers): Gumball Green Marker, Primrose Petals Marker, Raspberry Ripple Marker, Midnight Muse Marker, and Summer Starfruit Marker (all in one package – 126856)
Accessories:Midnight Muse 3/8” Stitched Satin Ribbon (126847), Basic Pearls (119247), Curly Label Punch (119851) and 1-1/4”Square Punch
HOW TO MAKE THIS HANDMADE CARD:
- Cut a 8-1/2″ x 5-1/2″ piece of Gumball Green Card Stock and fold it in the middle to create a card base.
- Cut a 5-1/4″ x 4″ piece of Primrose Petals Card Stock and adhere it onto the front of the card base.
- Cut a 5″ x 3-3/4″ piece of Whisper White Card Stock.
- Using the above listed Stampin’ Write Markers, cover the flowering flourish stamp with Gumball Green, Primrose Petals, Raspberry Ripple, and Summer Starfruit ink (see picture for guidance).
- Stamp the image onto the Whisper White Card Stock.
- Fill in with ink the places on the stamped image where needed.
- Use a permanent yellow marker and color three Basic Pearls.
- Adhere the pearls onto the three flowers as shown in picture.
- Underneath the stamped image, stamp the “Happy Birthday” sentiment from the Bring on the Cake stamp set.
- Tie a piece of Midnight Muse 3/8″ Stitched Satin Ribbon into a bow and adhere it to the top-left of the stamp image.
- Follow the information below to create the two corner pieces.
TOOL TIP:
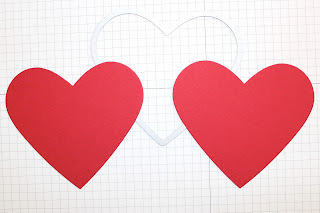
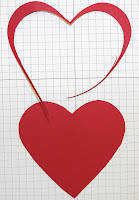
Remember when we had the Stampin’ Up! Photo Corner Punch to create corner decorations for our handmade cards? I loved that punch and I miss it. Well, I decided to look for another way to make attractive photo corner pieces. Therefore, I did, and this is how I did it.
1. Cut a piece of cardstock using the Curly Label Punch.

2. Place the corner of the long side of the curly label into the corner of the 1-1/4″ Square Punch, lining it up evenly and cutting it. 
3. This is the result. Cut more and add them to the corners of your card.


God’s Blessings!
Stamping With Guneaux Designs







 How cool is that?