Neon Violet Ornaments – Delightful Decorations

Neon Violet Ornaments – Delightful Decorations

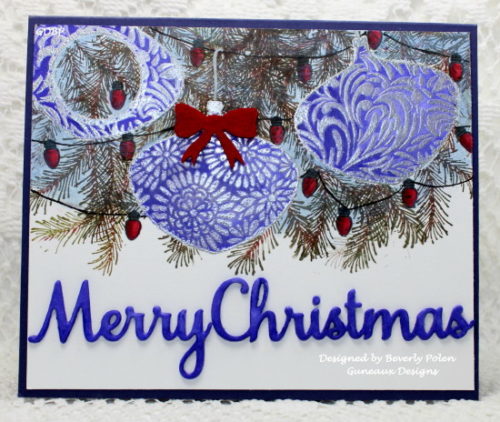
Hello and Happy Monday!!  Thank you for stopping by Guneaux Designs to see my latest crafting creation!  I have for you today a card that I call, Neon Violet Ornaments, and it features the ODBD Delightful Decorations stamp set.

This card is for today’s Splitcoaststampers Clean And Simple challenge to show what you love about November by using the letters N.O.V. in making your card!  The NOV for my card is: N – Neon Violet; O – Ornaments; and V – Violet Ornaments.  The primary color on the card is a Fluorescent Violet, but it looks royal blue.

What do I love about November?  My daughters decorating their Christmas trees!  The day after Thanksgiving is when they decorate.  That is why I created a Christmas card with an image of a decorated tree, or the bottom section thereof.


Micah 6:8

“He has shown all you people what is good. And what does the LORD require of you? To act justly and to love mercy and to walk humbly with your God.”


Continue reading

Pretty Posies

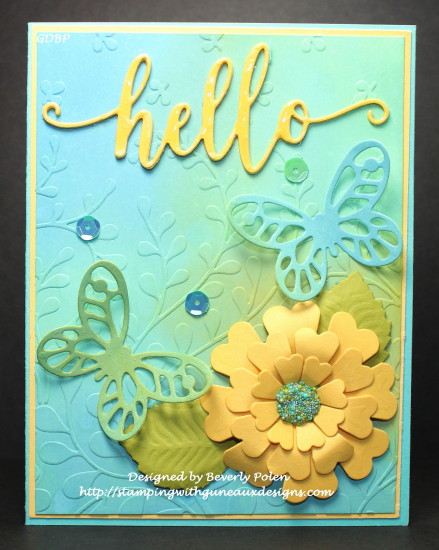
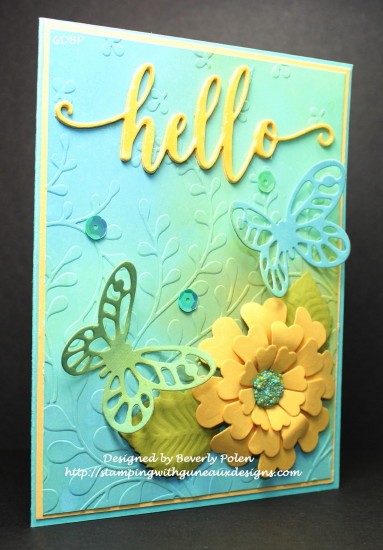
Hello, crafters!  Thanks for stopping by Guneaux Designs to enjoy my Pretty Posies card.

I created this card in honor of a “Featured Stamper” on Splitcoaststampers.com, Diane (HappyinMarco).  Diane has a gorgeous and unique gallery, and it was difficult to choose one card to case.  However, as soon as I saw this beauty, I knew it was the one.

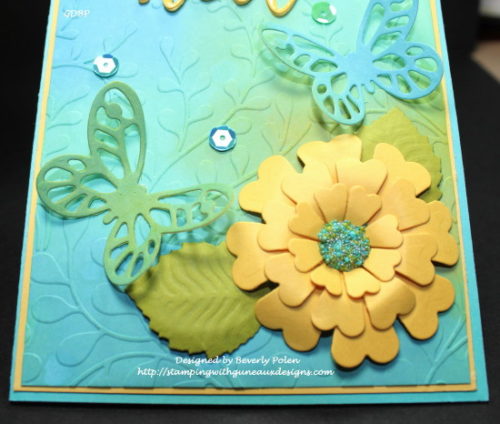
I love the blue colors, butterflies, and leaves on Diane’s card, and I added those elements to my card, but in a different manner.  My main panel is blueish-green and I created it by sponging and blending several Distress Oxide Inks.  Instead of die cut stems and leaves as are on Diane’s card, I embossed my main panel with a stems and leaves embossing folder.  I added two butterflies as she did.  However, mine are from a different die cut, assorted colors, and located differently on the card.  I added a paper flower to my card that I created with ODBD Pretty Posies Die Set.


Paper: Neenah Soler White, PTI Lemon Tart, PTI Hawaiian Shores, and PTI Simply Chartreuse
Ink: Distress Oxide Inks
Accessories: ODBD Pretty Posies Dies, SU Butterfly Dies, CottageCutz Expressions Plus Hello, Sequins, AG Embossing Folder, Sequins, and Prills
Techniques: Sponging and Blending

Butterfly_1_1

God’s Blessings!
Stamping With Guneaux Designs By Beverly Polen
Firm Reliance on Divine Providence!


Luke 14:1 – 3

One Sabbath, when Jesus went to eat in the house of a prominent Pharisee, he was being carefully watched.  There in front of him was a man suffering from dropsy.  Jesus asked the Pharisees and experts in the law, “Is it lawful to heal on the Sabbath or not?”  But they remained silent.  So taking hold of the man, he healed him and sent him away.”

Hibiscus Greeting Card

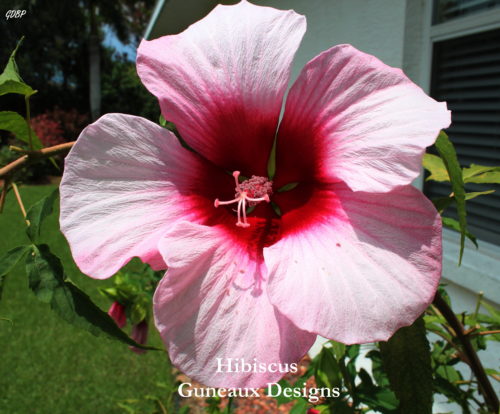
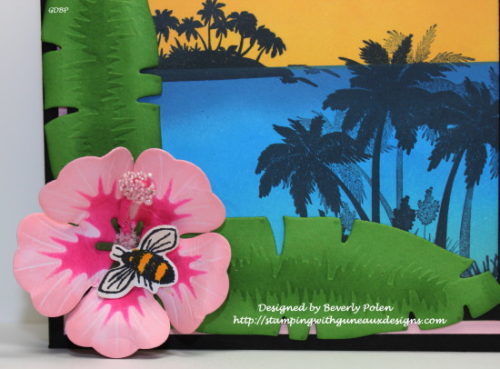
Hello, my friends!  Hope you have some great plans for the weekend!  I appreciate you stopping by Guneaux Designs to see my Hibiscus Greeting Card.  I love Hibiscus plants, and I have many around my home.  One of my Hibiscus plants is the impetus for creating this Hibiscus Greeting Card.  It is a plant that produces large beautiful pink flowers.  Each flower on the Hibiscus plant is at least 6″ in size.

I created this Hibiscus Greeting Card to submit to a Splitcoaststampers.com  Ways To Use It Challenge, WT649 – Domestic Inspiration.  The challenge is to find something around your home that inspires you.  I draw inspiration from many of my Hibiscus plants as well as many other floral plants.  But this plant is right outside my crafting room window, and each time I look outside, I see the beautiful blooms.  This is the card I created from my inspiration piece.

Here is a photo of my inspiration piece:

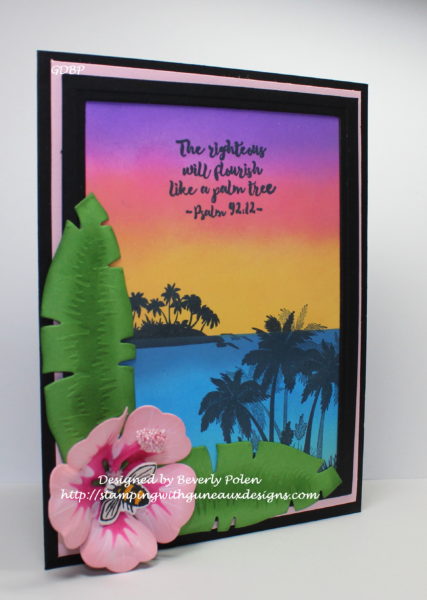
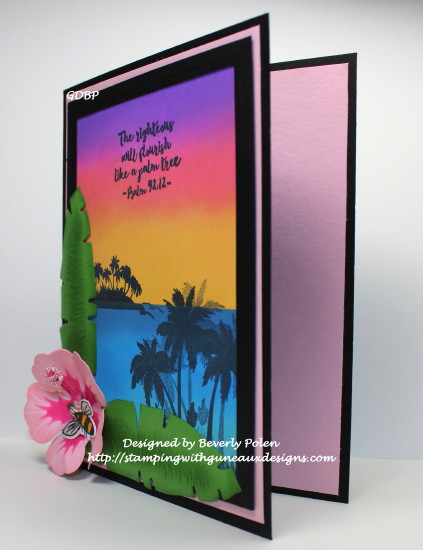
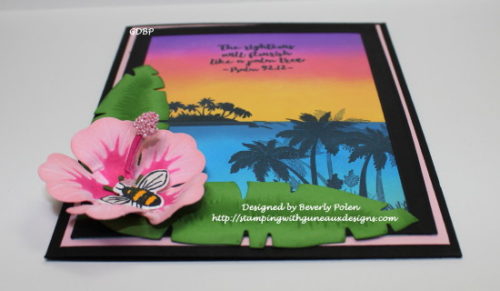
While I was taking the above photo, I had a bee hanging round the flower.  Therefore, I included a bee on the Hibiscus on the bottom left of my card.  The Hibiscus flower and leaves were made with the ODBD Hibiscus Dies and ODBD Tropical Leaves.  I included pink prills on the Hibiscus stamen. The bee was made with the ODBD Butterfly and Bugs Stamp Set and Matching Dies.

To create the background of the card, I used several Hero Arts Distress Oxide Ink Pads to sponge on the sky and water.  Afterwards I used the ODBD Bon Voyage Stamp Set to stamp the Palm Trees in black ink, as well as the sentiment.  This stamp set is a great set if you like creating beach scenes.

To assemble the card, I created a black frame using the ODBD Pierceed Rectangles Dies to go around the beach scene.

My card base is black card stock to which I added a piece of pink card stock.  I attached the scene to the pink card stock and added the Hibiscus and leaves.

Please share your thoughts about my Hibiscus Greeting card!  I love reading your comments!

This card was selected for the Customer Card of the Day by Our Daily Bread Designs.  What an honor!!


Butterfly_1_1

God’s Blessings!
Stamping With Guneaux Designs By Beverly Polen
Firm Reliance on Divine Providence!


Ephesians 4:31 & 31

“Get rid of all bitterness, rage and anger, brawling and slander, along with every form of malice.  Be kind and compassionate to one another, forgiving each other, just as in Christ, God forgave you.”

ODBD Steampunk Gears

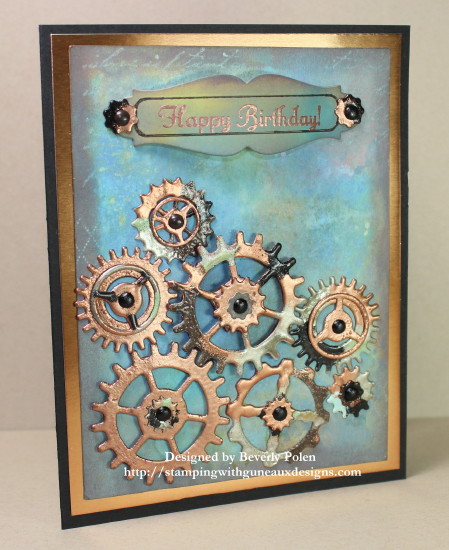
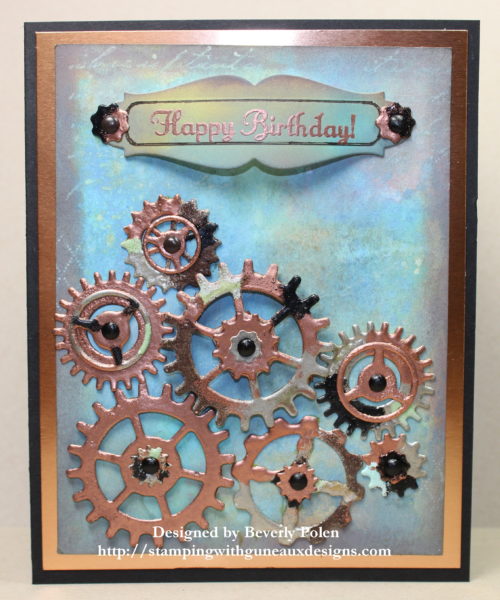
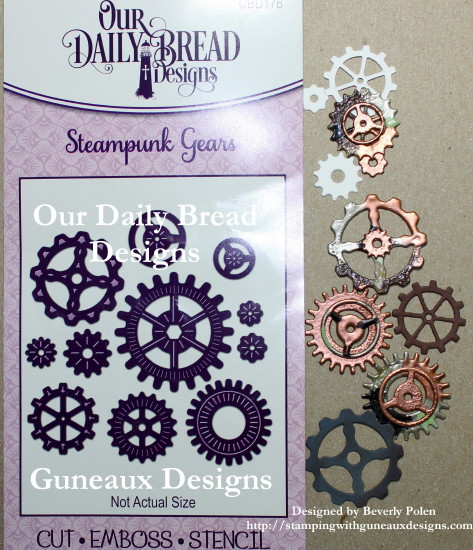
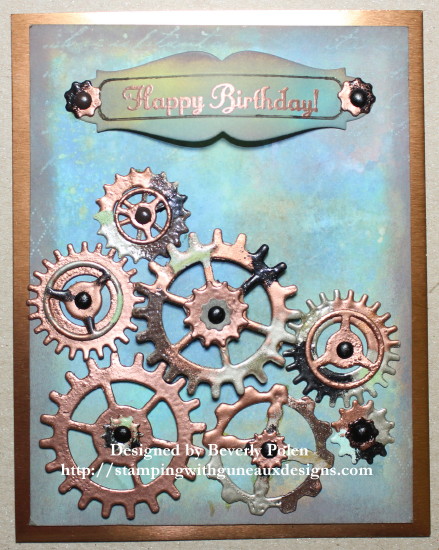
Today I have a card share for you, and it features the ODBD Steampunk Gears Dies. This card is not my typical artwork, and making it was out of my comfort zone. However, I wanted to make it for a Splitcoaststampers.com Dare To Get Dirty Challenge. Unfortunately, I cannot share the details of the Dare To Get Dirty Challenge per Splitcoaststampers.com.  If you are a Club Member, you already know the details.  If you are not, you can join Splitcoaststampers as a Club Member so you can participate in the challenges.

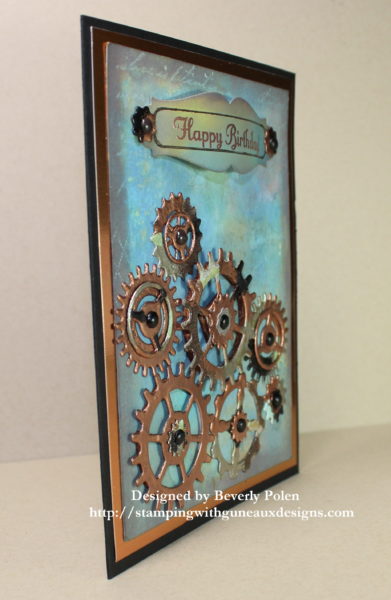
To create the card, I die cut the gears using the ODBD Steampunk Gears Dies.   I covered the gears with VersaMark® Watermark Ink and embossed them with Copper, Green, Black, Pewter, and Yellow embossing powder.  Then I attach two or more gears together with adhesive.

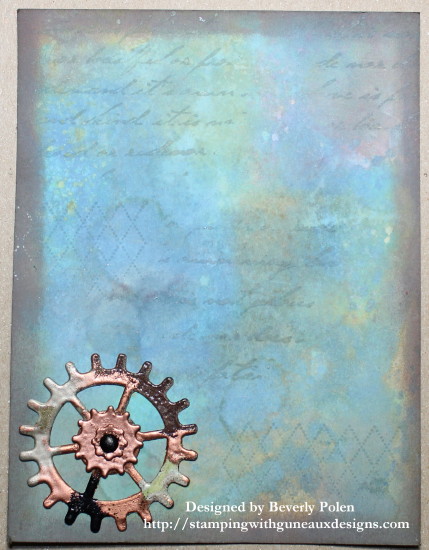
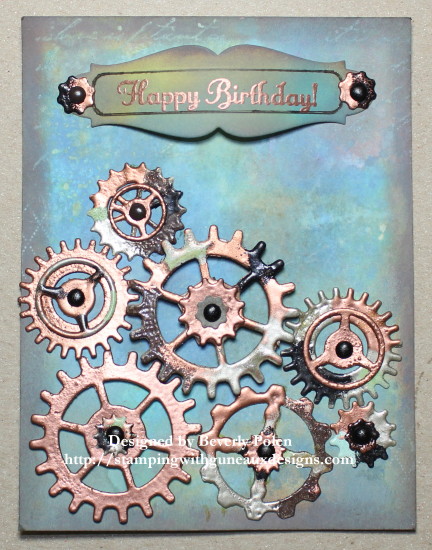
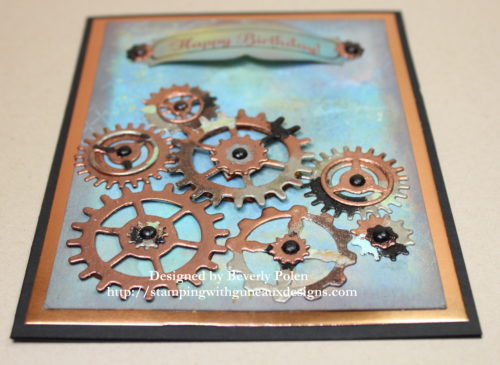
I sponged several Tim Holtz Distress Oxide Inks (e.g., blues, greens, yellow, brown, orange, etc.) onto a piece of Neenah Solar White Card Stock.   I stamped over the sponged on ink some text and designs.  Then I began adding the gears to the panel. On three sets of gears, I added one or two layers of foam tape.  In addition to the foam tape, I attached the gear sets to the card stock with black brads.

After adding the gears, I added a sentiment.  I attached it with two gears and black brads.

I cut a piece of copper foil and added it to the back of the above panel.

To finish the card, I cut an A2 piece of black card stock and added the above to the card base.

Considering I was out of my comfort zone making this card, please share how you think I did.  Thanking you in advance for your comments.

Click on the links within this post to access the supplies I used.


Butterfly_1_1

God’s Blessings!
Stamping With Guneaux Designs By Beverly Polen
Firm Reliance on Divine Providence!


John 14:13 & 14

Jesus said, “And I will do whatever you ask in my name, so that the Son may bring glory to the Father.  You may ask me for anything in my name, and I will do it.

Guneaux Designs ODBD Bird of Paradise

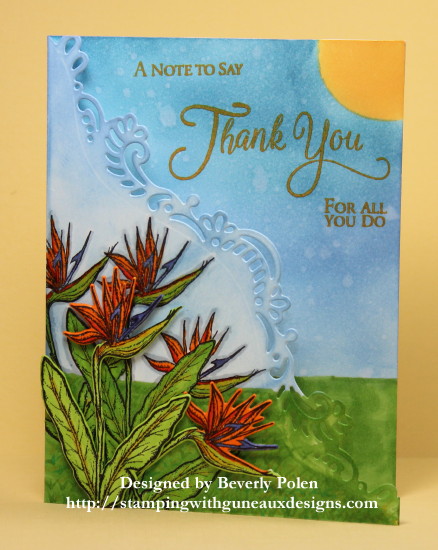
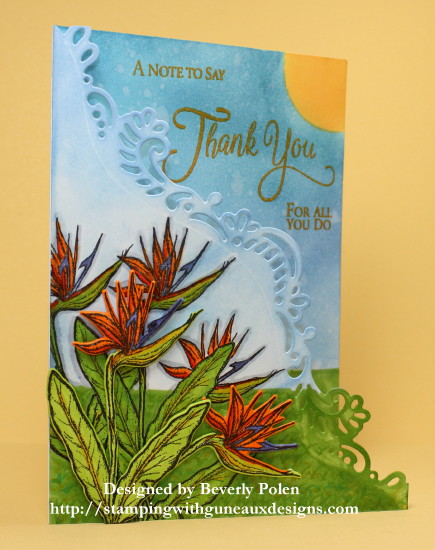
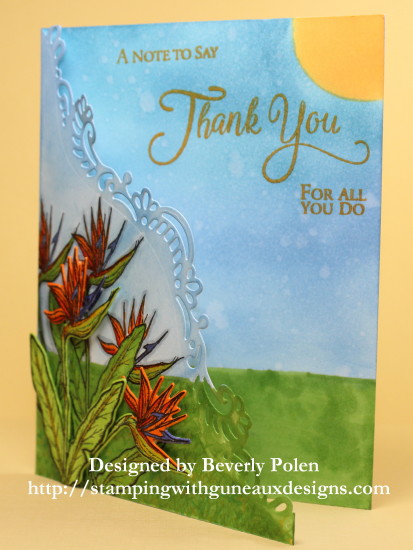
Welcome to Guneaux Designs, and thanks for stopping by to see my latest craft project, the Guneaux Designs ODBD Bird of Paradise (ALOHA) card.  For some time I have looked for a Bird of Paradise stamp and die set.  I was so pleased to see that Our Daily Bread Designs had issued one it its July 2017 release!  This is the card I made with the ODBD Bird of Paradise stamp and matching die.

I submitted this card for a Splitcoaststampers.com challenge.  Lisa’s (Shoe Girl) hosted the Splitcoaststampers.com Thursday “Ways to Use It” (WTUI) challenge, “Let’s Warm It Up”.  The heat that a lot of the US is experiencing was the impetus for Lisa’s WTUI challenge. Therefore, she wanted to see “hot” cards.

The beautiful Bird of Paradise flower came to mind for the challenge as it requires a good amount of sunlight (i.e., hot).  Therefore, the new ODBD Bird of Paradise stamp and matching die were used for my card.

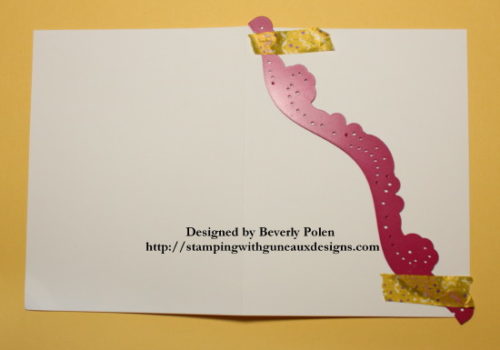
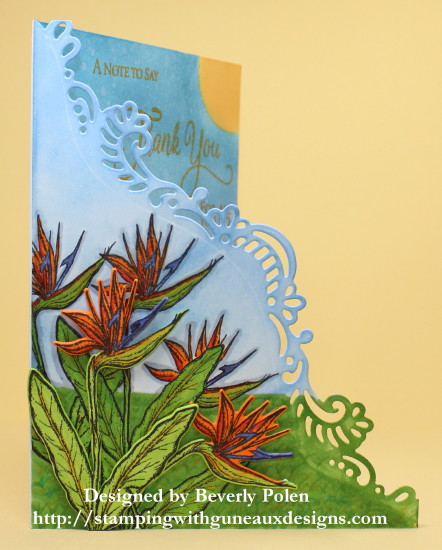
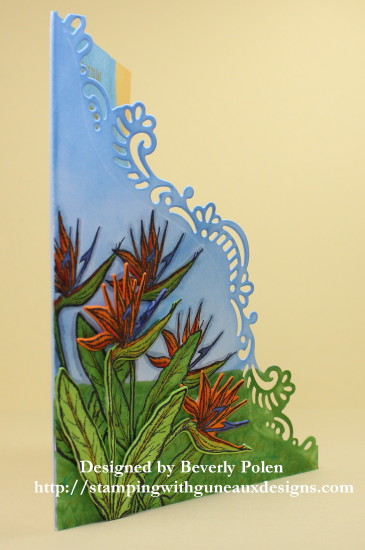
My card has no layers; it’s simply a card base that I die cut the front at an angle with a border die to create a fancy border.  The following photos show the process of developing the card base.

  • I cut an 8-1/2″ x 5-1/2″ piece of white card stock and folded it in the center in order to determine where to place my border die.  Then I unfolded it and placed a Heartfelt Creations Delicate Border Basics Die across the front at an angle.

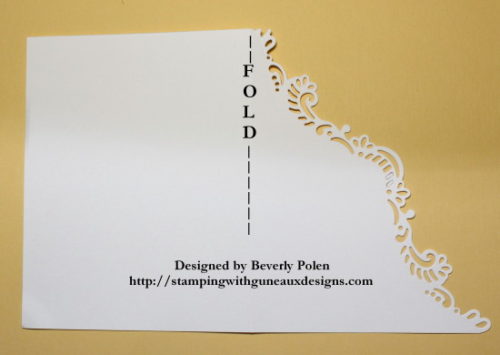
  • I ran the card stock and die through my die-cutting machine to cut out the border. This photo shows the result.

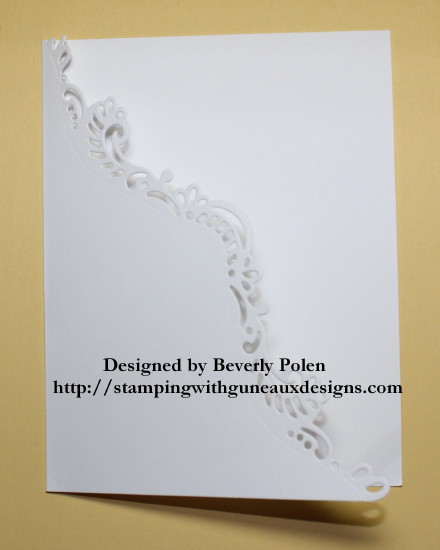
  • I folded the card base again after cutting the border, and this photo shows the results.

Then I began developing the card.  I first stamped and colored the Birds of Paradise on the front.  Subsequently, I masked the Birds of Paradise and sponged the front and inside of the card base with various inks to create a landscape scene.  I added the sentiment to the inside of the card and it shows as the front of the card when the card is closed.  My personal message to the recipient will be added behind the card front and to a portion of the inside.

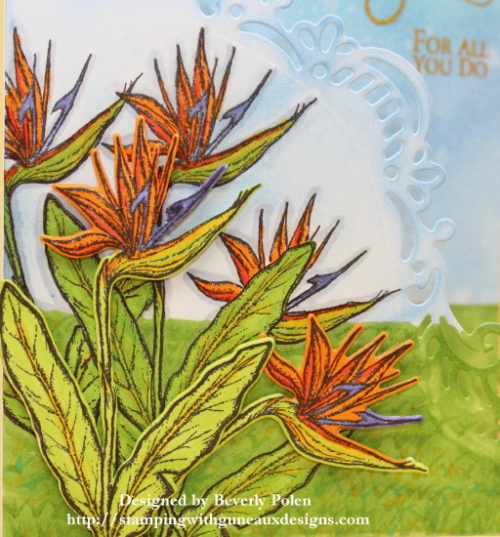
Then I stamped, colored, and die cut two Birds of Paradise and attached them to the front with double-sided foam tape. The following photo provides a closeup of the Birds of Paradise.

The next two photos provide a better view of the card front and the shape of the border that I die cut.

May you find inspiration from my card.  Thanks in advance for leaving comments!


Click on the links in the posts to see the main products used.

  • Stamps:  ODBD Bird of Paradise, Catherine Pooler Butterfly Notes (sentiment)
  • Inks:  SU Blues and Greens, Memento Cantaloupe, Memento Tuxedo Black, and Copics
  • Paper:  Neenah Solar White Card Stock
  • Accessories:  ODBD Bird of Paradise Die, Heartfelt Creation Delicate Border Basics Die, Double-Sided Foam Tape

Butterfly_1_1

God’s Blessings!
Stamping With Guneaux Designs By Beverly Polen
Firm Reliance on Divine Providence!


Hebrews 13:6

“The Lord is my helper: I will not be afraid.  What can man do to me?”

If The Shoe Fits, Wear It

IF THE SHOE FITS, WEAR IT

Have you heard the odd saying, “If the shoe fits, wear it”?   The saying is used as a way of suggesting that someone should accept a generalized remark or criticism as applying to him/herself.  It can be interrupted as sarcasm, but there is a lot of truth to the saying.  If someone is sharing information that seems to fit our behavior, we need to own it, right?  I think so!

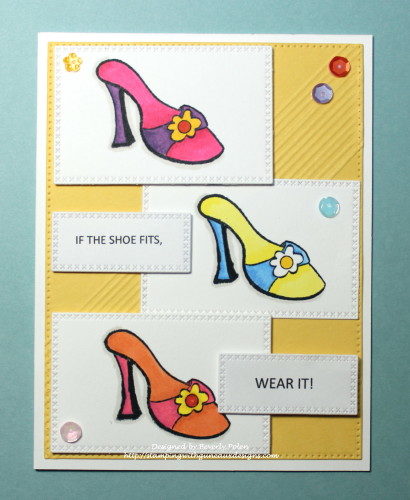
To that end, I am sharing a card I created recently for a “Free For All Challenge” hosted by Splitcoaststampers.  The challenge was to make a card that reflects an odd saying like “Happy as a clam”, “In the pink”, “Two peas in a pod”, and so on.  I decided to enter the challenge with this card representing the odd saying, “If The Shoe Fits, Wear It”.
If The Show Fits Wear It

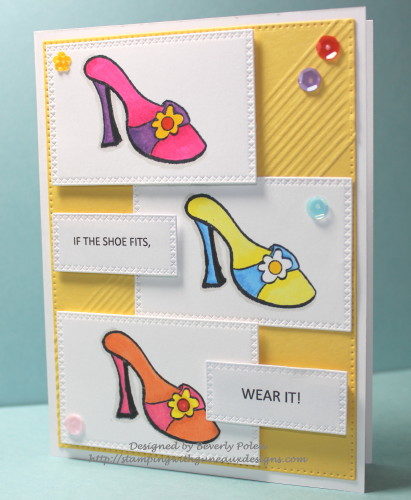
As I read the challenge, my mind started clicking off a lot of odd sayings when “If The Shoe Fits, Wear It” came to mind.  I remembered a OLD stamp I have of a shoe, and decided it would be perfect.  Therefore, I stamped it three times on white card stock, colored the shoe images with copics, and cut them out with a die.

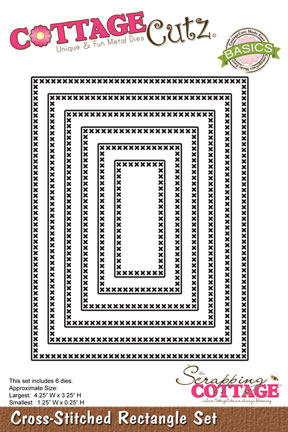
I used a die from the CottageCutz Cross-Stitched Rectangle Set to cut out each shoe. I love the die set as I used to be one who cross stitched regularly.  It is a fun craft using counted-thread embroidery.
If The Shoe Fits Wear It

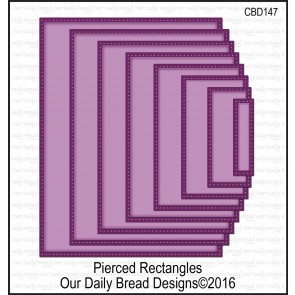
To assemble the card, I staggered the shoe frames (or boxes) on a piece of yellow card stock that I had cut out with a die from a ODBD Pierced Rectangles Dies and scored with a scoring tool.  I created the sentiment, “IF THE SHOE FITS, WEAR IT!” digitally, cut it out using the same CottageCutz Cross-Stitched Rectangle Set, and attached to the card front.  Lastly, I added a few sequins.

I hope you enjoy the card and will return for other Guneaux Designs projects!  If you are a Christian, I hope you have a wonderful Easter weekend!


Butterfly_1_1God’s Blessings!
Stamping With Guneaux Designs By Beverly Polen
Firm Reliance on Divine Providence!


 LUKE 24:45-47

“Then he opened their minds so they could understand the Scriptures.  He told them, “This is what is written:  The Christ will suffer and rise from the dead on the third day, and repentance and forgiveness of sins will be preached in his name to all nations, beginning at Jerusalem.”